

Mini pumpkins get overlooked more often than they should, mostly because people assume “small” means “less impressive.” Honestly, it’s the opposite. A cluster of tiny decorated pumpkins can do more for a tablescape or mantel than one giant showpiece ever could, and they take a fraction of the time and mess to pull off.
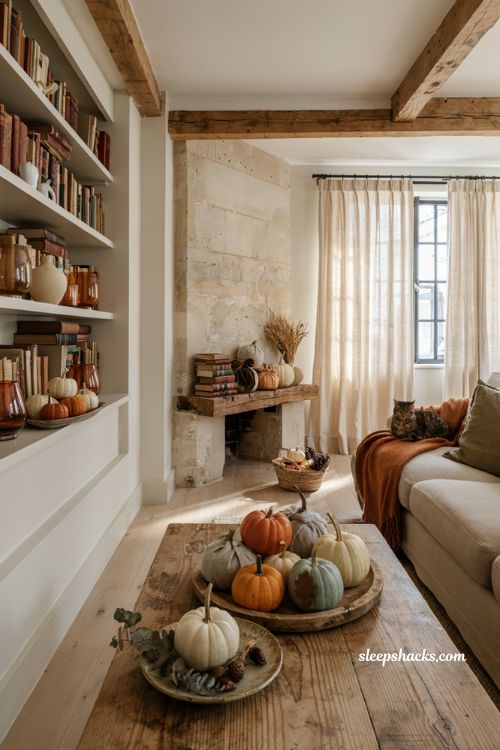
They’re cheap, they’re easy to find at any grocery store or farm stand, and you can knock out five or six of them in the time it takes to do one full-size pumpkin. If you’ve got a bowl full of little gourds sitting on your counter with no plan yet, these fifteen ideas will turn them into something worth showing off.
1. Strawberry Pumpkin
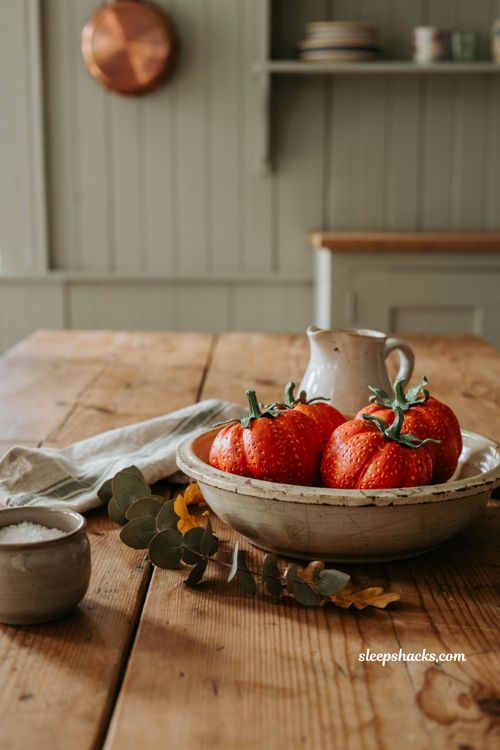
Painting a mini pumpkin to look like a strawberry is one of those ideas that gets an immediate double-take from anyone who sees it. Paint the whole pumpkin a bright red, then use a small round brush dipped in yellow paint to dot tiny “seeds” all over the surface in a scattered pattern. Leave the pumpkin’s natural green stem in place, or paint a few extra green leaf shapes around the base for a fuller look. Grouping three or four of these together in a bowl reads as a playful, unexpected fall centerpiece rather than a typical Halloween display.
2. Barn Animal Mini Pumpkins
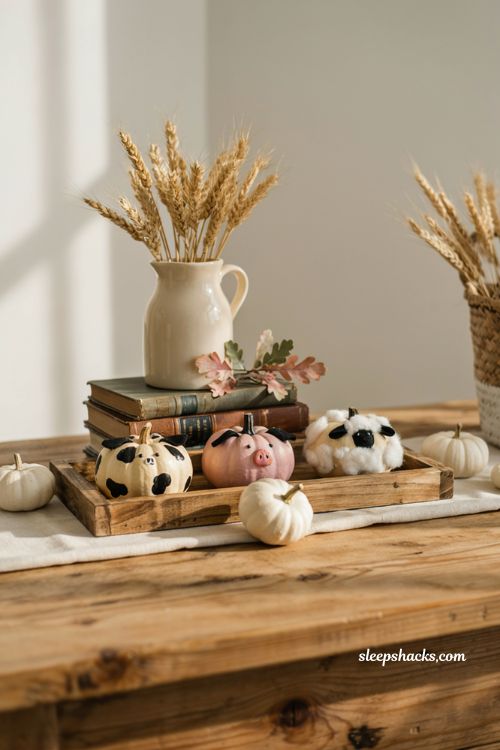
A row of tiny barn animal pumpkins — a cow, a pig, a sheep — makes for a charming farmhouse-style display that works well past Halloween into Thanksgiving. Paint each pumpkin a solid base color matching the animal, then add simple black paint spots for the cow, pink circles for the pig’s snout, or curly cotton ball wool for the sheep. Small triangle ears cut from felt and glued near the stem finish each character convincingly. Because these are so small, even slightly imperfect brushwork still reads as charming rather than sloppy.
3. Mini Gumball Machine Pumpkin
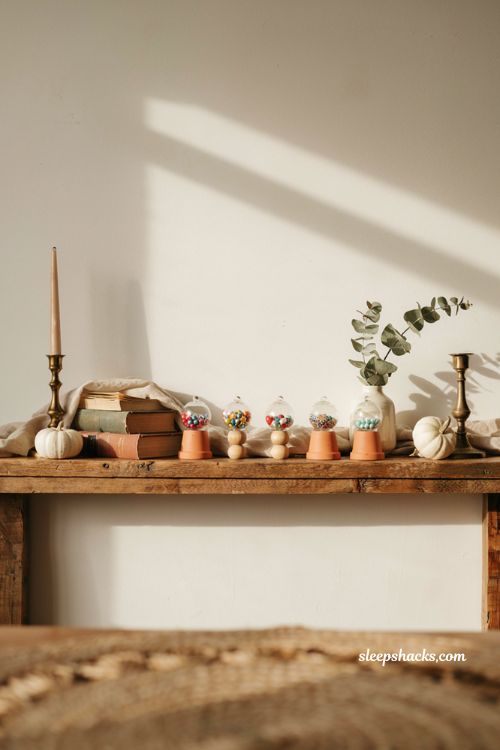
Shrinking the classic gumball machine idea down to mini scale makes it fast enough to do in an afternoon instead of a whole weekend project. Set a small pumpkin on top of an upside-down mini terra cotta pot or a wooden bead as the “base,” then paint the pot to match. A dab of clear-drying glue and a scattering of small round beads or plastic gems glued to the pumpkin’s surface mimics the gumballs inside the glass dome. This one works especially well lined up in multiples along a mantel or shelf.
4. Mini Monogram Pumpkin
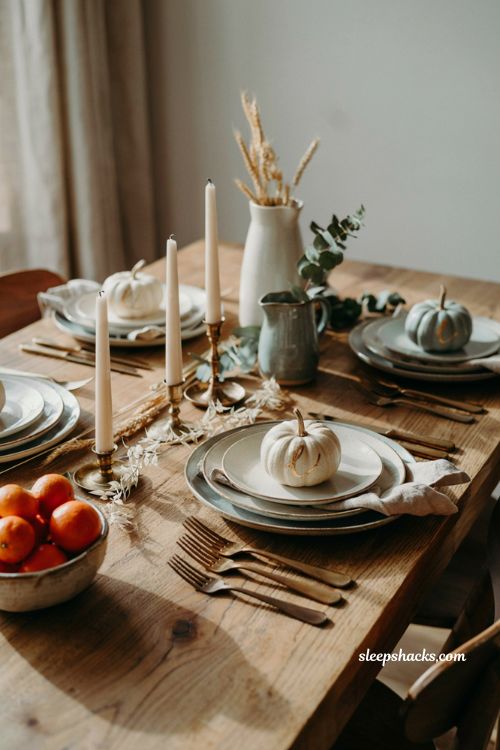
A single painted initial on a mini pumpkin makes an easy, personalized place card for a fall dinner table. Paint the whole pumpkin a solid neutral color like cream, sage, or dusty blue, then use a paint pen to write a guest’s initial directly onto the front once the base coat is fully dry. Adding a thin gold paint pen outline around the letter gives it a slightly more finished, elegant look. Since each pumpkin only takes a few minutes, this is a realistic project even for a dinner party with a dozen guests.
5. Mini Glitter Dip Pumpkin
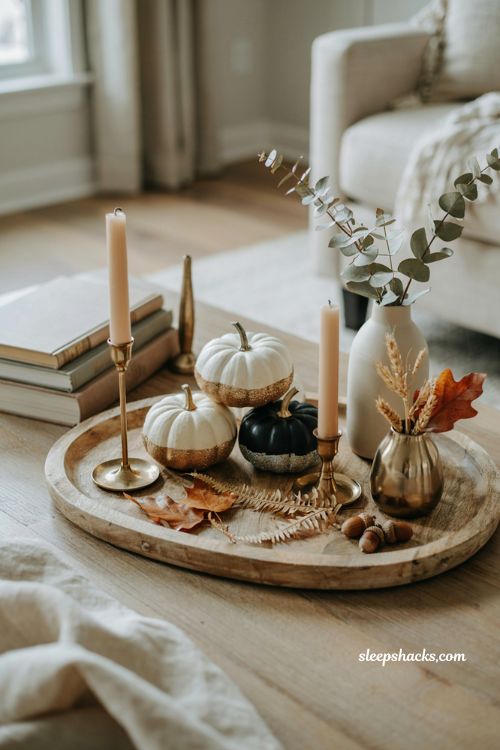
Dipping just the bottom third of a mini pumpkin in glitter gives it a glam, party-ready look without covering the whole thing in sparkle. Brush a layer of craft glue around the base of the pumpkin, then roll it through a shallow tray of fine glitter until the coated section is fully covered. Let it dry upright on a paper plate for at least thirty minutes before handling it again. Gold glitter on a white pumpkin base reads sophisticated, while silver on a black-painted pumpkin leans more dramatically Halloween.
6. Washi Tape Pumpkin
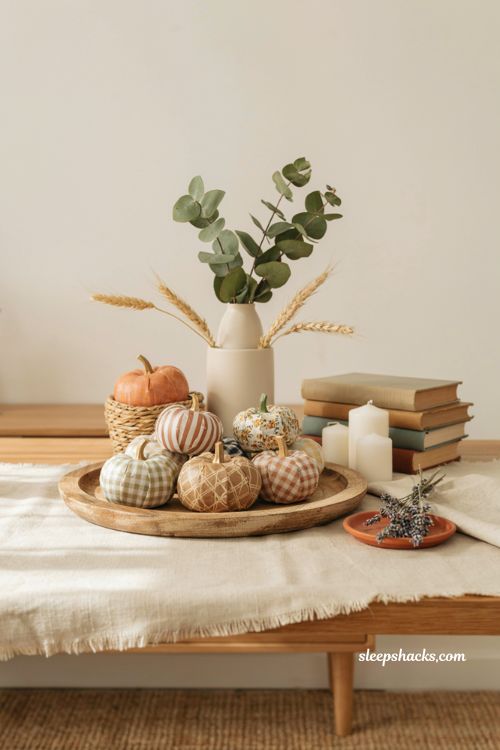
Washi tape is one of the easiest ways to decorate a mini pumpkin because there’s no drying time and no mess to clean up afterward. Wrap strips of patterned tape around the pumpkin in horizontal bands, vertical stripes, or a crisscross pattern, trimming the ends neatly at the top and bottom. Mixing two or three coordinating tape patterns on different pumpkins in the same grouping keeps the whole display feeling put-together. This idea is especially good for last-minute decorating or for kids who want to help without using paint.
7. Polka Dot Pumpkin
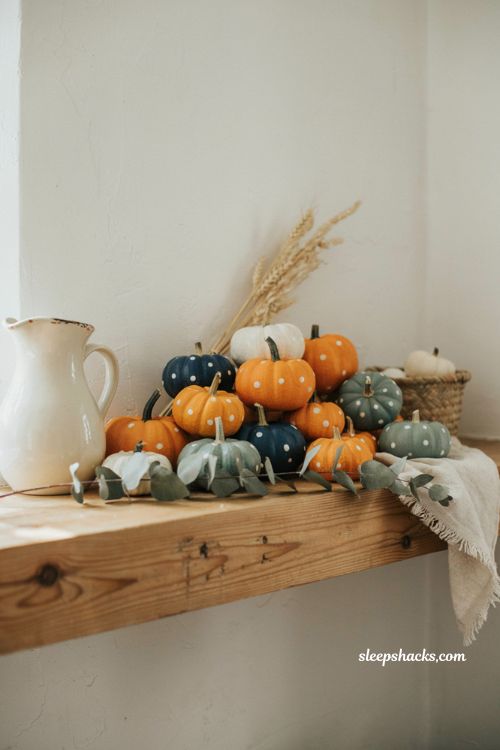
A cheerful polka dot pattern on a mini pumpkin is simple enough for a young kid to do but still looks intentional once it’s finished. Paint the pumpkin a solid base color first, then dip the eraser end of a pencil or a small round dowel into a contrasting paint color and stamp dots evenly across the surface. Varying the dot size slightly by using two different stamping tools adds a bit of visual interest instead of a perfectly uniform grid. White dots on a deep orange or navy pumpkin give the cleanest, most graphic look.
8. Number Pumpkin Countdown
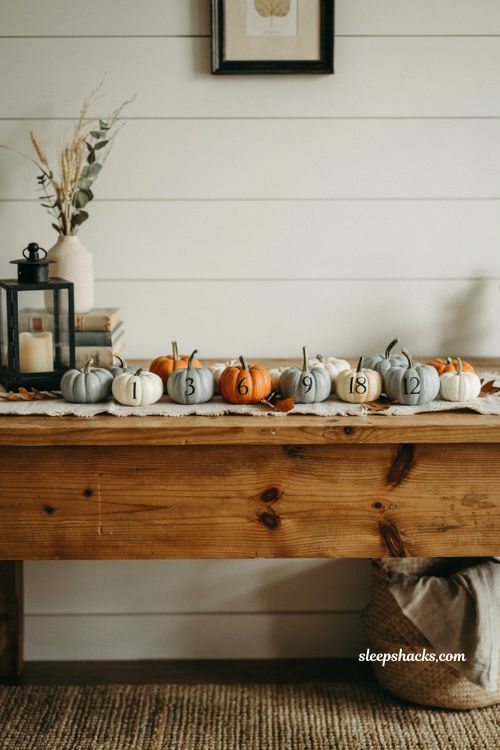
A set of mini pumpkins painted with numbers makes for a fun Halloween countdown display for kids leading up to the big day. Paint each pumpkin the same base color for consistency, then use a paint pen to write a single number on the front of each one, working backward from however many days you want to count down. Line them up in order along a windowsill or entry table where they’ll be seen daily. Kids especially enjoy the ritual of “checking off” or turning over a pumpkin each day as Halloween gets closer.
9. Mini Succulent Topper Pumpkin
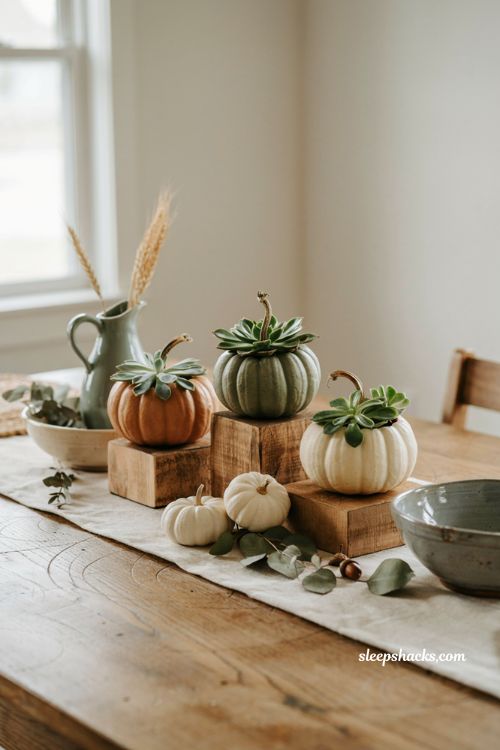
Turning a hollowed mini pumpkin into a tiny planter for a single succulent gives you a decoration that actually keeps growing after the season ends. Cut a small circle out of the top of the pumpkin, scoop out the seeds and pulp, and let the inside dry out for a day before adding a small potted succulent directly inside the opening. The pumpkin acts as a temporary decorative pot, and you can transfer the succulent to a real container once the pumpkin starts to soften. Grouping several of these at different heights makes an interesting little tablescape.
10. Candy Corn Stripe Pumpkin
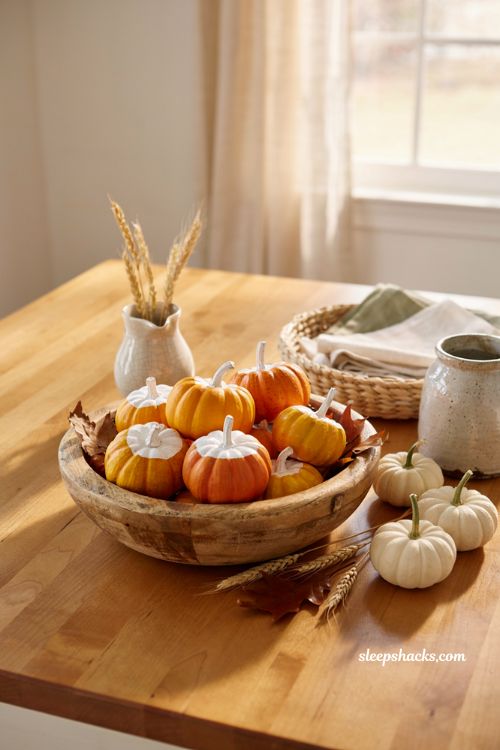
Shrinking the classic candy corn color-block design down to mini pumpkin size makes it quick enough to do a whole batch in one sitting. Paint the bottom third of the pumpkin in marigold yellow, let the natural orange middle section show through, and paint the very top and stem area bright white. Because the pumpkin is so small, the color transitions naturally look tighter and neater than they would on a full-size version. A cluster of these in a wooden bowl makes for one of the most recognizable, crowd-pleasing displays on this list.
11. Metallic Foil Pumpkin
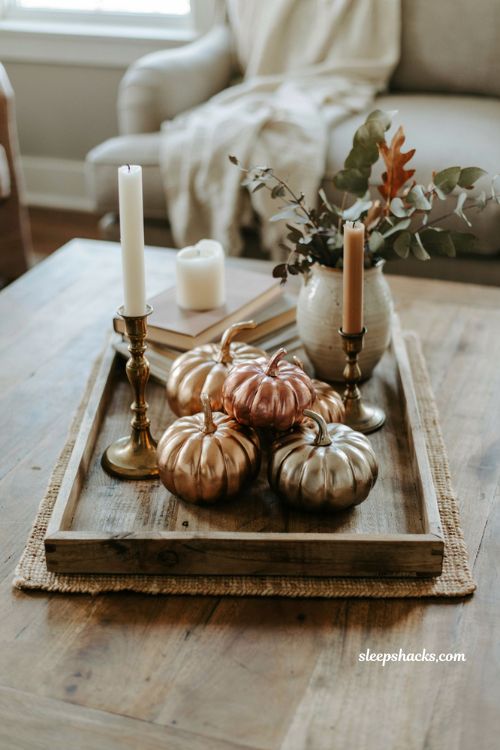
A mini pumpkin painted in a single rich metallic shade brings an elegant, almost jewelry-box quality to a fall vignette. Use a metallic spray paint in gold, copper, or pewter and apply two light, even coats outdoors or in a well-ventilated space, letting each coat dry fully before the next. Because the pumpkins are small, they dry fast and use very little paint per piece, making this an efficient project if you’re decorating a whole tray of them. Mixing two or three metallic tones together in one grouping keeps it from looking flat.
12. Marbled Nail Polish Pumpkin
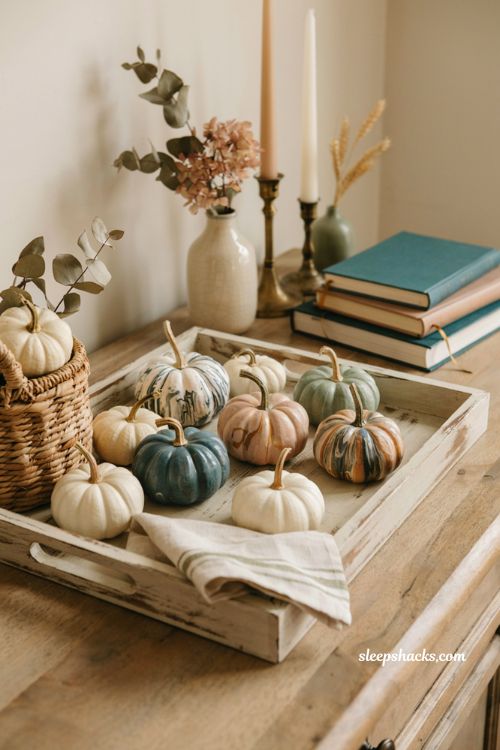
Believe it or not, leftover nail polish is one of the best supplies for marbling a mini pumpkin, since the polish sets up quickly in water and creates natural, swirling patterns. Fill a disposable container with room-temperature water, drop in a few colors of polish, swirl gently with a toothpick, then dip the pumpkin in and pull it back out in one smooth motion. Let it dry on wax paper for at least an hour before handling. Because each dip is unique, no two pumpkins in your batch will look exactly alike, which is part of the appeal.
13. Flower Crown Pumpkin
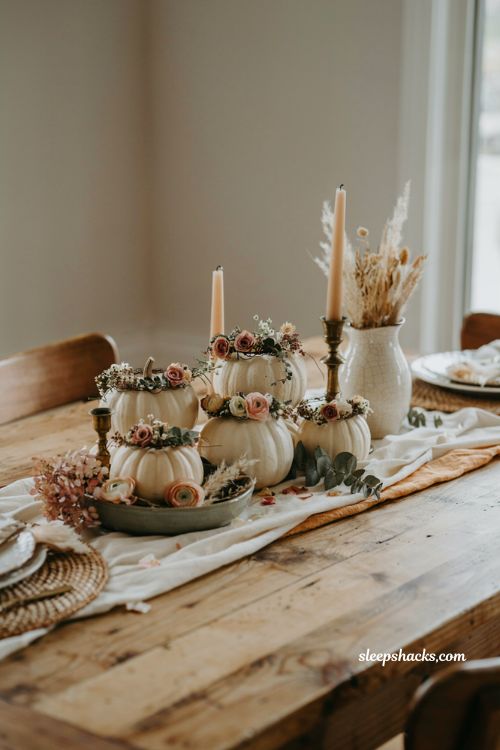
Wrapping a wire flower crown around the top of a mini pumpkin gives it an instantly pretty, almost bridal-shower quality that works beautifully for a fall gathering. Twist a short length of floral wire into a loose circle sized to fit around the pumpkin’s stem, then hot glue small silk flowers and greenery around the wire until it’s fully covered. Slip the finished crown over the stem so it sits naturally at the base of the leaves. This idea pairs especially well with white or cream mini pumpkins for a soft, romantic look.
14. Mini Emoji Pumpkin
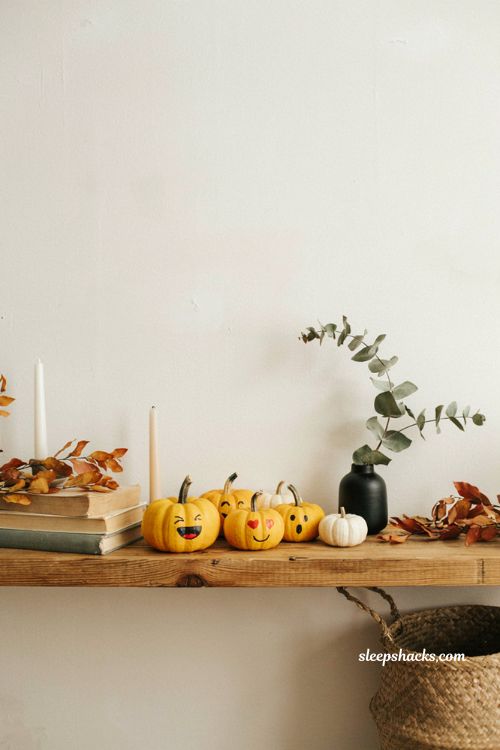
Painting a favorite emoji face onto a mini pumpkin is a fast, funny project that both kids and adults tend to enjoy picking out together. Paint the pumpkin bright yellow as the base, then use a fine paintbrush or paint pen to add simple black eyes and a mouth shape matching whichever expression you’re going for, whether that’s laughing, winking, or the classic heart eyes. Because mini pumpkins are so small, even a slightly wobbly line still reads clearly from a few feet away. A row of different expressions lined up together makes for a genuinely funny little display.
15. Place Card Pumpkin
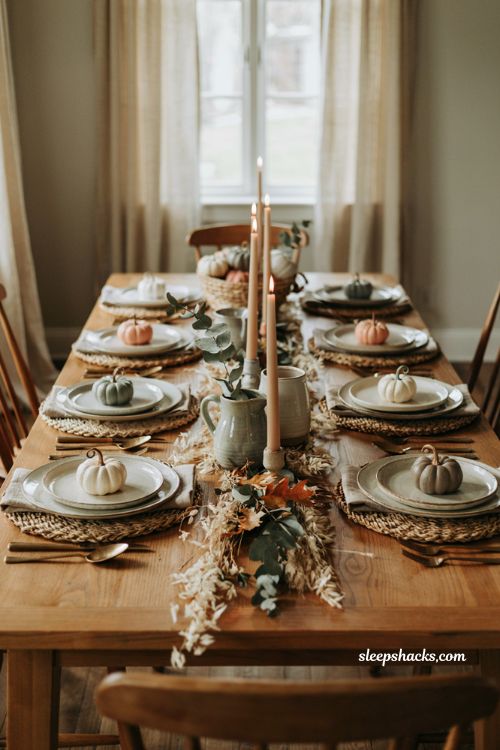
Skip printed name cards entirely and use tiny painted pumpkins as place markers for a fall dinner or Thanksgiving table instead. Paint each pumpkin a soft neutral shade, then write a guest’s name directly across the front using a fine-tip paint pen once the base coat is dry. Setting one pumpkin at each place setting gives the table a cohesive, intentional look without much added cost. After the meal, guests can even take their pumpkin home as a small parting favor.
Final Thoughts
The best part about decorating mini pumpkins is how forgiving the whole process is — a wobbly line or an uneven dot of paint barely registers at this scale, so there’s really no way to mess it up too badly. Grab a handful of pumpkins from wherever you usually pick them up, set out just two or three colors of paint, and let yourself knock out a handful of quick designs in one sitting. Mixing several of these ideas together in one grouping almost always looks better than making six identical ones. What would your table look like with a little row of these lined up across it?
Frequently Asked Questions
Q: How long do painted mini pumpkins typically last?
Painted mini pumpkins usually last three to four weeks before starting to soften, especially if kept somewhere cool and out of direct sunlight.
Q: What paint works best on mini pumpkins?
Acrylic craft paint works best on mini pumpkins since it’s easy to control on a small surface and dries quickly between coats.
Q: Can you use real mini pumpkins or should you use faux ones?
Real mini pumpkins work great for short-term display, but faux versions are a better choice if you want to reuse your painted designs year after year.