

A watercolour card that looks slightly wobbly usually wins over a perfect one. The soft edges, the bleeding colour, and the odd uneven line are exactly what make a handmade card feel warm instead of printed.
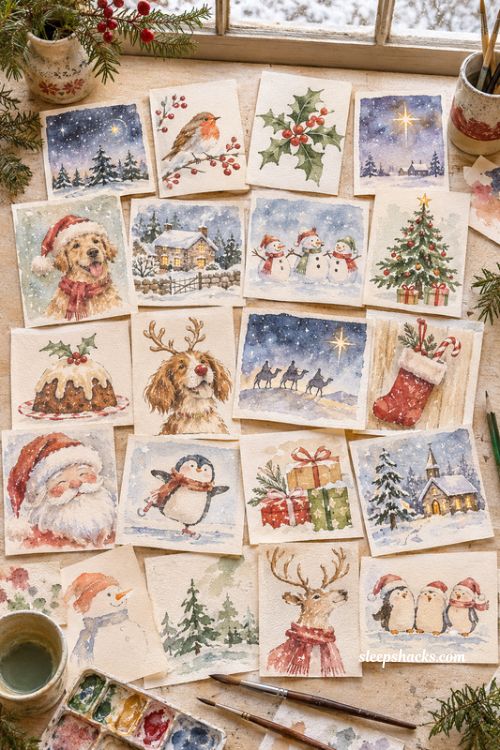
That is good news if you are not a confident painter. These 16 watercolour Christmas cards ideas cover easy winter skies, robins, holly, dogs, funny puns, and kid-friendly options, with plain advice on what to paint and what you need. Every idea says how hard it is, roughly how long it takes, and who it suits, so you can choose a few designs and have a stack of cards ready before the post goes out.
1. Easy Wet-on-Wet Winter Sky Card
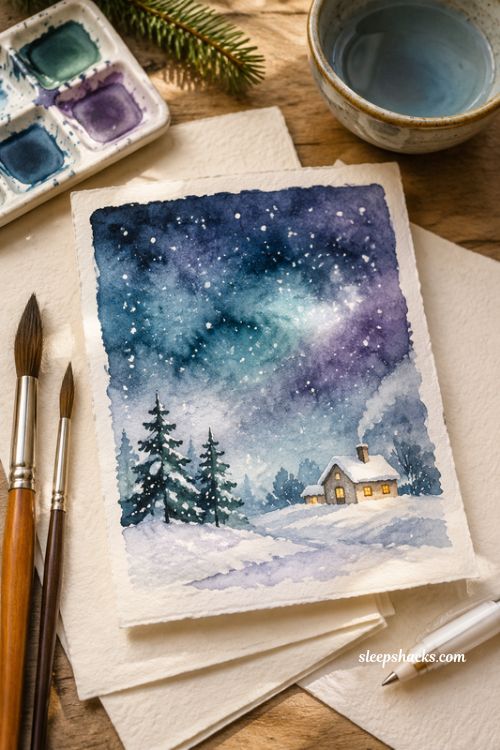
Wet the whole card panel with clean water, then drop in navy, teal, and a touch of violet so the colours melt into a glowing night sky. Leave a few white paper gaps as clouds or snowflakes. The result is a soft, dreamy background that needs almost no drawing skill.
This is the easiest card here, taking about ten minutes plus drying time. Use thick watercolour paper so it does not buckle, since around 300gsm is a safe choice. It suits total beginners and anyone who wants a base for white ink stars or a handwritten message.
2. Watercolour Christmas Tree Card With Painted Triangles
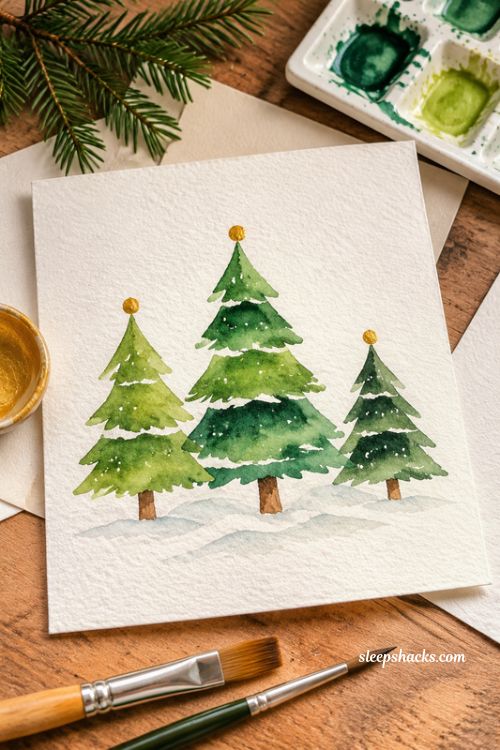
Paint three or four stacked triangles in layered greens, each with a slightly wobbly edge and a different shade, from yellow-green to deep pine. Add a tiny brown trunk and a gold dot on top. Leave small gaps between the layers so the paper shows through like snow.
Triangles are forgiving, so this works for people who say they cannot draw. A flat brush makes quick, clean strokes, and a round brush handles the trunk. It takes about fifteen minutes. A row of three trees in different sizes makes a charming variation, and the card still looks good when the shapes do not match.
3. Holly Leaves and Red Berries Card
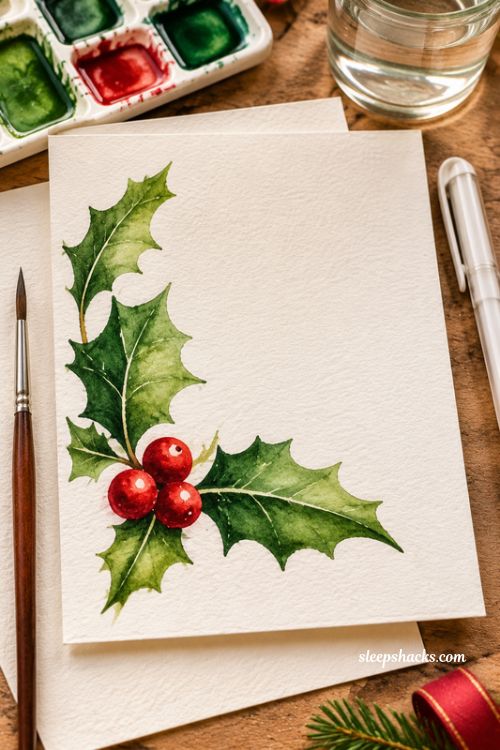
Paint pointed, glossy leaves in deep green, leaving a thin white line down the centre of each one for the vein. Cluster three round berries in bright red, then add a tiny spot of white highlight once dry. Keep the leaves loosely grouped in one corner instead of filling the whole page.
Holly is a classic that looks good even with simple brushwork. Let the first colour dry before adding a darker shade along one side, which gives the leaves depth. It is a medium-easy design for people with a little practice, and it takes about twenty minutes. A white gel pen helps with the highlights.
4. Robin on a Branch Card
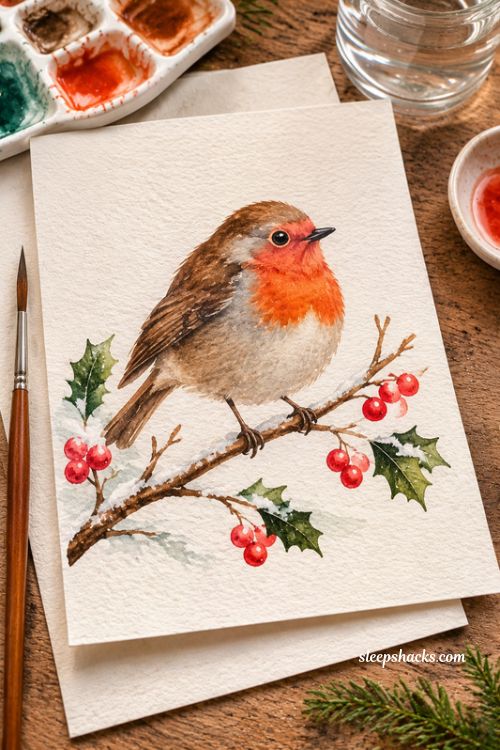
Start with a small round body in warm brown, then add an orange-red breast, a tiny dark eye, and a short beak. Place the bird on a thin twig with a few berries or snowy leaves beside it. The robin should look plump and fluffy, as if puffed up against the cold.
Birds seem hard, but a robin is basically a circle with a smaller circle for a head. Practise on scrap paper first, and use a fine brush for the eye and legs. Allow around thirty minutes. This suits confident beginners, and card receivers will recognise it as a seasonal favourite right away.
5. Painted Wreath Card With Loose Leaves
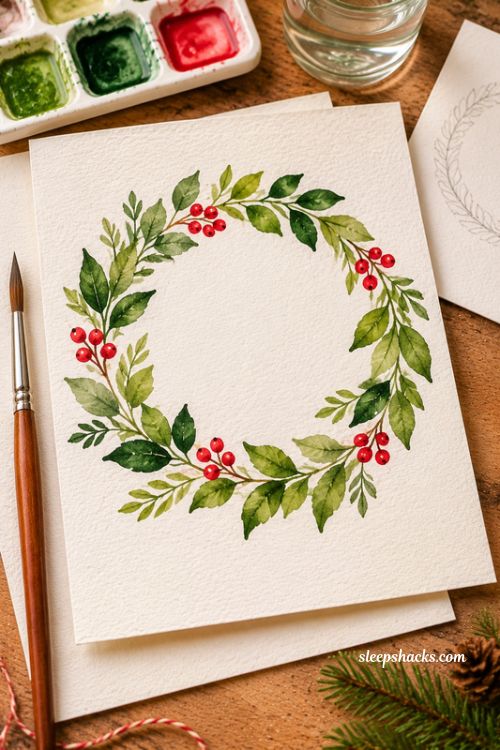
Paint a ring of loose leaves in three different greens, working around a circle with small dabs of the brush. Add a few red berries and leave a clear centre for a message. The leaves should vary in size and angle, which keeps the wreath airy instead of stiff.
Draw a faint pencil circle first as a guide, and turn the card as you paint so each stroke stays comfortable. It takes about twenty minutes. This design suits anyone who wants space to write a note, since the empty centre holds a greeting or a name nicely.
6. Glowing Christmas Lights String Card
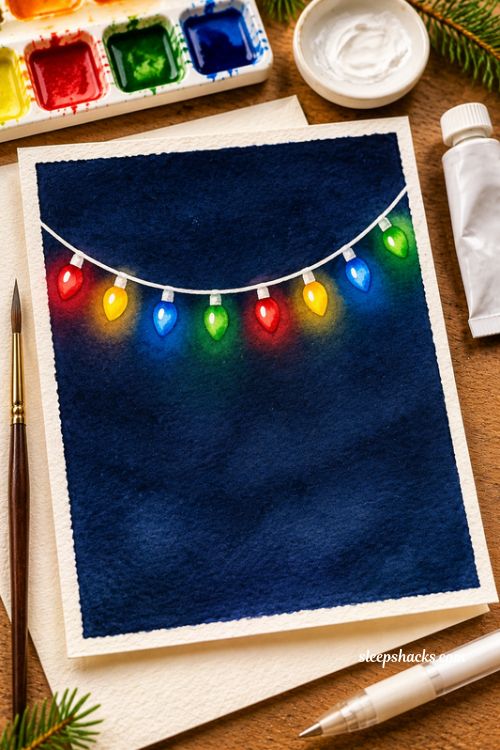
Paint a dark navy background and let it dry fully. Then draw a drooping string across the card with white gouache or a gel pen, and add small bulbs in red, gold, blue, and green along it. A tiny pale halo around each bulb makes the lights look as if they glow against the night.
Opaque paint is the key, since regular watercolour will not show up on a dark background. Simple dots and small teardrops are all you need. It takes around twenty-five minutes. It is a cheerful pick for teachers and friends, and it photographs nicely if you want to share it.
7. Dog in a Santa Hat Card
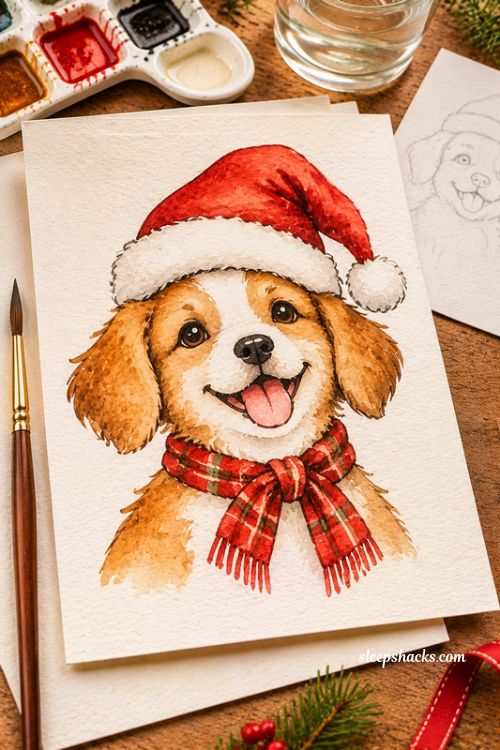
Paint a dog’s face in simple shapes: a rounded head, two floppy ears, a dark nose, and two bright eyes, topped with a red hat and a white pompom. Pick the colours of your own dog or a favourite breed. A tiny scarf or bow adds personality.
The trick is to keep shapes simple instead of chasing realism, since a cute cartoon dog reads clearly even when the lines are loose. It takes about thirty minutes. This is a good choice for dog owners sending cards to family, and you can swap the hat for antlers. Sketch lightly in pencil first to get the proportions right.
8. Funny Pun Card With Painted Doodles
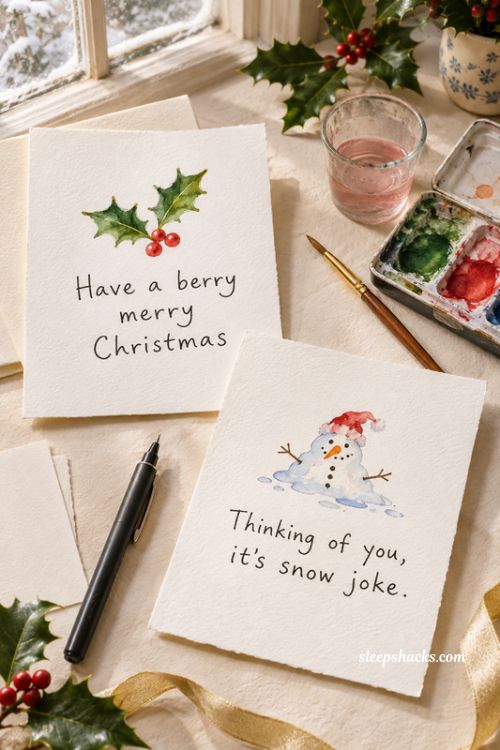
Pair a small painted picture with a silly line. A holly leaf can carry “Have a berry merry Christmas”, and a tiny melting snowman can say “Thinking of you, it’s snow joke”. Keep the painting small and bright, with space around it for handwriting.
These cards rely on the joke more than the art, so even rough painting works. They take about fifteen minutes. They suit friends, coworkers, and anyone who dislikes sentimental verse. Write the pun in waterproof ink after the paint dries, or the words may smear.
9. Kid-Friendly Fingerprint and Splatter Card
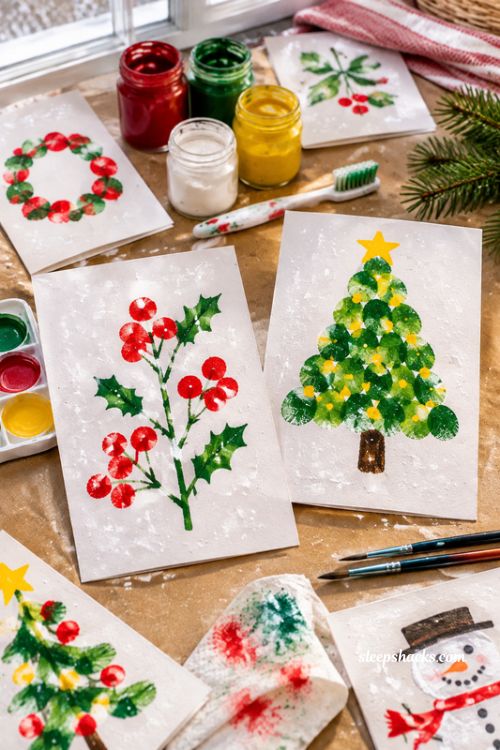
Let children dip a fingertip in red paint to make berries, or in green to make a fingerprint tree dotted with yellow lights. A flick of white paint from an old toothbrush gives a snowy splatter across the background. The finished card looks bold, bright, and gloriously uneven.
This is the messiest idea here, so cover the table and use washable paints. It takes about twenty minutes, and kids aged three and up can manage it with a little help. It suits classroom groups and family afternoons, and grandparents are bound to treasure the results.
10. Salt Texture Snowflake Card
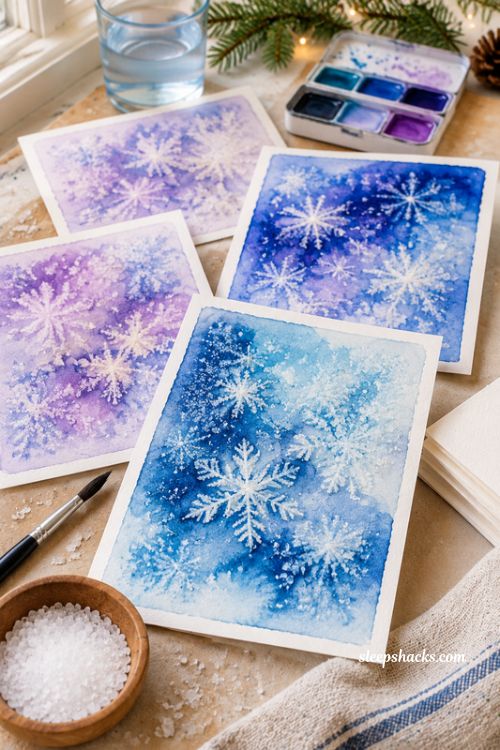
Paint a wet wash of blue or purple, then sprinkle coarse salt over it while the paint is still shiny. As it dries, the salt pushes the colour away and leaves pale starburst patterns that look like falling snowflakes. Brush off the grains once the paper is fully dry.
It feels like magic, and the card does most of the work. Timing matters, because salt added to dry paint does nothing. Plan on about ten minutes of painting and an hour of drying. This suits beginners and children, and every card turns out different, so no two look alike.
11. Snowy Pines With Masking Fluid or Wax Resist
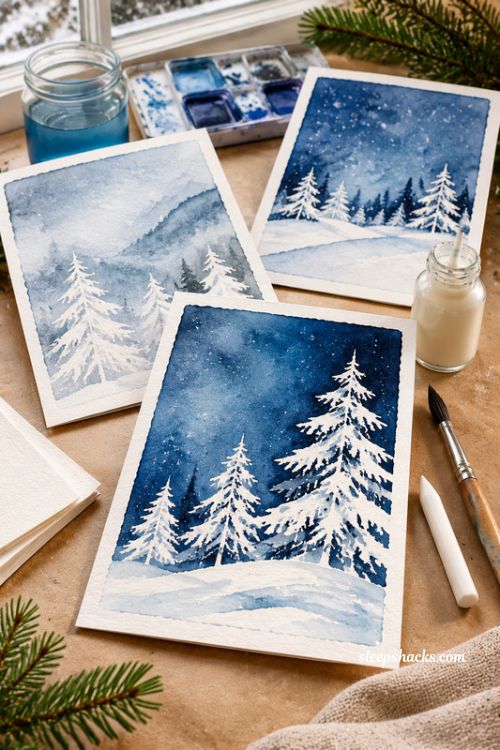
Before painting, draw snow-topped pine trees with masking fluid or a white wax crayon, then wash a deep blue or grey sky over the top. When you peel off the fluid, crisp white trees and snow appear against the colour. The contrast looks sharp and almost professional.
Masking fluid costs a little extra and can ruin a good brush, so use an old one. A white wax crayon is cheaper and works for rougher shapes. Allow about thirty minutes plus drying time. It suits crafters who want a showpiece card and are happy to try a new technique.
12. Pinecone and Evergreen Sprig Card
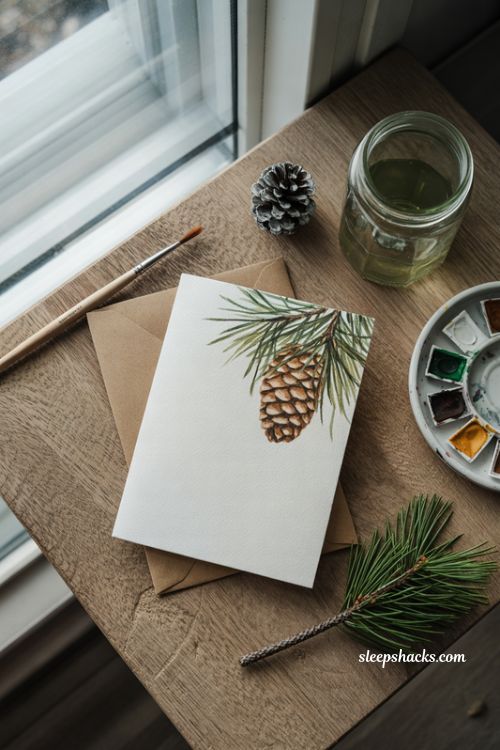
Paint a brown pinecone with overlapping scales, using short curved strokes and a darker brown for shadows. Add a sprig of evergreen needles behind it, with thin green lines fanning outward. Keep the whole picture in one corner of the card and leave the rest bare.
The overlapping scales are easier than they look, since you only repeat a small scoop shape. It takes about twenty-five minutes. This design suits people who like natural, woodland styles and a muted palette, and it pairs well with brown kraft card for a rustic touch.
13. Gold Star and Watercolour Wash Card
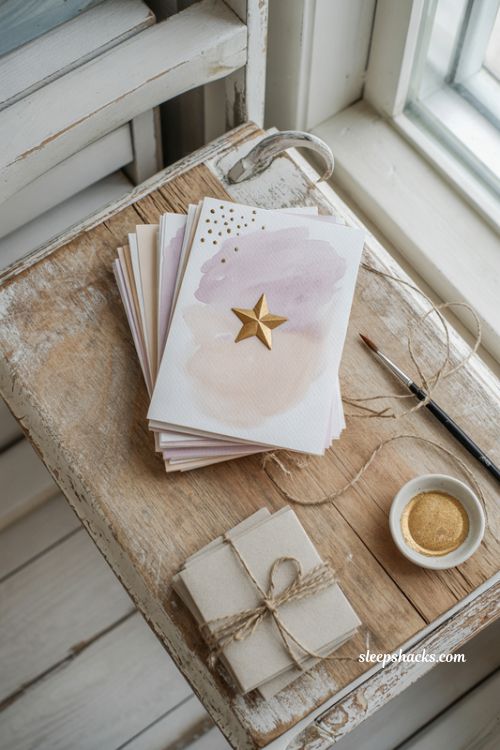
Paint a soft blush pink or lavender wash across the card, then add a single gold star in the upper corner using metallic paint or a gold pen. The star should be slightly tilted, with a few tiny dots around it. The effect is quiet, elegant, and calm.
Metallic paint shows best on dry colour, so wait until the wash is completely dry. A set of cards in different pastel shades looks lovely tied together with twine. It takes about fifteen minutes, and it suits people who prefer an understated look over traditional bright red and green.
14. Cosy Cabin Window Scene Card
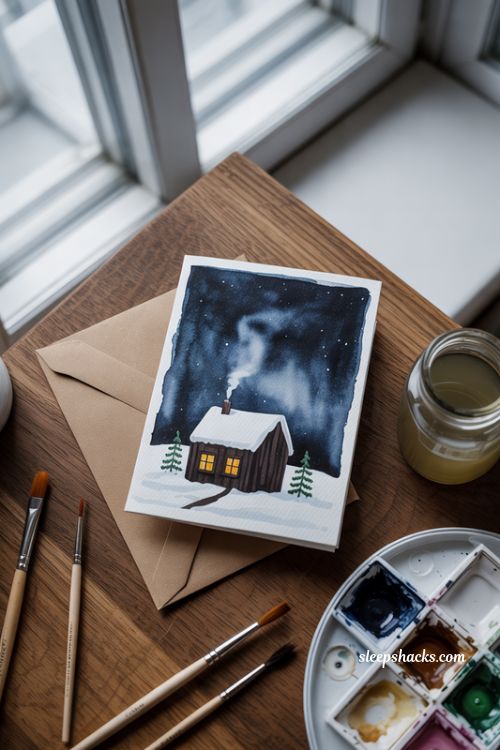
Paint a small dark cabin shape with a glowing yellow window, a snowy roof, and a couple of tiny pines beside it. The warm window against a cold blue night sky is the heart of the picture. Add a faint trail of smoke curling from the chimney.
Paint the sky first, let it dry, then add the cabin in dark brown. Use gouache or opaque yellow for the window so it shines through. At about forty minutes, it is one of the longer ideas here. It suits painters with some practice who want a card people will keep on the mantel.
15. Cute Snowman With a Striped Scarf
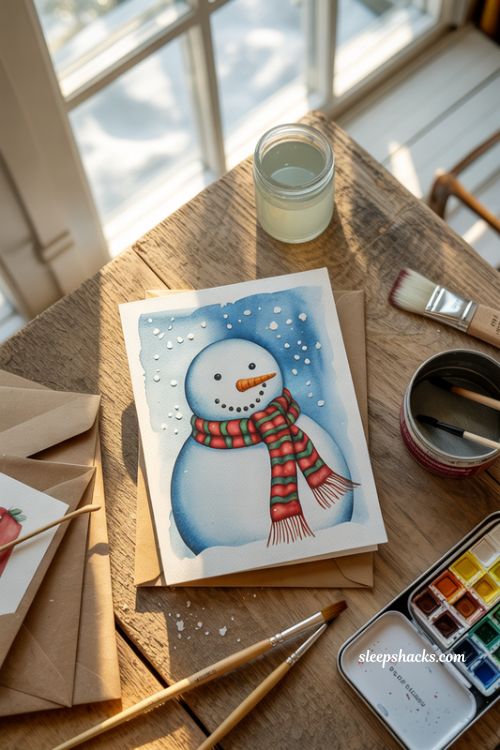
Paint two or three round shapes in pale blue-grey shading, leaving the paper white in the centre. Add coal eyes, a carrot nose, and a bright striped scarf trailing in the wind. A scatter of snow dots around him makes it look like he is standing in a flurry.
Because the snowman is white, paint the sky behind him so he stands out against it. The cartoonish shapes make this a friendly design for beginners and kids. It takes around thirty minutes. Give him a different scarf on each card, and the set will have its own personality.
16. Big Sheet Batch Painting for Many Cards
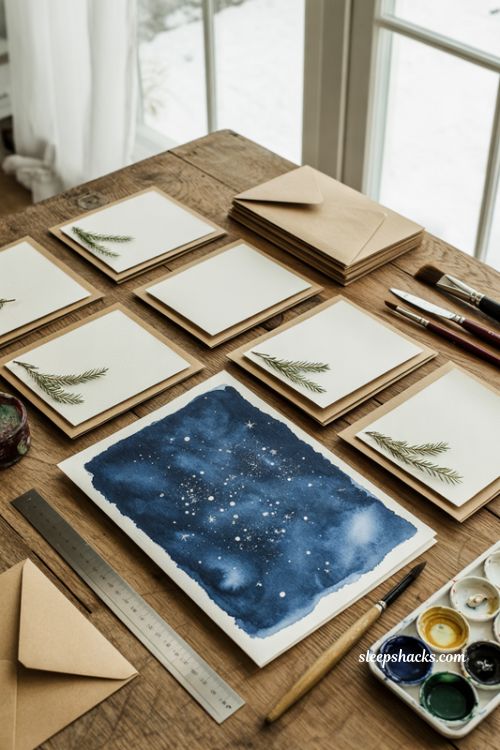
Paint one large watercolour sheet, like a speckled night sky with scattered stars or a field of simple green sprigs, then cut it into six or eight card fronts. Glue each piece onto folded cream card, leaving a plain border showing. The batch looks consistent but never identical.
This saves hours when you have a long list to write. One painting session makes enough fronts for a whole street of neighbours, and you only clean your brushes once. It suits anyone sending twenty or more cards. Use a ruler and a sharp craft knife for neat edges.
Final Thoughts
Why do handmade cards stay on shelves long after the shop-bought ones go in the recycling? Maybe it is the small flaws, or maybe it is knowing that someone sat down with a brush and thought about you for an hour.
Whatever the reason, a painted card carries time and attention that no printed one can match. Even the wobbliest robin does that job well. And the person who opens it will probably never notice the wobble, only the care.
Frequently Asked Questions
Q: What paper is best for watercolour Christmas cards?
Thick cold-press watercolour paper, around 300gsm, holds water well and stops the card from buckling, and you can cut and fold it to card size.
Q: Do I need expensive paints to make watercolour Christmas cards?
No. A basic pan set, one round brush, and a flat brush are enough for most of these designs, and a white gel pen and gold pen add the finishing touches.
Q: How do I stop my watercolour card from warping?
Tape the paper edges to a board while you paint, use less water, and press the card flat under books once it is fully dry.