

Here’s something most people don’t expect: the priciest antique paper mache pumpkins in vintage shops are usually the ugliest ones — the creepier and rougher the jack-o-lantern face, the higher the price tag.
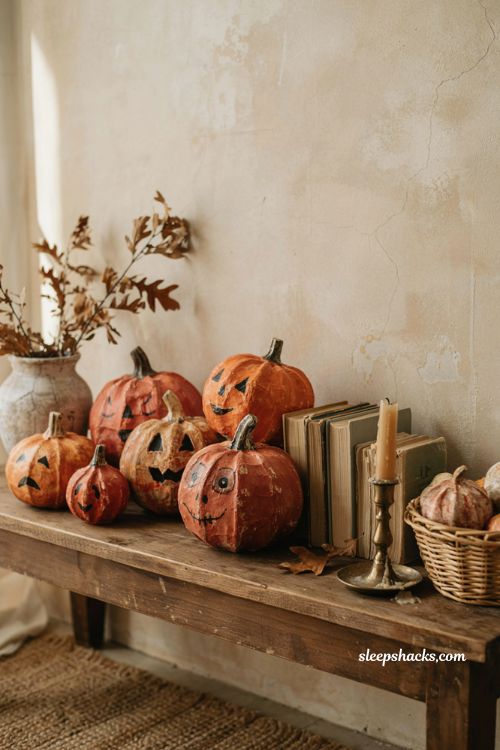
Perfect and cheerful just doesn’t carry the same charm as something that looks like it survived seventy Halloweens in someone’s attic. That’s really the whole appeal of vintage pumpkin decor. It’s not about buying the shiniest new thing, it’s about chasing that worn, slightly imperfect look that makes a piece feel like it has history behind it, even if you made it yourself last weekend. These fifteen ideas will get you there, from full paper mache builds to small styling tweaks.
1. Transform a Plastic Pumpkin Into Paper Mache
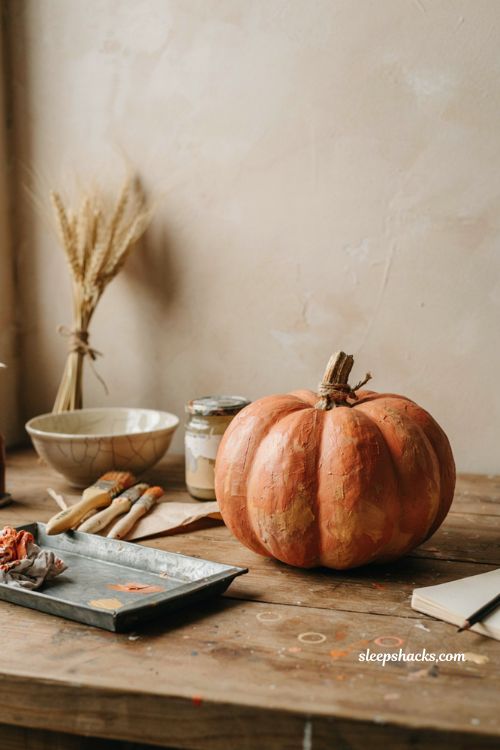
A dollar-store plastic pumpkin is the easiest starting point for this whole style, and nobody will guess where it came from once you’re done. Clean off any manufacturing residue with a grease-cutting dish soap first, since paint won’t stick properly to an oily surface. From there, a coat of primer gives the next layers something to grip onto. The real transformation happens once you start building up thick, textured paint on top — that’s what fakes the look of layered newspaper strips without any actual mess.
2. Build Texture With a Thick Paint Additive
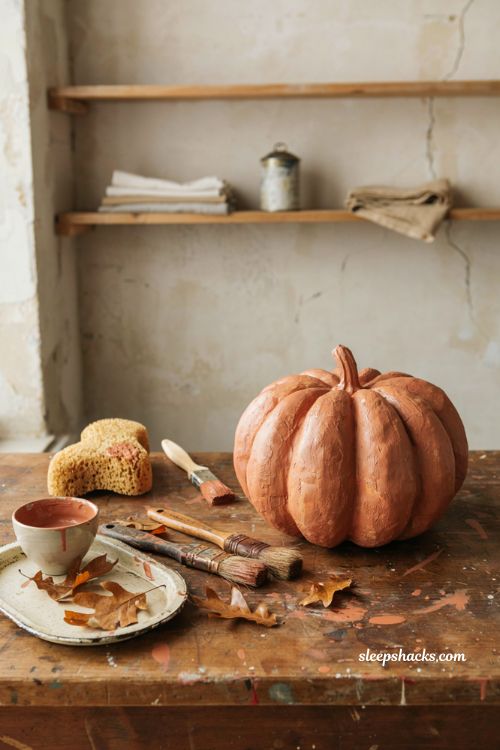
Regular paint goes on too smooth and flat to read as paper mache, so mix it with a texturizing powder or paste additive to thicken it up first. Apply it with a sponge or foam brush, pouncing rather than brushing, so you build up little peaks and valleys across the surface. Cover the whole pumpkin in one pass, then let it dry before deciding if it needs a second coat. This one step does more to sell the vintage illusion than almost anything else in the process.
3. Knock Down the Texture Before It Fully Dries
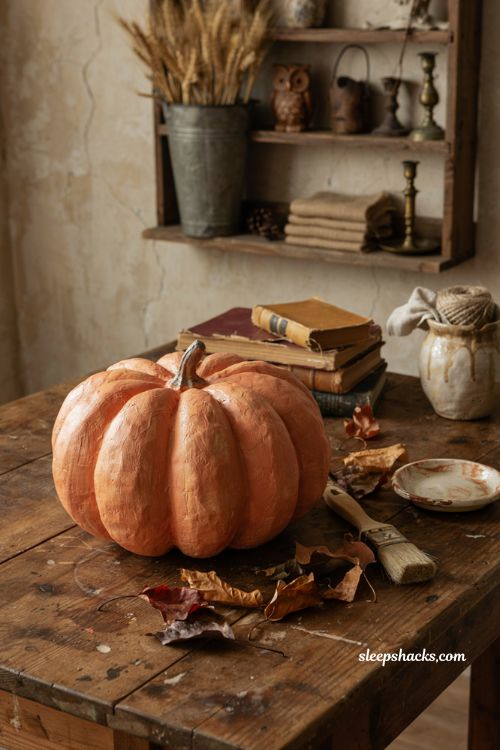
Right before your first textured layer sets completely, go back over it lightly with a clean foam brush and flatten some of the peaks. This small step keeps the surface from looking too uniform or foam-like, and instead gives it more of a crusty, weathered finish. It’s a subtle move, but it’s the difference between a pumpkin that reads as “textured paint” and one that reads as genuinely old. Do this in one light pass — pressing too hard will just smooth the surface back out.
4. Shade With a Muted, Earthy Palette
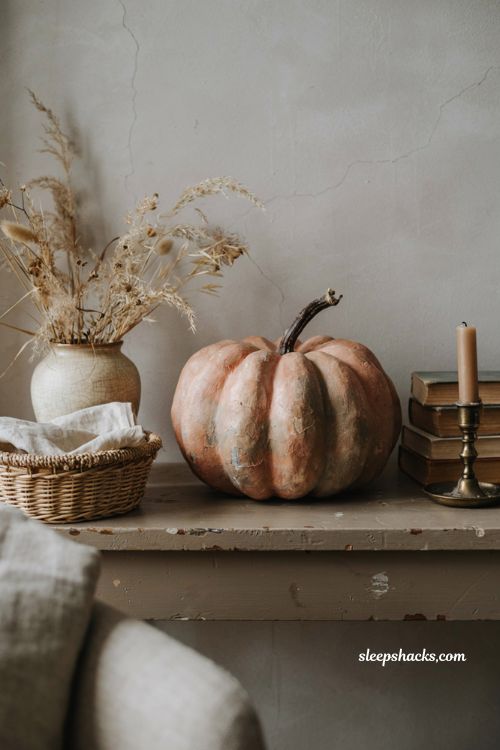
Skip the bright, saturated orange most modern pumpkins come in and reach for something more muted — a dusty terracotta with a touch of green worked into the base gives it that faded, sun-worn look real antiques develop over decades. Pounce the colors together where they meet instead of drawing a hard line, so the transition looks gradual rather than painted-on. A grayish undertone layered underneath the orange, peeking through in spots, adds even more age to the finished piece.
5. Sand the Surface for an Aged Finish
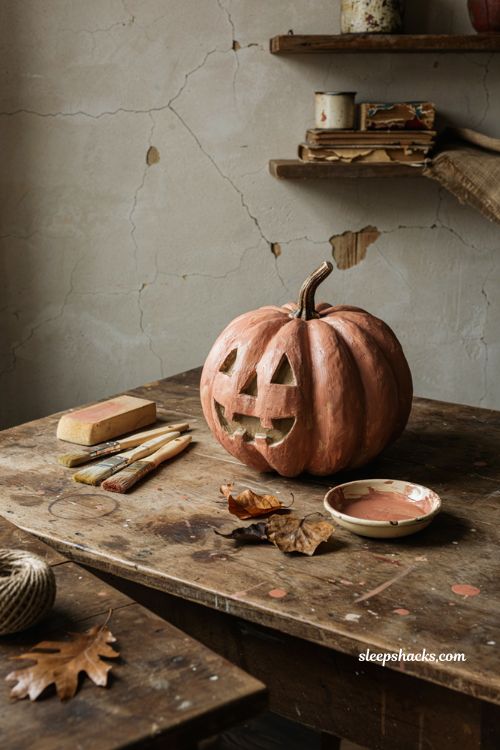
Once your paint layers are completely dry, go over the pumpkin with a sanding block in a few strategic spots — the raised ridges, the areas around the face, anywhere that would naturally wear down first on a real antique. This lets the layer underneath show through just slightly, which does more to convince the eye of real age than the paint job alone. Keep it light and uneven rather than sanding every inch evenly, since real wear never happens in a perfectly consistent pattern.
6. Finish With Dark Wax or a Wash
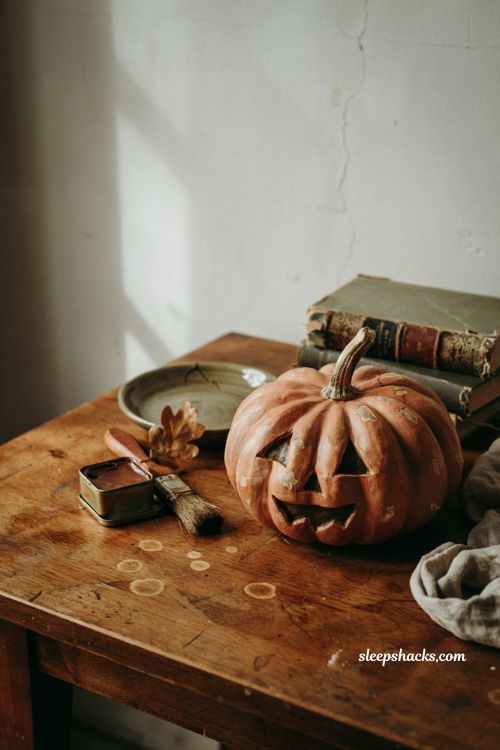
The very last step is what pulls the whole look together — a dark wax rubbed into the grooves and crevices, then wiped back off the raised surfaces, mimics decades of dust and handling settling into the details. No wax on hand? A thinned brown paint wash does nearly the same job when brushed on and wiped back. Either way, this step is what separates a nice paint job from something that actually looks like it’s been sitting on a shelf since the 1930s.
7. Add Dimension With Foil Before You Mache
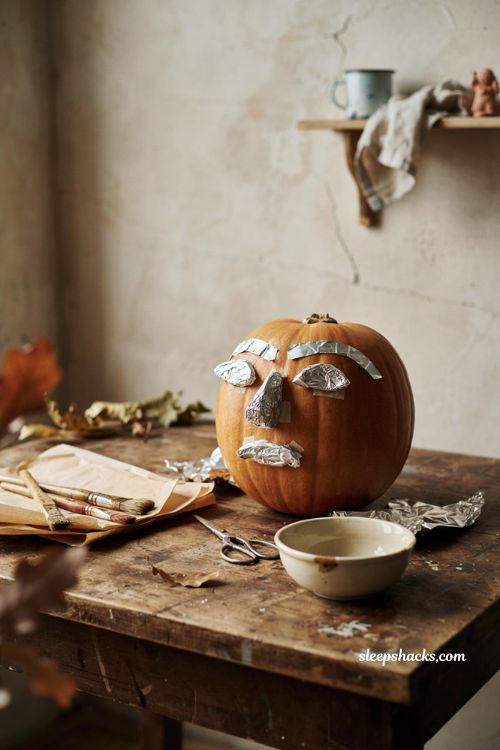
For an even more sculptural, lumpy vintage face, roll small pieces of aluminum foil into shapes and tape them onto the pumpkin where you want eyebrows, under-eye puffiness, or a crooked nose. This gives the paper mache layer something three-dimensional to wrap around, instead of a flat surface, which is what makes those old-fashioned pumpkin faces look so expressive. It’s an easy step for kids to help with too, since there’s no real way to mess up a rolled-up piece of foil.
8. Layer Torn Paper Towel Strips Over the Shape
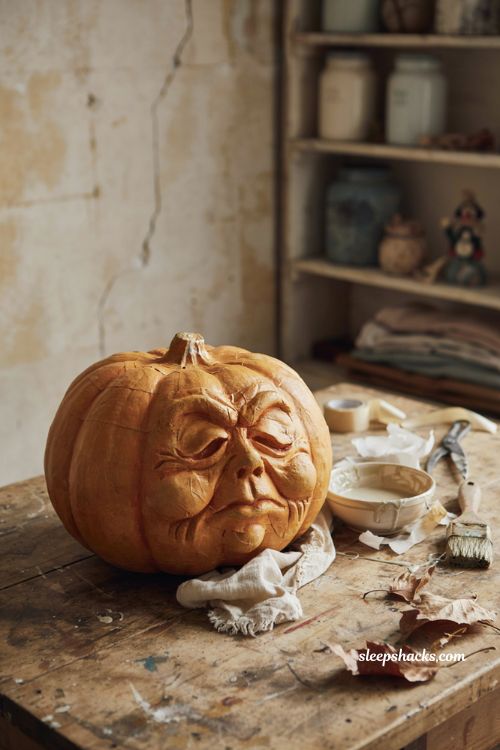
Dip torn paper towel strips into diluted glue, then smooth them over the entire pumpkin, pressing into every crevice so the texture picks up the dimension underneath. One full layer is usually enough for a good vintage look, though a second adds more chunk if you want it. Don’t stress about smoothing out every wrinkle as you go — a few leftover creases actually read as age once the whole thing is painted, so a slightly imperfect application works in your favor here.
9. Paint Rosy Cheeks and a Glowing Face
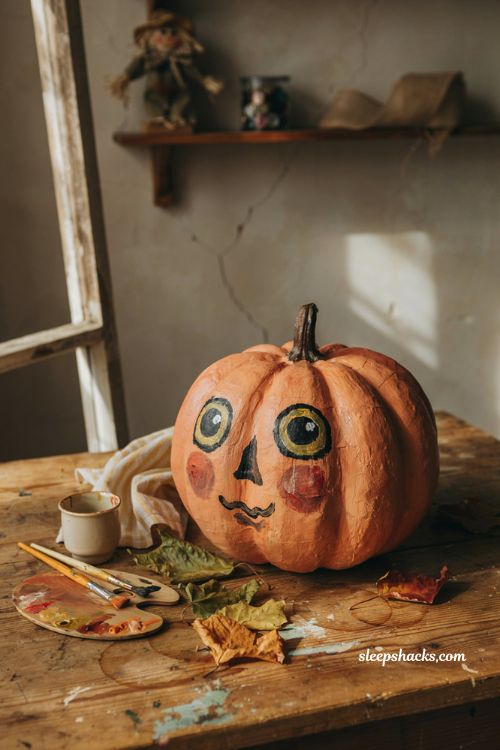
The little details are what make a vintage pumpkin face feel warm instead of just spooky. A soft blend of red, orange, and white dabbed onto the cheeks gives it that flushed, old-fashioned look, while a ring of yellow around the eyes creates a subtle glow effect. Outline the mouth, eyes, and nose in black once everything else is dry, then add small white highlights to the eyes for a bit of sparkle. These finishing touches take minutes but make the biggest difference in personality.
10. Recreate a Classic Retro Jack-O-Lantern Face
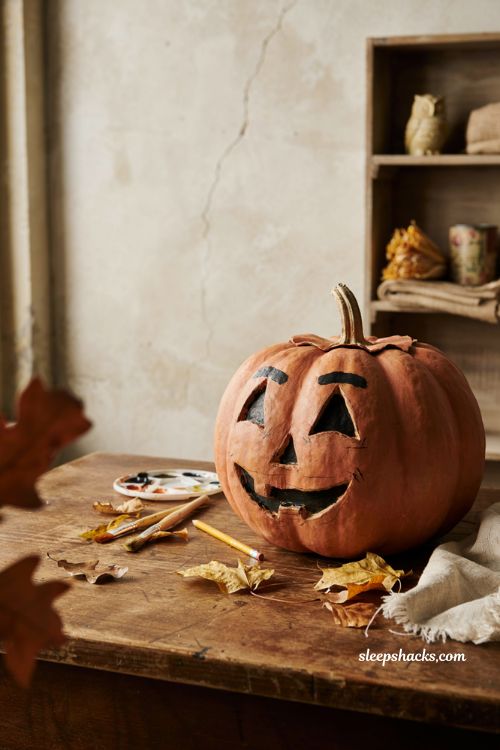
Vintage pumpkin faces tend to lean toward simple, exaggerated shapes — triangle eyes, a jagged toothy grin, thick painted eyebrows — rather than the intricate carved designs popular today. Sketch the face directly onto your paper mache surface with pencil before committing to paint, so you can adjust the proportions until it looks right. A slightly lopsided or asymmetrical face actually reads as more authentic here, since hand-shaped antiques were rarely perfectly even to begin with.
11. Style a Vintage Pumpkin as a Candy Bucket
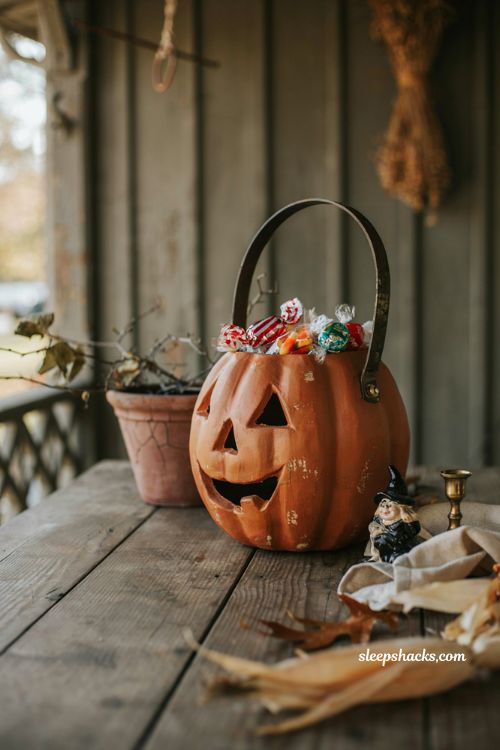
Beyond static display pieces, a hollowed pumpkin with a handle attached makes a charming vintage-style trick-or-treat bucket. Cut the face out before you start the mache and painting process, and leave enough of an opening at the top to actually hold candy. This version doubles as a functional piece rather than pure decor, and it tends to get more attention on a porch table than a purely decorative pumpkin would, since kids recognize exactly what it’s for.
12. Group Pumpkins With Antique Books and Candles
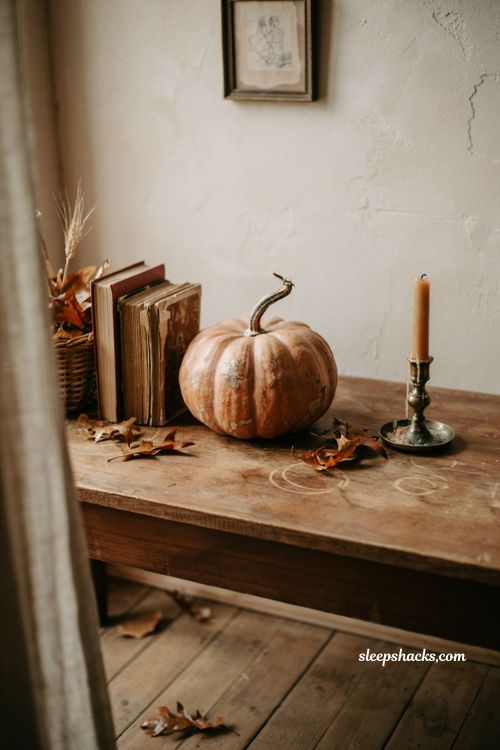
A single vintage pumpkin can look a little lonely on its own, so build a small vignette around it instead. A stack of old hardcover books, a taper candle in a worn brass holder, and a scattering of dried leaves turn one pumpkin into a full scene. Keep the color palette limited to warm neutrals and muted oranges so nothing competes with the pumpkin itself for attention, and place the whole grouping somewhere with good natural light so the texture actually shows.
13. Mix In Vintage Illustrated Pumpkin Art
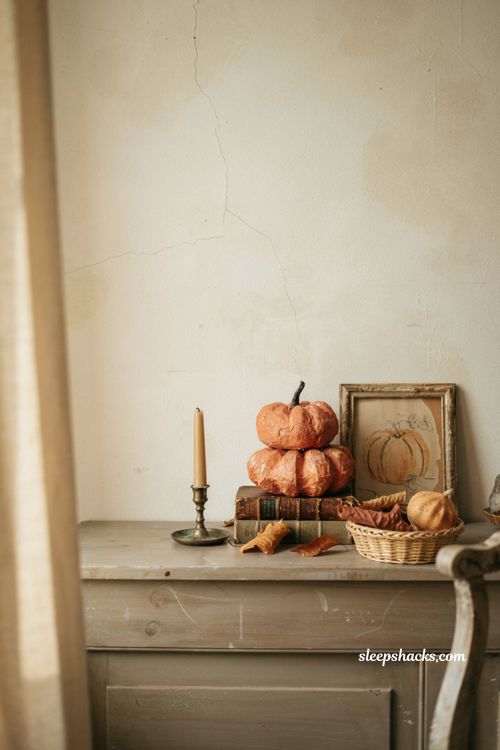
Framed prints or postcards featuring old-fashioned pumpkin illustrations, the kind with hand-drawn linework and a slightly faded color palette, pair beautifully with your physical paper mache pieces. Lean a small framed print against a stack of your painted pumpkins rather than hanging it, which keeps the display feeling layered and collected rather than staged. This is an easy way to round out a vintage tablescape without needing to make more pumpkins than you actually have time for.
14. Bring In Wheat and Harvest Textures
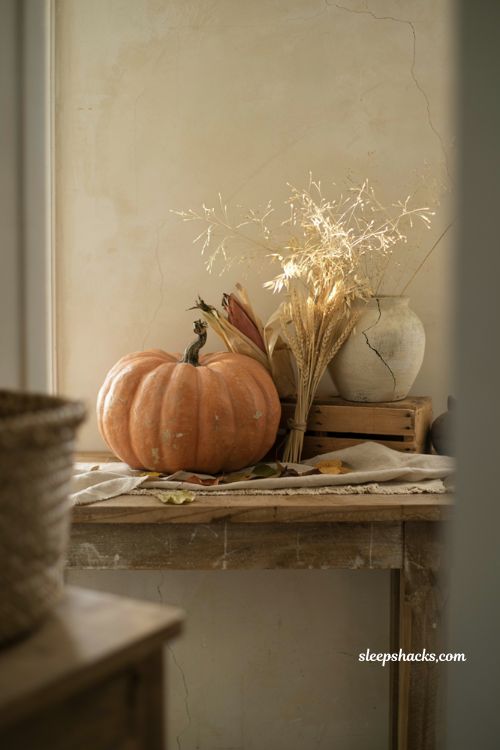
Real antique pumpkin decor rarely stood alone — it usually shared space with wheat bundles, dried corn, and other harvest staples from the same era. Tuck a small bundle of wheat or dried grasses next to your pumpkin display for that same farm-stand feeling. The contrasting textures, smooth painted pumpkin against rough dried stalks, keep the eye moving across the display instead of settling on one flat surface, which makes even a small grouping feel more finished.
15. Keep and Reuse Them Year After Year
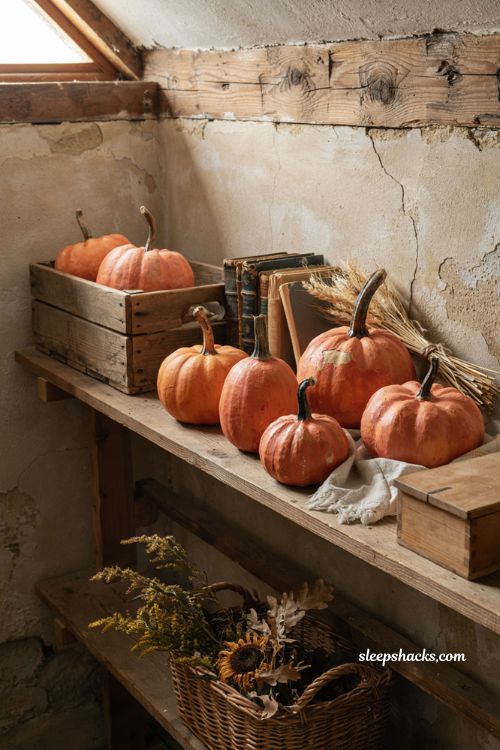
One of the best parts of building your own vintage pumpkins is that, unlike real ones, they’re not going anywhere come November. Store them somewhere dry and out of direct sunlight between seasons, and the paint and texture will hold up for years without cracking or fading much. Each one gets a little more character every season it comes back out, which is really the whole point of chasing that aged look in the first place — the pumpkin actually does get older with you.
Final Thoughts
Every vintage pumpkin on this list starts the same way — an ordinary plastic shape and a willingness to make it a little imperfect on purpose. That’s honestly the hardest part for most people, since it goes against the instinct to keep things clean and even. But the wrinkles, the uneven paint, the slightly lopsided face — that’s what separates something that looks store-bought from something that looks like it has a story. So what would your first one look like, and which shelf in your house is waiting for it?
Frequently Asked Questions
Q: What supplies do I need to make a vintage-style paper mache pumpkin?
A plastic pumpkin, glue, paper towels or texturized paint, and a few craft paint colors are usually enough to get the full effect.
Q: How do I make a pumpkin look old instead of just painted?
Sanding the dried paint lightly and finishing with a dark wax or paint wash in the grooves is what creates that convincing aged look.
Q: Can vintage pumpkin crafts be reused every year?
Yes, since they’re made from plastic and paint rather than a real pumpkin, they store well and typically last for many Halloween seasons.