

Here’s something most people don’t expect: the napkin sitting next to your plate can end up being the most talked-about detail on the entire holiday table.
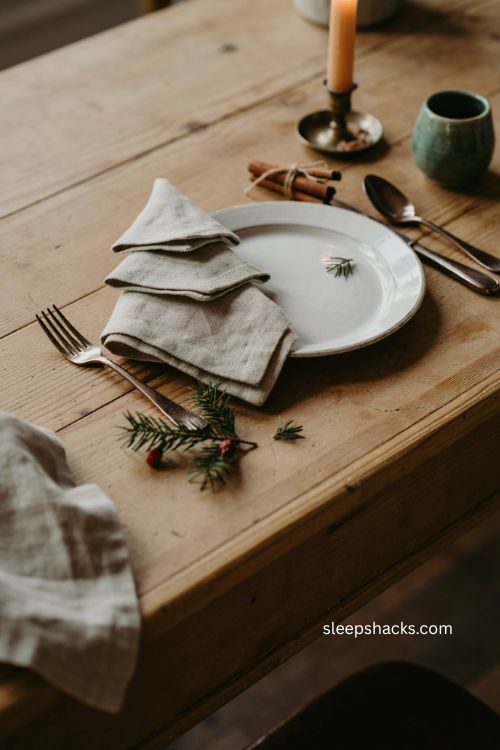
Christmas tree napkin folding turns a flat square of fabric or paper into a tiny, tiered tree shape in just a few minutes, and it makes even the simplest table setting look like it took real effort. It works with cloth or paper, fits any color scheme, and once you’ve folded one, the rest come together fast. Here are 15 ways to fold, style, and dress up your Christmas tree napkins this year.
1. The Classic Layered Fold
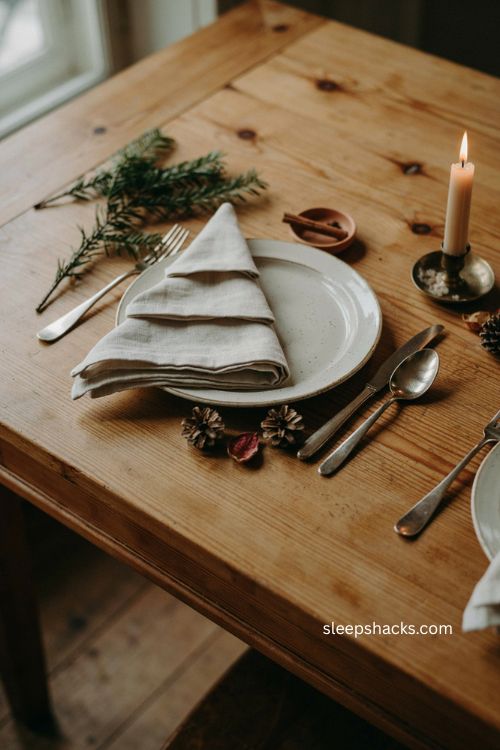
The most common version starts with folding a square napkin in half, then in half again, then working each layer of the resulting triangle upward in stages so it looks like tiered branches. Once you flip it over and tuck the sides in, standing it upright gives you a clean, symmetrical little tree shape. This is the version worth learning first, since every other variation builds off the same basic folding logic.
2. Ironing the Napkin Before You Start
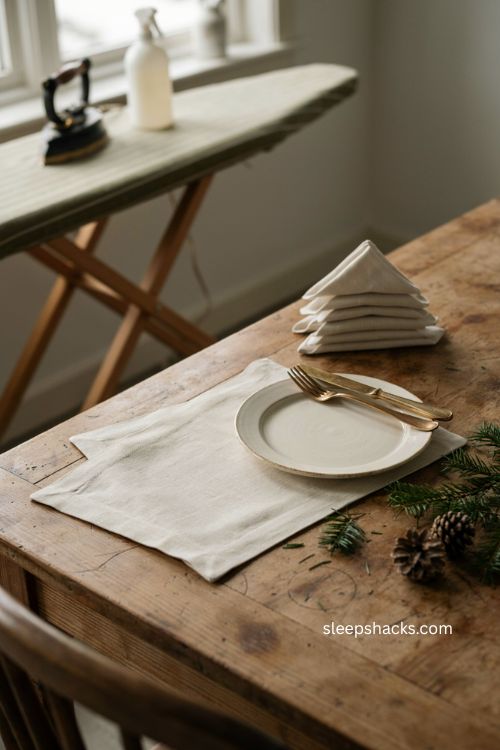
A crisp napkin makes a huge difference in how sharp your finished tree looks, so it’s worth running an iron over it before you fold anything. Wrinkled cotton or linen tends to soften the edges of the branches, making the whole shape look a little sloppy no matter how carefully you fold it. If you’re using cloth napkins, a light starch spray before ironing keeps the points holding their shape through an entire dinner.
3. Choosing the Right Napkin Size
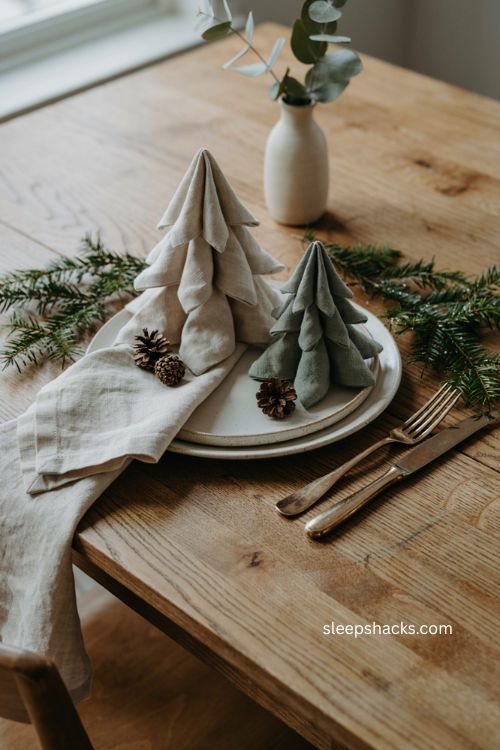
Anything between 16 and 20 inches square works well for this fold, but larger napkins give you noticeably more defined branch layers to work with. A smaller napkin can still make a cute tree, just with fewer visible tiers, so it’s better suited to a simpler, more minimal look. If you’re buying napkins specifically for this project, sizing up gives you more room to experiment with the shape.
4. Paper Napkins for Easy Cleanup
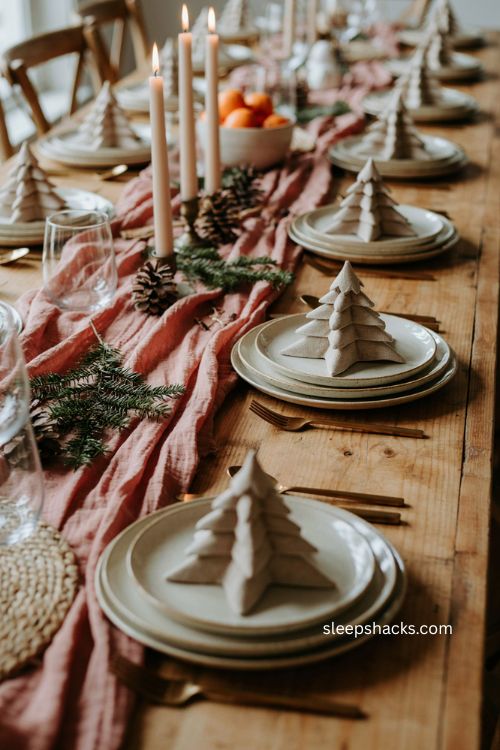
If cloth isn’t practical for your gathering, sturdy two- or three-ply paper napkins hold a surprisingly crisp fold and make cleanup effortless afterward. Paper actually creases more precisely than some fabric blends, which can make the tiered layers look sharper right out of the pack. This is an easy swap for a big holiday party where you’d rather not deal with laundering a stack of linens afterward.
5. Going Classic Green
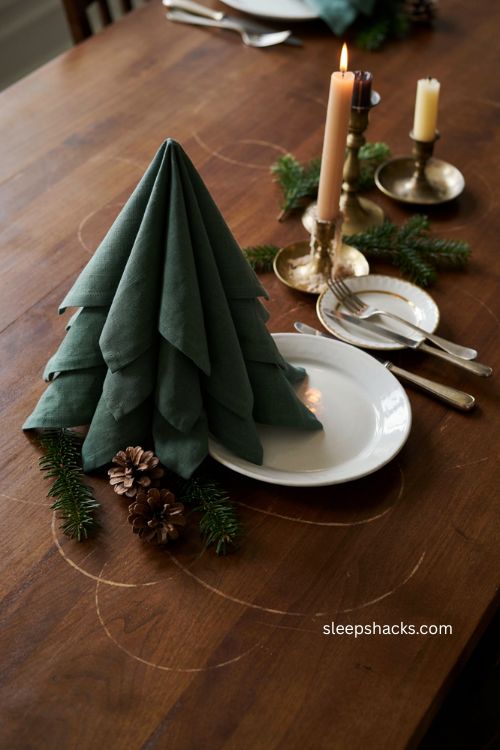
A deep hunter or forest green napkin is the obvious choice for this fold, since the color alone reads as “Christmas tree” before anyone even studies the shape. It also pairs easily with almost any plate style, from plain white to gold-rimmed china, without clashing. If you only buy one color of napkin for this project, green earns its reputation for a reason.
6. Layering a Second Napkin Underneath
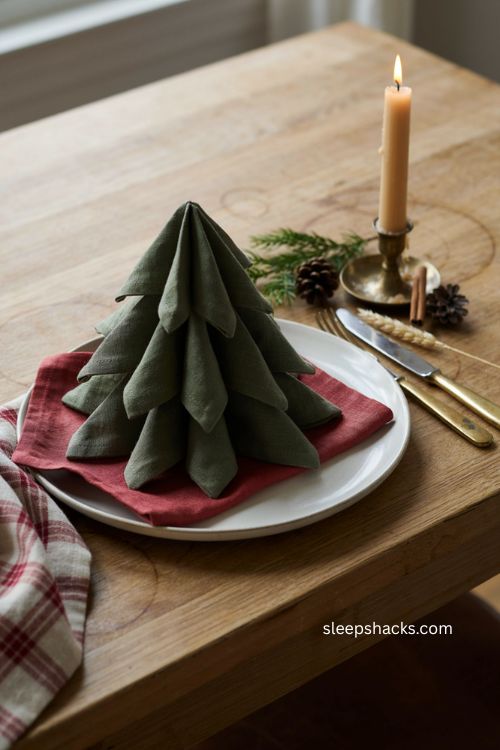
Placing your folded tree on top of a flat, contrasting napkin adds instant depth to the place setting without any extra folding required. A green tree over a flat red napkin is the classic combination, but a plaid or patterned base underneath a solid tree works just as well for a cozier look. This trick makes a single fold look like a fully styled table moment.
7. Adding a Star or Topper
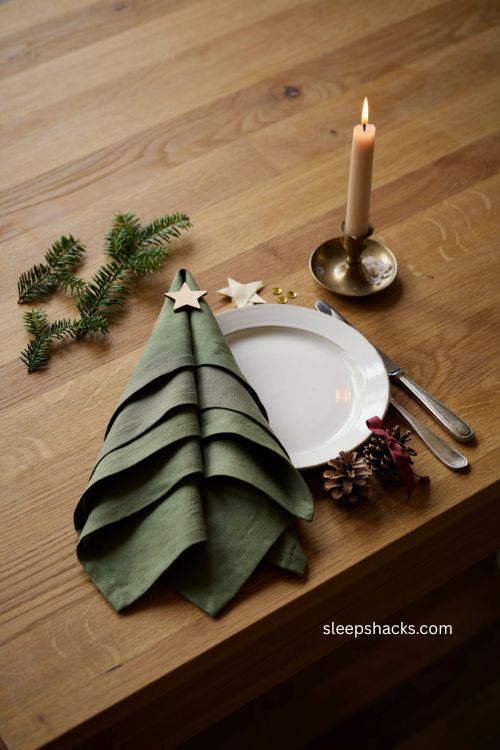
Every tree needs a topper, and a tiny star tucked into the top fold finishes the shape in a way that feels obviously intentional. Small wooden stars, a folded paper cutout, or even a gold sequin work fine — the point is just to give the eye somewhere to land at the very top. Skip the topper entirely and the fold still reads as a tree, but the small addition makes it feel finished.
8. Turning It Into a Place Card
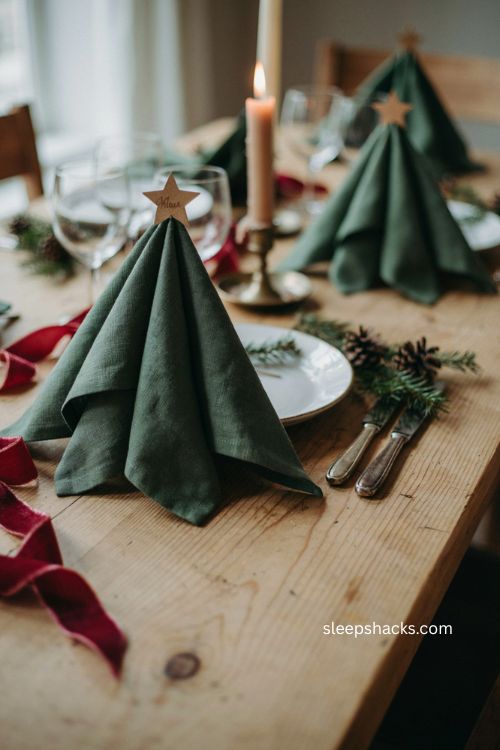
A star topper doubles easily as a name card if you write each guest’s name directly on it or punch it from card stock before tucking it into the top fold. This solves two table-setting jobs with one small piece of paper, which is a nice shortcut when you’re already juggling a dozen other hosting details. It also gives guests a natural way to find their seat without a separate place card taking up space.
9. Dressing It Up for a Formal Dinner
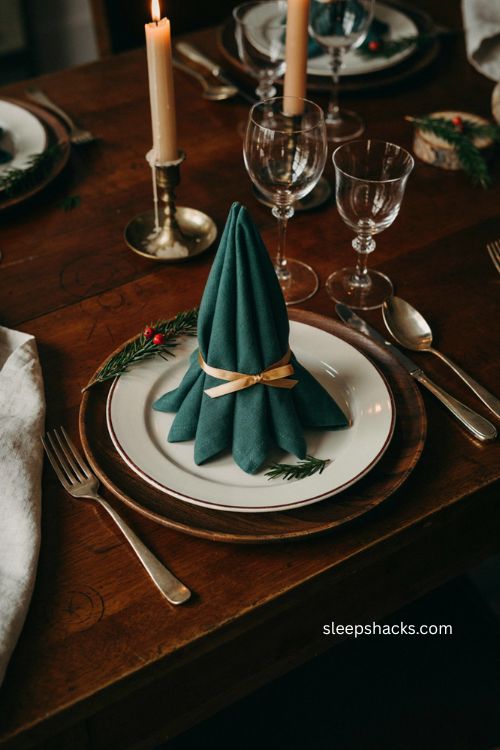
For a more elevated table, skip the plain green and reach for a rich fabric like a linen-cotton blend in a deep jewel tone, then finish the tree with a thin metallic ribbon wrapped around the base. Setting it on a charger plate rather than directly on the dinner plate adds another layer of polish. These small upgrades take the same basic fold and make it feel considerably more special-occasion.
10. Keeping It Simple for Casual Gatherings
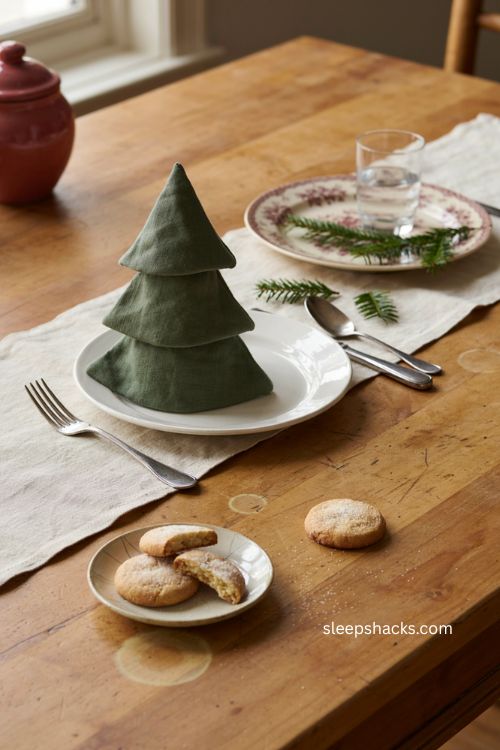
Not every table needs the full treatment — for a relaxed family dinner or a cookie swap, the plain fold on its own, with no topper or extra napkin underneath, still looks intentional and festive. Pairing it with simple white or patterned everyday plates keeps the whole setting low-effort but still seasonal. This version is worth keeping in your back pocket for last-minute hosting.
11. Making It Kid-Friendly
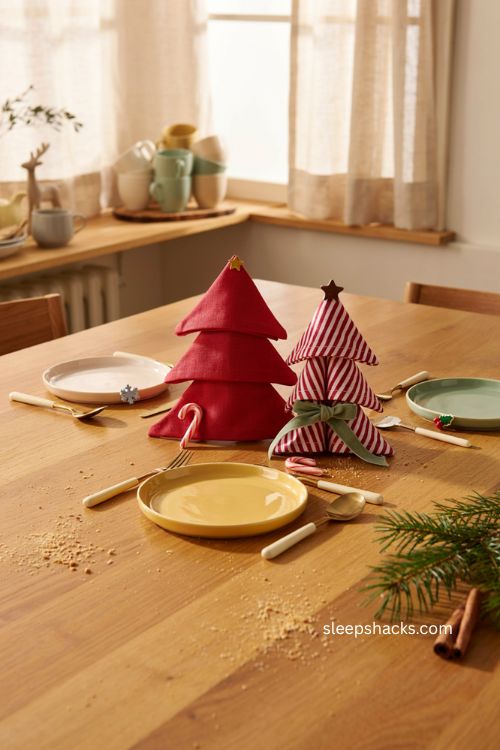
Bright red or patterned napkins tend to get more excitement from kids than a traditional deep green, and the fold itself is simple enough that older kids can practice it themselves with a little guidance. Letting them add their own stickers, a chocolate “topper,” or a mini candy cane at the base turns the activity into part of the pre-dinner entertainment. It’s a nice way to keep a kids’ table feeling just as festive as the adults’.
12. Prepping Trees Ahead of Time
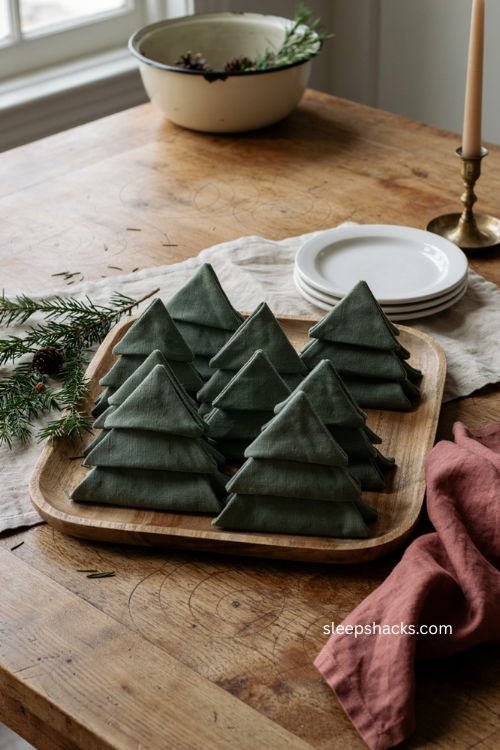
Because this fold holds its shape well once it’s finished, there’s no reason to fold two dozen napkins the morning of a big dinner. Folding them a day ahead and storing them flat-sided down in a shallow box or tray keeps them ready to place the moment your table is set. This is one of the easiest holiday hosting tasks to knock out early, freeing up actual cooking time later.
13. Using It for a Dessert or Cocoa Bar
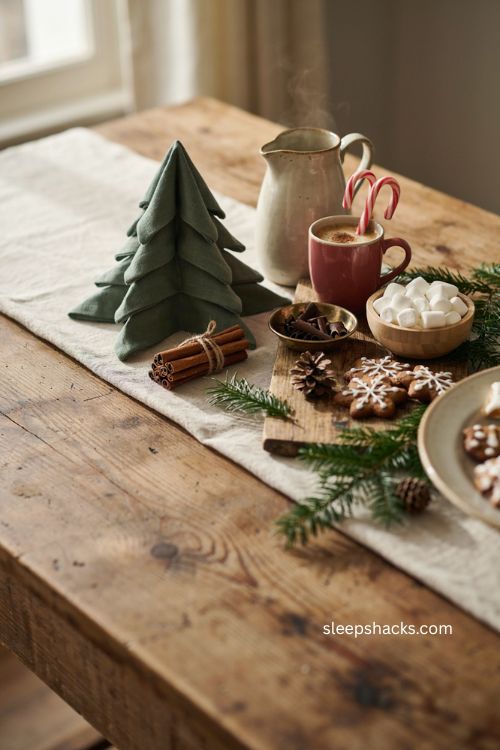
The tree fold isn’t limited to dinner plates — a small stack of them near a hot cocoa station or dessert table gives that area of the party the same festive treatment as the main table. Guests can simply grab one on their way to fill a mug or plate, which keeps the whole setup feeling coordinated even outside the formal seating area. It’s a small detail that ties a multi-station party together.
14. Pairing It with Natural Garnishes
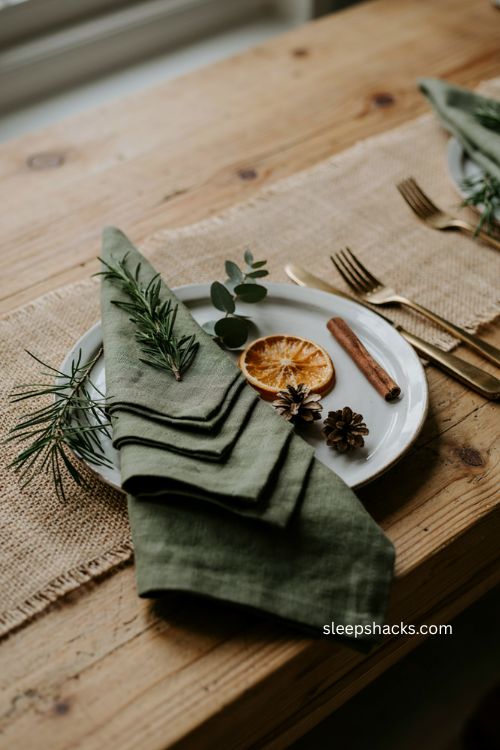
Tucking a small sprig of rosemary, pine, or eucalyptus into the folds instead of a manufactured topper gives the tree a more organic, fresh-cut feel. A slice of dried orange or a cinnamon stick nearby on the plate adds a warm, homemade touch that pairs especially well with a rustic or farmhouse-style table. These natural touches also tend to smell wonderful up close, which is a nice bonus guests don’t expect.
15. Mixing Fold Colors Across the Table
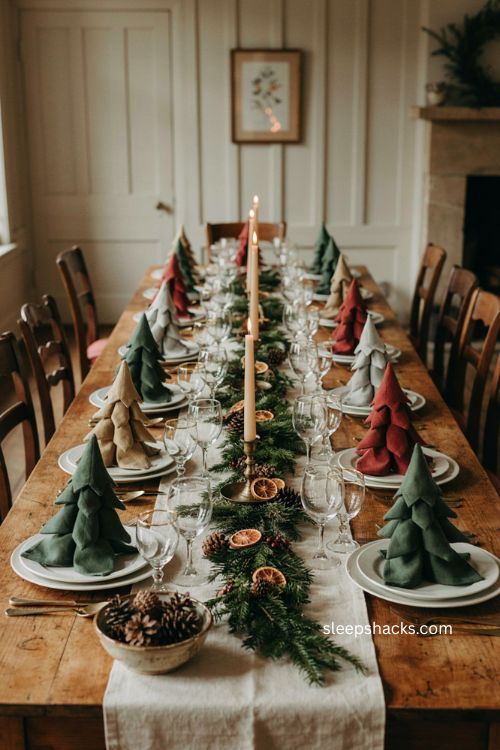
Rather than using the same napkin color at every seat, alternating between a couple of different greens, or mixing in the occasional red or metallic tree, keeps a long table from looking too uniform. This works especially well for a bigger gathering where a little variation helps each place setting feel individually considered. Just keep the fold itself consistent so the table still reads as one cohesive look.
Final Thoughts
What makes this fold worth the extra few minutes is how much it changes the feel of a table without adding real cost or clutter. Once you’ve practiced the basic tree shape once or twice, dressing it up or down for different occasions becomes second nature. Fold a few the next time you’re setting the table for a holiday meal, and don’t be surprised if it’s the detail your guests mention first.
Frequently Asked Questions
Q: What size napkin works best for a Christmas tree fold?
A 16 to 20-inch square napkin gives you enough fabric to create clearly defined, tiered branch layers.
Q: Can I use paper napkins instead of cloth for this fold?
Sturdy two- or three-ply paper napkins hold a crisp fold well and are a practical choice for larger holiday gatherings.
Q: How do I make the Christmas tree napkin fold look more formal?
Use a richer fabric in a deep jewel tone, set it on a charger plate, and wrap a thin metallic ribbon around the base for an elevated finish.