

Packing away the Christmas tree always sounds simple until you’re standing in front of it with a roll of tape, no plan, and a mental note that says “figure this out better next year.
” Buying a specialty bag isn’t always in the budget, and honestly, most of the best fixes are things you probably already have around the house. A little bit of labeling, some cardboard, and a few smart habits can turn tree takedown from a dreaded chore into something you barely have to think about. These are the DIY tricks real people actually use to keep their trees, lights, and ornaments organized without spending a fortune on new gear.
1. Label Every Section Before You Pack It Up

Grab a label maker or even just masking tape and a marker, and mark each piece of the tree as you take it apart. Note which section is the top, middle, or bottom, and jot down anything specific, like “faces the window” if your tree has a good side. This one habit turns next year’s setup from a guessing game into a five-minute task. Do the same for light strands — label how many bushes or trees each one covers so you’re not testing plugs in the dark trying to remember.
2. Wrap Branches in Plastic Wrap

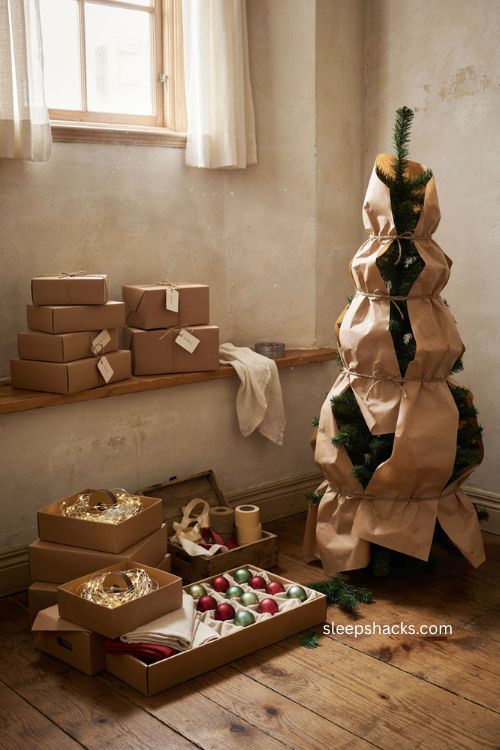
Heavy-duty plastic wrap is one of the cheapest tools for keeping a disassembled tree compact. Wrap each section tightly, working from the trunk outward, so the branches stay pressed against the pole instead of splaying out and taking up extra space. This also keeps dust off the needles during the months it sits untouched in a closet or attic. It won’t look fancy, but a tightly wrapped section slides into a bin or a corner far more easily than one left loose and bushy.
3. Cover the Whole Tree With an Old Sheet
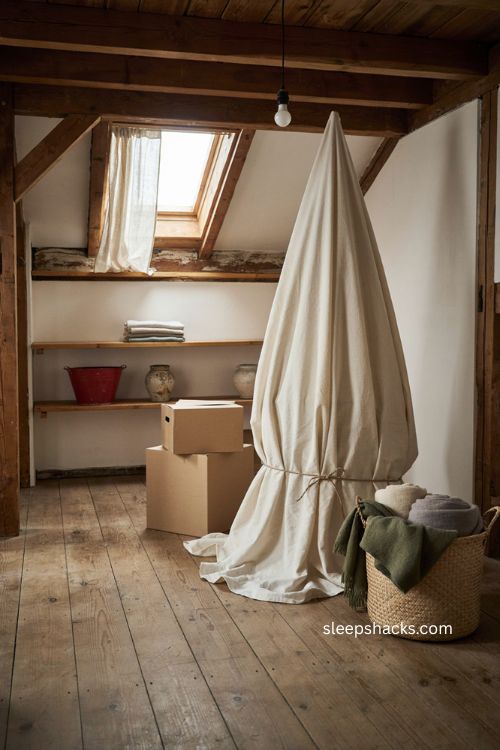
If you’d rather skip full disassembly, an old bedsheet or blanket thrown over the entire tree works surprisingly well. It blocks dust and keeps the branches from getting crushed by anything stacked nearby, and it costs you exactly nothing since it’s already in the linen closet. Tuck the edges under the base or secure them loosely with a bit of twine so the sheet doesn’t slide off mid-storage. It’s not glamorous, but it’s one of the fastest DIY covers you can pull together in a pinch.
4. Repurpose Cardboard Tubes for Ornaments
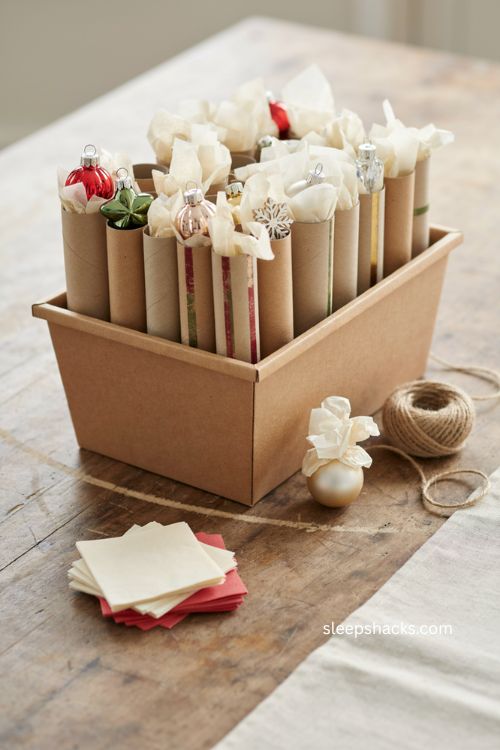
Save the tubes from wrapping paper and cut them into shorter sections sized to your ornaments. Wrap each piece in tissue paper first, then slide it into the tube so it’s cushioned on every side. This trick works especially well for oddly shaped or delicate glass pieces that don’t sit flat in a regular box. Stack the tubes upright in a bin like a rack of wine bottles, and suddenly your most fragile ornaments have their own padded compartment for free.
5. Store Small Ornaments in Egg Cartons
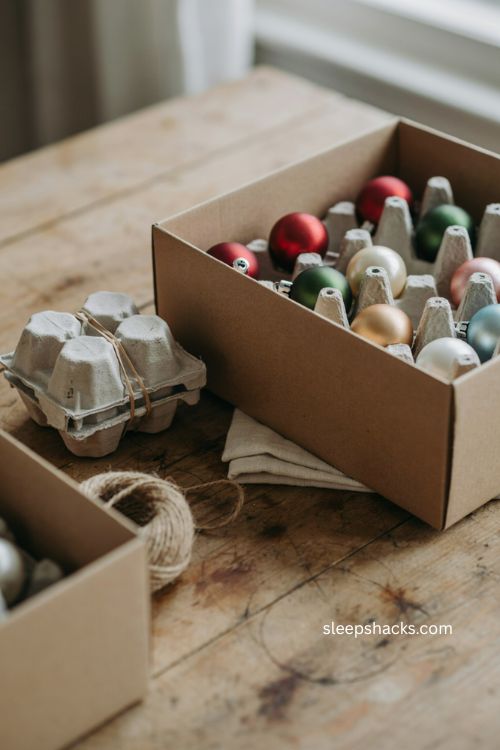
An empty egg carton is basically a built-in ornament organizer, and most households already have a few on hand. Each little cup cradles a small bauble so it isn’t rattling around loose against its neighbors. Stack a few cartons together with a rubber band around each one, and you’ve got a stable, compact unit that fits easily into a bigger storage bin. It’s an especially good fix for the tiny, easy-to-lose ornaments that always seem to end up rolling under the couch.
6. Hang the Tree From Ceiling Hooks
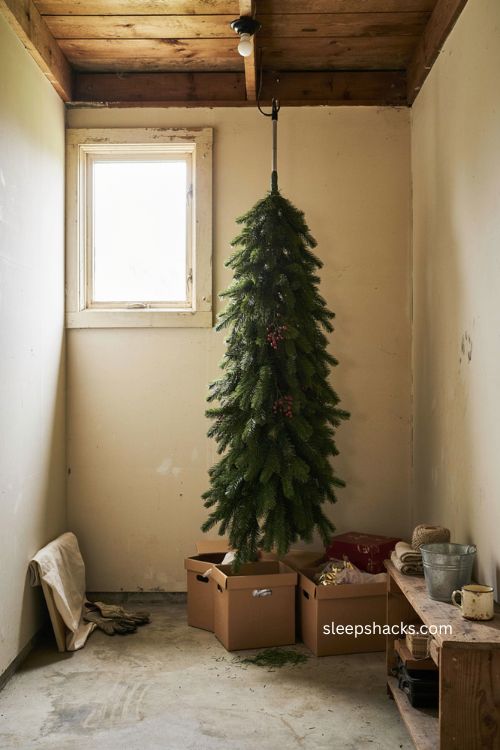
If your tree has a detachable center pole, ceiling hooks can get it fully off the floor. Install a sturdy hook in the garage or storage room and hang the pole so the tree stays upright and out of the way all year. This works especially well in spaces where floor room is tight but there’s plenty of unused height near the ceiling. Just make sure the hook and the mounting point can handle the weight before you trust it with a nine-foot tree.
7. Add Wall Mounts for Vertical Storage
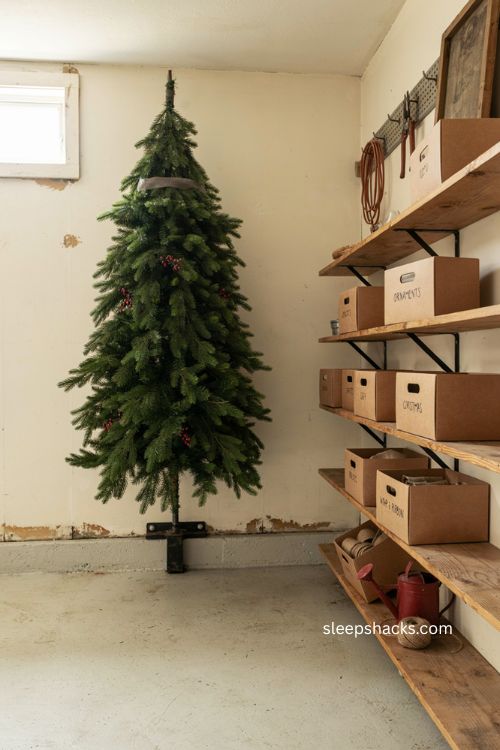
Heavy-duty wall mounts give you another way to store a tree vertically without needing overhead clearance. Mount a bracket at a height where the tree’s base can rest against the wall, then secure the top loosely so it doesn’t tip. This keeps the tree flat against a garage or basement wall instead of eating up floor space in the middle of the room. It’s a particularly good option if you’re already using wall-mounted shelving for other seasonal bins nearby.
8. Wrap Lights Around a Cord Organizer
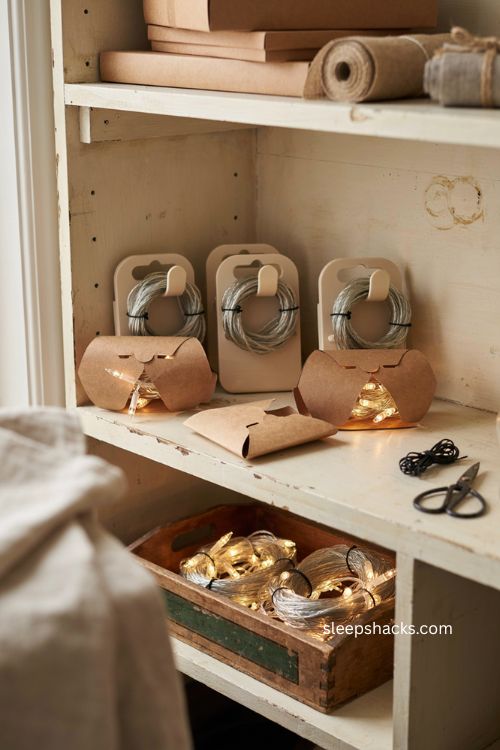
Tangled lights are one of the most avoidable headaches of the whole season, and a simple wrapping tool fixes it fast. Wind each strand around a plastic or cardboard cord wrapper with a handle, so it comes out next year exactly as neat as it went in. If you don’t want to buy one, a flattened cardboard box cut into a rectangle works in a pinch, though it won’t hold up quite as long. Either way, this is the single easiest way to stop dreading the light-untangling part of decorating.
9. Label Remote Plugs and Switches
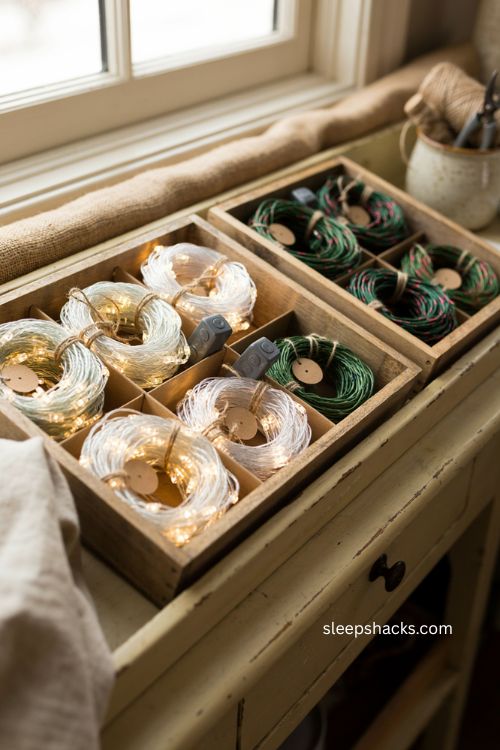
If you use remote-controlled outlets for any of your light displays, label each one to match its corresponding strand. Otherwise you’ll be standing there next December pressing buttons at random, trying to figure out which remote turns on the stair garland. A simple sticker with a name or number on both the remote and the plug solves the mystery instantly. Store the remote with the light strand it controls so the two never get separated in storage.
10. Cinch Tree Sections With Utility Straps
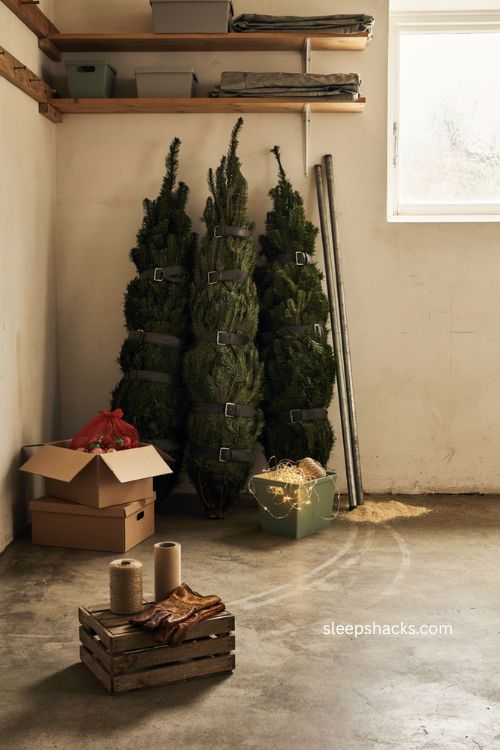
Inexpensive cinching utility straps pull disassembled tree sections into a noticeably tighter bundle than tape or twine alone. Wrap a strap around each section and tighten it down, and the branches compress just enough to shave real inches off the footprint. It also makes the pieces easier to carry, since a compressed bundle is far less likely to snag on a doorframe than one with branches sticking out everywhere. Keep the straps attached to the tree in storage so you’re not hunting for them again next year.
11. Repurpose Large Storage Bins You Already Own
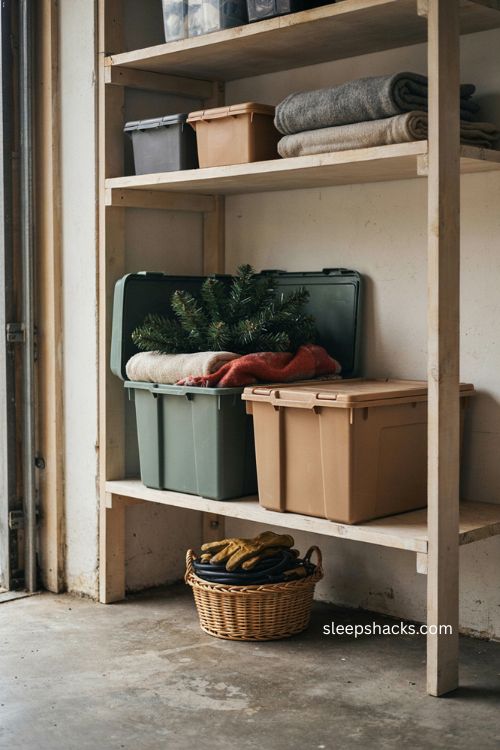
Before buying anything new, look at what’s already stacked in your garage. Sturdy plastic bins meant for clothes or general storage work just as well for holding a dismantled tree section, especially if you pad the inside with an old towel or blanket. Dedicating bins you already own saves money and keeps your storage system consistent with the rest of your seasonal gear. Just make sure the lid actually latches shut, since a loose lid defeats the purpose of using a bin at all.
12. Switch to Clear Bins for Easy Identification
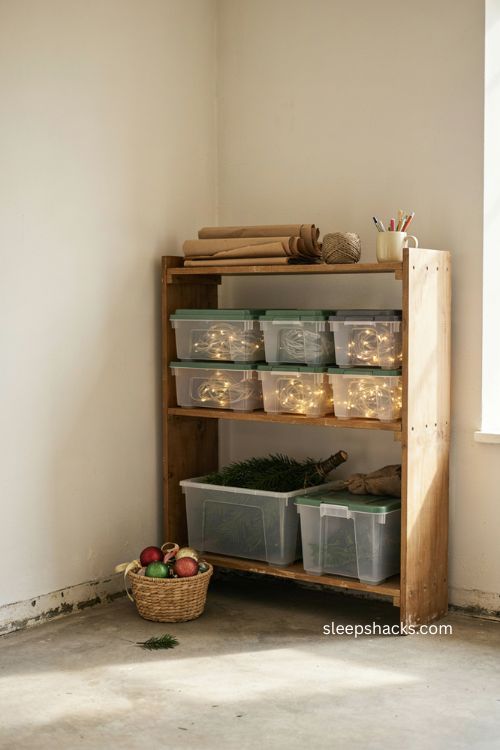
Swapping opaque totes for clear storage bins means you can see exactly what’s inside without opening a single lid. This is especially handy when you’ve got several bins of similar size stacked together in a basement or garage corner. You’ll spot the tree sections, the ornament boxes, and the light bins at a glance instead of digging through three wrong containers first. It’s a small upgrade, but it noticeably cuts down on the frustration of hunting for the right box.
13. Build Simple Shelving for Seasonal Storage
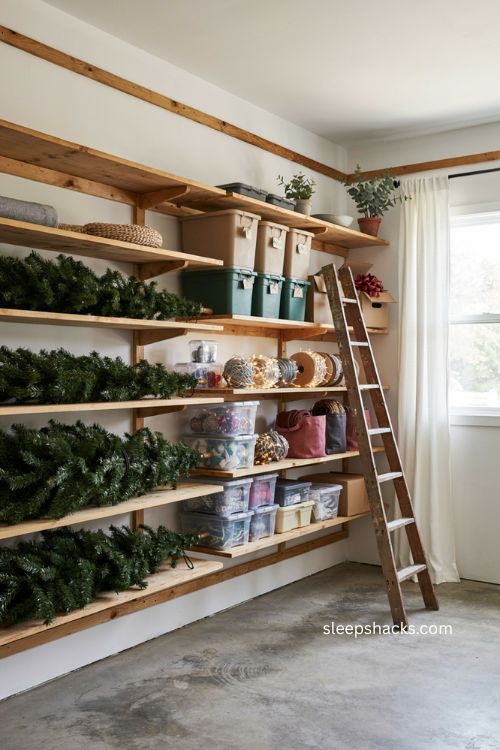
If you’re tired of Christmas decor taking over random corners of the garage, a set of basic wood shelves built to the ceiling makes a real difference. Size the shelves to match your bins so everything stacks evenly instead of teetering at odd heights. Dedicate one section specifically to tree parts, since the longer pieces often need more depth than a standard shelf allows. It’s a bit of a project upfront, but it turns a messy pile into an actual organized system you can find things in.
14. Roll the Tree on a Small Dolly
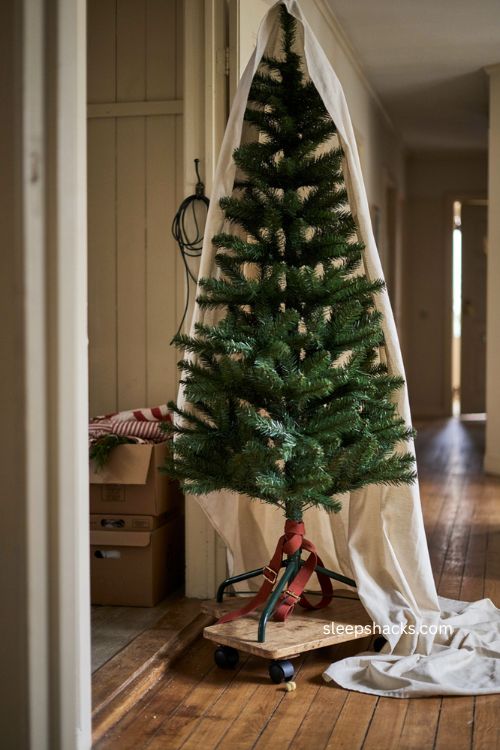
For a fully assembled tree you don’t want to break down, a small wheeled dolly can save your back entirely. Attach the tree’s base to the dolly with zip ties or sturdy straps, then simply roll it into a closet or spare corner instead of lifting it. A large sheet draped over the top doubles as both a dust cover and, conveniently, a tree skirt when it’s time to decorate again. It’s a simple trick, but it turns a two-person moving job into something you can do solo in a few minutes.
15. Keep a Trash Bag on Hand as a Backup
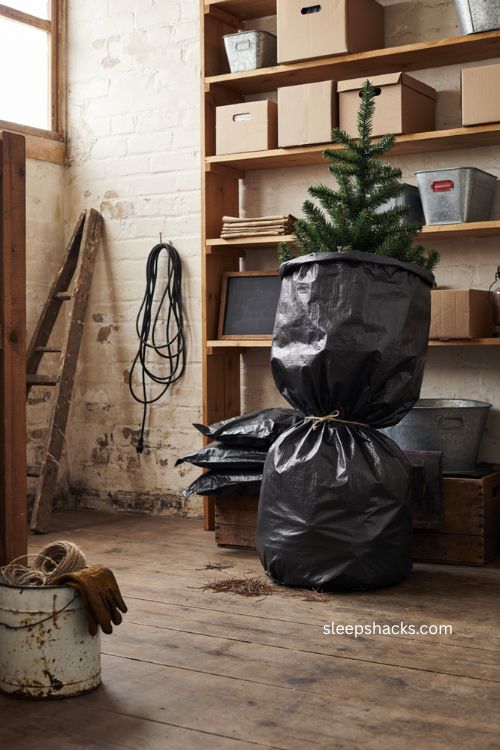
When none of your usual storage tricks are within reach, a heavy-duty trash bag still gets the job done. Fold the branches in close to the trunk so nothing pokes through, then slide the tree in and tie it off at the base. It won’t offer the same protection as a padded bag or bin, but it costs nothing and takes up less room than a bulky box. Keep a couple on hand as a fallback for a tight moving day or a year when your usual system falls through.
Final Thoughts
None of these tricks require a big budget or a trip to the store — most of them are sitting in a drawer or closet right now, just waiting to be put to use. Pick two or three that fit how your space actually works, whether that’s a ceiling hook in the garage or a stack of labeled egg cartons in a bin. Once you’ve got a system that works for your home, tree takedown stops feeling like a chore you dread every January. Here’s to a little less mess and a little more sanity next holiday season.
Frequently Asked Questions
Q: What is the cheapest way to store a Christmas tree?
Wrapping the tree in plastic wrap or covering it with an old sheet costs nothing and works well if you already have the tree disassembled and out of the way.
Q: How do you keep Christmas tree branches from getting bent in storage?
Cinching straps or tightly wrapped plastic wrap around each section keep the branches compressed and protected so they don’t get crushed under other stored items.
Q: How can I stop my Christmas lights from tangling in storage?
Wind each strand around a cord wrapper or a flattened piece of cardboard before putting it away, so it unwinds neatly instead of coming out as a knot.