

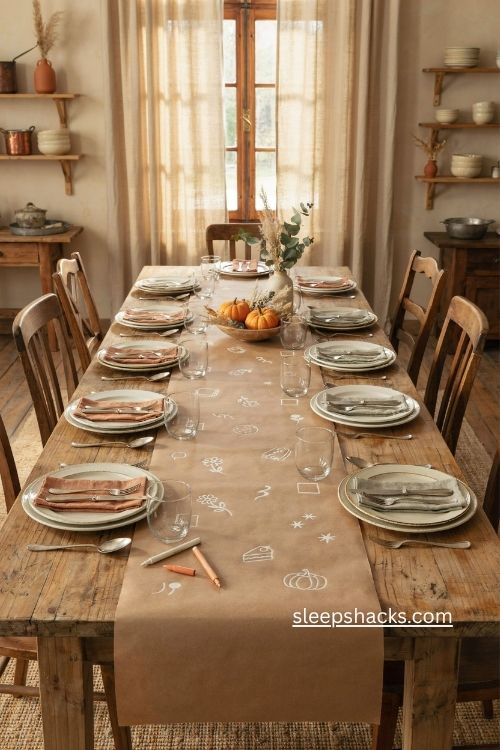
Picture a long sheet of kraft paper running down the middle of the table, a few ivory pencil marks already scattered across it, and a small pile of crayons waiting beside the gravy boat. Nobody is tiptoeing around a fragile centerpiece. The kids are leaning in, drawing a lopsided turkey, and the grown-ups are actually relaxing.
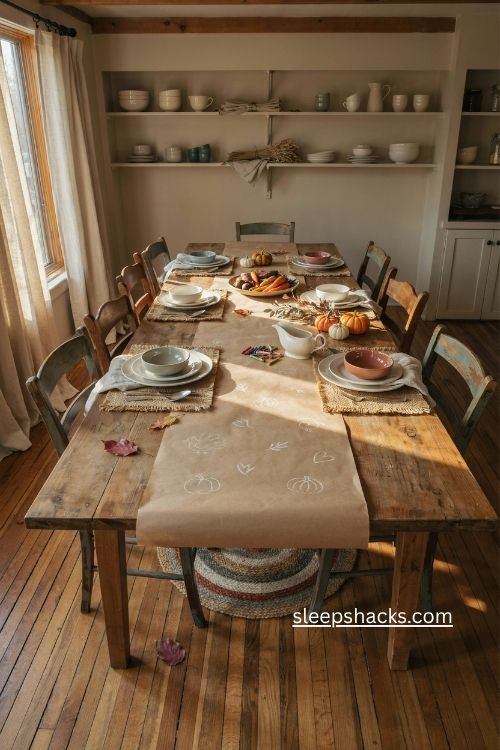
That’s the feeling a butcher paper tablecloth Thanksgiving setup creates. It’s inexpensive, forgiving, and surprisingly pretty when you keep the palette simple. Here are 14 ways to set it up so children can join in, your everyday dishes still shine, and cleanup stays easy.
1. Roll the Story Strip Down the Center
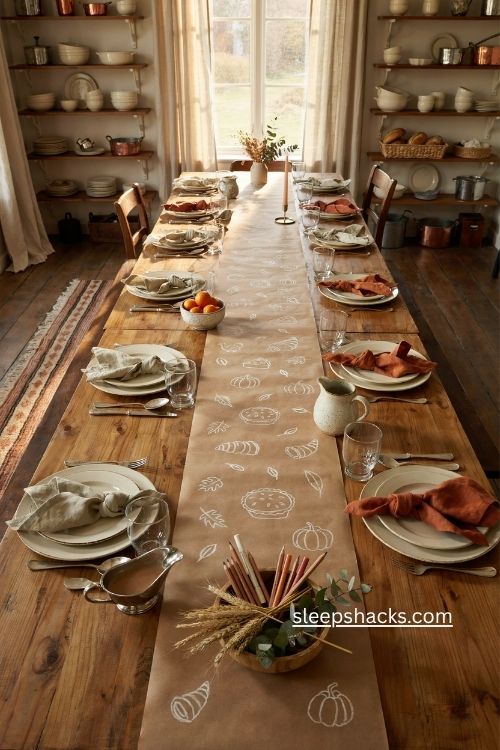
Run brown butcher paper down the middle of the table instead of covering every inch. That gives you a long drawing lane where kids can add a turkey, a family joke, or an imaginary parade without bumping into plates. Start each seat with a tiny sketch, like a pumpkin or a crooked pie slice, so nobody faces a blank page.
Use an ivory chalk pencil for bright outlines and a copper washable marker for names. Test any marker on a scrap first, because some inks bleed through thin paper. Keep the strip wide enough for elbows and plates, but leave a few inches of bare table so the place settings don’t feel crowded.
2. Draw the Three-Height Light Stack
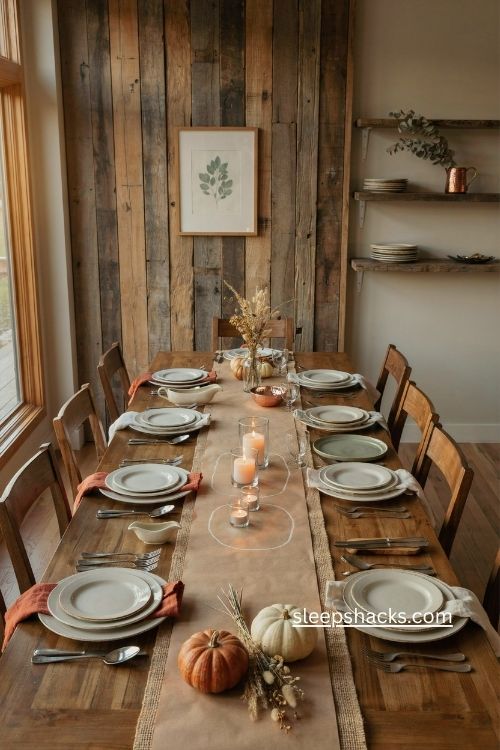
Low light looks best when it comes in three heights: a short votive, a medium candle, and something small and warm near the edge of the paper. The trio gives your table a little drama without putting anything tall in front of a child’s face. Group them near the middle where the paper is quietest.
Keep every flame protected in a glass holder, and keep the whole arrangement away from the drawing lane. You can even sketch a faint circle on the paper to mark where the lights live. That small boundary helps kids understand where their markers should stop and where the glow begins.
3. Layer a Turkey Trail Along the Paper
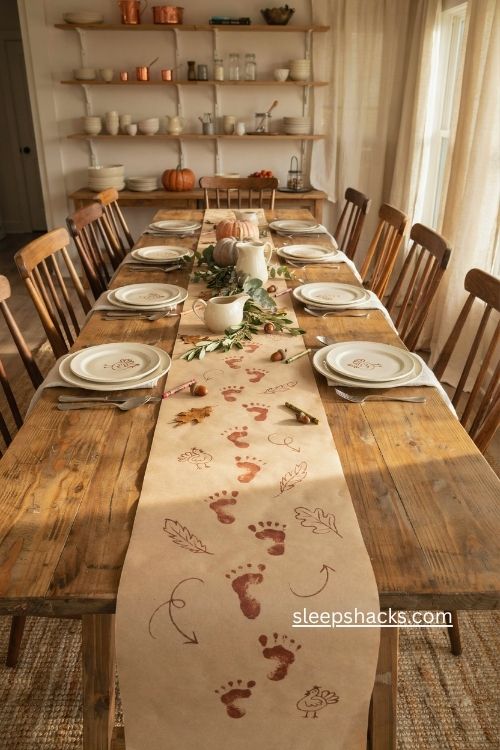
A Turkey Trail turns the table into a gentle scavenger hunt. Draw footprints, feathers, acorns, and little arrows that wander from one end to the other and finish at each child’s seat. By the time everyone sits down, the paper already looks playful.
Terracotta crayon works beautifully for feathers, and olive pencil keeps the leaves earthy instead of cartoonish. Leave a few gaps so children can add their own clues, because a trail that looks slightly unfinished invites more drawing. Older kids often love taking over the illustrating, so hand them the pencil and let them make it bolder than your original plan.
4. Swap Place Cards for the Name-and-Doodle Rule
Stiff place cards can be skipped entirely. Write each guest’s name in big, loose letters straight onto the paper, then leave a small square underneath for a drawing. Kids find their seats quickly, and every person gets a tiny piece of the table before dinner begins.
Try a white paint pen on dark paper or a clay pencil on lighter sheets. Ask each child to draw a symbol for the person they’re seating, like a book, a garden flower, or a favorite dessert. You’ll end up with a pumpkin that somehow has six legs, and that wobbly charm is exactly why this works.
5. Build In a Replaceable Middle Layer
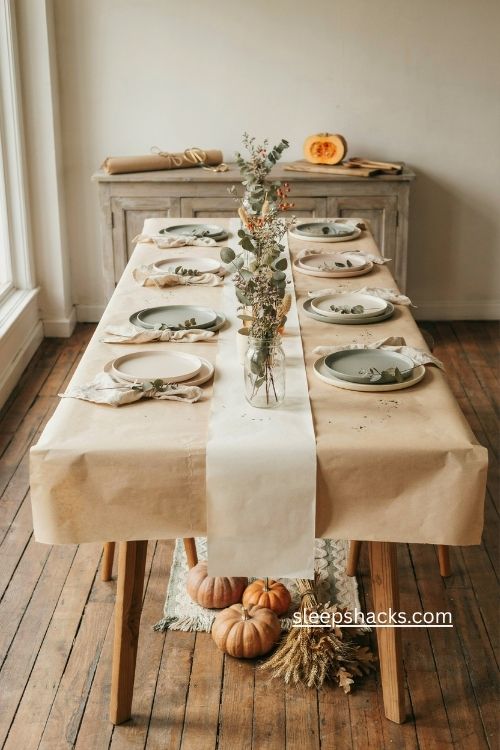
Yes, this setup can survive gravy, as long as you plan for it. Lay one full sheet as your base, then place a narrower strip of fresh paper down the center where the food will land. When the main course is done, peel the messy strip away and slide a clean one into place for dessert.
Tape the base sheet to the underside of the table edges so it doesn’t slide when little elbows lean. Keep the replacement strip rolled and ready beside the sideboard. That way you aren’t hunting for scissors while the pie is cooling, and the table looks fresh right when the drawing starts again.
6. Frame the Feast with a Two-Color Border
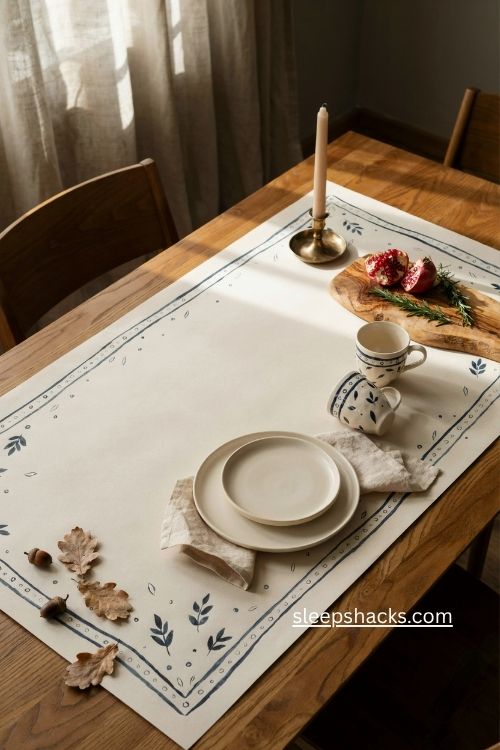
A loose border in navy and white gives the paper a clean edge while keeping the center open for food and drawing. Benjamin Moore Hale Navy HC-154 is a handy reference for the dark shade, paired with an ivory pencil for contrast. You get structure without buying another centerpiece.
Let kids fill the border with dots, leaves, or family initials, and keep the middle mostly blank so plates don’t cover the artwork. A warm walnut serving board next to the navy and white feels calmer and more modern than the usual orange and brown. If you’d rather not paint the paper, echo the colors in napkins and cups instead.
7. Turn the Paper into a Pass-the-Plate Prompt Path
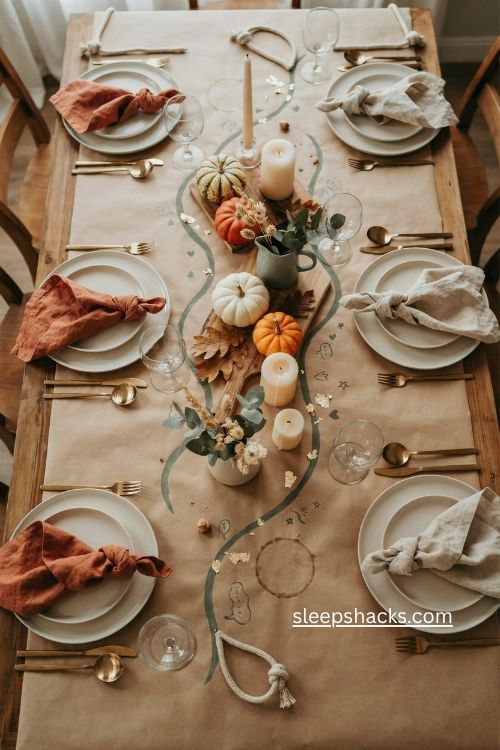
Draw a winding line between the place settings and add short questions along the route, like “Favorite fall smell?” or “Best pie filling?” Kids can answer while they wait for the potatoes, and adults can join in without needing any special cards or props.
Mark the ends of the paper with a bit of organic bouclé cord, then hand out one gold leaf sticker per answer. Children place their stickers wherever they like, and by dessert the paper glitters with scattered leaves. Skip scoring entirely. The point is conversation, and a simple game with a natural ending keeps everyone talking without turning dinner into a contest.
8. Budget the Kids’ Corner Before You Buy Decor
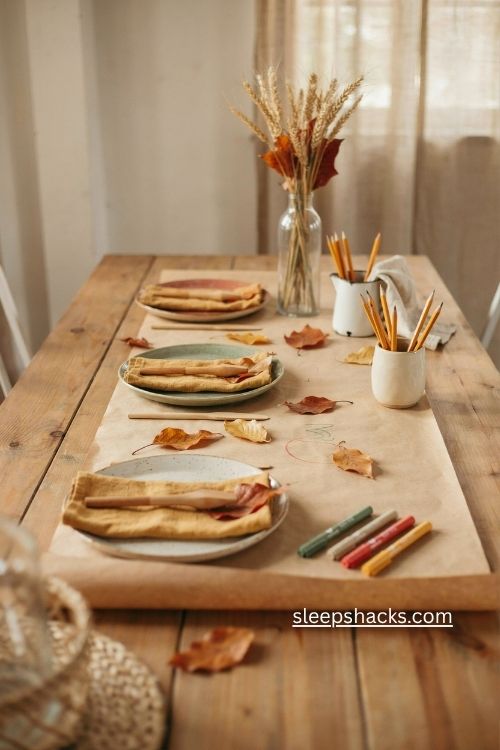
Before you spend a dollar on decorations, decide which parts of the table deserve your attention. A budget version, with paper, dishes you already own, pencils, and leaves from outside, runs about $10 to $25. Adding washable markers and napkin holders lifts that to roughly $25 to $60.
If you want specialty paper, new serving pieces, and layered tableware, expect something closer to $60 to $120. Those are US planning estimates, so prices shift by store and roll size. Honestly, the budget tier looks lovely already. One inexpensive roll does the job of a runner, an activity sheet, and a keepsake all at once.
9. Set a Seat-Side Story Kit at Each Child’s Place
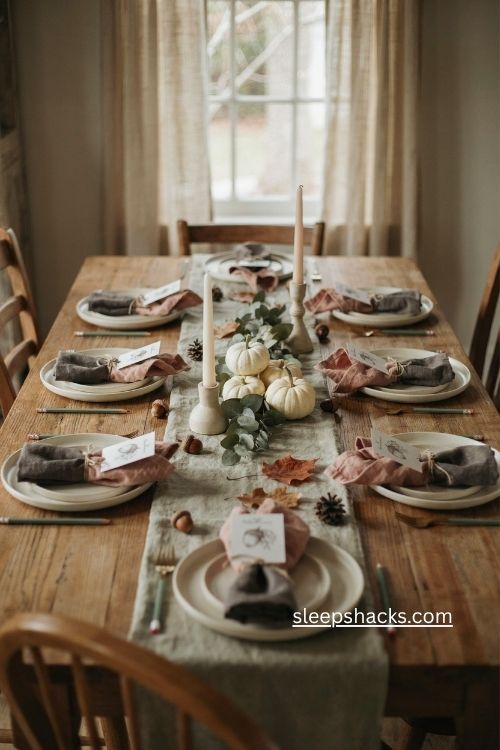
Skip the pile of random toys and give each child a small kit: one washable pencil, one prompt card, and one little object to observe. A folded napkin can serve as the holder, or a soft pouch in dusty rose or charcoal if you already own some. The table stays tidy but still feels special.
Write prompts that connect to the meal, such as “Draw the food you’d serve a forest animal” or “Invent a new name for the stuffing.” Avoid beads and loose glitter, since they’ll scatter into the food and under every chair. Adults don’t need kits, though curious guests can always borrow one from a child.
10. Hang a Memory Garland Overhead
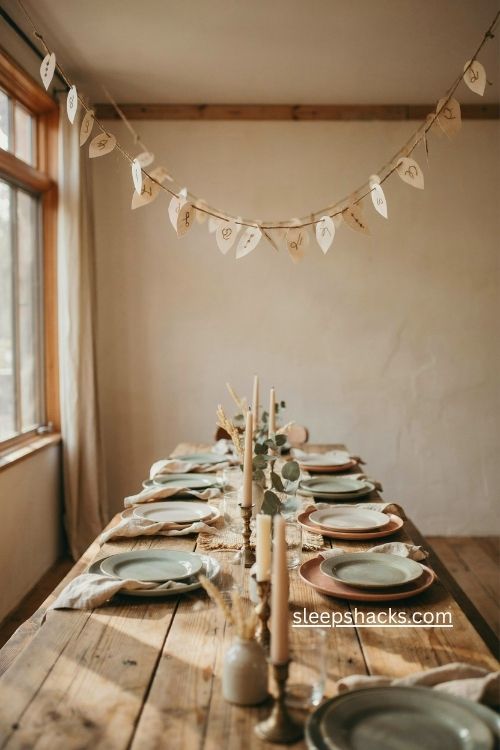
Cut warm white card stock into simple leaf shapes, punch a hole near each stem, and ask every guest to write one favorite moment from the year. Thread the leaves onto jute cord with loose knots and hang the line above the table. It adds height to the room without blocking a single face.
Keep the leaves at least 30 inches above the table if children can reach them, so curious hands don’t pull the whole line down. Hang it from existing hooks, a picture rail, or removable wall strips. With low ceilings, tape the leaves along a sideboard instead, and save them to reuse next year with fresh memories.
11. Paint the Wall Instead of Replacing the Tableware
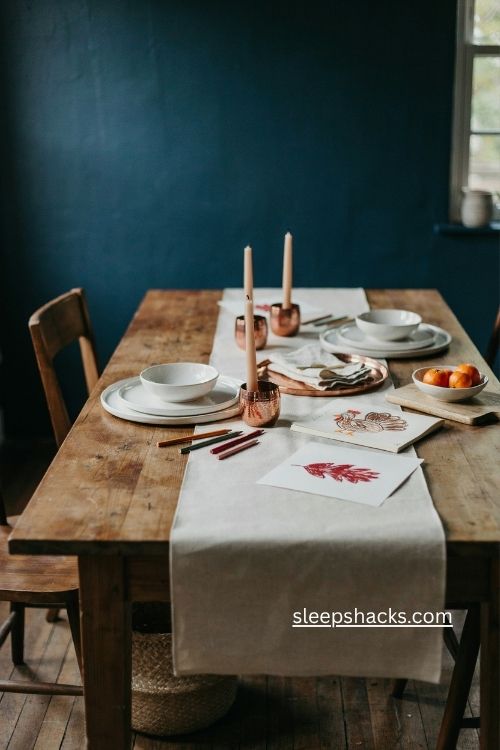
If your dishes are plain, change what’s behind them. A single midnight blue wall, an ivory paper runner, and a few copper accents make everyday plates look intentional. Farrow & Ball Hague Blue No. 30 is a rich pick for the blue, and Benjamin Moore Swiss Coffee OC-45 suits a softer ivory.
Choose one and skip the other, since too many colors will compete with the children’s drawings. Renting? Paint a poster board panel and prop it behind the table, then add a wooden tray or cutting board for warmth. A calm backdrop lets the kids’ marks supply all the energy, and it costs far less than a new set of plates.
12. Keep It Rental-Friendly with Removable Tricks
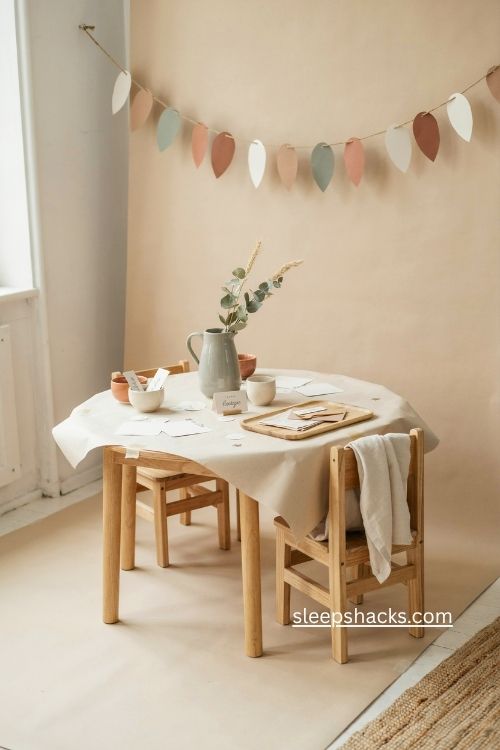
You can build this entire look without a single nail. Use removable tape for the paper, a freestanding garland, a tension rod for hanging leaves, and a paper backdrop in place of permanent hooks or paint. Peel-and-stick supplies help too, though they deserve a quick test on a hidden spot first.
Press the tape gently along the table’s underside and the wall’s edge so nothing leaves residue behind. If your landlord is strict, lean on the table itself: the paper, the border, and the prompts do most of the work. The room stays protected, and the seasonal frame still feels warm.
13. Roll the Leftover Paper Out on the Floor
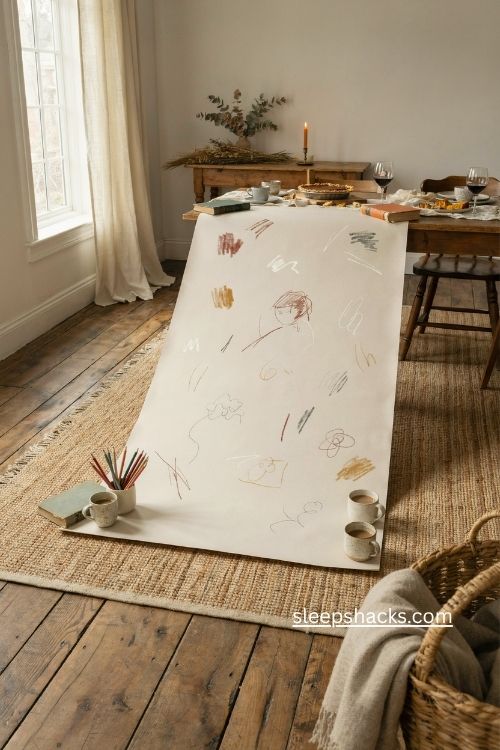
After dinner, children often want more room to draw than the table allows. Unroll the remaining paper in a nearby corner and let them keep going while the adults linger over coffee. The dining room doesn’t turn into a permanent craft zone, and the evening stretches out naturally.
Weigh the corners down with books or sturdy mugs, and put a small cup of pencils at one end. If you have a rug nearby, even a 5×7 ft one, the paper sits steadier and the little artists stay comfortable. When they finish, roll it up and tuck it away for the next visit.
14. Photograph the Mess Before You Clear the Table
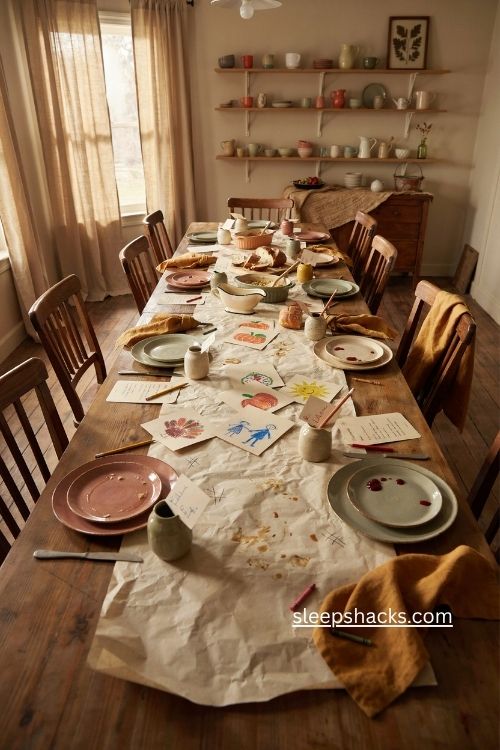
Take one picture of the paper after everyone has eaten, before a single plate disappears. The drawings, crumbs, half-finished prompts, and gravy sun tell the story of how your family really used the table. A spotless setup rarely holds that much memory.
Snap a few close-ups too, like the crooked place cards and the tiny marks beside each plate. To keep a piece of the real thing, cut around the best drawings and mount them on warm cream cardstock. Don’t save the whole roll, because the strongest pieces need room to breathe. Do it that night, since the evidence vanishes once the dishes are gone.
Final Thoughts
Pick one idea from this list and set it up this week. The Story Strip is the easiest start: unroll the paper, sketch a pumpkin near each seat, and put a pencil beside every plate. It takes about ten minutes, and you’ll see right away whether your family wants more.
Then add a second layer only if it feels fun. A name-and-doodle square, a prompt path, or a single garland is plenty. Keep the center low, keep the flames protected, and leave room for plates. The best table is the one your kids can’t wait to sit down at.
Frequently Asked Questions
Q: Can a butcher paper tablecloth survive Thanksgiving gravy?
Yes, if you add a replaceable center strip over a taped base sheet. Swap the messy strip for a fresh one before dessert.
Q: How much does a butcher paper Thanksgiving table cost?
A simple version using dishes and pencils you already own can run about $10 to $25. Adding markers and small accents typically brings it to $25 to $60.
Q: Will markers bleed through butcher paper?
Some inks do, especially on thin paper. Test each marker on a scrap first, and choose pencils or crayons when you want zero bleed.