

Almost every family has one: a slightly crooked beaded candy cane, a glittering wire star, a little snowflake that somehow survives every move. Beaded ornaments tend to outlast fancier ones, because someone made them and nobody wants to part with them.
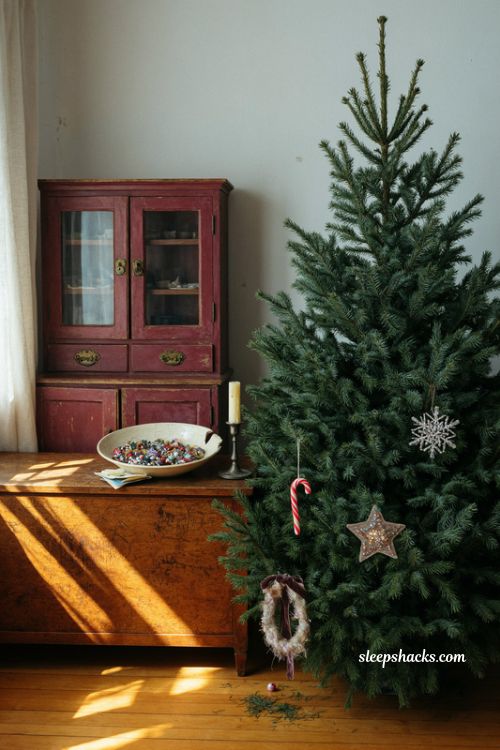
If you’d like to start your own collection, this list can help. Below are 15 beaded Christmas ornament ideas with notes on skill level, cost, and safety, covering felt, wire, embroidery, fuse beads, seed bead patterns, and kid-friendly projects. Whether you want a ten-minute craft for the kids or a detailed Victorian piece for yourself, you’ll find something that fits your time and your supplies.
1. Pony Bead Candy Cane Ornaments for Kids
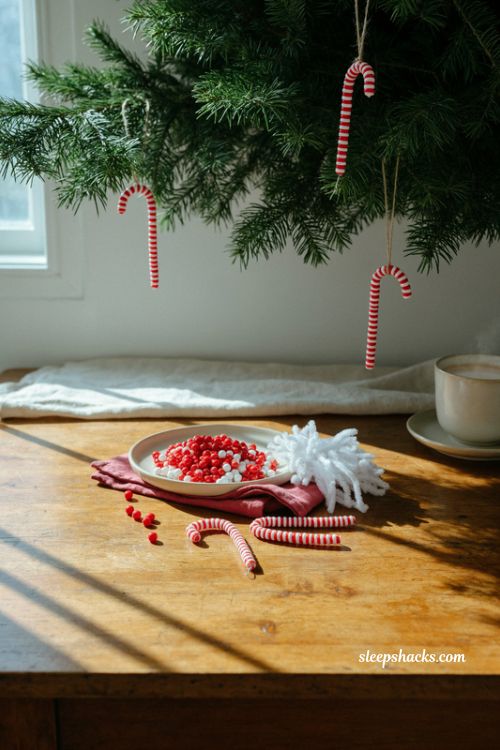
Thread red and white pony beads onto a white pipe cleaner in an alternating pattern, then bend the top into a hook. Leave a little bare wire at each end and fold it back so the beads stay put. The stripes show clearly from across the room, which is why this is the classic first project.
A bag of pony beads and a pack of pipe cleaners cost very little and make a whole tree’s worth. Each one takes about five minutes, so it suits younger kids with an adult close by. Tuck the wire ends into the last bead so nothing scratches, and skip it for toddlers who still put things in their mouths.
2. Felt Ornaments with Seed Bead Edging
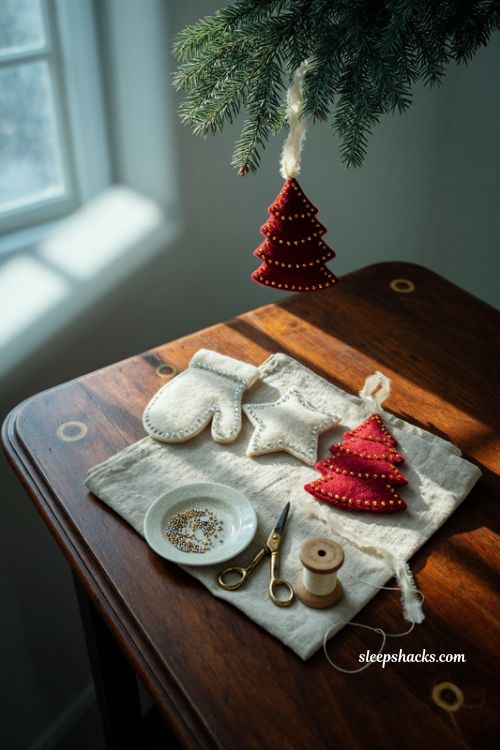
Cut two matching felt shapes, like a mitten, a tree, or a star, and stitch a row of tiny seed beads around the outer edge so the outline sparkles like frost. Cream felt with silver beads looks wintry, while red felt with gold beads feels traditional. Add a ribbon loop at the top before you close the seam.
Felt doesn’t fray, so cutting is forgiving, and the stitching needs only basic sewing skills. Scraps are enough, which keeps the cost close to nothing. Use a thin needle that fits through the bead holes, and knot the thread firmly so beads survive years of storage. Keep seed beads away from small children.
3. Wire Beaded Star Ornaments
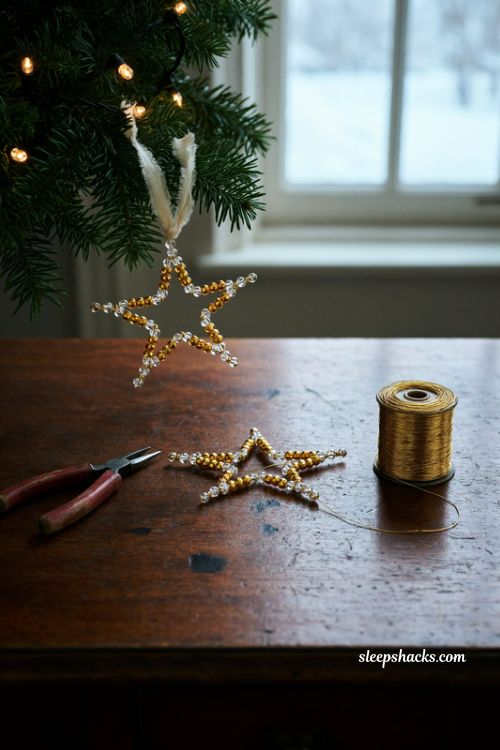
Bend thin craft wire into a five-point star, then thread gold and clear beads along each side so the star glows under the lights. A star about three inches wide hangs well from a thin ribbon, and a small bead at each tip makes the points look finished.
This is a good step up for crafters who have done a few simple projects. Wire and beads for several stars cost only a few dollars. Test the shape before you thread all the beads, because it’s much harder to reshape the wire afterward. Use small pliers to close the ends neatly so no sharp point sticks out.
4. Victorian-Style Pearl and Crystal Drop Ornaments
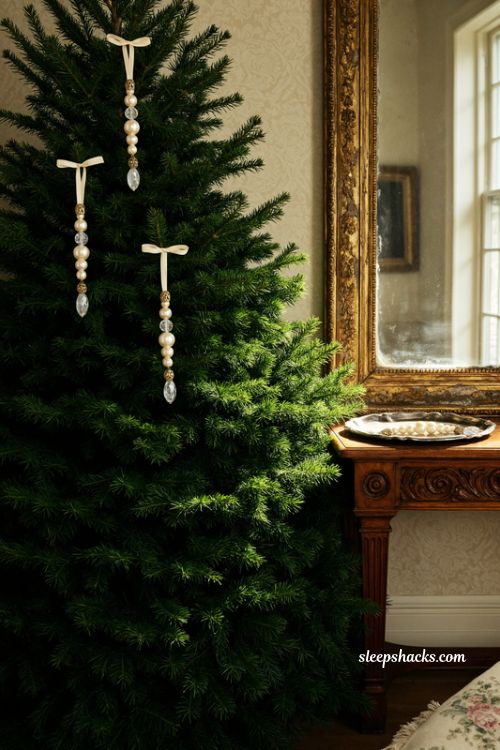
Cream faux pearls and clear crystal-look beads, strung in a graduated drop on a head pin and topped with a small gold cap and a satin ribbon loop, look like something from an antique shop. The longest drop sits at the bottom, with smaller beads stepping up toward the cap.
Acrylic and glass beads from any craft store work well, and the cost is moderate because the pieces are small. This look suits formal trees and anyone who loves a vintage feel. Make a set of three in different lengths for a more dramatic effect. Stick to cream, gold, and clear so the ornaments feel like one collection.
5. Embroidered Felt Ornaments with Bead Accents
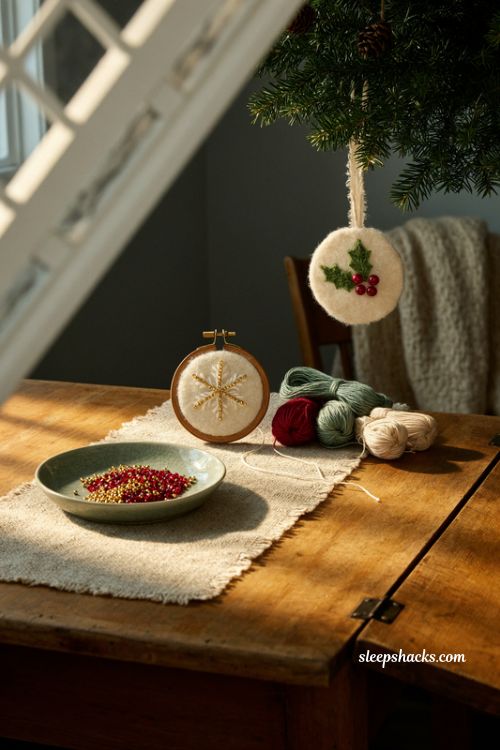
Embroider a simple design, like a holly sprig, a snowflake, or a small tree, onto felt with cotton floss in a hoop, then add a few beads as berries or sparkles. The thread gives color and softness, while the beads add little points of shine.
You only need backstitch and a few French knots, so this suits beginners willing to learn. Supplies cost very little, and a finished piece takes about an hour. Back the embroidery with a second piece of felt to hide the messy stitches. Because only a few beads are used, it’s quick, and it makes a lovely small gift.
6. Fuse Bead Christmas Ornaments for Kids
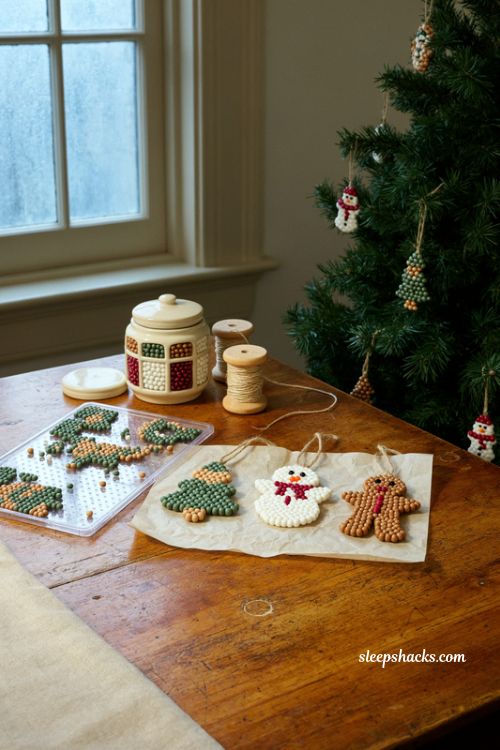
Arrange fuse beads on a pegboard in the shape of a tree, a snowman, or a gingerbread man, then have an adult iron them under parchment paper so the beads melt together into one flat piece. The finished ornament is bright, sturdy, and slightly glossy.
Kits are inexpensive and come with pegboards and plenty of colors, and a small design takes about twenty minutes. Leave a hole near the top for a string. The ironing step is for adults only, since the iron gets hot. This suits rainy afternoons and kids who like picking their own pattern.
7. Beaded Net Covers on Glass Balls
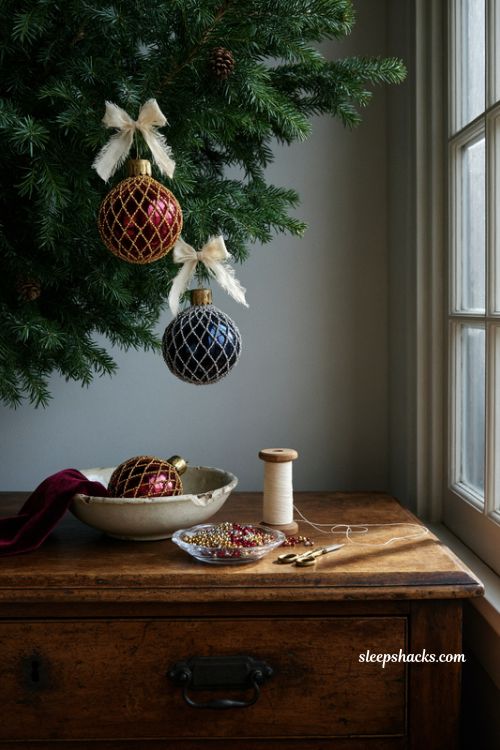
Sew a small net of seed beads in a diamond pattern and stretch it over a plain glass ball so the color shows through the gaps. Gold beads over a deep red ball look rich, while silver over navy feels cool and crisp. The beads sit like tiny jewels across the surface.
This is a project for patient crafters, since the netting takes time and care. It uses a plain ball you already own, so the main cost is the beads. Choose a solid-color ball with a contrasting net so the pattern stands out. Handle the glass gently while you work, and gather the net snugly at the cap.
8. Beaded Snowflake Ornaments from Wire
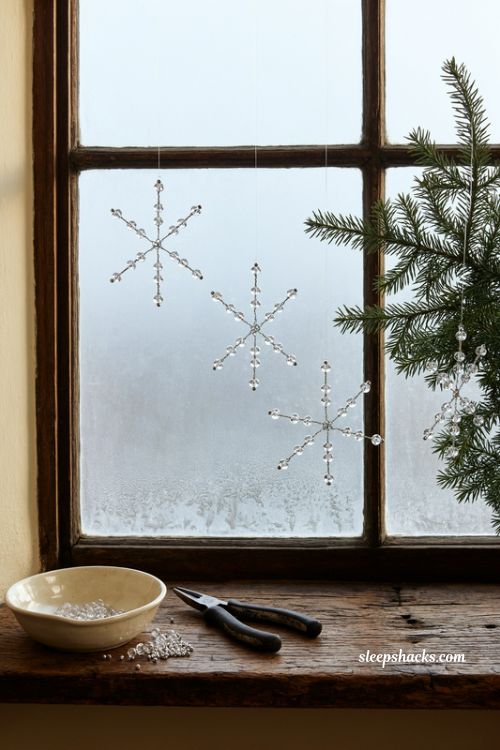
Thread clear and silver beads onto thin wire, then twist the strands into a six-armed snowflake with a small bead at each tip. Hang it with fishing line near a window or the lights, and it looks like frost caught in mid-air.
This takes a little practice because the wire needs careful twisting, so it suits crafters with some experience. A handful of snowflakes costs only a few dollars in beads and wire. Use pliers to tuck the ends away, and make the arms the same length by counting beads. Glass beads sparkle more, but acrylic ones weigh less on thin branches.
9. Seed Bead Woven Ornaments from Free Patterns
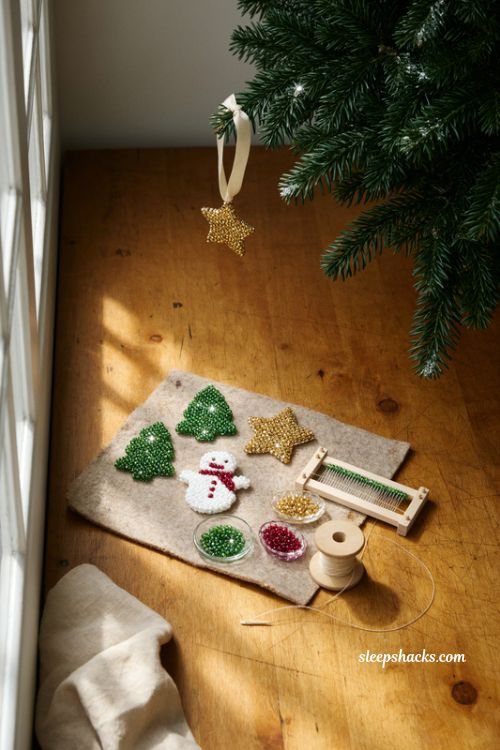
Follow a free pattern, plotted on a small grid, to weave a tree, a star, or a snowman row by row on a bead loom or with needle and thread. The finished piece is flat, about two inches tall, and looks like a tiny jewel.
Free patterns are easy to find and often include a color key, which makes the project beginner friendly for people who like counting. Seed beads are inexpensive, though a loom adds a little cost. Work on a bead mat so nothing rolls away, and good light matters because the beads are tiny. Choose small patterns first, and finish one before trying a bigger design.
10. Wooden Bead Ornaments in Natural Tones
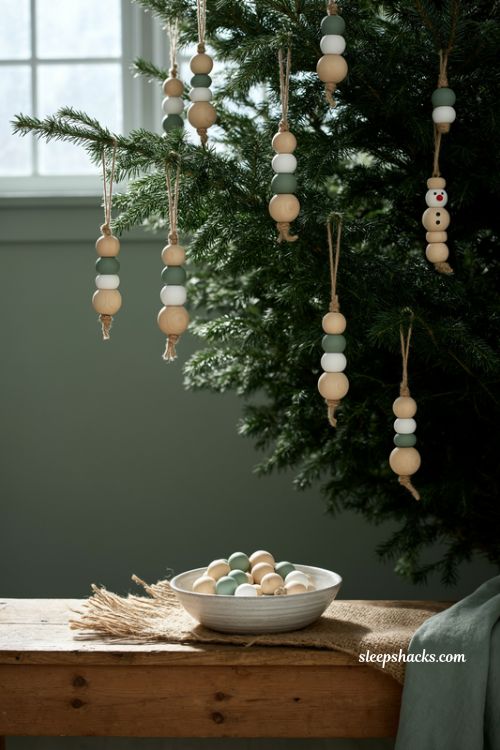
Stack three wooden beads of different sizes on a jute loop, largest at the bottom, add a tiny red bead as a nose or a button, and you have a little snowman or a simple rustic charm. Paint a few white or sage for variety.
Wooden beads are among the cheapest supplies, and large ones are safe around kids and pets. A set takes about an hour to make, even for a beginner. Knot the twine tightly under the bottom bead so everything stays in place. This suits farmhouse and Scandinavian trees, where natural textures feel right and glittery pieces would look out of place.
11. Beaded Wreath Ornaments on Wire Rings
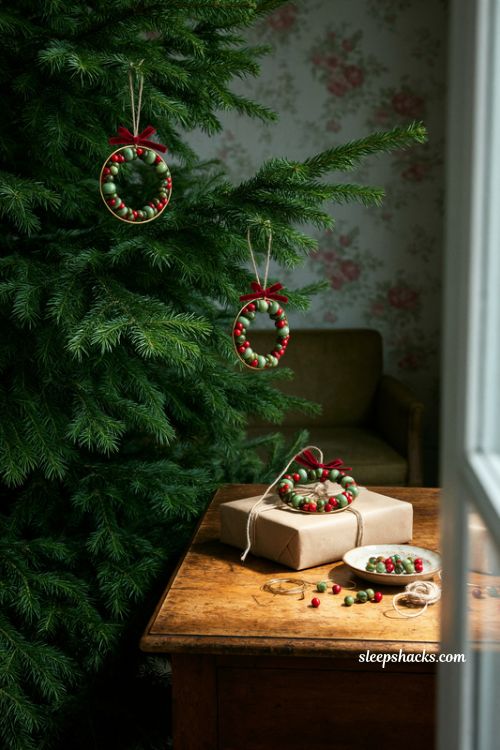
Thread green and red beads onto a circle of wire about three inches across, twist the ends together, and add a tiny ribbon bow. The finished wreath looks like a miniature version of a real one, and mixing two or three greens gives it depth.
Each one takes about ten minutes, and it’s a great way to use up leftover beads. It suits crafters who like a classic look and don’t want anything too complicated. Tie the hanging loop around the wire at the back instead of through the beads, so the wreath hangs straight. They also work nicely as gift toppers.
12. Beaded Bell Ornaments
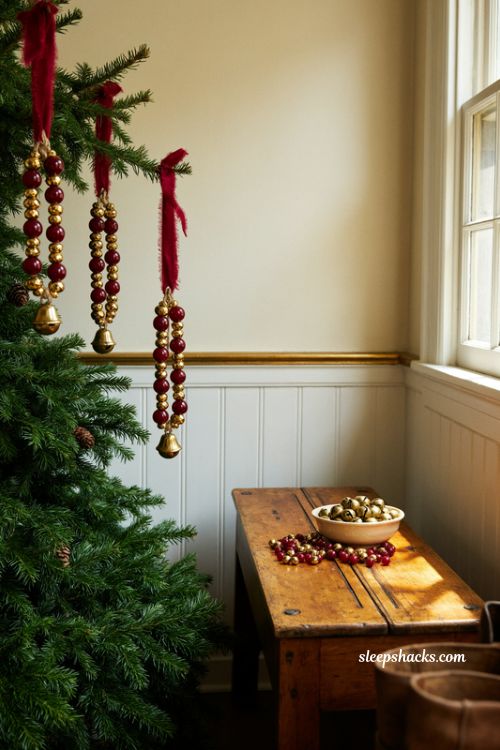
Attach a small jingle bell to the bottom of a string of red and gold beads, and hang it from a ribbon so it chimes softly when the tree is bumped. Choose a mix of two bead sizes so the strand has some visual rhythm above the bell.
Bells cost very little and come in bulk, so a handful of ornaments is cheap to make. Use strong cord and a double knot, since the bell adds weight. The sound is charming near an entryway, though it may bother anyone sensitive to noise. Keep these out of reach of cats, who may bat at them and pull the whole thing down.
13. Beaded Initial Ornaments for Personal Gifts
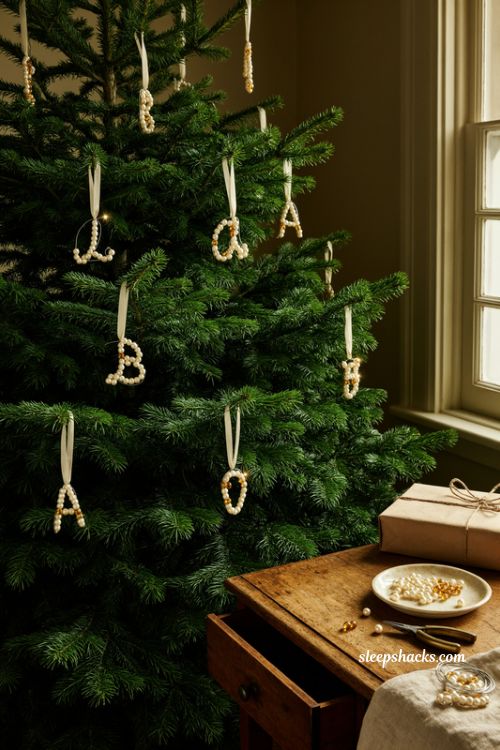
Bend wire into a letter, then thread beads along it so the initial glows in gold or pearl. Simple letters like L, T, I, and V are the easiest, because they have few curves and are quick to shape. Add a ribbon loop at the top.
Sketch the letter on paper first and bend the wire to match it, so the shape comes out even. Each one costs very little and feels personal, which makes it a lovely gift for teachers, friends, or family. Curved letters like S and B are trickier and suit more experienced crafters. Use pliers to hide the wire ends inside the beads.
14. Beaded Heart Ornaments in Red and Pearl
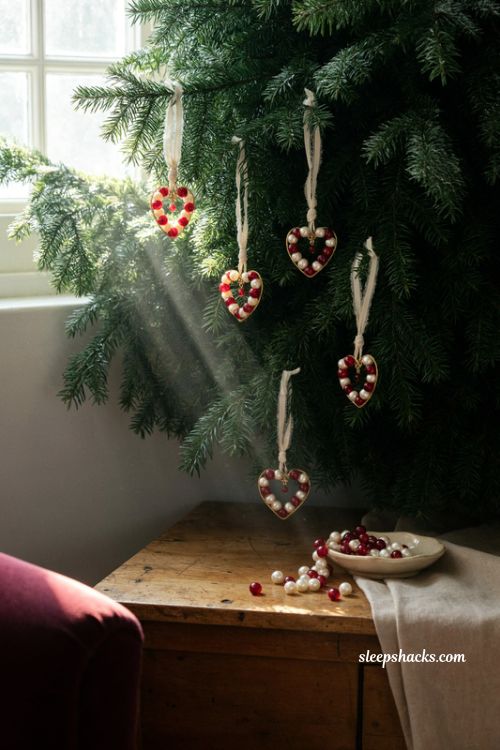
Bend wire into a heart shape and thread alternating red beads and pearl beads, so the colors repeat around the curve. A heart about three inches wide looks sweet on a tree and also works as a keepsake for a first Christmas together.
This is an easy project, and it teaches the basic steps used in more complicated wire ornaments. Count beads on each side so the heart is symmetrical, and close the top neatly with a small twist. The cost is low, and the ornaments last for years. It suits anyone who wants a gentle, romantic touch on the tree.
15. Matching Beaded Ornament Gift Sets
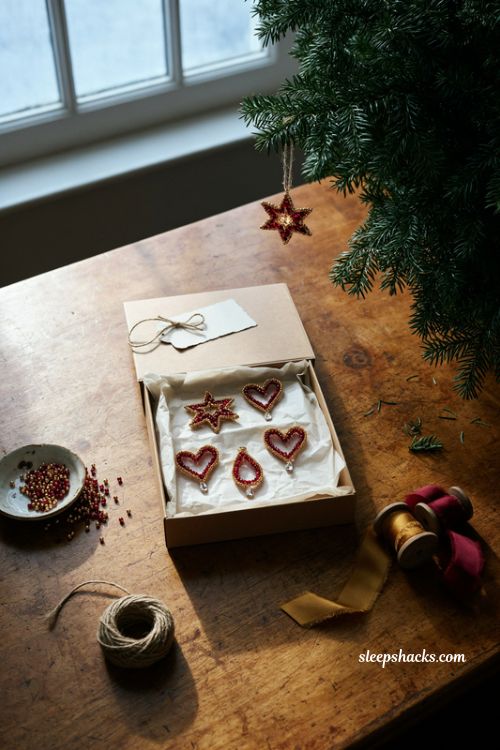
Make three or six ornaments in one color family, such as cranberry and gold or icy blue and silver, and tuck them into a small box with tissue and a handwritten tag. The matching look turns a few small pieces into a proper gift.
Buying beads in bulk keeps the cost per gift low, and planning the colors first prevents leftover odds and ends. Pad the box so the wire doesn’t bend in the mail or under the tree. Write the year on the tag, since recipients love dated keepsakes. This suits crafters who like giving handmade presents and want them to look polished.
Final Thoughts
Somewhere down the line, one of these ornaments will turn up in a box and make you smile. You’ll remember the movie that was on, the cup of tea beside you, and the bead that rolled under the couch and reappeared in March.
So pick the project that looks like the most fun, not the most impressive. Make a few, hang them where you can see them, and let the rest wait until next year. That’s how a handmade collection grows, one quiet evening at a time, with a little extra sparkle each December.
Frequently Asked Questions
Q: What is the easiest beaded Christmas ornament for beginners?
A pony bead candy cane on a pipe cleaner is the easiest, and it takes about five minutes. Wooden bead charms and simple wire hearts are also good starting points.
Q: What do I need to make beaded Christmas ornaments at home?
You need beads, a base like pipe cleaners, craft wire, or felt, and a needle, thread, or small pliers. Add ribbon or twine for hanging.
Q: Are beaded ornaments safe to make with kids?
Yes, with the right projects. Choose large pony beads or fuse beads, supervise closely, avoid sharp wire ends and tiny seed beads for young children, and leave ironing to adults.