

There’s something magical about pulling a handmade card out of an envelope instead of a mass-printed one from the store. You can feel the extra ten minutes someone spent picking colors, cutting shapes, or dabbing on watercolor before they ever wrote your name on it.
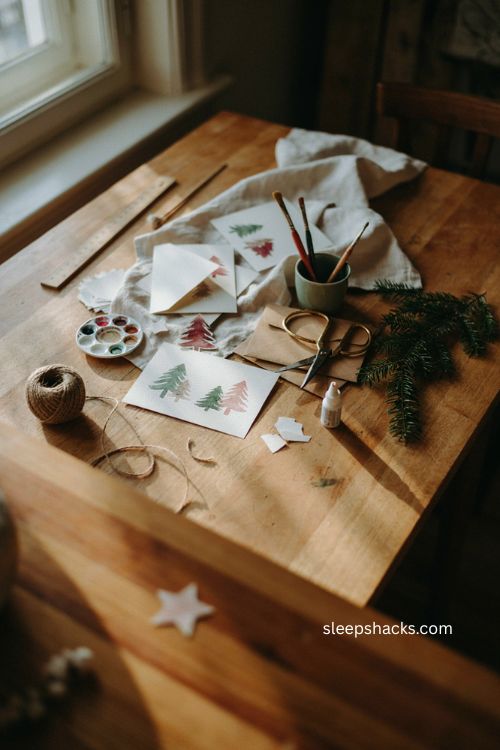
If you’ve ever wanted to send that same feeling this December, you don’t need to be a professional crafter to pull it off. All it really takes is some cardstock, a few basic supplies you probably already have in a drawer somewhere, and a little patience. Here are fifteen handmade Christmas card ideas that are easy enough for a Tuesday night at the kitchen table.
1. Snow Globe Photo Card
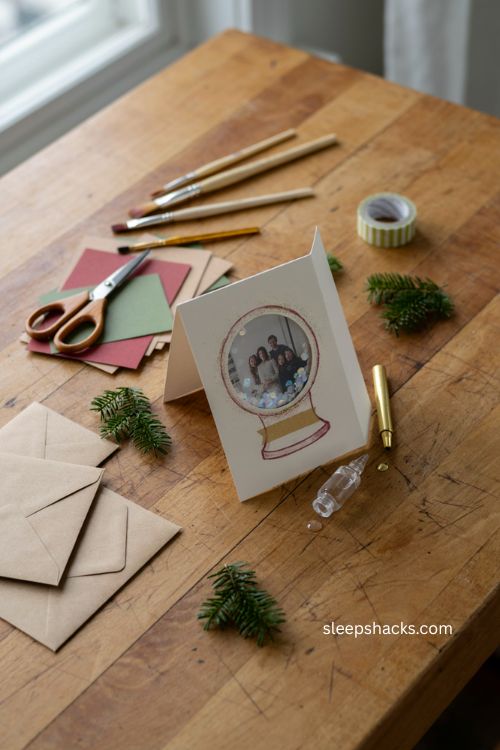
A photo tucked inside a hand-drawn snow globe is one of those ideas that looks far more complicated than it actually is. Draw or trace a simple globe outline on your card front, cut a small window, and slide a favorite family photo behind it. Add a few loose sequins between the photo and the paper before sealing it so they shift around like real snow when the card is tilted. A thin strip of washi tape along the base gives it a little pedestal, and a strip of gold paint or a paint pen along the rim finishes the illusion nicely. For an extra bit of shimmer, dab a little clear glue around the window edges and sprinkle on fine glitter so it catches the light when tilted.
2. Watercolor Ornament Cards
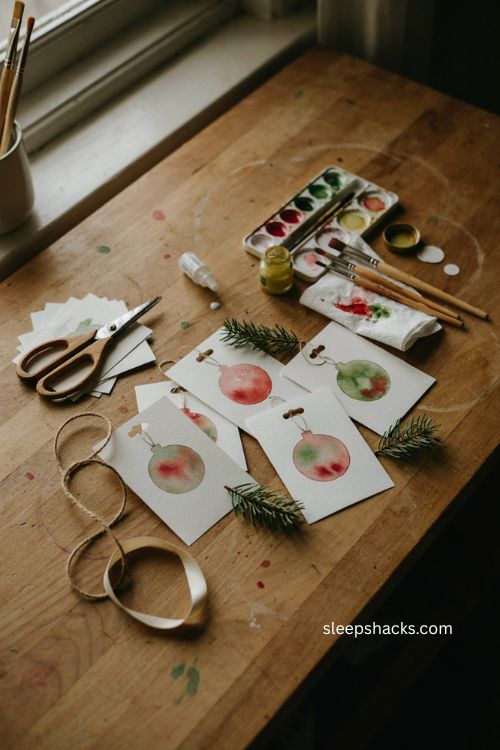
Mixing red and green watercolor paint into loose, blotchy rectangles gives you gorgeous raw material for a whole batch of cards at once. Brighten the green with a touch of yellow before you start, then let the brush lift and pool in a few spots so real texture forms as it dries. Once the paint dries, punch out small circles with a two-inch craft punch so each one looks like a painted ornament. Glue a plain paper hanger cut from cardstock above each circle, then finish with a loop of thin twine or ribbon glued at the top with a hot glue gun. Because the paint blooms differently every time, no two ornaments end up looking exactly alike, which is part of the charm.
3. Scrap Fabric Patchwork Cards
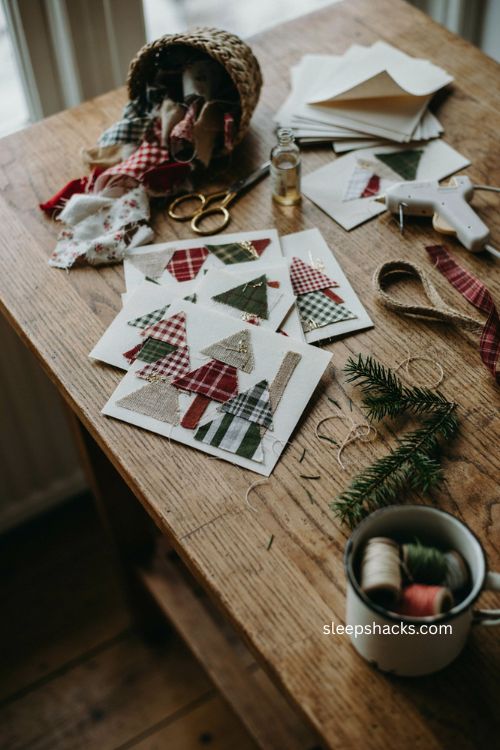
If you’ve got a basket of leftover fabric scraps from another project, this is the card that finally puts them to good use. Cut small triangles, squares, or tree shapes from cotton prints and layer them onto plain cardstock with fabric glue or a hot glue gun, overlapping the pieces slightly so no bare paper peeks through underneath. The slightly frayed edges and mismatched patterns give the card a cozy, handmade texture that printed paper just can’t match. Mixing a few metallic or plaid fabrics into the pile adds just enough sparkle without making the design feel busy, and a plain linen or burlap scrap makes a nice grounding base color for the whole arrangement.
4. Hand-Embroidered Tree Cards
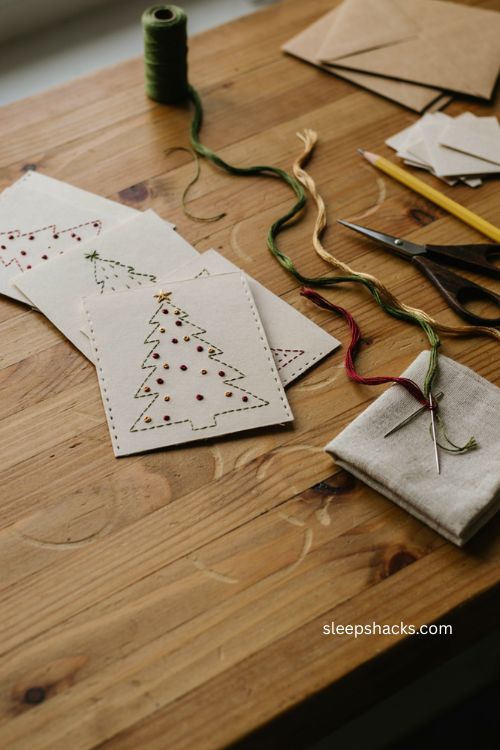
Embroidery sounds intimidating until you realize a simple Christmas tree only needs a handful of straight stitches. Sketch a light pencil outline on sturdy cardstock, poke small holes along the lines with a needle or pin, spaced about a quarter inch apart, and stitch through with embroidery floss in green, gold, or red. A cluster of French knots works beautifully as ornaments once the outline is filled in, and a single gold star stitched at the top gives the tree a proper finishing touch. Because the paper is thick enough to hold its shape, you don’t need an embroidery hoop, which makes this one surprisingly portable for a cozy night on the couch.
5. Pop-Up Poinsettia Card
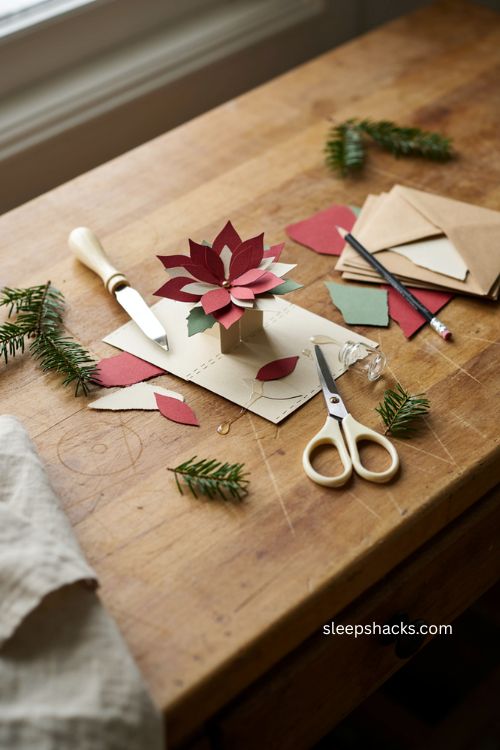
Pop-up cards have a way of making even a simple design feel like a genuine surprise. Print or trace a poinsettia template, score the fold lines carefully with a bone folder for crisp creases, and glue the base flaps so the flower springs upright the moment the card opens. Layering two or three shades of red or cream cardstock petals gives the bloom extra depth and dimension, and a couple of small green leaf cutouts tucked underneath fill out the base nicely. A single gold brad or a dab of glitter glue in the center adds just enough shine to make it feel finished rather than flat.
6. Washi Tape Christmas Tree Cards
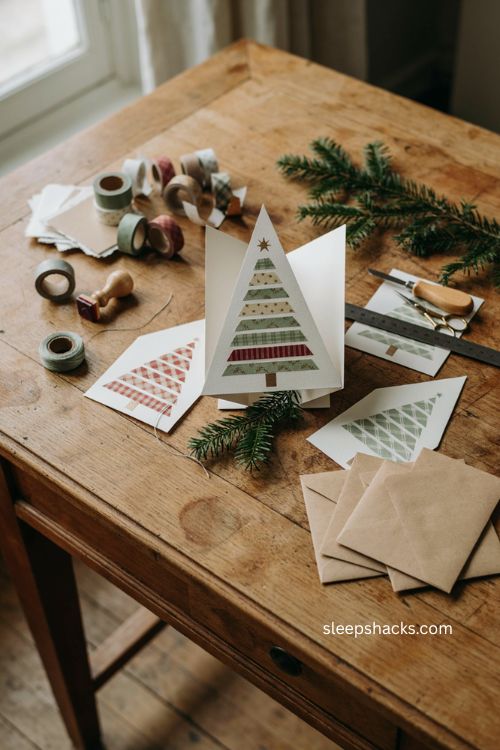
Washi tape turns a Christmas tree into one of the fastest cards on this whole list, and there’s barely any cleanup involved. Cut strips of patterned tape in descending lengths, starting with the longest piece at the bottom, and layer them onto cardstock in a simple triangle shape, trimming the overhanging edges flush with a craft knife as you go. Picking six or seven coordinating patterns rather than one solid color gives the tree a playful, layered look without any painting or cutting involved. Finish with a small stamped star or a stitched X at the top for a treetop, then add a thin cardstock trunk at the base to tie the whole design together.
7. Scrapbook Paper Tree Cards
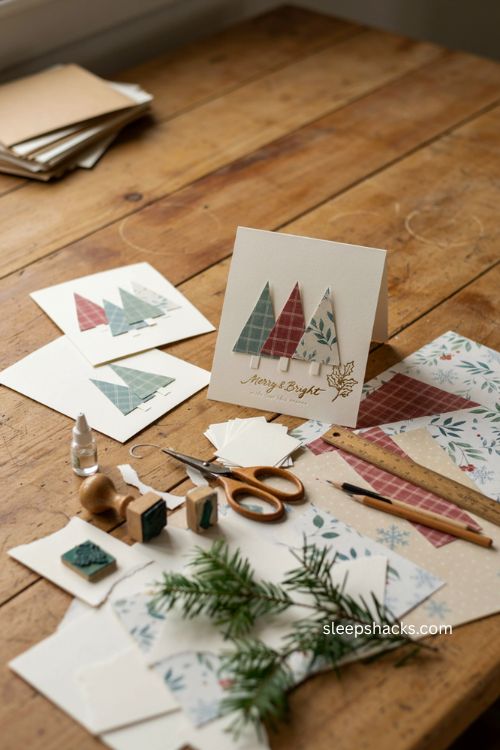
A paper Christmas tree cut from patterned scrapbook paper looks far more polished when it’s backed with a second layer of plain cardstock first. Trace a simple triangle stencil onto your favorite winter paper, cut it out, then glue it onto cardstock and trim around the edges for a slightly raised, dimensional look. Adding a plain trunk rectangle at the base grounds the design, and a coordinating “Let It Snow” or “Merry Christmas” stamp in one corner keeps the card from feeling empty. A standard 5×7 card is the easiest size here, made by cutting an 8.5×11 sheet down to 7×10 before folding. Repeating the tree shape in two or three papers adds a nice sense of depth.
8. Fingerprint Light String Card
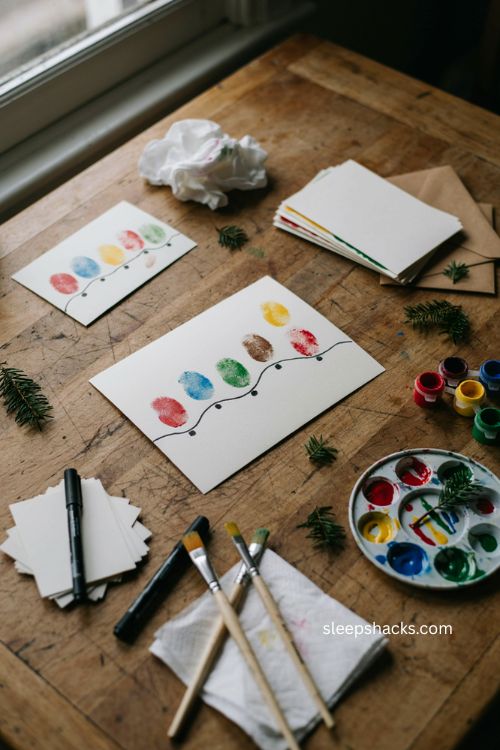
Little fingerprints turned into a string of holiday lights make one of the sweetest cards to send to grandparents. Draw a simple curved wire across the card front in marker, then have kids dip their fingertips in different bright paint colors, like red, yellow, blue, and green, and press them along the line like glowing bulbs. Once the paint dries, a black marker dot on each fingerprint turns them into little bulb sockets, and a short “Merry & Bright” message underneath pulls the whole thing together. It’s messy in the best possible way, and since every set of fingerprints is different, every single card comes out completely one of a kind.
9. Wreath Photo Card
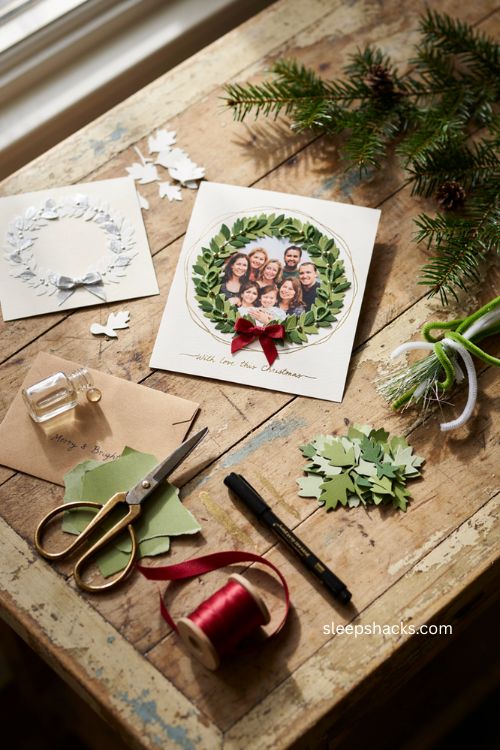
A classic wreath shape becomes something much more personal once a family photo sits right in the center of it. Cut a photo into a circle, glue it to the card front, then build a ring of small green shapes, punched leaves, or short lengths of curled pipe cleaner around the edge to form the wreath itself. A tiny red bow glued at the bottom finishes the look, and a thin gold marker line traced just outside the wreath adds a little extra polish. This one doubles easily as a keepsake people tend to hang onto well past the holidays, since it’s really a small framed photo dressed up as a card. Swapping the standard green for white or silver leaves gives the wreath a frostier look.
10. Felt Sweater Card
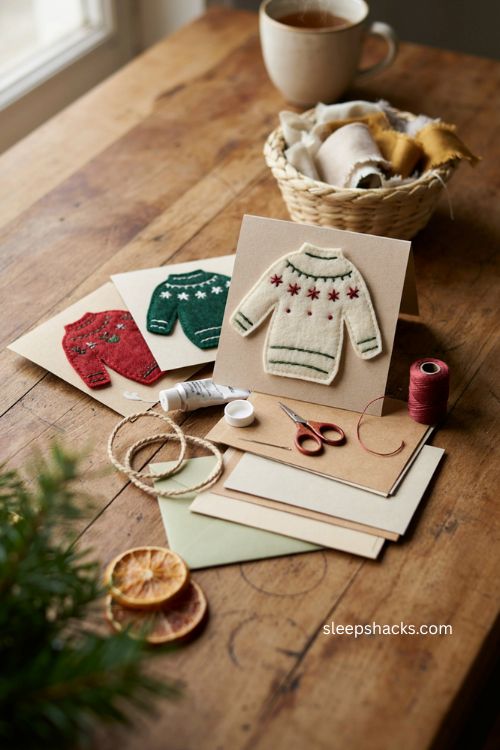
A felt sweater cut-out brings instant cozy energy to a plain card front the moment you open it. Cut a simple sweater shape from cream or red felt, then layer smaller felt pieces on top to create a snowflake, stripe, or reindeer pattern across the front, keeping the shapes small enough that they don’t overwhelm the sweater outline. A bit of fabric glue holds everything in place, and a strand of embroidery floss stitched loosely along the collar or hem adds texture without much extra effort. Set against a plain kraft or white cardstock background, the felt really stands out and gives the card a soft, tactile feel the second someone runs a finger across it.
11. Joy Bunting Photo Card
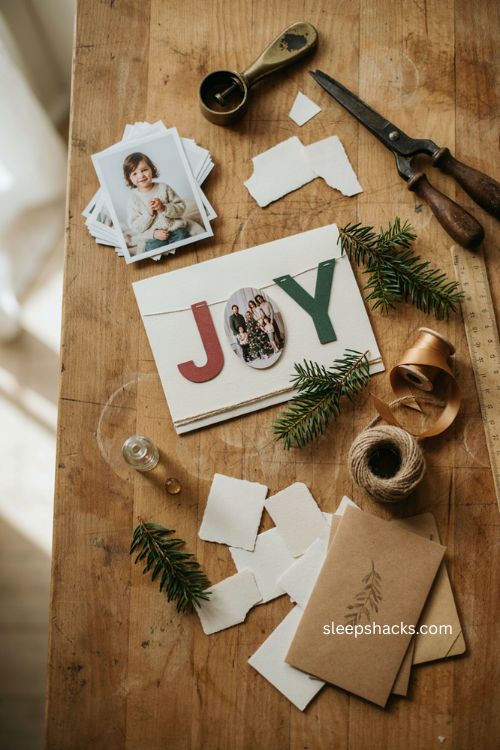
Spelling out “Joy” with a photo standing in for the letter O turns a simple card into a small keepsake. Cut the J and Y from cardstock or patterned paper, trim a photo into a circle for the O, and arrange all three across the card front in a straight line. A thin ribbon or bit of twine strung along the bottom edge adds a nice finishing detail without competing with the photo. This one works especially well as a family photo card since the picture becomes the whole focal point rather than an afterthought tucked in a corner. Keeping the J and Y in a plain, solid color helps the eye land on the photo first, which is really the whole point of the design.
12. Fun-Fold or Gatefold Card
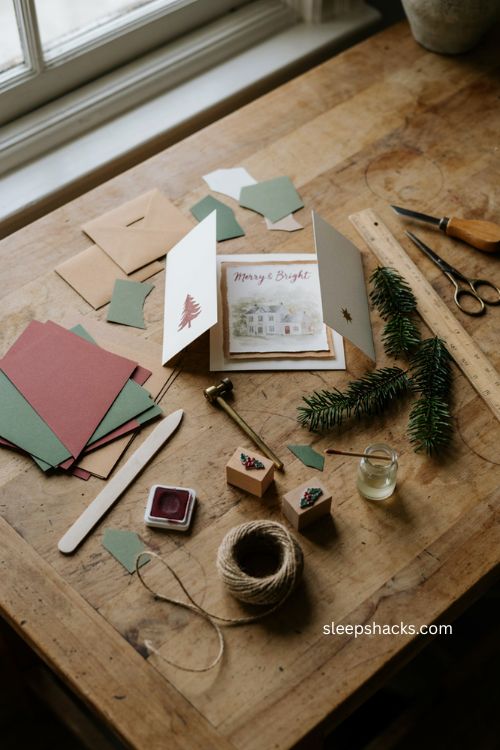
A fun-fold or gatefold card adds a small element of surprise the moment someone opens it. Score and fold the cardstock so the panels open outward or inward in an unexpected way, revealing a second layer of design, a photo, or a message hidden inside the fold. It takes a little practice with a scoring tool to get the folds crisp and even, but once you’ve made one, the technique is easy to repeat across a whole stack of cards. Adding a simple stamped tree or star to the front panel keeps the focus on the reveal rather than an overly busy exterior. A gatefold, where both side panels swing open toward the center like little doors, tends to be the easiest version to master first.
13. Quilled Poinsettia Card
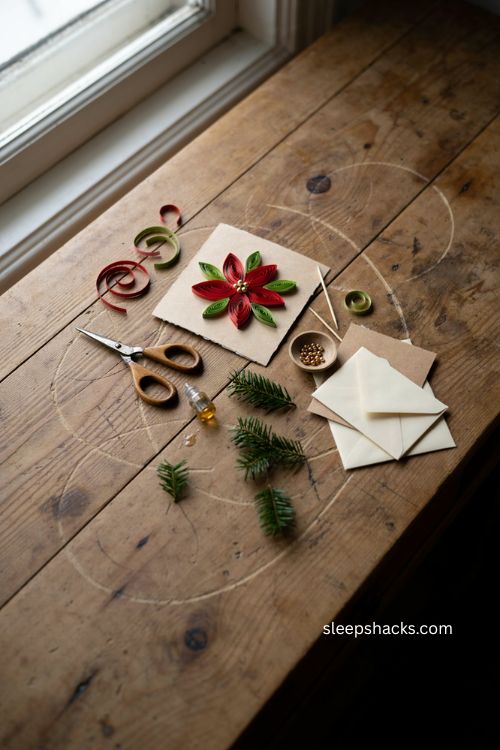
Quilling brings a surprising amount of texture to a poinsettia using nothing more than thin strips of red and green paper. Roll each strip around a toothpick or quilling tool, pinch the coils into simple teardrop petal shapes, and arrange five or six around a small gold center bead so the petals fan out evenly like a real flower. Gluing the finished flower onto a plain cardstock base lets the dimensional paperwork do all the talking, and a couple of loose green quilled leaves tucked underneath finish the arrangement. It takes a bit of patience to get the coils even, but the layered, sculptural look is worth the extra few minutes per card.
14. Foam Marbling Winter Card
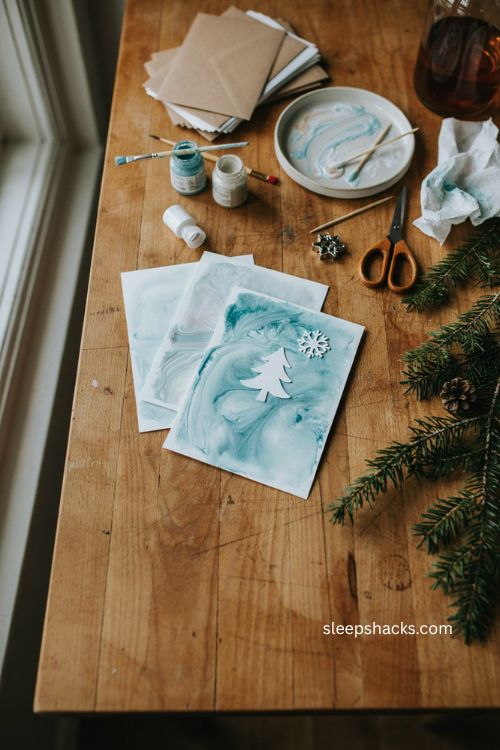
Foam marbling gives you a soft, swirled winter background without needing any real painting skill. Spray a thin layer of shaving foam onto a tray, drop in a few spots of blue and white paint, and swirl gently with a toothpick before pressing cardstock flat on top. Wipe away the excess foam and you’re left with a soft, marbled pattern that looks like frost on a window. Once it dries, a simple stamped snowflake or a hand-cut paper tree glued on top turns the marbled background into a finished card rather than just a pretty piece of paper. Making several sheets at once is worth it, since the swirl pattern is never quite the same twice.
15. Recycled Magazine Collage Card
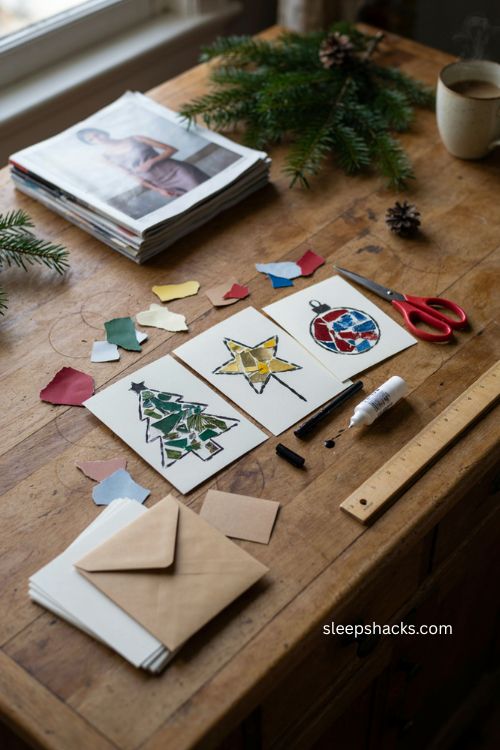
Old magazines sitting in a recycling pile are secretly full of great card material once you start looking at them differently. Tear or cut pages into small strips and pieces, then layer them inside a simple shape outline, like a tree, star, or ornament, glued onto plain cardstock. Mixing in a few metallic or solid-colored scraps keeps the collage from looking too chaotic, and a light outline traced in marker or paint pen around the shape helps it read clearly from a few feet away. It’s a nearly free project that also gives old magazines one more useful life instead of sending them straight to the recycling bin.
Final Thoughts
Pick just one or two of these ideas to try first rather than attempting all fifteen in a single weekend. Set out your supplies, put on some music, and give yourself permission to make a slightly messy first attempt before your technique starts to click. Once you find the one that feels most like you, whether that’s watercolor, felt, or a quick washi tape tree, it’s easy to turn it into a little holiday tradition you repeat every year. The people on your card list won’t remember whether the edges were perfectly straight. They’ll remember that you made something just for them.
Frequently Asked Questions
Q: What supplies do I need to start making handmade Christmas cards? A basic starter kit is just cardstock, scissors, glue, and something to add color, like paint, markers, or patterned paper; everything else is optional.
Q: How far in advance should I make handmade Christmas cards? Starting three to four weeks before Christmas gives you enough time to make a full batch without rushing, plus a buffer for mailing.
Q: What’s the easiest handmade Christmas card idea for beginners? Washi tape trees and stamped designs are the simplest starting points since they require no drawing skill and come together in just a few minutes.