

There’s something about a tiny lit-up village that makes a whole room feel like a snow globe came to life. You don’t need a big budget or a craft room full of supplies to pull it off — just a shelf, a few household items, and a little patience on a Sunday afternoon.
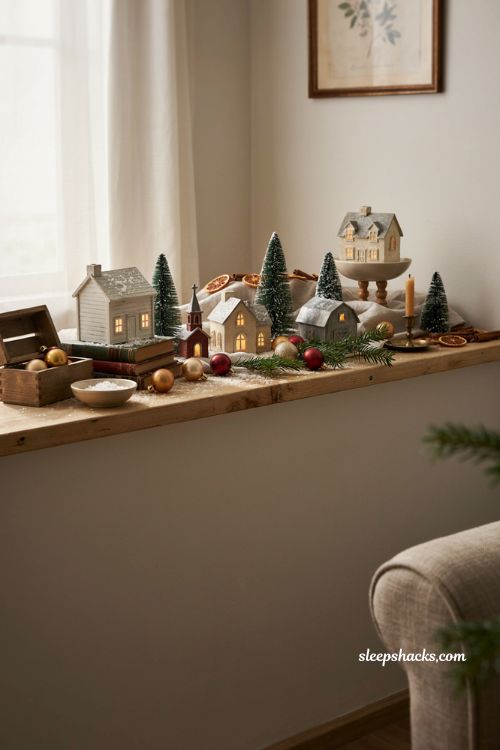
The trick with Christmas village display ideas diy easy enough for a weeknight is layering height, light, and texture so the scene reads as one cozy little world instead of a row of houses sitting flat on a table. Here are fifteen ways to build a display that looks like it took a lot more effort than it actually did.
1. Build Height With Hidden Risers
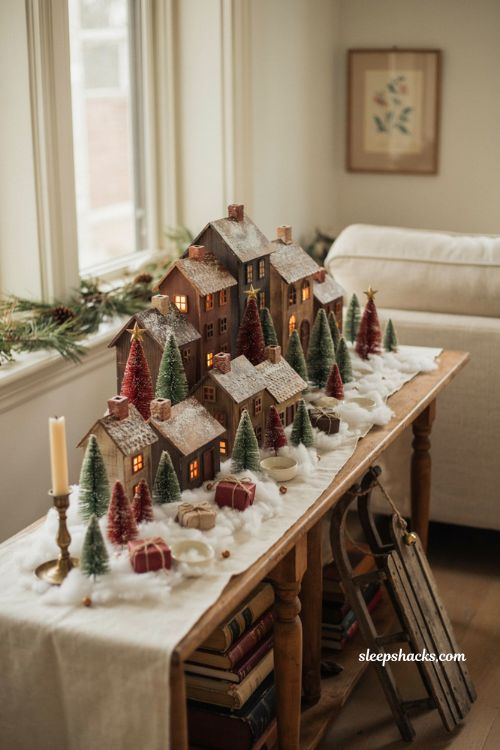
Flat displays read as cluttered no matter how many houses you own, so tuck wrapped boxes, upside-down bowls, or foam blocks underneath your table runner to create tiers. Cover each riser in white fleece or cotton batting so the seams disappear into the snow. Put your tallest buildings on the back tier and smaller cottages up front — that single shift in depth is what makes a display look professionally styled instead of thrown together in a rush.
2. Use a Mirror as a Frozen Pond
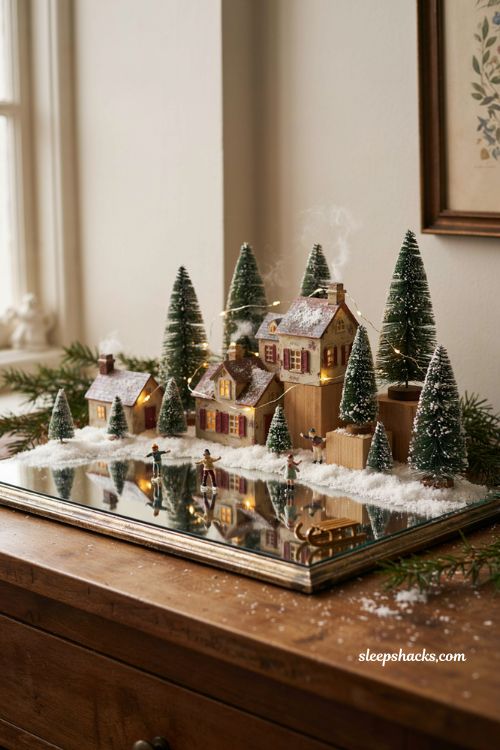
A cheap dollar-store mirror laid flat instantly becomes an ice rink or pond once you edge it with cotton snow. Add a few tiny plastic skaters or a toy sled nearby for scale, and the reflection of your string lights will make the whole corner glow. It’s one of those details guests notice immediately, even though it costs almost nothing and takes about two minutes to place.
3. Tuck Fairy Lights Under the Snow Layer
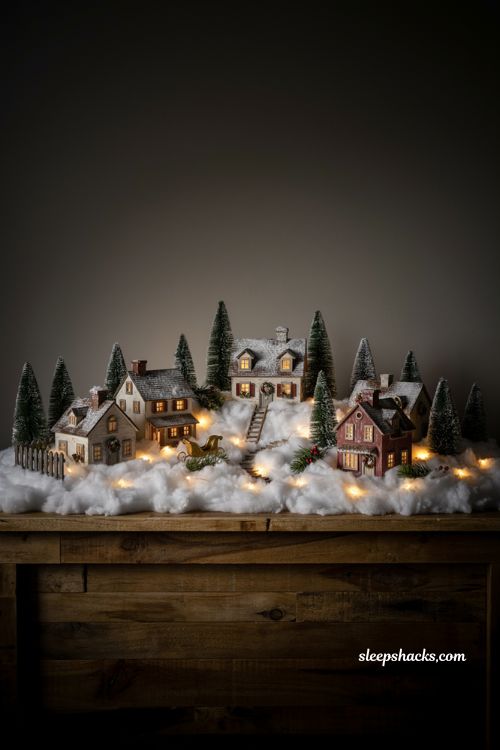
Warm white fairy lights, not the village’s built-in bulbs, are what make a display glow instead of just sit there lit. Slide a battery-powered strand underneath your cotton batting before you place any houses, letting a few bulbs peek through near windows and doorways. Turn off the overhead lights once it’s done — the soft glow rising up through the fake snow is the detail that makes people stop and take a photo.
4. Add Bottle Brush Trees for Scale
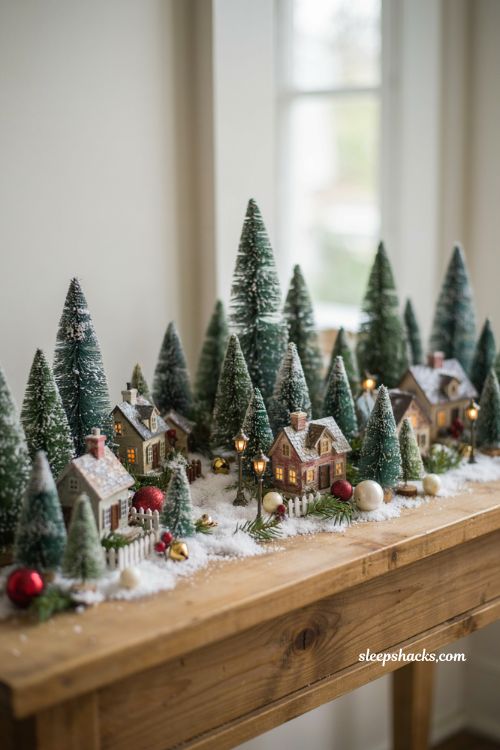
Nothing sells the illusion of a real neighborhood like a cluster of little green trees between the buildings. Vary the heights — tall ones toward the back, short ones near the front — and dust the tips lightly with white craft paint or Epsom salt for a frosted look. Group them in threes rather than spacing them evenly, since odd numbers and slight clumping look far more natural than a straight row.
5. Repurpose Stacked Books as a Backdrop Riser
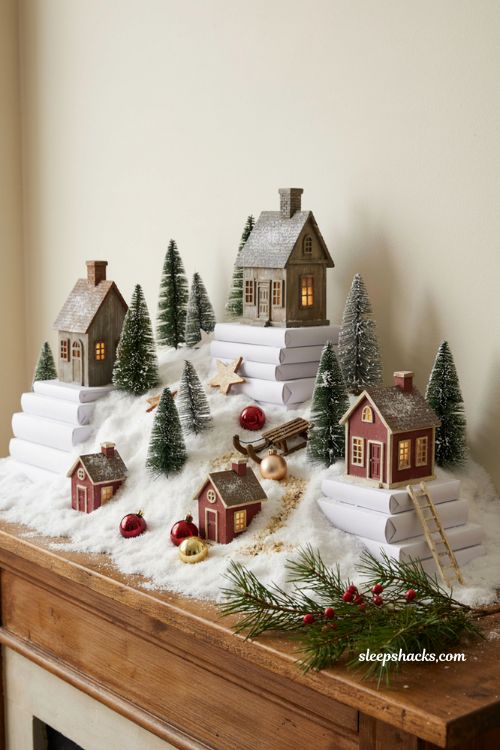
Old hardcover books wrapped in plain white paper make surprisingly good hidden platforms, especially if you’re working on a bookshelf or mantel where boxes won’t fit as neatly. Stack two or three at different heights along the back edge and drape your snow blanket over the top so only smooth white slopes show. It’s a five-minute fix that gives your buildings a hillside feel instead of a flat shelf feel.
6. Make Mini Street Lamps From Mason Jar Lids
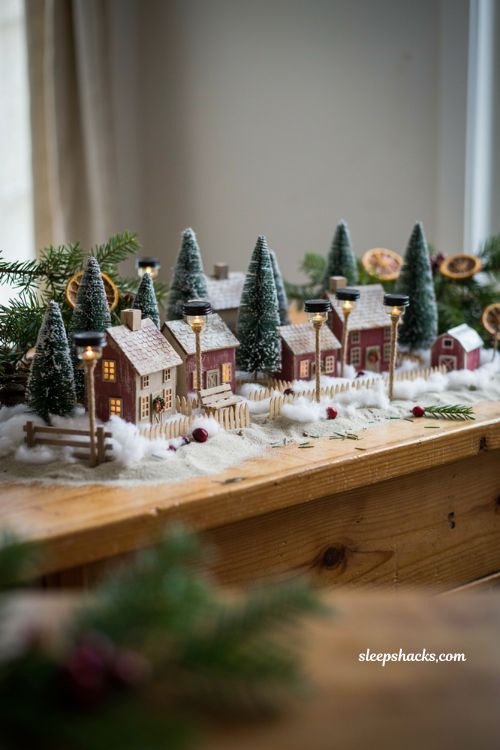
Hot-glue a small string light bulb into a mini mason jar lid or bottle cap, paint it black, and set it on a toothpick “post” between houses. Scattering three or four of these along your main row mimics real street lighting and adds warmth without overpowering the scene. It’s a small touch, but it’s the kind of detail that makes a display feel considered rather than store-bought straight off a shelf.
7. Use Epsom Salt Instead of Cotton for Ground Texture
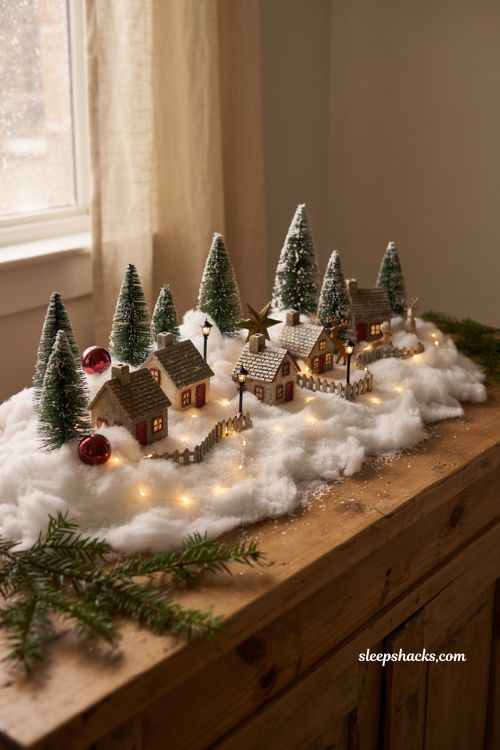
Cotton batting is the classic choice, but Epsom salt sprinkled around the base of your buildings gives a sparkly, crunchy-looking texture that reads more like real snowdrift. Mix the two — cotton for the soft rolling hills, salt dusted on top near walkways — and you get depth that a single material can’t give you on its own. It also catches the fairy lights beautifully once the room goes dark.
8. Frame the Village With a Wooden Crate
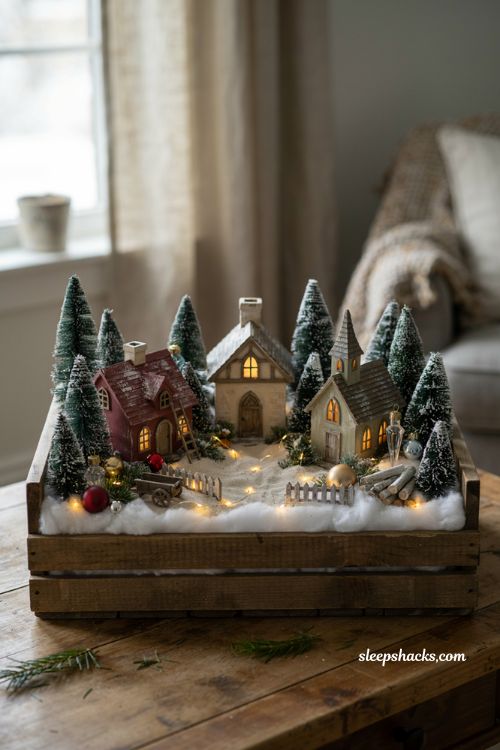
Setting your whole scene inside a shallow wooden crate or wine box instantly gives it edges and a sense of being its own little world rather than sprawling across the whole shelf. Line the inside with batting, tuck your houses and trees in, and you’ve got a display that’s portable, storable, and easy to move from the mantel to the entry table depending on who’s visiting. Thrift stores are a reliable spot to find one for a few dollars.
9. Add a Miniature Train Loop
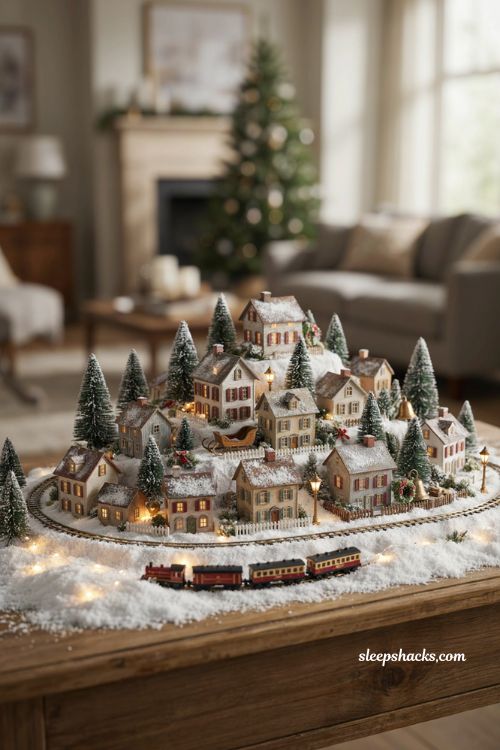
A small battery-operated train circling the base of your village turns a static scene into something that actually moves, which kids especially love standing in front of. You don’t need real tracks — even a printed paper loop tucked under the snow layer sells the idea if you’re short on space or budget. Just keep the loop toward the front so it doesn’t block the taller buildings behind it.
10. Use Twine and Twigs for a Rustic Fence Line
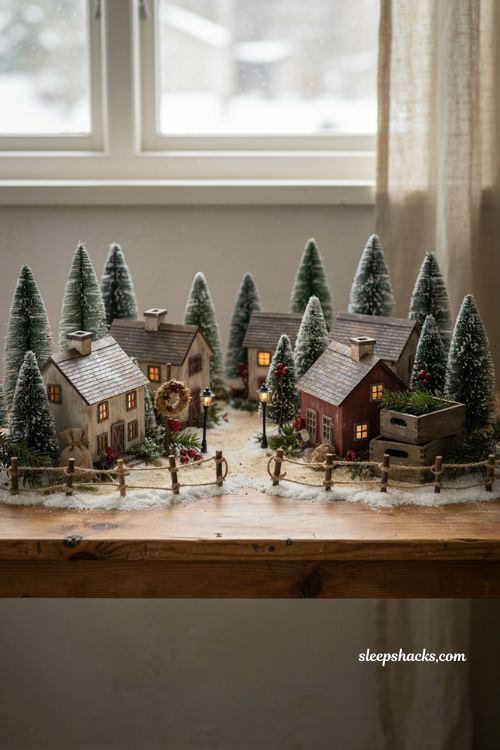
A little fence made from twine wrapped around small twigs, spaced a few inches apart, adds a farmhouse feel and helps define the edges of your display without hard plastic pieces. Snap the twigs to roughly matching heights so the fence line looks intentional rather than random, and let it curve slightly instead of running perfectly straight. It’s a nice touch if your village leans more cottage-and-barn than city street.
11. Print Tiny Store Signs for Personality
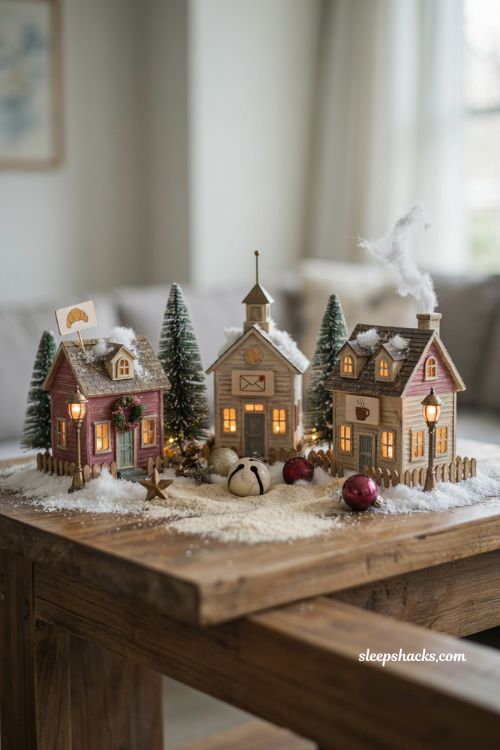
Printing small labels — a bakery, a post office, a hot cocoa stand — and taping them above your buildings gives the display a storyline instead of just being a row of generic houses. Use a script font sized down small, print on cardstock, and glue a toothpick to the back so each sign can be pushed into the snow layer at an angle. This is an easy way to make a mismatched thrift-store village feel like one cohesive town.
12. Layer in Warm and Cool Light Tones
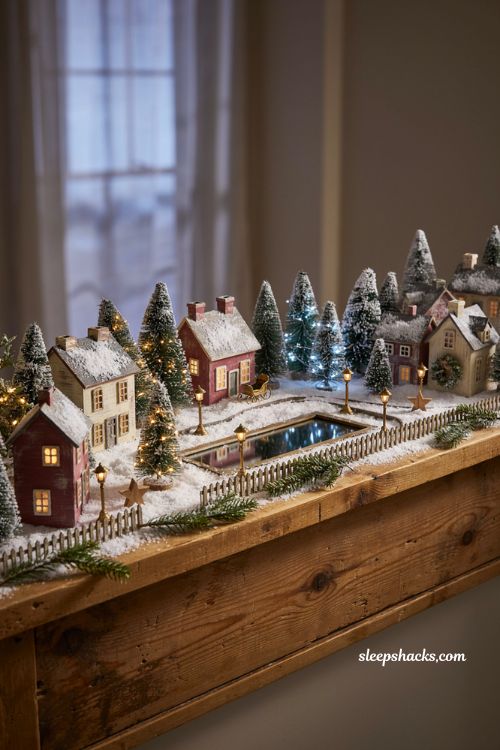
Mixing warm white bulbs with a few cool white or icy blue accents near your mirror pond creates a subtle day-to-night contrast across the display. Keep the ratio mostly warm, since too much cool light can make the scene feel sterile instead of cozy. This works especially well if your village spans a long mantel, letting one end feel like dusk and the other like deep winter night.
13. Use Cinnamon Sticks and Pinecones as Ground Filler
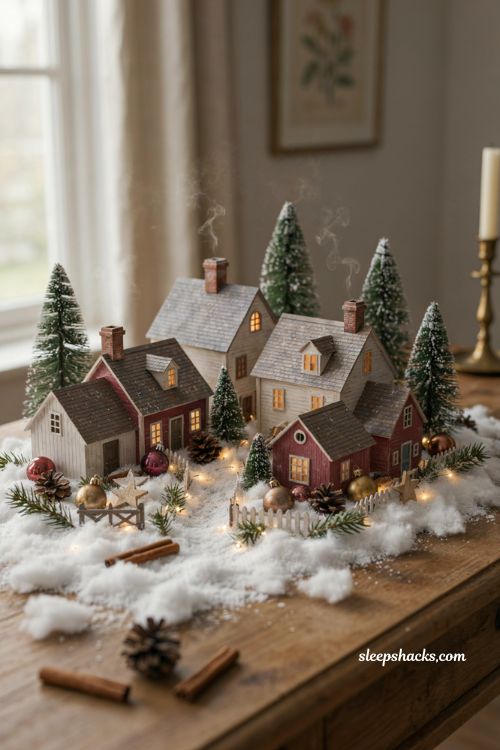
Tucking small cinnamon sticks or mini pinecones between buildings fills gaps in a natural way and adds a scent that plain cotton snow never will. Keep them low and mostly hidden near the base rather than stacked on top of anything, so they read as ground clutter instead of decorations competing with the houses themselves. It’s a nearly free way to add texture if you’re working with items already in your pantry.
14. Build a Skating Pond Scene With Glitter Ice
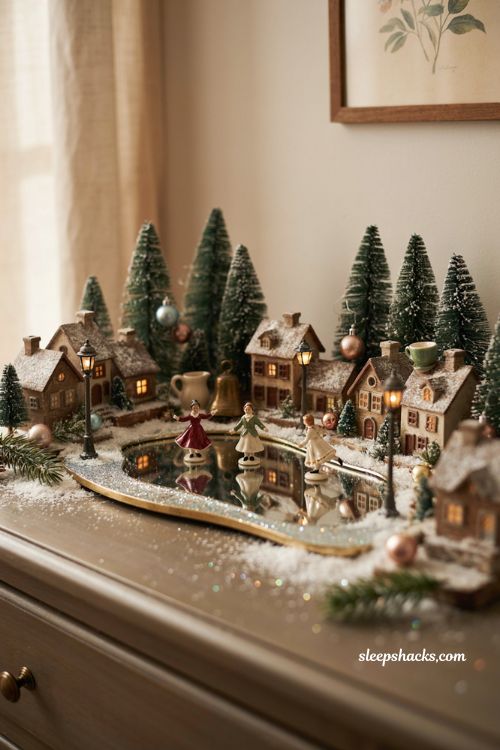
For an extra sparkle upgrade to the mirror-pond trick, brush a thin layer of clear glue around the mirror’s edge and dust it with fine iridescent glitter before it dries. The glitter catches every bit of ambient light and makes the “ice” look genuinely frosted rather than just reflective. Pair it with a couple of tiny skater figures frozen mid-spin for a scene that photographs beautifully for Pinterest or Instagram.
15. Rotate Pieces Seasonally to Keep It Fresh
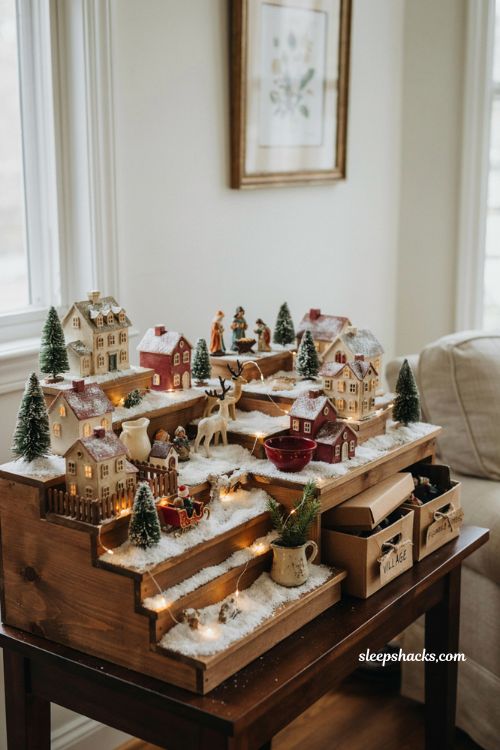
If you build your base layer — risers, snow, lights — as a semi-permanent setup, you can swap out just the buildings and figures each year without redoing the whole thing. Store extra pieces in labeled shoeboxes so next December you’re rearranging rather than starting from scratch. This one habit is what turns a village from a one-time project into a display that gets a little better and more layered every single year.
Final Thoughts
Building a Christmas village doesn’t require a Pinterest budget or a weekend of nonstop gluing — most of the magic comes from layering height, light, and small texture details rather than buying more pieces. Start with just a few of these ideas, especially the hidden risers and the fairy lights under the snow, since those two alone change the whole feel of a flat shelf. Add on from there each year, and don’t be afraid to move things around until it feels right for your space. If you only try one thing this weekend, make it the mirror pond — it’s the cheapest trick on this list and consistently the one people notice first.
Frequently Asked Questions
Q: What can I use for snow in a DIY Christmas village if I don’t have cotton batting?
Epsom salt, white felt, or even shredded white paper towels all work well as budget-friendly snow substitutes.
Q: How do I add lights to a Christmas village without buying a pre-wired set?
A basic battery-powered fairy light strand tucked under your snow layer works for almost any display and is easy to hide.
Q: What’s the easiest way to add height to a flat Christmas village display?
Wrapped boxes or stacked books hidden under a fabric or batting layer create instant tiers without any building or cutting required.