

There’s something about a pile of pumpkins on your porch that makes the whole season feel official.
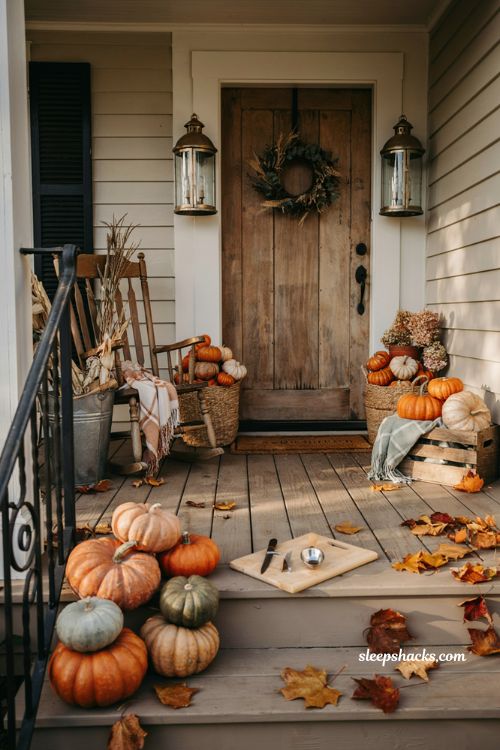
No candles lit yet, no faces carved — just the promise of what’s coming. Every year the designs get a little more creative, a little more unexpected, and honestly, a little easier to pull off than you’d think once you know a few tricks.
1. Creepy Crawly Spider Pumpkin
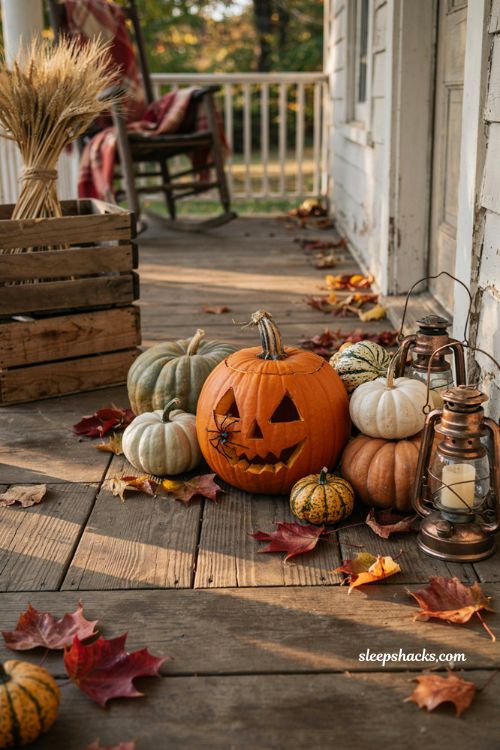
Carve a spider crawling out of the eye socket of a classic jack-o’-lantern face for a design that looks way more advanced than it actually is. Use a small paring knife for the spider legs so they stay thin and delicate against the bigger cuts of the face. The trick here is confidence — even if the spider isn’t perfectly symmetrical, the imperfection reads as intentional and eerie rather than sloppy.
2. Moon and Cat Silhouette
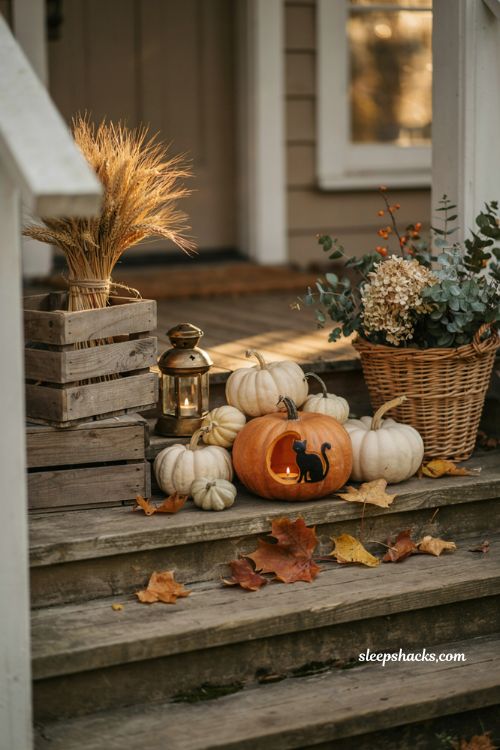
A crescent moon with a black cat perched on top makes for one of the prettiest glow effects you’ll get all season. Keep the moon shape simple and rounded, then use a smaller blade for the cat’s ears and tail so the silhouette stays crisp. This one photographs beautifully once it’s lit, which makes it a favorite for anyone decorating with Instagram or a front porch display in mind.
3. Carved Flower Pumpkin
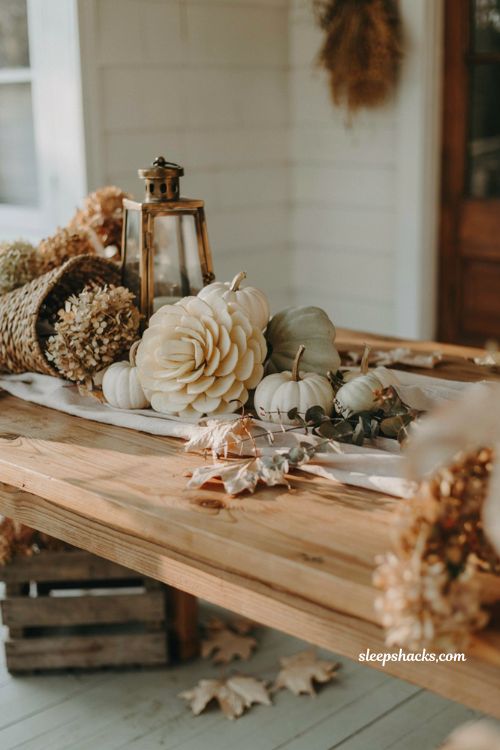
Skip the scary face entirely and turn your pumpkin into a blooming flower instead. Carve petal shapes radiating out from the stem, angling your knife slightly inward so the petals have a bit of dimension rather than lying flat. This works especially well on white or pale pumpkins, where the contrast between the carved lines and the smooth surface feels more elegant than eerie.
4. Smiling Bat Colony
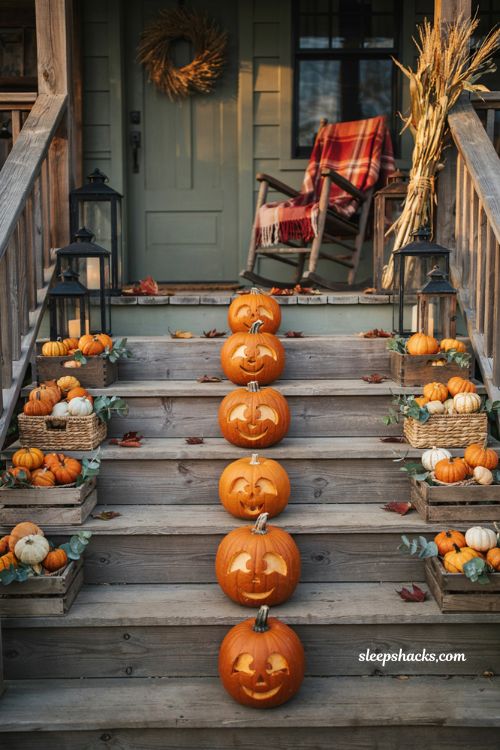
A friendly bat face is the perfect middle ground between spooky and cute, and if your porch has steps, you can carve a whole group at different heights to look like they’re stacked and flying together. Keep the wings wide and the smile simple — this design reads clearly even from the street once it’s dark. It’s a great pick if you’ve got kids helping, since the shapes are forgiving.
5. Elongated Gourd Skulls
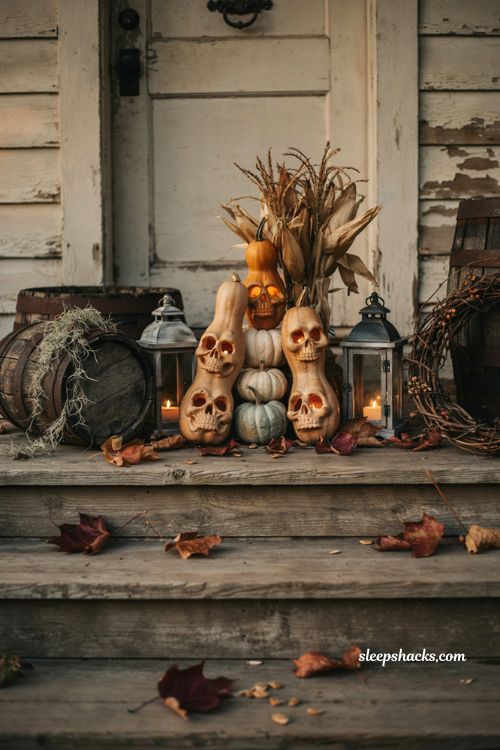
Instead of a round pumpkin, look for the longer, oval-shaped gourds and carve skull faces into them. The natural elongated shape does most of the work for you, mimicking the proportions of an actual skull far better than a round pumpkin ever could. Cluster three or four together on your steps in different sizes for a display that looks like it came straight out of a haunted movie set.
6. Fall Leaves Pattern
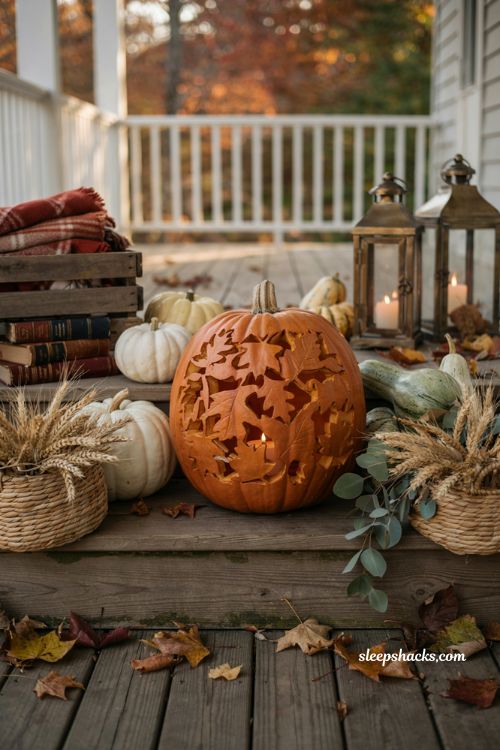
If you want something that skews more “autumn” than “Halloween,” carve overlapping leaf shapes across the surface of your pumpkin. Vary the leaf sizes and angles so the pattern feels organic rather than stamped, and leave some thicker sections uncarved so the candlelight glows unevenly through the design. This one tends to stay out well past October 31st since it reads as general fall décor.
7. Produce Pumpkin Face
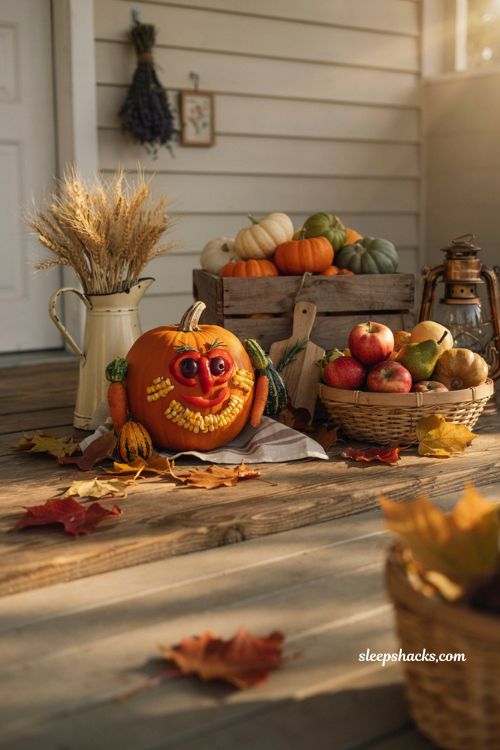
Turn aging fruits and vegetables into features on a pumpkin face instead of carving everything by hand. A halved bell pepper becomes a nose, dried corn kernels work as teeth, and a couple of grapes make surprisingly convincing eyes. It’s a fun one to build with kids since there’s no sharp knife work required for the actual face — just assembly.
8. Pumpkin Behind Bars
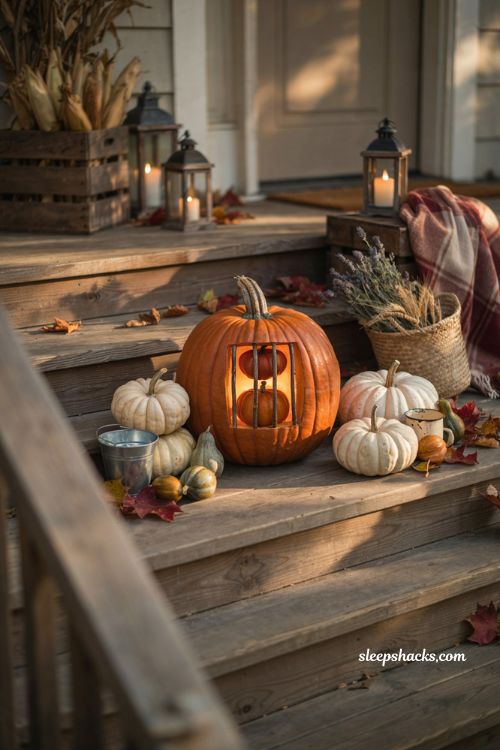
Pair a large pumpkin with a much smaller one and carve the big one to look like a jail cell holding the little pumpkin captive. Keep your bar cuts close together and use a narrow blade so you’re not left with one gaping hole instead of individual bars. Position the small pumpkin peeking through the bars for the full comedic effect.
9. Raven Silhouette
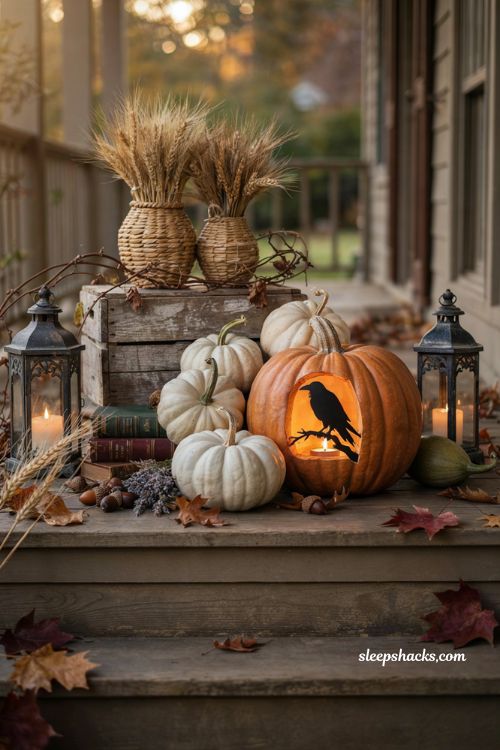
Take a page from Edgar Allan Poe and carve a raven mid-flight or perched and watching. Keep the wings angular and the beak sharply pointed — a raven reads instantly recognizable even in silhouette, which makes this one of the more dramatic options for a front door display. It stands out from the usual witches and black cats without requiring advanced carving skills.
10. Diffused Polka Dot Pattern
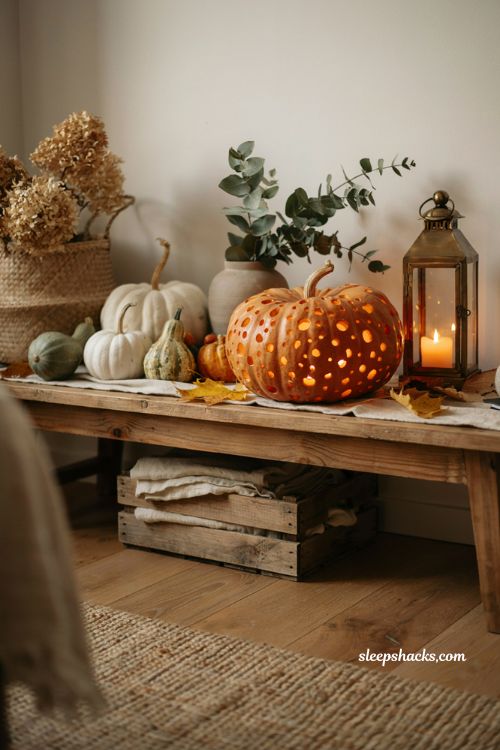
Drill dots of varying sizes across the entire surface of your pumpkin using a set of different-sized drill bits or apple corers. The randomness of the dot placement is what makes this design so striking once it’s lit — light diffuses unevenly through the different hole sizes, creating a soft, glowing texture. This is one of the easiest designs on the list and doesn’t require any actual carving knife.
11. Cyclops Monster Face
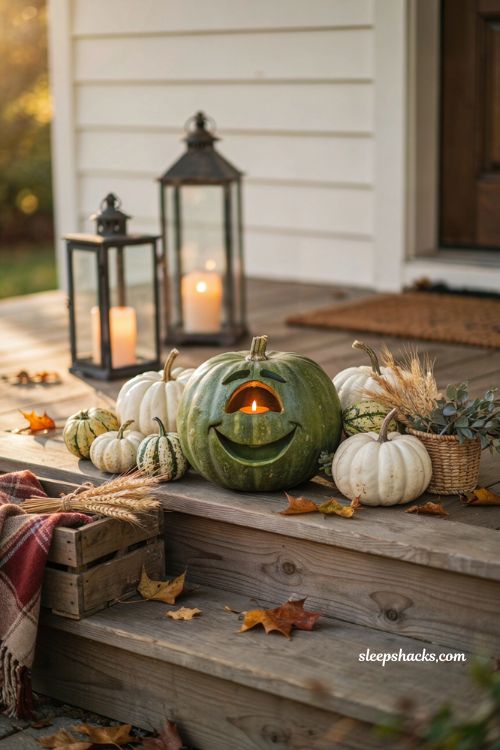
A single centered eye simplifies your whole design while still looking properly monstrous once it’s glowing. Make the eye large and slightly irregular in shape for maximum creepy effect, or round it out and add a green-painted pumpkin base if you want to lean toward a friendlier, more cartoonish one-eyed character instead. Either direction works well for kids’ Halloween parties.
12. Cat and Fishbowl Duo
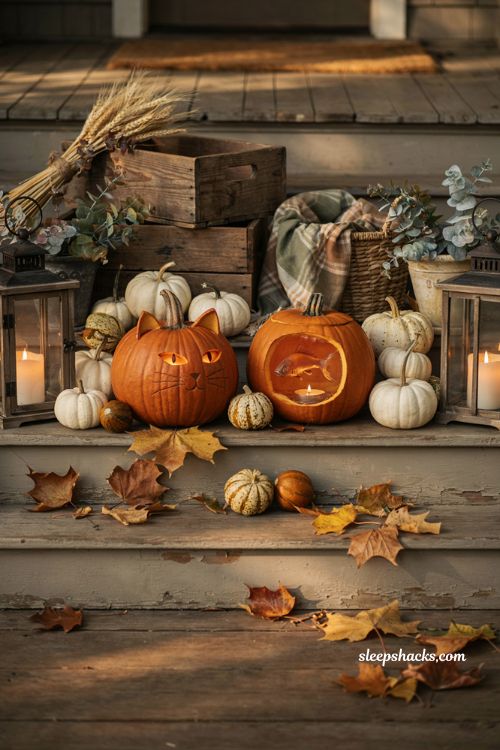
Carve one pumpkin into a cat face and a second into a fishbowl, complete with a carved fish silhouette swimming inside. Set them side by side so it looks like your pumpkin cat is eyeing its dinner. It’s a playful two-pumpkin display that works especially well if you already have a cat-lover’s collection of Halloween décor going.
13. Arguing Jack-o’-Lanterns
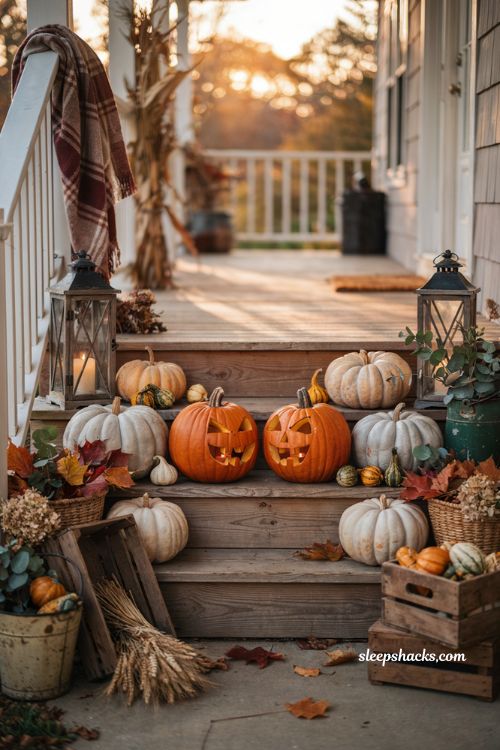
Carve two pumpkins with exaggerated angry expressions facing each other, as if they’re mid-argument. Tilt the eyebrows sharply and open the mouths wide with jagged teeth for maximum drama. This one gets a laugh from trick-or-treaters since the “conversation” between the two pumpkins tells its own little story on your porch.
14. Hypnotized Swirl Eyes
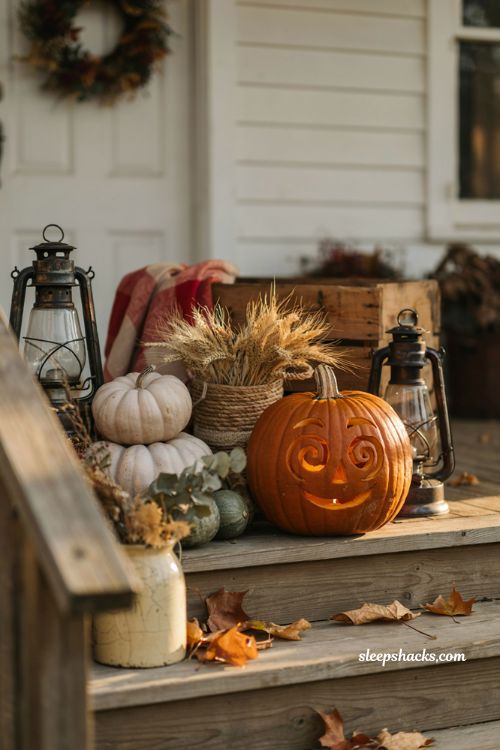
Carve spiral shapes into the eyes for a dazed, hypnotized look that’s more challenging than a standard face but pays off visually. Work slowly with a small blade, carving the spiral in one continuous curved line rather than a series of straight cuts. The curves catch candlelight in a way that makes the whole face seem to shift and move once it’s dark.
15. Pumpkin With Twig Hair
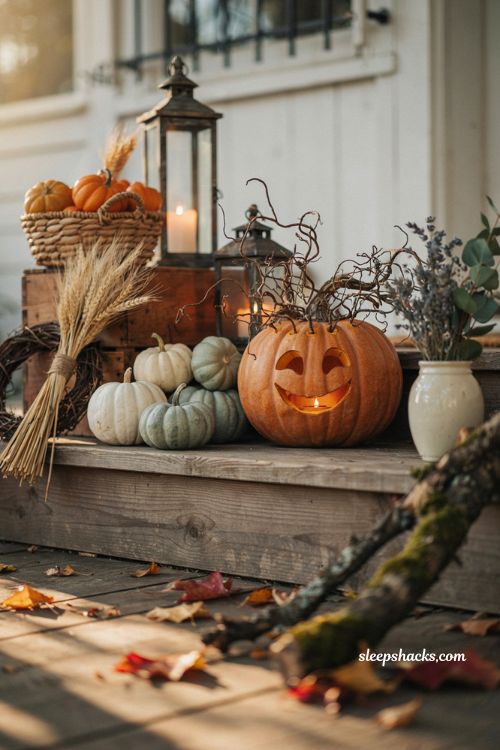
Drill a row of small holes along the top and sides of your pumpkin and insert gnarled twigs to give it a wild head of hair. Gnarled, twisted twigs work best since they add texture and movement rather than sitting flat. Pair this with a simple carved face for a witchy, unkempt look that’s more textural than most standard designs.
Final Thoughts
Carving pumpkins doesn’t have to mean spending hours hunched over a stencil trying to get every line perfect. Some of the best designs on this list — the polka dots, the produce face, the twig hair — barely need a knife at all. Pick two or three that fit your porch and your patience level, save the seeds for roasting once you’re done, and don’t stress if your lines wobble a little. A slightly crooked jack-o’-lantern still glows just as well as a perfect one once the sun goes down.
Frequently Asked Questions
Q: What’s the easiest pumpkin carving idea for beginners? The diffused polka dot pattern is one of the simplest — it just requires drilling holes of different sizes rather than any actual carving.
Q: How do I keep my carved pumpkin from rotting too fast? Coat the cut edges with petroleum jelly or a diluted bleach solution and keep the pumpkin somewhere cool and out of direct sun.
Q: Can I carve a pumpkin without a stencil? Yes — simple designs like polka dots, spirals, or basic faces can be freehanded easily, and slight imperfections often make the design look more intentional.