

You don’t need years of painting experience to make something genuinely lovely for the holidays — that’s the real appeal of watercolor Christmas cards. A few basic colors, a bit of water, and some simple shapes go a long way, and the unpredictable way watercolor blends actually works in your favor here.
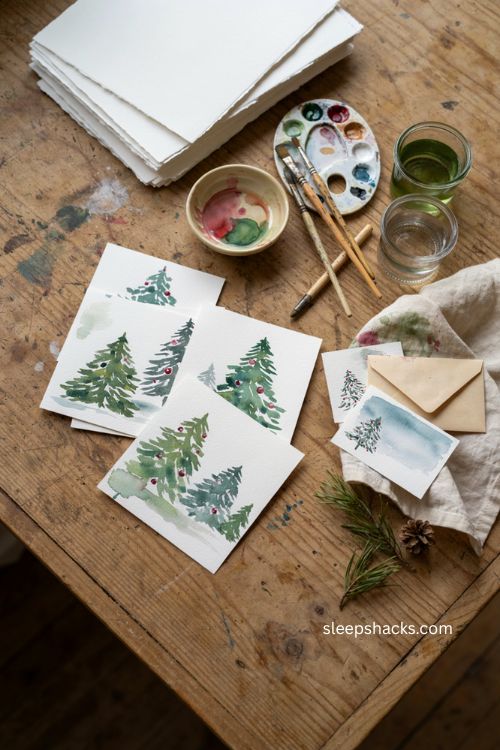
Snow looks soft because the paint spreads on its own. Trees look layered because the pigment pools where it wants to. Whether you’re sending cards to family or just want a cozy weekend project, these fifteen ideas cover everything from five-minute trees to slightly more detailed ornaments, so there’s something here no matter how much time you’ve got.
1. Simple Triangle Trees in a Row
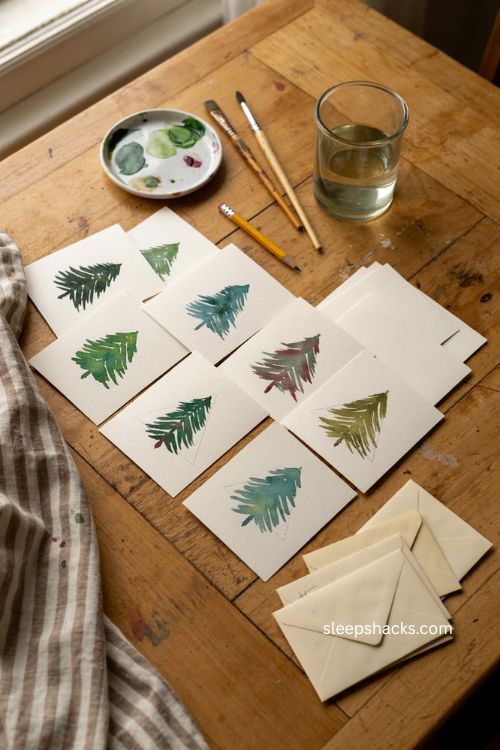
Start with a row of evenly spaced triangles sketched lightly in pencil, then fill each one with a different green and a different brush stroke — some straight lines from the top down, others branching outward like real pine needles. Mixing two or three greens from your existing palette keeps the row from looking flat or repetitive. Working in a small batch, say five or six trees, lets you experiment with brush control without overthinking any single tree. This one is forgiving enough for a total beginner, and a card full of slightly imperfect trees actually looks more charming than one with a single “perfect” one.
2. A Masked Pine Tree With Metallic Touches
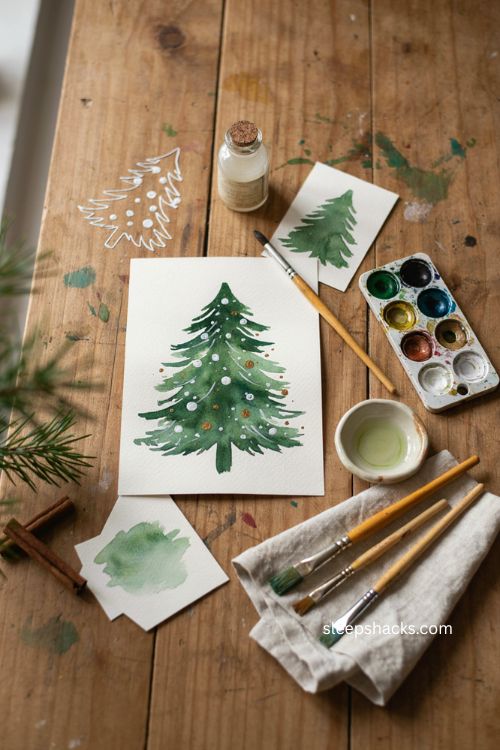
Apply masking fluid over a tree-shaped outline with jagged, branch-like edges, then let it dry completely before painting a wash of green over the whole shape. Once that’s dry too, peel off the masking fluid to reveal crisp white lines underneath, which read instantly as texture and light. Finish with small dabs of gold or bronze paint for ornaments scattered across the tree. The masking fluid step takes a little patience, but it’s what gives this card its polished, slightly more advanced look compared to a plain painted triangle.
3. A Delicate Snowflake Using Masking Fluid
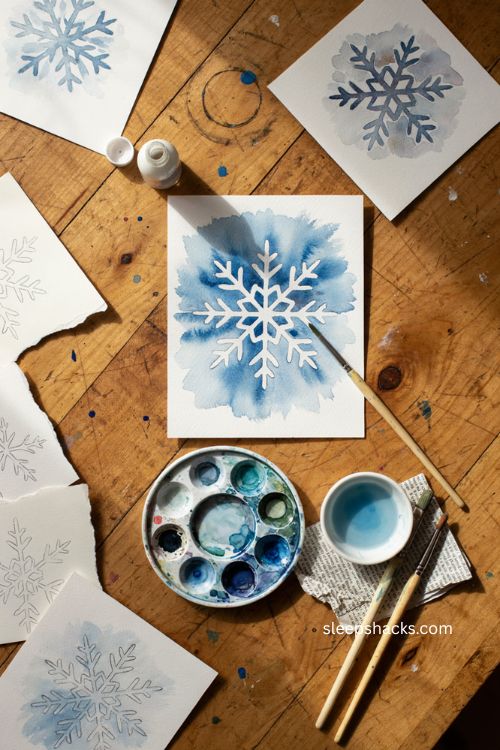
Sketch a snowflake with six symmetrical arms branching from a center point, then trace over the design carefully with masking fluid before it dries. Once it’s set, wet the whole card and drop in a blue wash, letting the color pool naturally around the edges for a soft, textured background rather than a flat one. After everything dries, gently rub away the masking fluid with your fingers to reveal the white snowflake underneath. This method takes a bit more setup than others on this list, but the payoff — a crisp white design against a moody blue wash — is worth the extra step.
4. A Chunky Snowflake With White Gouache
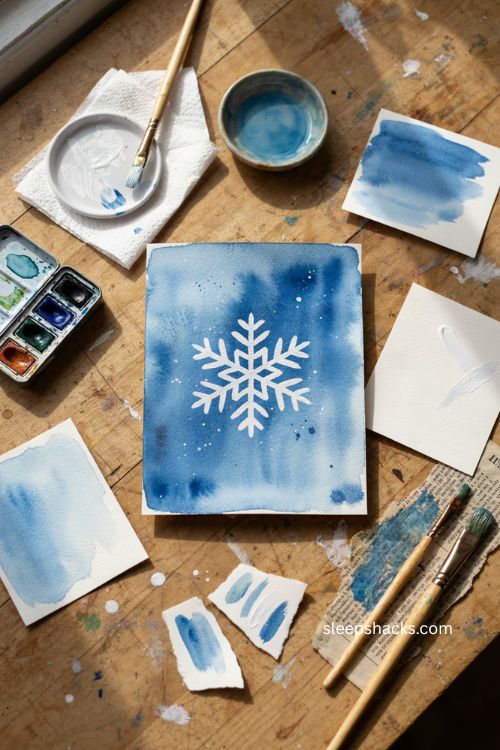
For a quicker take on the snowflake theme, skip the masking fluid entirely and paint around the shape instead, keeping the design bold and simple rather than intricate. Once your blue background wash has dried, use white gouache and a fine detail brush to add extra lines and accents directly on top. A little diluted gouache flicked from a loaded brush creates a light spatter effect across the card, mimicking falling snow. This version is faster than the masked snowflake and still looks intentional, making it a solid choice if you’re short on time.
5. A Detailed Ornament in One Color Family
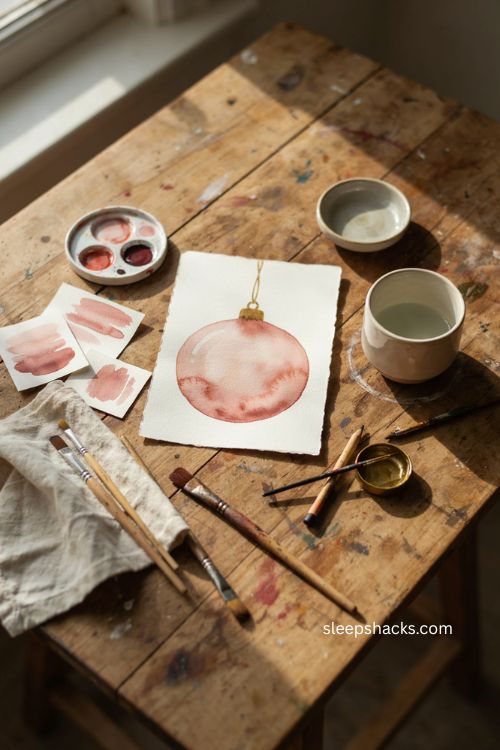
Draw a single large circle using a mug or a similar round object as your guide, then commit to painting it entirely in shades of one color — just varying how much water and pigment you use for lighter and darker areas. This monochrome approach is actually easier to control than mixing several colors, since you’re only adjusting saturation rather than balancing hues. Add a small gold cap at the top where the ornament would attach to a branch, plus a thin string leading off the top of the card. The result feels intricate without requiring any advanced color-mixing skills.
6. A Cluster of Hanging Ornaments
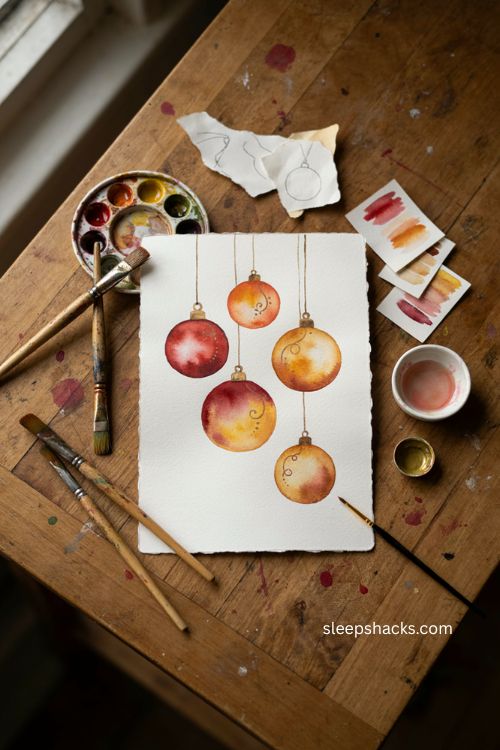
Sketch three or four circles of varying sizes hanging at different heights, then paint each one in a different warm tone — reds, yellows, and oranges all sit near each other on the color wheel, so they naturally look good together. Use a wet-on-wet technique for each ball individually, starting with the darkest color on one side and letting it lighten naturally toward a highlight. Add simple curling lines or dots on one or two balls for extra detail, and leave the rest plain so the composition doesn’t feel too busy. Small gold caps at the top of each ornament pull the whole card together.
7. A Variegated Wash Tree
Paint a single tree shape and let two greens blend together while the paint is still wet, dabbing in a second, deeper shade along one edge so it spreads naturally into the first. This “charging in” technique creates a more dimensional, less flat-looking tree without any extra brushwork beyond the initial wash. A simple brown trunk anchors the bottom of the shape, and small red dots added once everything dries make convincing little ornaments. It’s a nice middle-ground project — more textured than a solid-color tree, but still quick enough to do several in one sitting.
8. A Snow Storm Background Card
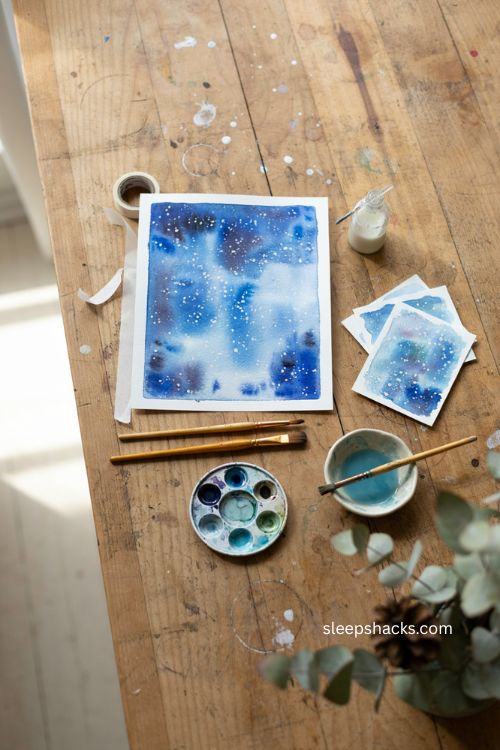
Frame off a border with low-tack tape, then dot masking fluid randomly across the card to represent scattered snowflakes before it dries completely. Paint a full wash of blue across the entire surface, working quickly so the color stays wet enough to blend smoothly, and add extra pigment near the edges so the corners read slightly darker than the center. Once that layer is dry, add a second round of masking fluid dots concentrated more toward the middle, then paint another wash over the top. Peeling off both layers of masking fluid at the end reveals a snowfall effect with real depth to it.
9. A Holly and Berry Pattern
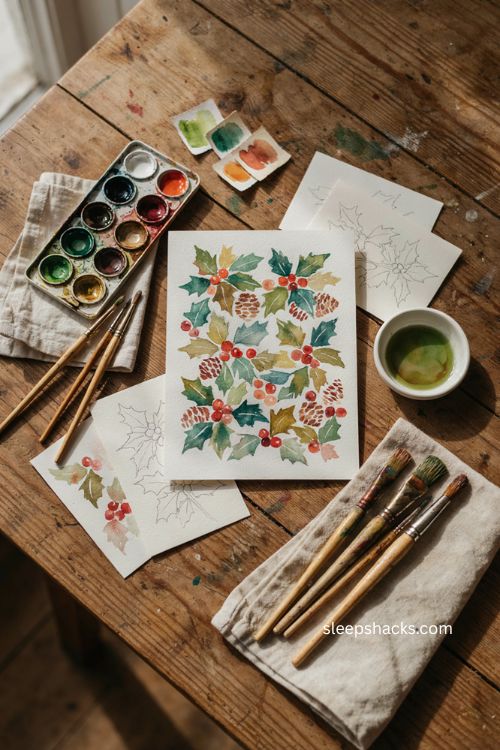
Sketch a small cluster of holly leaves, pine sprigs, and a few round berries, keeping the shapes loose and slightly stylized rather than botanically exact. Paint the leaves with a mix of yellow and blue for a bright green, leaving small white gaps to suggest veins and highlights, then add berries in a warm reddish-orange once the leaves have dried. A light glaze of warm brown over the pinecone shapes, once they’re dry, adds texture without much extra effort. This pattern works well repeated in a corner of the card or scattered loosely across the whole surface.
10. A Winter Frame With Evergreen Branches
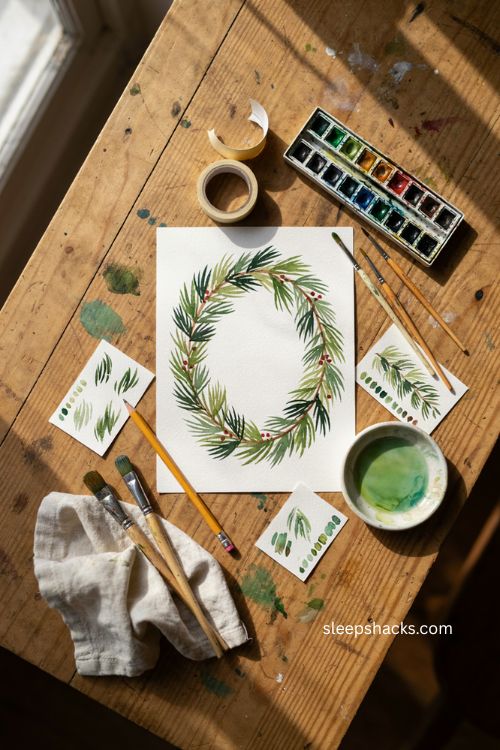
Place a strip of painter’s tape across the center of your card, then sketch evergreen branches radiating outward above and below the taped line. Paint the branch lines in brown first, then fill in with upward brushstrokes in two or three different greens to suggest layered pine needles. Once everything is dry, add a few small red dots for berries in a couple of spots. Peel away the tape to reveal a clean, undecorated strip right through the middle — the perfect place to add a handwritten message once the paint has fully dried.
11. A Dabbed-Brush Christmas Tree
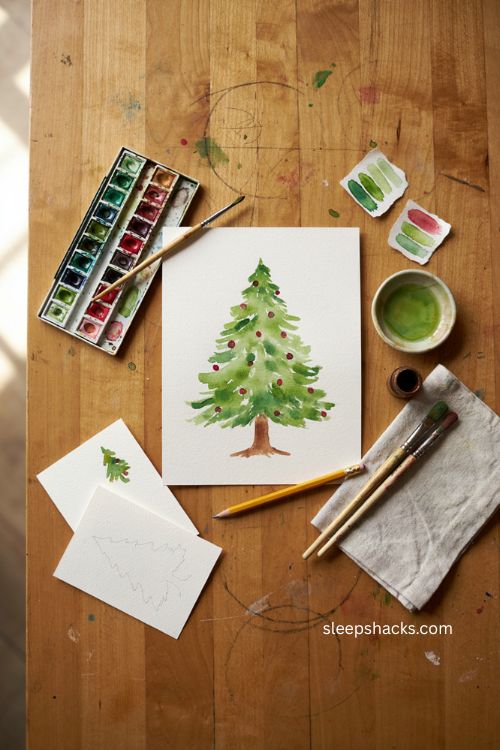
Instead of outlining a triangle, build your tree shape entirely from small dabs of paint, starting with one dab at the top and adding two, then three, then four underneath in a widening pyramid. Varying the pressure and angle of each dab creates natural texture without any extra technique required. Add a simple brown trunk at the base once the green has dried, then come back with tiny red dots scattered across the tree for ornaments. This approach is especially good for anyone still building brush control, since the dabbing itself is quite forgiving.
12. A Wreath With Berries and Gold
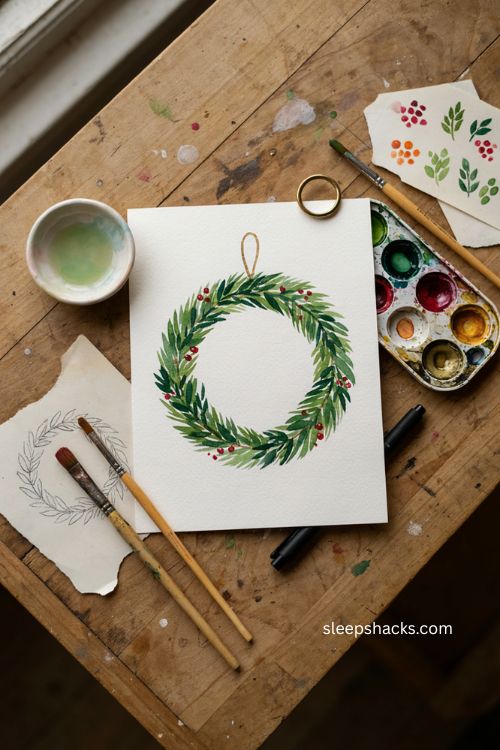
Trace a circle in the center of your card using tape or any round object as a guide, then paint around the outline with short, upward brushstrokes in green to build the look of a woven wreath. You can fill the entire ring or leave a section open, adding a small gold or black loop where a bow or hanger would go. Once the green has dried, dot red or orange paint around the wreath for berries, spacing them unevenly so it feels more natural. A fine-tip pen traced lightly around the edges afterward adds a bit of extra definition if you want it.
13. A Single Ornament on a Branch
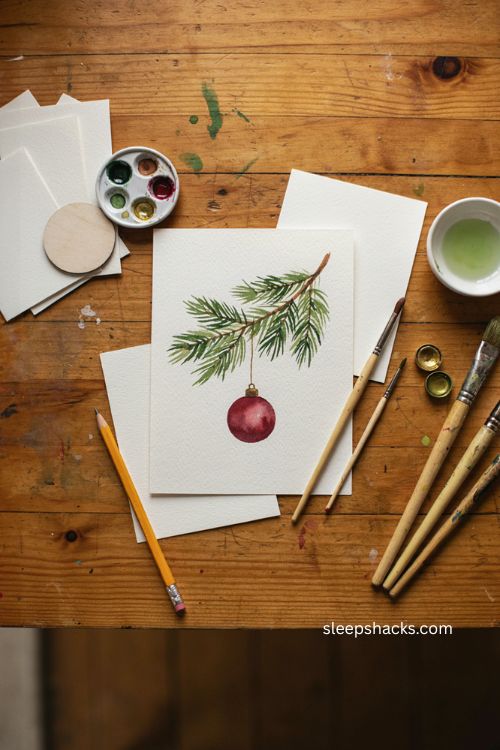
Keep this one simple: sketch one evergreen branch across the top portion of your card, then trace a single circle hanging just below it. Fill the ornament with one solid color, adding a small gold cap where it connects to a thin string or ribbon leading up to the branch. Painting the branch itself in brown first, then adding green needles with short upward strokes, keeps the two elements visually connected rather than floating separately. This is one of the fastest cards on the list and works well if you need to make several in a short amount of time.
14. A Splatter Snow Effect
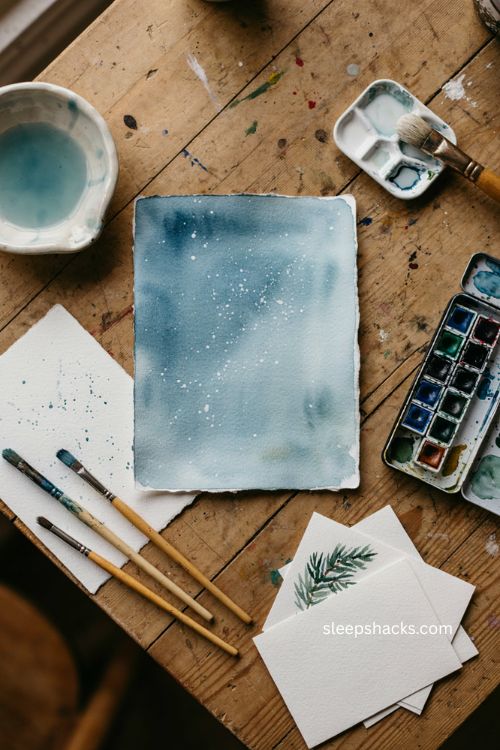
Once you’ve painted any background — a tree, a wreath, or a plain wash of blue or green — let it dry completely before adding a layer of white spatter across the surface. Dilute white gouache slightly, load a brush with a fuller belly, and tap it gently against your finger to release small dots of paint across the card. Go slowly and test on scrap paper first, since it’s much easier to add more spatter than to remove too much. This finishing touch works on almost any of the other designs here and instantly adds a wintry, snowed-on feeling to the whole card.
15. One Template, Several Color Variations
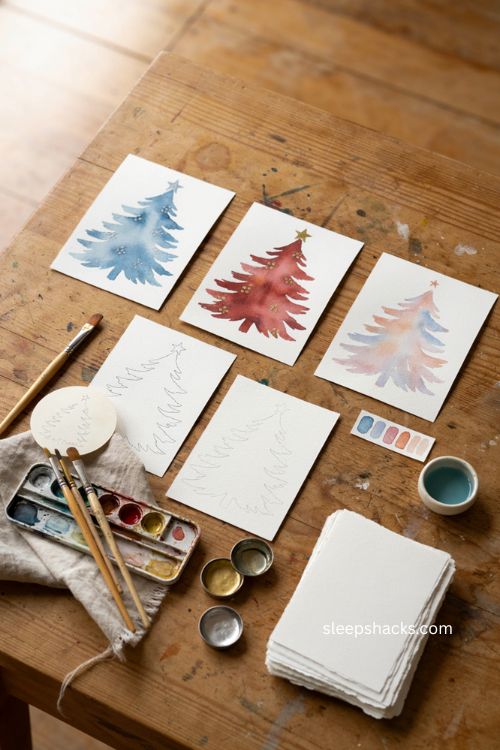
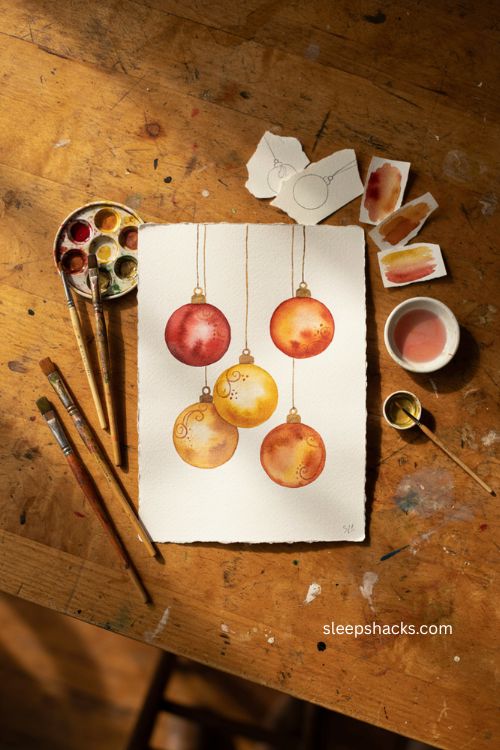
Rather than designing a new card from scratch each time, sketch a single ornament, wreath, or tree template once and reuse it across several cards, changing only the color palette each time. A cool blue-and-silver version, a warm red-and-gold version, and a soft pastel version can all come from the exact same underlying drawing. This is a genuinely practical option if you’re making cards for a whole list of people, since you get variety in the final results without having to plan a new composition every single time.
Final Thoughts
None of these need to come out perfectly to feel special — a slightly uneven tree or a wobbly wreath still carries more warmth than something printed, and that’s really the whole point of making them by hand. Pick one or two ideas that match how much time you actually have this week, not the ones that look most impressive, and let the paint do a little of the work for you. The people who receive these will remember that you made them, long after they’ve forgotten exactly what was painted on them.
Frequently Asked Questions
Q: What supplies do I need to start making watercolor Christmas cards?
A basic watercolor set, a few round brushes in different sizes, watercolor paper or pre-cut cards, and a pencil for sketching are enough to get started.
Q: Is masking fluid necessary for watercolor Christmas cards?
No — masking fluid helps preserve crisp white details like snowflakes, but plenty of designs, like simple trees or wreaths, don’t require it at all.
Q: How long does it take to make a watercolor Christmas card?
Simple designs like dabbed trees or single ornaments can take fifteen to twenty minutes, while layered designs with masking fluid may need extra drying time between steps.