

You don’t have to be a “crafty person” to make something lovely out of polymer clay. If you can roll a snake, press a cookie cutter, and set a timer on your oven, you already have the skills for every project on this list.
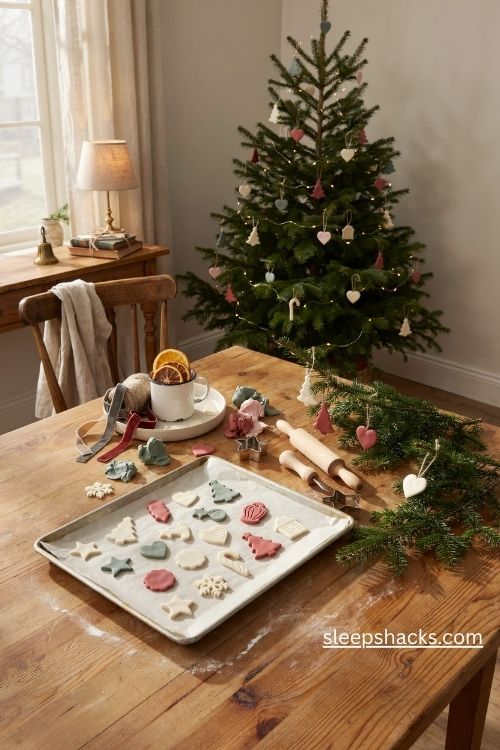
The best part is how forgiving the clay is. Mistakes squish right back into a ball, colors blend like soft paint, and a tray of baked ornaments looks impressive even when each piece took ten minutes. These 16 ideas range from beginner-friendly shapes to slightly fancier designs, so you can start simple and build up to something you’re proud to hang.
1. Marbled Swirl Ornaments
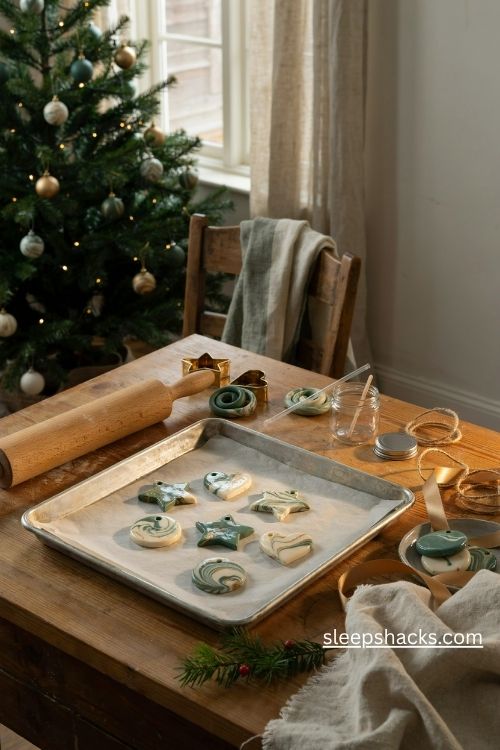
Marbling is the easiest way to make polymer clay look like a professional made it. Twist two or three colors together, roll them out, and you get a swirled pattern that no two pieces share. White with a touch of gold or deep green always looks rich.
Roll the clay to about a quarter inch thick and cut out circles, stars, or hearts. Poke a hole near the top with a straw before baking. Don’t mix the colors too much, since a few visible streaks give the best look. A quick coat of gloss glaze after baking makes the swirls shine.
2. Mini Christmas Trees With Cutters
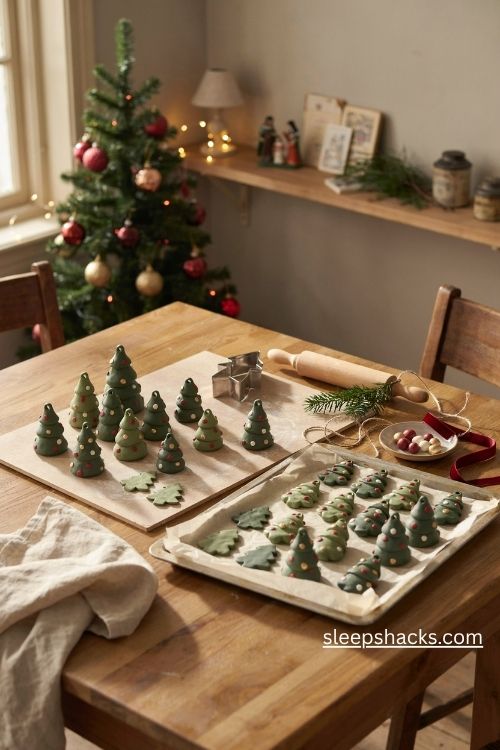
A simple tree cutter turns out dozens of ornaments in one afternoon. Roll green clay flat, press the cutter, and decorate with tiny balls of red, gold, and white pressed onto the surface as little lights and ornaments. The result is cheerful and a bit retro.
Vary the greens, from deep forest to pale sage, so the group feels mixed. Press the tiny balls in gently, then flatten them slightly so they stay put in the oven. Bake at the temperature on your clay package, usually around 275°F, and let the pieces cool completely before you touch them.
3. Gingerbread Houses
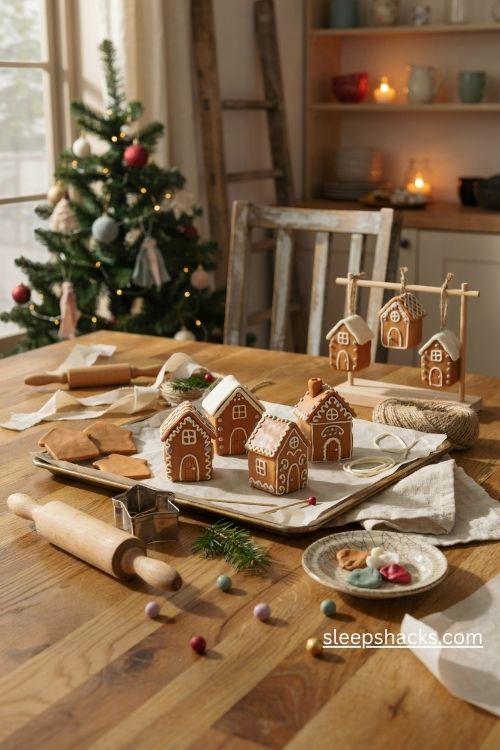
Tiny clay gingerbread houses look good enough to eat and last forever. Cut a simple house shape from tan clay, then add white clay “icing” along the roofline and tiny colored dots for candy. The detail comes from small touches, not complicated shaping.
Use a toothpick to add windows and a door, and press in a few tiny beads for candies. Brown clay mixed with a little orange gives a more realistic gingerbread color than plain brown. Roll a thin snake of white clay for the icing and press it along the edges for a clean, neat finish.
4. Terrazzo Stars
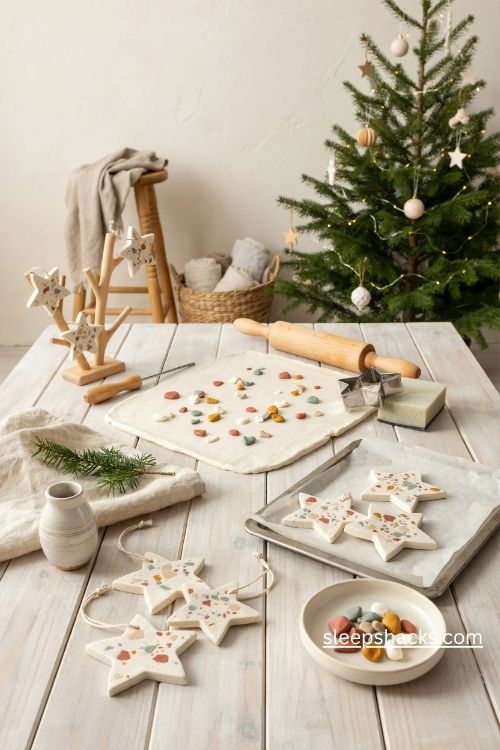
Terrazzo is that speckled stone look you see in modern kitchens, and it’s surprisingly easy in clay. Chop small pieces of colored clay into confetti, press them into a base of white clay, and roll everything smooth. The tiny colored flecks look like stone chips.
Choose three or four colors that go together, like terracotta, sage, mustard, and cream. Cut the slab into star shapes, then sand the edges after baking for a polished finish. A hole at the top and a loop of thin cord is all you need. These look especially stylish on a minimal or Scandinavian tree.
5. Speckled Faux Ceramic Ornaments
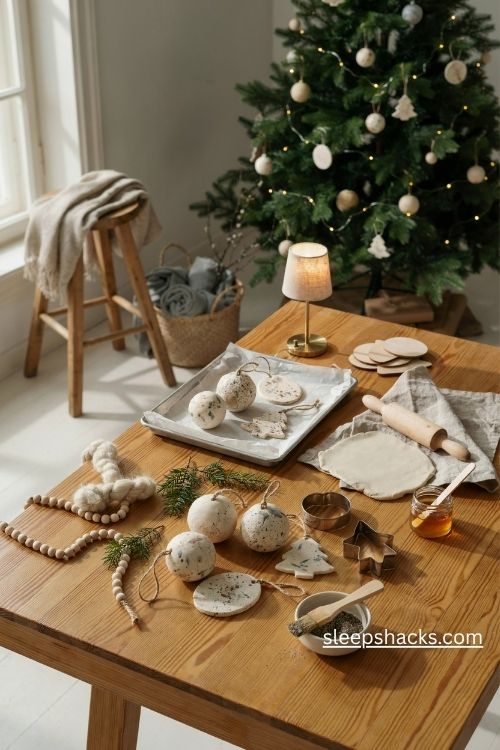
Want the look of handmade pottery without a kiln? Mix a pinch of black pepper or dried coffee grounds into white or cream clay, and you get a speckled finish that looks just like stoneware. It’s a clever trick that fools nearly everyone.
Roll the clay thick, cut simple shapes like circles or tree outlines, and bake as usual. After cooling, brush on a matte varnish for that ceramic feel. Keep the shapes simple, since the speckles do all the talking. Hang them with natural twine for a rustic look that matches wooden beads and wool garlands.
6. Tiny Clay Wreaths
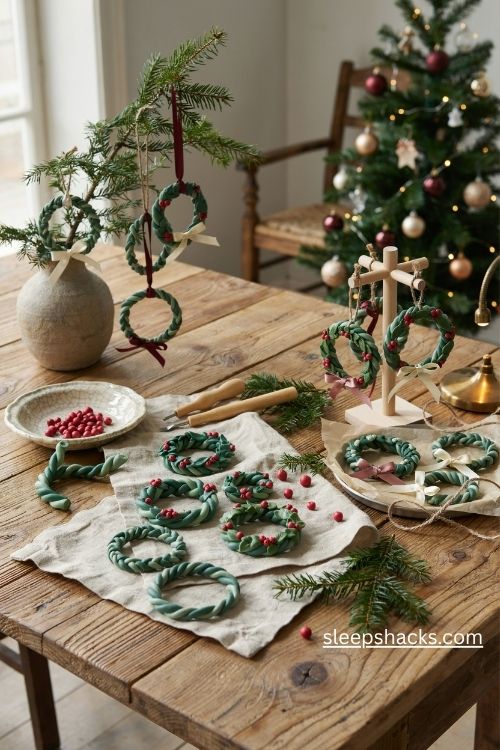
A miniature wreath is made by twisting two thin snakes of green clay together into a circle. Add tiny red berries and a small bow, and you’ve got a charming ornament in about fifteen minutes. The twisted texture looks like real leaves up close.
Use two shades of green for depth, one darker and one lighter. Roll the snakes thin, around an eighth of an inch, so the wreath stays delicate. Press the berries on firmly, because they can pop off after baking if they’re not secure. A tiny ribbon tied at the bottom finishes the look.
7. Santa Hat Ornaments
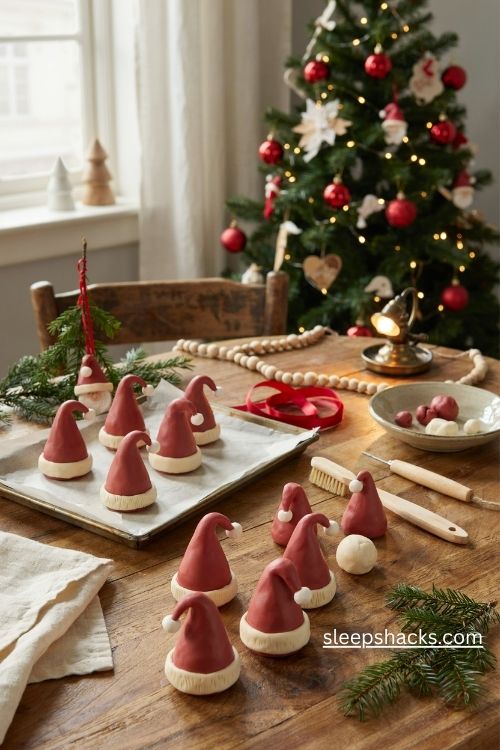
A tiny Santa hat is one of the most recognizable shapes, and it’s easy to shape by hand. Roll red clay into a cone, curve the tip over to one side, and add a white band of clay at the base and a small ball at the tip. The result is instantly festive.
Keep the cone smooth by rolling it between your palms before bending. A bit of texture on the white fur, made with a toothbrush, makes it look soft and fuzzy. Hang the hats on a thin red ribbon, or tuck them among the branches like they’ve been dropped by Santa himself.
8. Red Toadstool Mushrooms
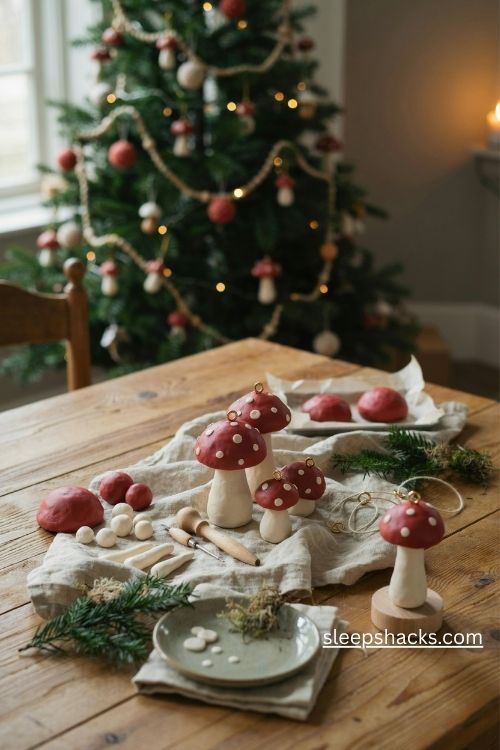
Little red mushrooms with white spots are a woodland favorite and look sweet on a Christmas tree. Shape a cream stem and a domed red cap, then press tiny white dots across the top. They’re cute, cottage-core, and surprisingly simple.
Build the cap and stem separately, then join them with a bit of pressure. Smooth any seams with a fingertip dipped in baby oil. Insert a small eye pin into the top of the cap before baking so you can attach a loop afterward. A group of three in different sizes looks lovely clustered on one branch.
9. Snowman Faces
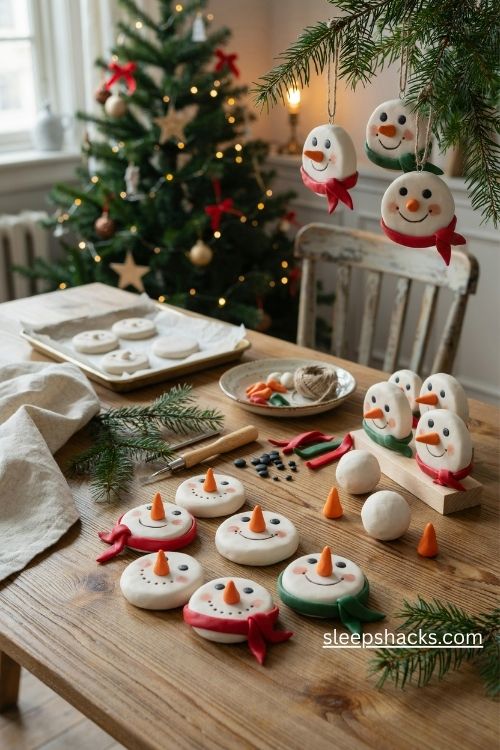
A snowman face ornament is almost impossible to get wrong. Roll a white ball, flatten it slightly, and press on two black dots for eyes, a small orange cone for the nose, and a curve of tiny dots for a smile. Add a small scarf for a pop of color.
Make the scarf by flattening a thin strip of red or green clay and wrapping it around the base. A little pink blush on the cheeks, using soft pastel chalk, brings the face to life. These make perfect kid-friendly projects, since the shapes are forgiving and every one has its own personality.
10. Lace-Imprinted Discs
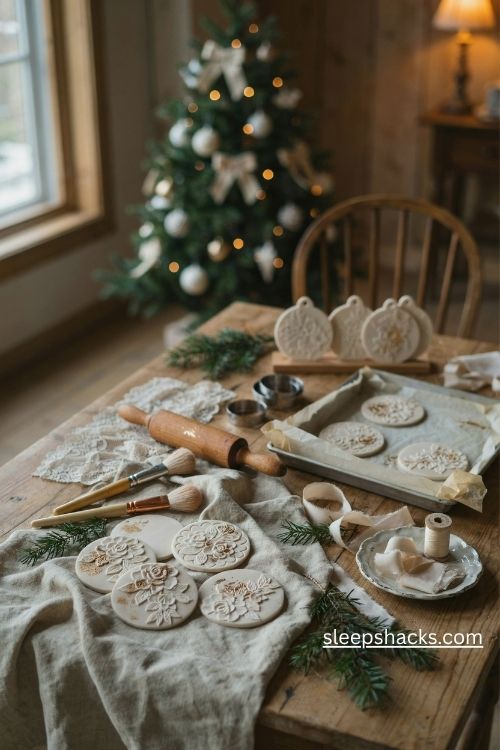
Pressing a piece of lace into clay leaves a beautiful, delicate pattern behind. Roll out white clay, lay a scrap of lace on top, and roll over it with a rolling pin. Peel the lace away, and you have a fine floral texture that looks incredibly detailed.
Cut the clay into circles or ovals, then bake as usual. A gentle dusting of gold mica powder over the pattern makes the lines pop. These look lovely hung with silk ribbon, and they feel vintage in a quiet way. Try different lace patterns to build a whole set.
11. Twisted Candy Canes
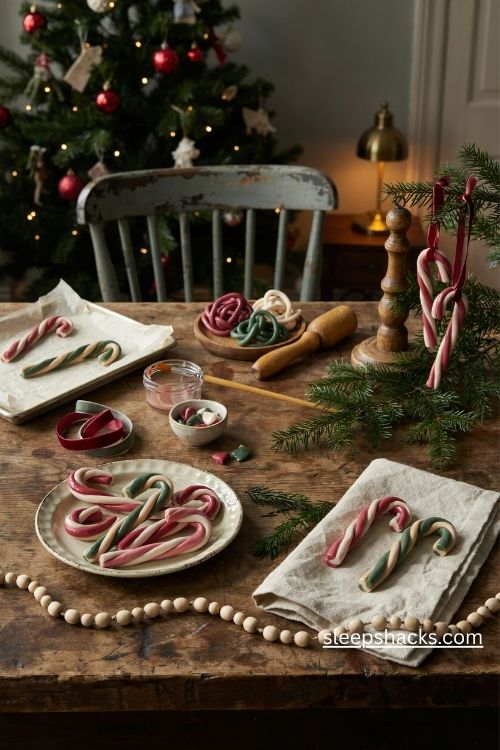
A candy cane is just two snakes of clay twisted together and bent into a hook. Red and white is the classic combination, but green and white, or pink and cream, looks just as pretty. They bake up neat and sturdy.
Roll the snakes to the same thickness so the twist looks even, and press them together gently before bending. Pinch the ends so they don’t unravel. A glossy glaze makes them look like real candy. Hang them on branches directly, or loop a small ribbon through the curve for a more finished look.
12. Letter Stamped Name Ornaments
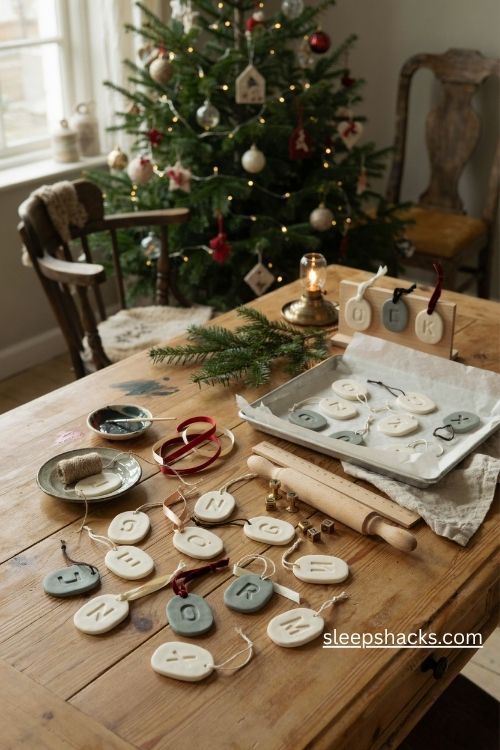
Alphabet stamps turn plain clay into a personalized keepsake. Roll out a flat oval or rectangle, press in each letter of a name, and pop it into the oven. Family tree ornaments like this feel special without costing much.
Press the stamps firmly and evenly, and line up the letters with a ruler. After baking, rub a bit of dark acrylic paint into the letters and wipe off the extra, so the name stands out. Add the year on the back. These make wonderful gifts for teachers, grandparents, and new babies.
13. Faux Sugar Cookie Ornaments
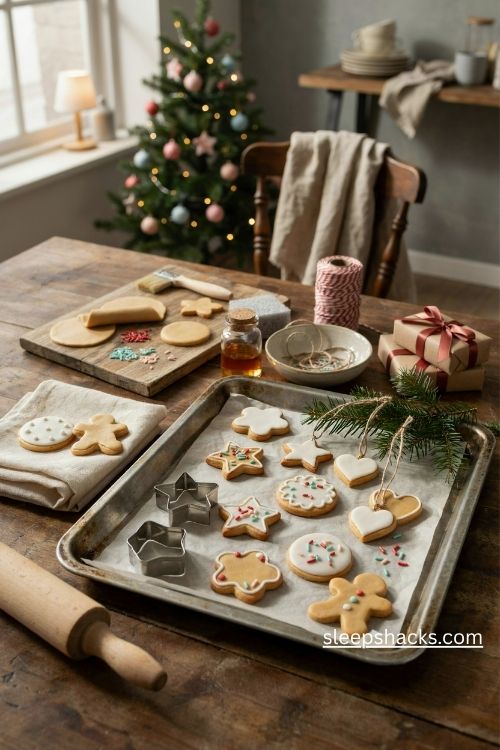
Polymer clay can look just like a frosted sugar cookie. Roll out tan clay, cut a shape, and top it with a thin layer of white or pastel clay “icing” and tiny sprinkles made from chopped colored clay. It’s sweet, a bit silly, and very convincing.
Use a cookie cutter for clean edges, and smooth the icing layer gently with your finger. A light brushing of brown chalk around the rim mimics a baked edge. Seal with a matte varnish, since a glossy one makes the cookies look wet. Keep them away from pets, who may mistake them for treats.
14. Little Penguins
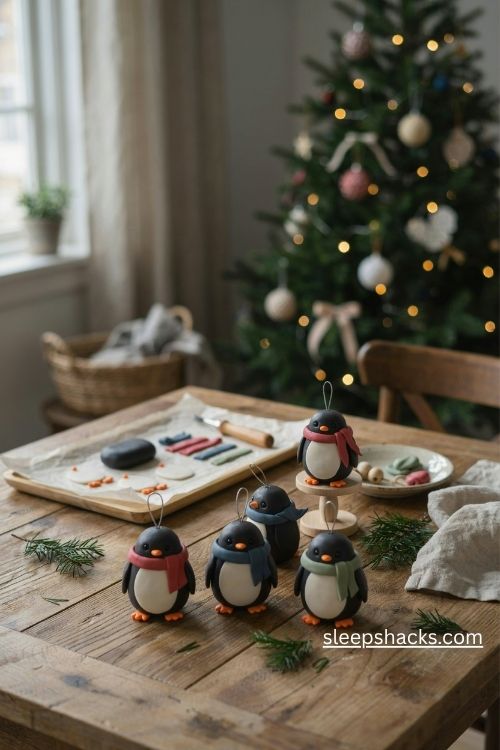
Penguins are cute and not hard to make. Roll a black oval for the body, add a white belly, two tiny feet in orange, a little beak, and two dots for eyes. A tiny scarf in red or blue finishes the look.
Build the shapes in layers, pressing each piece on gently. Bake with the penguin lying flat so it keeps its shape. A tiny eye pin pressed into the top lets you attach a hook after baking. A group of three, each with a different scarf color, looks like a tiny family waddling across the tree.
15. Mini Mitten Ornaments
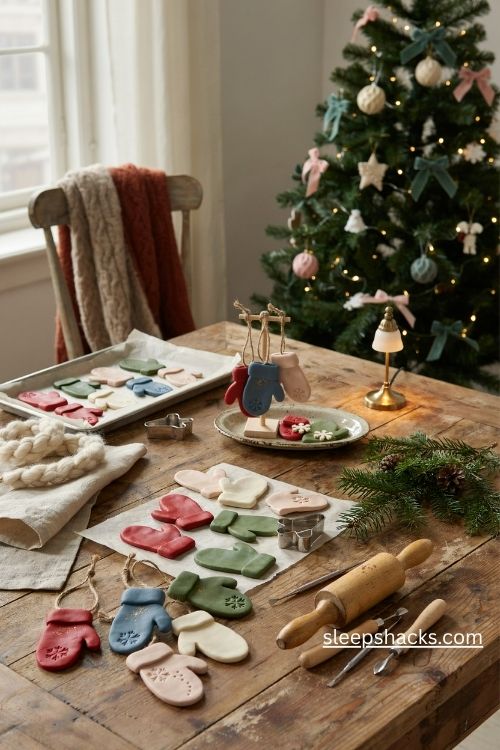
Mittens in clay look charming, and the shape is easy to cut by hand or with a small cutter. Add a cuff in a contrasting color, then press on tiny patterns like stripes, dots, or snowflakes. Each pair feels like a little winter outfit.
Cut two matching mittens, then decorate each in a slightly different way for a playful pair. Join them with a short piece of twine so they hang together. A pinch of fine glitter pressed into the cuff adds sparkle without being too much. Bake at low heat so the colors don’t darken.
16. Gold Foil Accent Ornaments
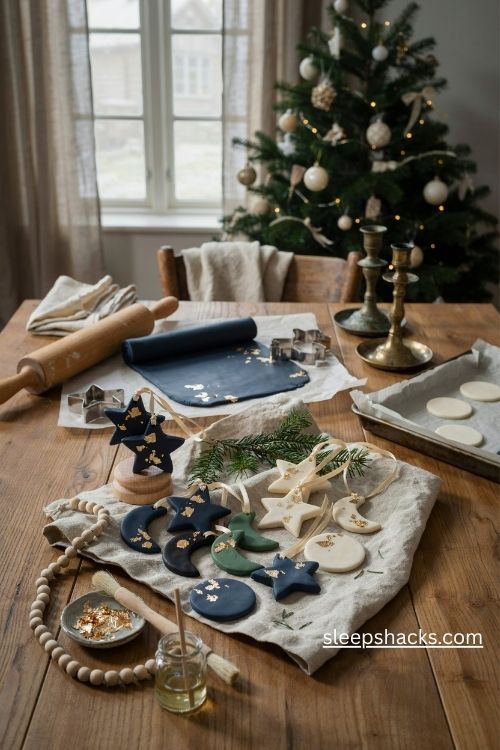
Gold leaf flakes pressed onto polymer clay give instant glamour. Roll a slab of black, navy, or deep green clay, press gold foil on top, and roll again lightly so it breaks into elegant flecks. It looks like a piece of night sky.
Cut simple shapes such as stars, moons, or circles. The dark clay makes the gold stand out beautifully. Seal the foil with a thin coat of clear varnish so it doesn’t rub off. These pair well with white or cream ornaments for a sophisticated, high-contrast look.
Final Thoughts
A polymer clay ornament is a tiny object, but it holds more time than it seems. Someone sat at a table, pressed a thumb into soft clay, waited for the oven, and hung it up with a small piece of ribbon.
Years from now, that small object becomes a marker of a particular December. You’ll remember who was in the kitchen, what music was playing, and how the clay smelled warm and a little sweet while it baked. A tree full of mass-made decorations looks beautiful, but a tree with a few of these tucked in has something no store can sell: a story.
Frequently Asked Questions
Do polymer clay ornaments need to be baked?
Yes, polymer clay hardens in a home oven, usually at around 275°F for about 15 minutes per quarter inch of thickness. Always follow the instructions on your specific brand’s package.
How do I make a hole for hanging?
Poke a hole with a straw or toothpick before baking, near the top of the ornament and not too close to the edge. You can also press in a small eye pin and secure it with a bit of liquid clay.
What glaze should I use on polymer clay ornaments?
A water-based polyurethane or a polymer clay-safe varnish works well. Choose gloss for a shiny finish or matte for a stone-like look, and let it dry fully before hanging.