

Buying a full set of new ornaments every year gets expensive fast, and honestly, most of what’s on the shelf looks like everyone else’s tree anyway. That’s the annoying part about holiday shopping — you spend real money and still end up with something forgettable.
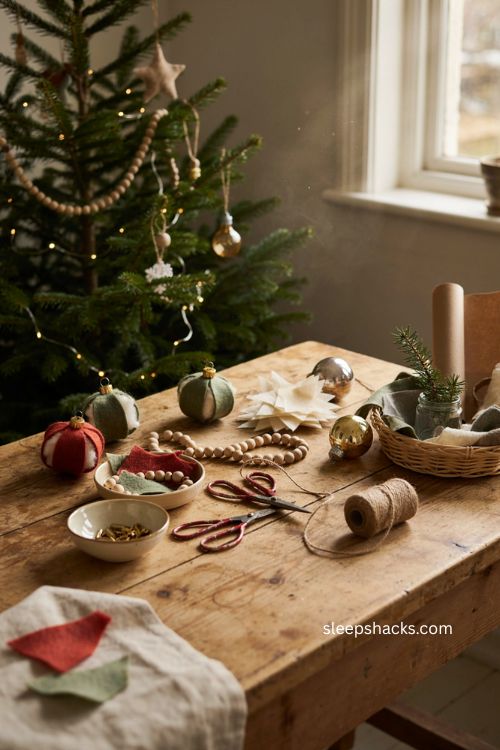
Homemade christmas ornaments diy projects fix that problem in a much more satisfying way, using supplies you likely already have tucked in a craft drawer or kitchen cabinet. A little felt, some wood beads, a leftover light bulb — almost anything can become something worth hanging. Below are fifteen ideas pulled together for anyone who wants a tree with a little more personality this year, without spending a fortune to get there.
1. Accordion Bell Ornaments
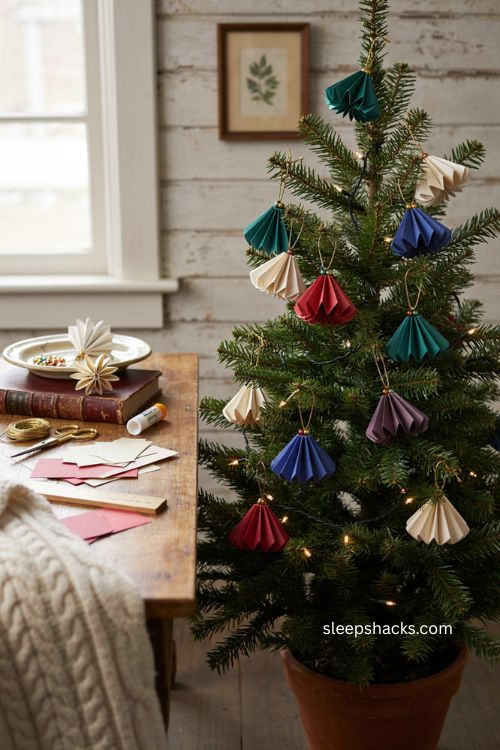
Cardstock scraps turn into something surprisingly elegant with this one. Cut bell shapes from jewel-toned cardstock, fold each shape in half, and secure the crease with a dab of hot glue. Layer several folded shapes together, fanning them outward, to build one full accordion bell with real dimension. Thread gold cord through the top and finish with a small painted gold bead where the cord meets the bell. Try a few different sizes side by side for visual variety on the tree.
2. Wrapped Peppermint Candy Ornaments
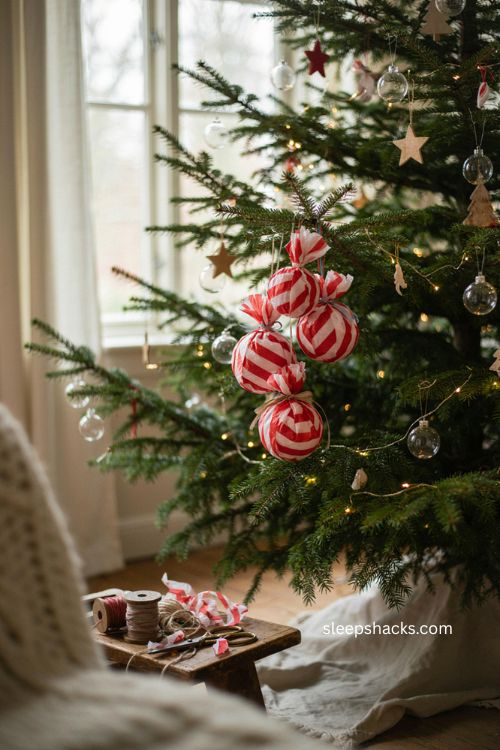
These look almost good enough to unwrap and eat. Wrap foam balls in red-and-white striped tissue paper, securing the seam with double-sided tape so it stays smooth. Gather the excess paper at each end and twist gently, tying off each twist with colored string or narrow ribbon. Trim and fluff the twisted ends so they mimic an actual candy wrapper. Hang a cluster of three or four together near the front of the tree for the biggest visual impact.
3. Macrame Ornaments
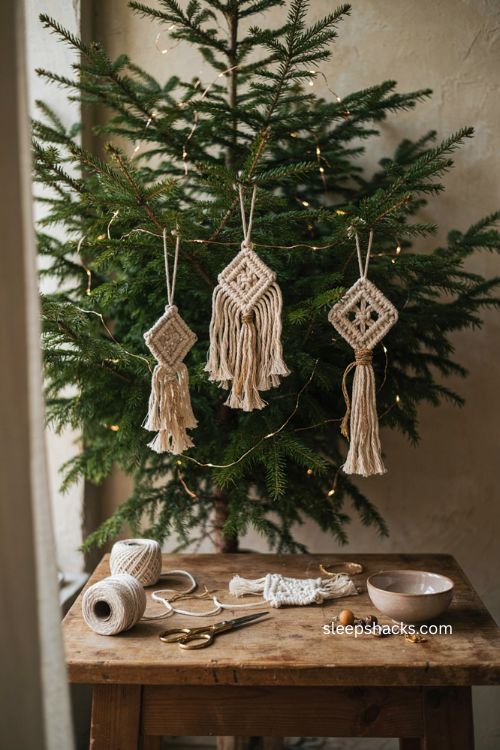
If you already know a square knot, you’re most of the way there. Cut lengths of colored cotton cord and tie a series of macrame knots to build texture, shaping the piece into a diamond or teardrop form as you go. Secure the finished knots firmly at the top and bottom. Wrap a short piece of gold cord or a small charm around the loose ends at the bottom to form a tassel. Bohemian and neutral-toned trees both look great with a few of these mixed in among the branches.
4. Fuzzy Snowman Pom-Pom Ornaments
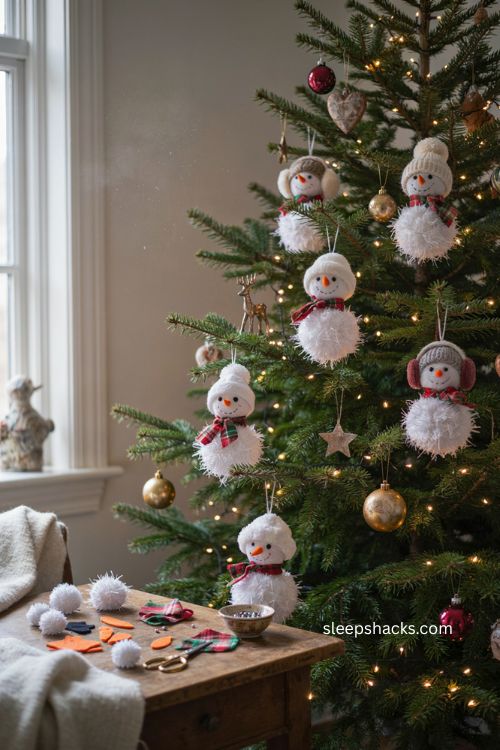
Unlike the ones outside, this snowman will still be smiling in July. Use a 3-inch white pom-pom for the head, then glue on two smaller black pom-poms for the eyes and a curved row of tiny black dots for the mouth. Cut a small carrot-shaped nose from orange felt and glue it in the center. Add a scrap of plaid fabric as a scarf, then finish with a mini knit hat or a pair of felt earmuffs glued to the top. Kids can assemble most of this themselves with a little supervision around the glue.
5. Wood Bead Candy Cane Ornaments
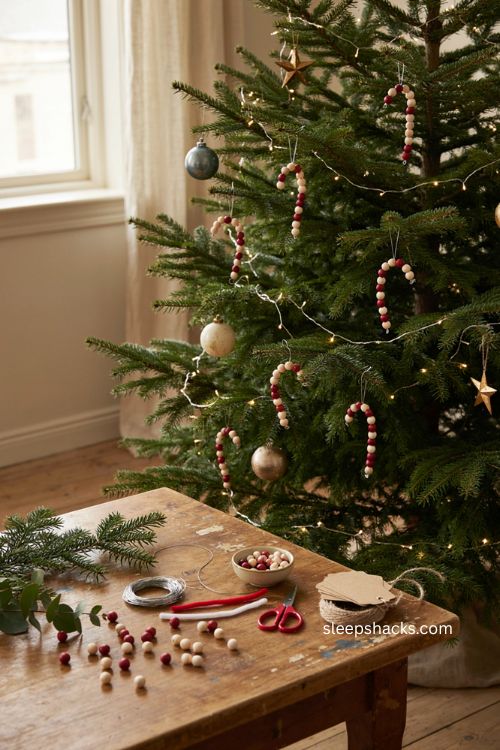
This is a candy cane that will never get sticky in your pocket. Bend a length of craft wire into a classic candy cane curve, then thread alternating red and white wooden beads down the full length. Secure each end with a small dot of hot glue so nothing slides loose over time. Swap the wire for a soft pipe cleaner if younger kids are doing the bead-threading themselves. A small loop bent at the hook end makes hanging simple.
6. Felt Mountain Ornaments
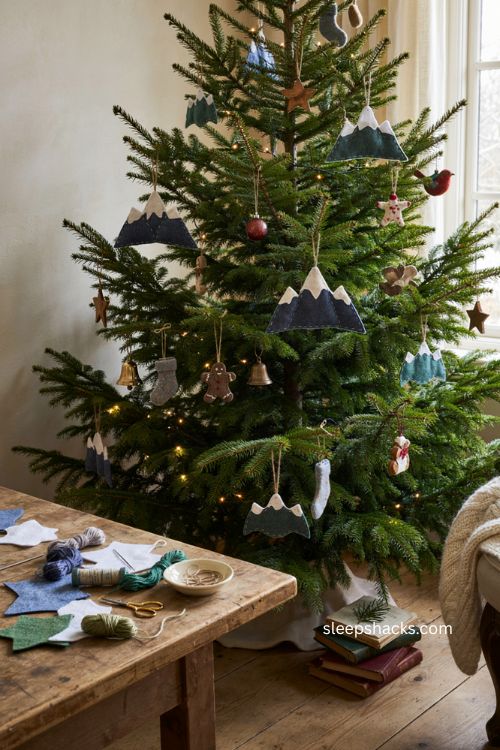
For anyone who’d rather look at snowy peaks than actual snow, this one is worth trying. Cut a jagged mountain silhouette from two shades of blue or green felt, then layer a lighter “snowcap” triangle of white felt at the very top. Stitch simple dashed lines along the ridges with embroidery floss for texture and contrast. Glue or stitch the front and back layers together, leaving a small gap at the peak to attach a twine loop for hanging.
7. Velvet Mushroom Ornaments
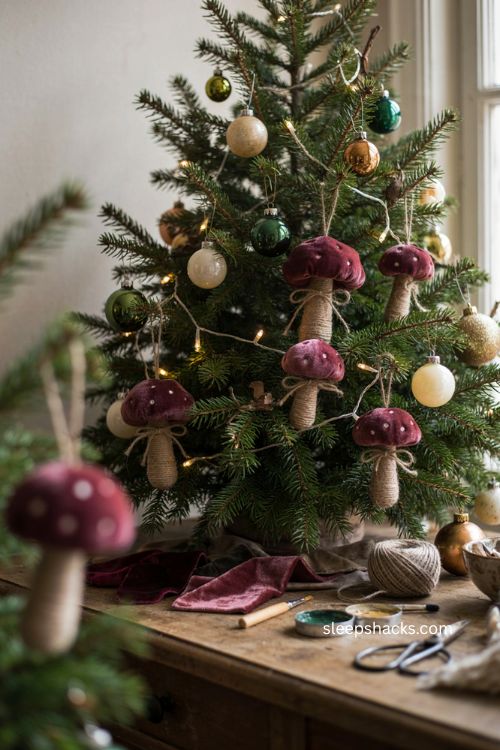
There’s something charming about a mushroom on a Christmas tree, and this one nails it. Cover a hollowed foam ball half with a snug piece of velvet fabric to form the rounded cap, then wrap a length of twine tightly around a short dowel or piece of wire to build the stem. Glue the two pieces together at the base so the cap sits centered. Add tiny white paint dots scattered across the velvet cap for that classic toadstool look, then hang with a loop of string tucked just under the edge of the cap.
8. Stamped Clay Ornaments
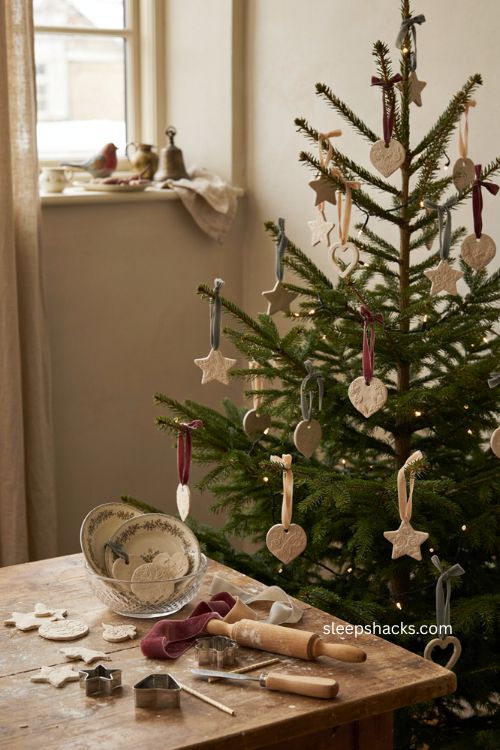
An old glass or patterned bowl in your cabinet is basically a stamp waiting to happen. Roll air-dry clay to about a quarter-inch thick, then press a textured glass or plate firmly into the surface to leave a detailed impression behind. Cut shapes out with cookie cutters once the pattern is set, and poke a hanging hole near the top with a straw before the clay firms up. Let it dry flat overnight, then flip it to dry the other side. A plain velvet ribbon threaded through the hole keeps the finished look elegant rather than crafty.
9. Felt Lantern Ornaments
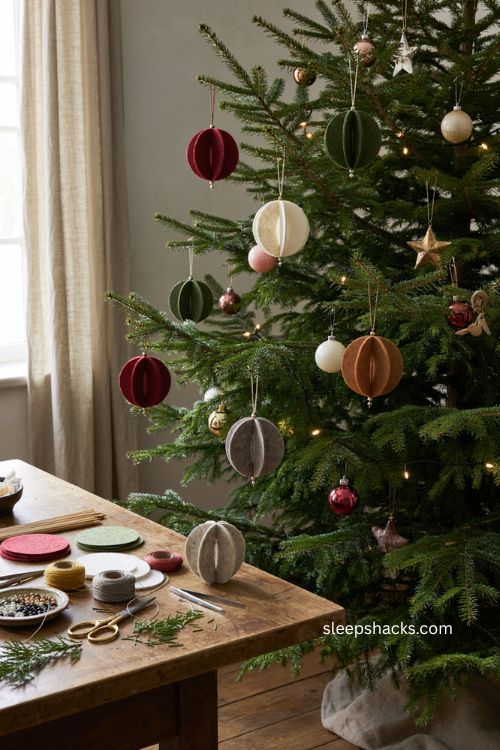
These borrow their shape from paper lanterns, but felt gives them way more durability. Cut two matching circles from felt, notching the edges slightly so they curve like a lantern once assembled. Thread both pieces onto a thin skewer with a short section of paper straw sandwiched in the middle to hold the round shape open. Glue a loop of metallic cord to the top of the skewer for hanging, then add a couple of small beads at the bottom for weight and a little extra shine.
10. Popsicle Stick Sled Ornaments
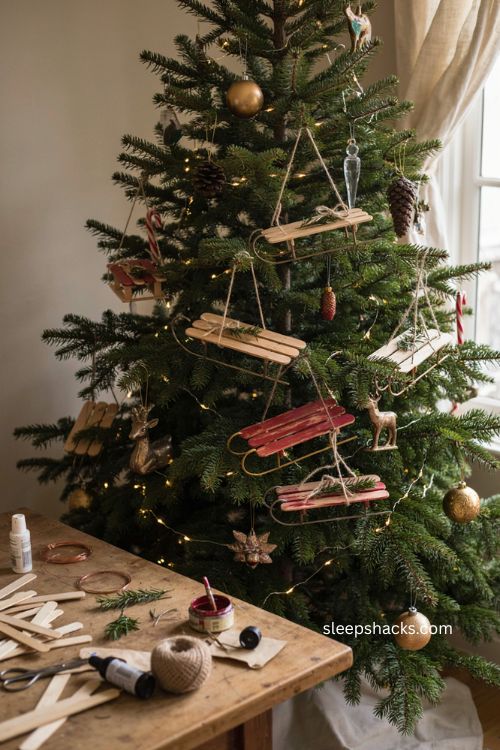
A handful of popsicle sticks from the craft drawer becomes a sled in about ten minutes. Glue several sticks side by side to form the sled’s flat base, then add two curved sticks or thin bent wire underneath to act as the runners. Paint the whole thing barn red, or leave it natural wood-toned for a farmhouse look. Tie a small bow at the front where a rope would normally attach, glue on a tiny sprig of greenery, and finish with a loop for hanging.
11. Night Light Bulb Ornaments
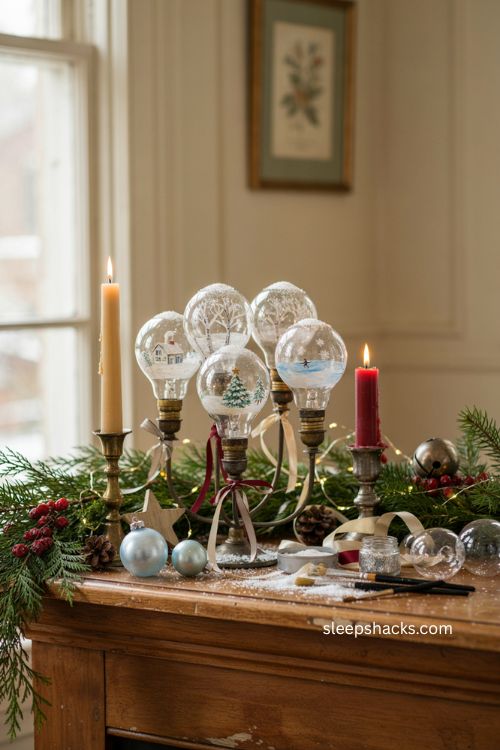
Before you toss out old string light bulbs, take a second look. Clean a burnt-out bulb thoroughly, then paint or decorate the glass with a small winter scene, a light dusting of glitter, or faux snow applied with spray adhesive. Once everything is dry, wrap a loop of ribbon or thin wire around the base where the bulb would normally screw in, and use that as your hanger. Grouping a handful together with mismatched little designs also makes for a fun garland-style display along a mantel.
12. Letter Board Ornaments
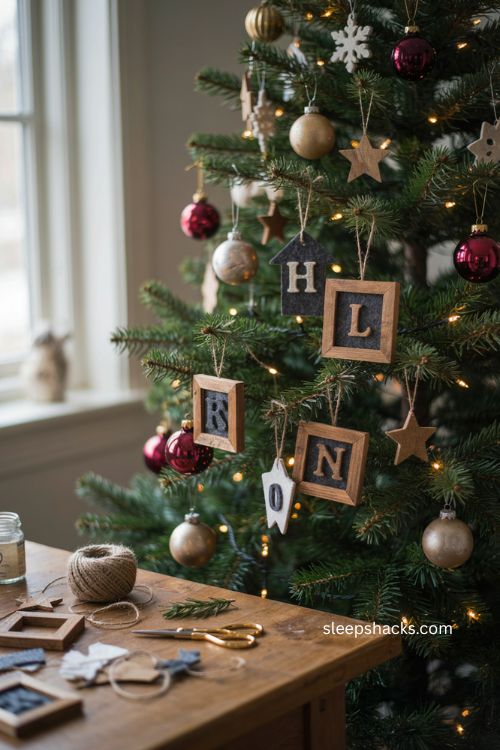
Mini letter boards make it easy to spell out anything you want on the tree. Find or build a small wooden letter board frame just a couple of inches wide, then use the tiny plastic letters to spell a name, an initial, or a short holiday word. Glue the letters in place so they don’t shift around during storage between seasons. Attach a twine loop through a small hole drilled at the top, and swap the message out each year if you’d like something new.
13. Faux Succulent Wreath Ornament
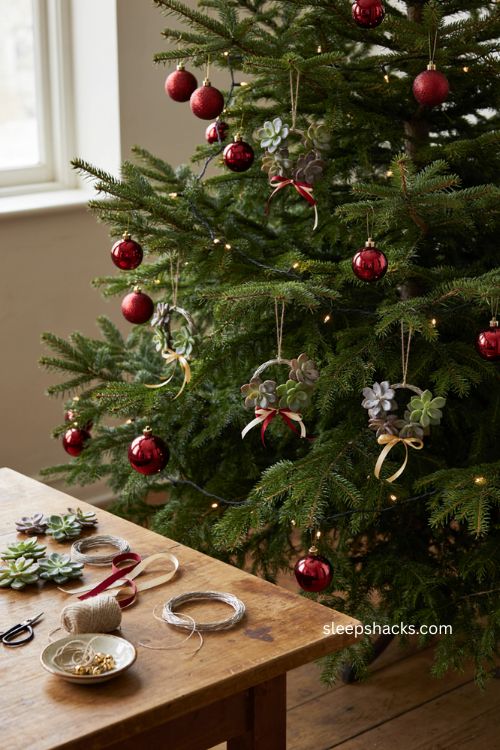
Not every ornament needs to look wintry, and this one proves it. Arrange three or four small faux succulent picks in a tight circle to form a mini wreath shape, securing the stems together with floral wire or a dab of hot glue on the back. Add a thin ribbon bow at the bottom of the wreath and a loop of twine at the top for hanging. The muted greens look surprisingly good set against a traditional red-and-gold tree.
14. Quilled Paper Ornament
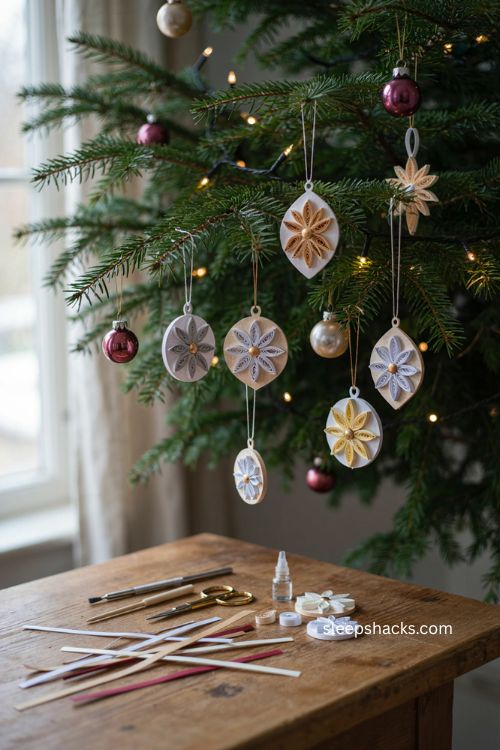
This one takes patience, but the payoff is a genuinely showstopping ornament. Cut narrow strips of cardstock and roll each one tightly around a quilling tool or toothpick, releasing slightly so it forms a loose coil. Pinch the coils into teardrop or marquise shapes, then arrange and glue them into a snowflake or medallion pattern on a small backing circle. Finish with a single wood bead glued at the center and a loop of thread for hanging.
15. Embroidered Pennant Ornament
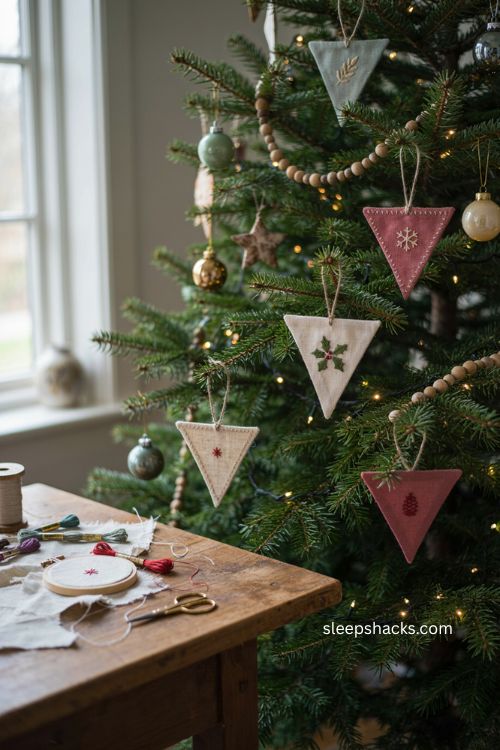
A single embroidered word on a small fabric flag makes a sweet, personal addition to the tree. Cut a small triangle or pennant shape from canvas or linen, hoop the fabric temporarily to keep it taut while you work, and stitch a short word or simple motif like a star or holly sprig using a basic backstitch. Trim the fabric close to the stitching once you’re finished, whip-stitch the raw edges to prevent fraying, and attach a loop of twine through the top corner for hanging.
Final Thoughts
Honestly, there’s no wrong way to fill a tree with pieces you made yourself — some of the best ones on my own tree are a little imperfect, and that’s exactly why I love them. Pull a few supplies out this weekend, invite someone to sit with you at the table, and let the project be as much about the company as the ornament itself. Mistakes and all, these are the pieces that end up meaning the most once they’ve hung around for a few years. Wishing you a cozy season full of hot glue, scattered glitter, and a tree that actually looks like yours.
Frequently Asked Questions
Q: What materials are best for homemade Christmas ornaments?
Felt, wood beads, cardstock, and air-dry clay are the easiest to work with since they’re inexpensive, forgiving, and hold up well in storage from year to year.
Q: Can homemade Christmas ornaments be made without sewing?
Yes — hot glue and craft glue work for most no-sew projects like clay shapes, felt cutouts, and wood bead designs, so a needle and thread aren’t required.
Q: How far in advance should you make DIY Christmas ornaments?
Give yourself a few weeks if any project involves drying time, like clay, salt dough, or dried fruit, since those need days rather than hours to fully set.