

You don’t need a single dollar-store fake spiderweb to pull off a genuinely great Halloween look this year. Some of the most striking decorations out there are made from things already sitting around your house — old cheesecloth, spare mason jars, a stack of newspaper, a couple of tomato cages you were about to put away for winter.
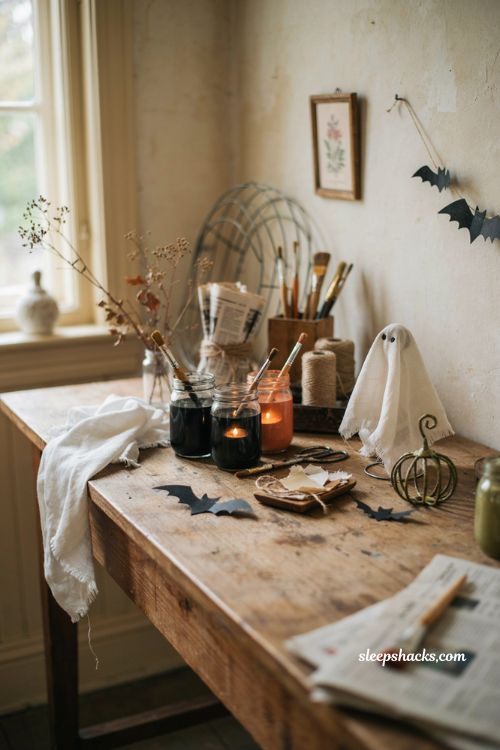
There’s a certain satisfaction in turning ordinary supplies into something a little eerie and a lot charming, and it usually costs next to nothing. Here are fifteen DIY Halloween decorations that prove the best projects aren’t the most expensive ones — they’re just the most creative.
1. Cheesecloth Ghosts
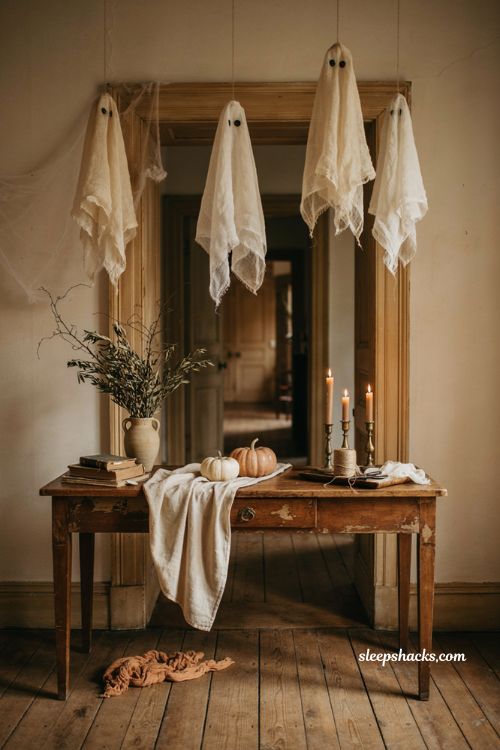
Drape a length of cheesecloth over a small foam or Styrofoam head, brush on watered-down fabric stiffener or glue, and let it dry into a wrinkled, floating shape that looks genuinely ghostly once hardened. A screw eye twisted into the top gives you a place to tie string for hanging from a porch beam or doorway. Making several in slightly different sizes and hanging them at staggered heights sells the effect far better than one alone. This is a beginner-friendly project that dries overnight and holds its shape for years of reuse.
2. Tomato Cage Ghost Lanterns
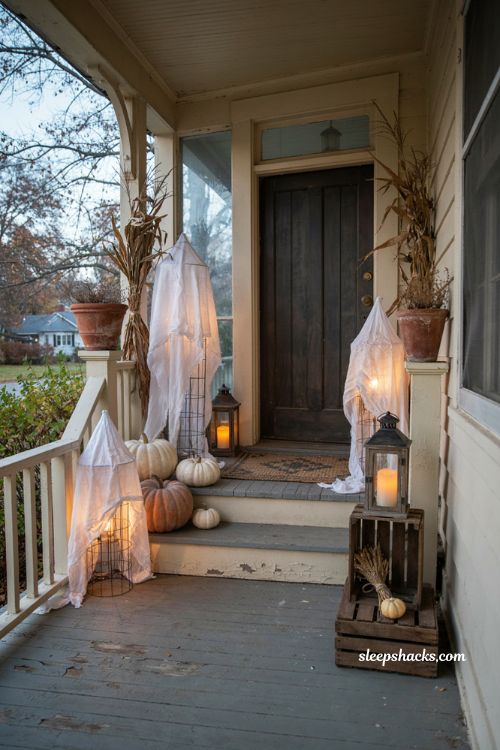
Repurpose an old tomato cage as the skeleton for a life-sized porch ghost by draping white fabric over the frame and tucking a paper lantern with string lights inside for a soft glow. The wire cage gives the fabric enough structure to hold a rounded, floating shape instead of collapsing flat. A single ghost by the front steps reads as charming, while a small troupe scattered across the yard feels like a proper haunted scene. It only takes a few dollars in materials, most of which you likely already own.
3. Trash Bag Spiderwebs
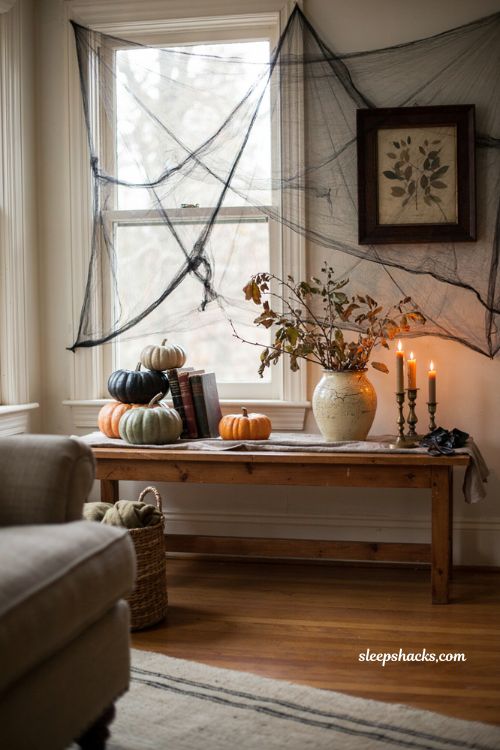
Fold a black plastic trash bag into a triangle the same way you’d fold paper for a snowflake, then snip a web pattern into the folded edges before carefully unfolding it. The result is an oversized, wonderfully uneven web that costs essentially nothing and can be taped flat against a window, wall, or porch railing in seconds. Layering two cut bags together adds more texture and depth if a single layer feels too thin. It’s one of the fastest projects on this list, ready in under ten minutes.
4. Painted Faux Pumpkins
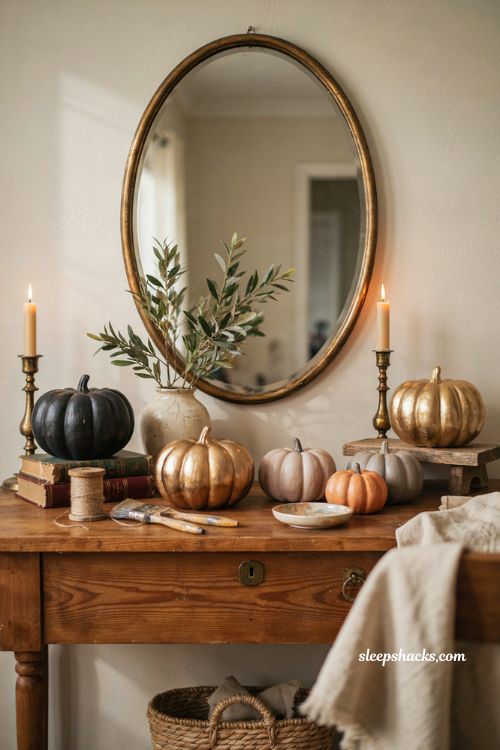
Skip the annual scramble for fresh pumpkins and paint a set of faux ones instead, using matte black, metallic gold, or soft pastel shades depending on the mood you’re after. Unlike real pumpkins, these never rot on the porch or attract curious squirrels, so they can be displayed for weeks without a second thought. Group several different sizes together at varying heights for a more layered, intentional-looking display. Painted faux pumpkins also store flat and get pulled back out again every October without any prep work.
5. Mason Jar Mummy Luminaries
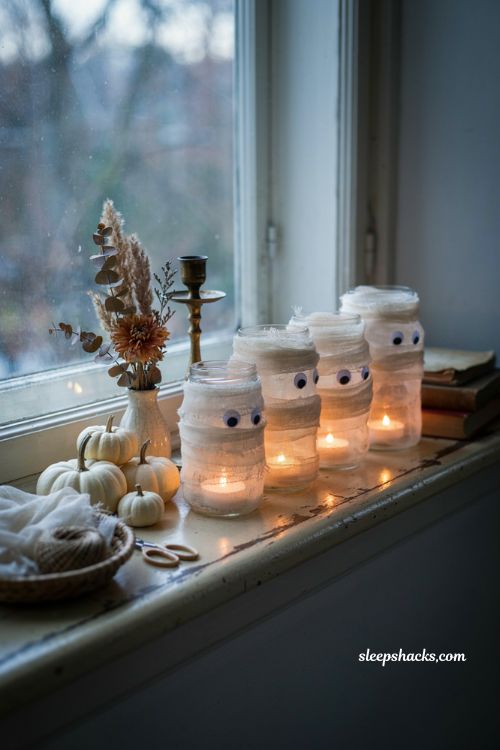
Wrap an empty mason jar in strips of gauze bandage, leaving a small gap for two googly eyes to peek through, then drop a battery-operated tea light inside once the wrapping is secure. The gauze catches the light beautifully once it’s dark, giving the jar a soft, eerie glow without any risk from an open flame. Line several along a windowsill or front walkway for a genuinely charming path of little mummy faces. This project takes about fifteen minutes per jar and reuses supplies you likely have in a first aid kit already.
6. Paper Bat Cutouts
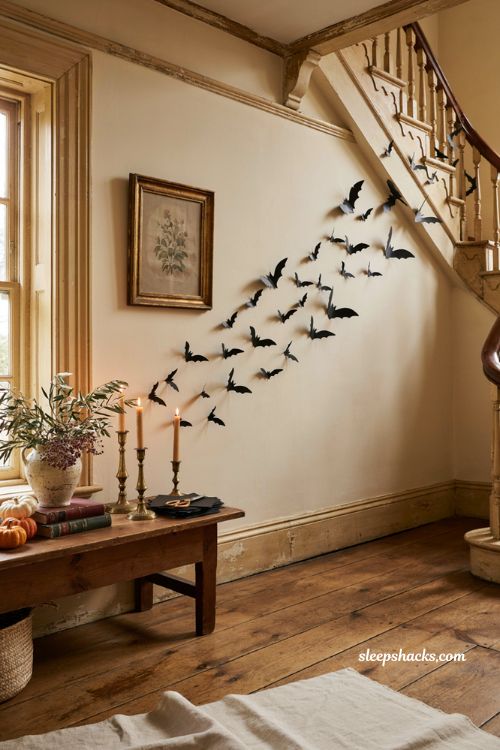
Trace a simple bat silhouette onto black cardstock, cut out a small colony of them, and tape them across a stairwell, mantel, or entryway wall in a loose, scattered cluster rather than a neat row. Varying the size of each bat slightly adds more visual movement, as though they’re mid-flight at different distances. This is one of the cheapest and most flexible decorations on the list since a single sheet of cardstock makes several bats at once. Kids can easily help with the cutting, making it a great group activity.
7. Yarn Spider Nest
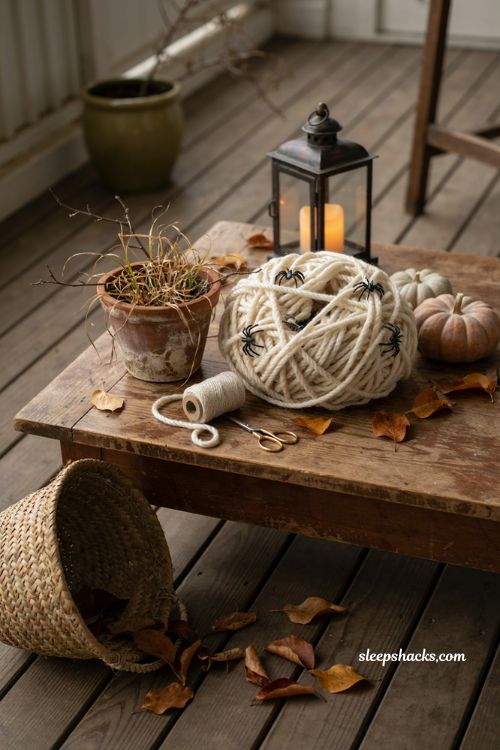
Wrap chunky white or cream yarn loosely around a rounded shape — a balloon works well — to build a nest-like tangle, then let it dry if you’ve used a bit of glue to hold the structure. Tuck a handful of dollar-store plastic spiders into the folds so they appear to be hatching out from inside. This project pairs especially well with younger kids who enjoy the tactile, messy process of wrapping yarn. Displayed on a porch table or tucked into a planter, it reads as unsettling in the best possible way.
8. Spray-Painted Ghost Town Birdhouses
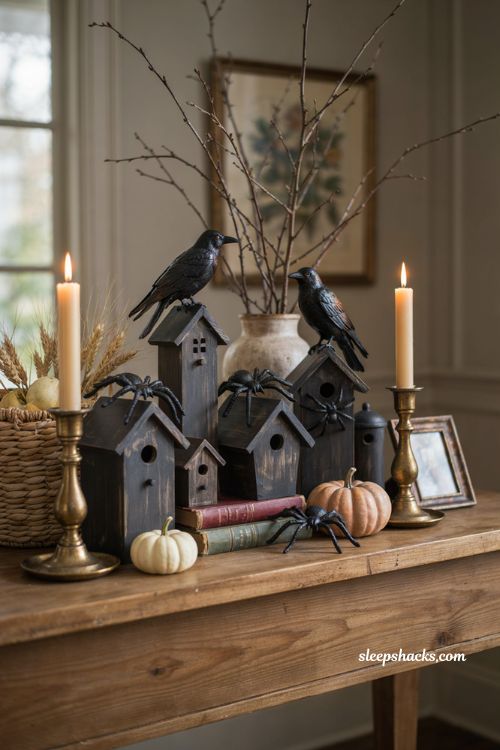
Give a cluster of inexpensive craft store birdhouses a coat of matte black spray paint, then arrange them together on a table or shelf to form a tiny, eerie ghost town. Adding oversized plastic spiders or a few faux birds perched on the rooftops raises the creep factor without much extra effort. Varying the birdhouse sizes and shapes keeps the miniature village from looking too uniform or store-bought. It’s a striking centerpiece that takes one afternoon and a few cans of spray paint to pull off.
9. Duct Tape Mummy Pumpkins
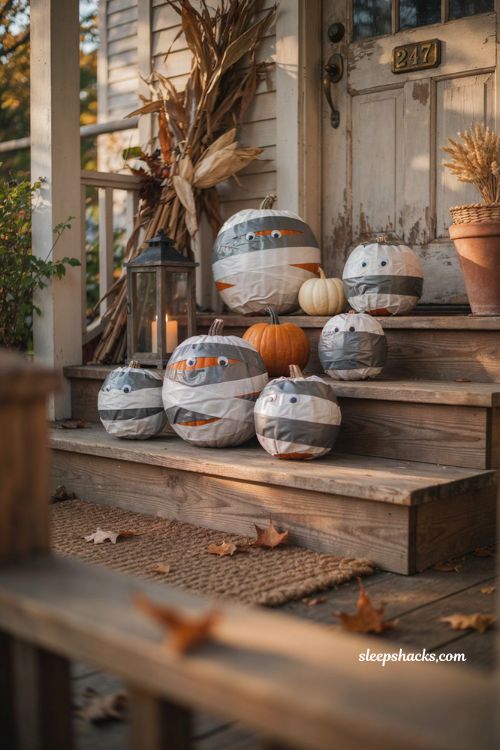
Wrap a plain pumpkin — real or faux — in strips of white or gray duct tape, leaving gaps here and there so it reads as bandaged rather than fully covered. Add a pair of googly eyes peeking out from one of the gaps for a playful, slightly comic effect rather than something genuinely frightening. This is a sturdy, kid-friendly project since duct tape holds its shape well and doesn’t require any drying time. A cluster of mummy pumpkins on the porch steps makes for an easy, budget-friendly focal point.
10. Wooden BOO Marquee Letters
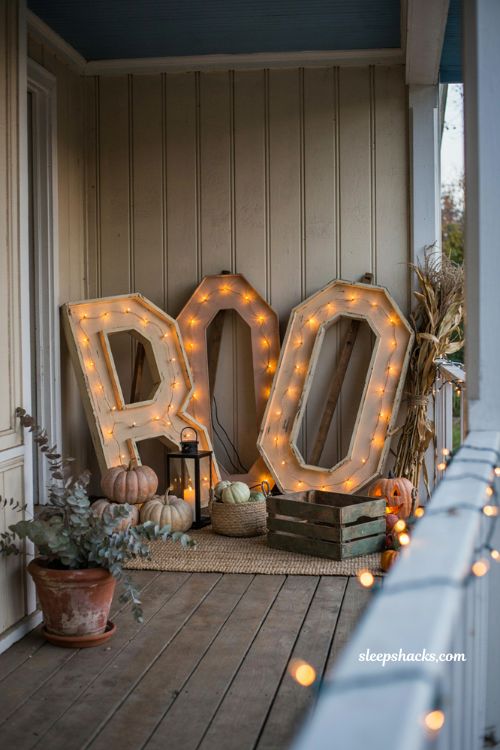
Cut simple block letters from cardboard or thin plywood, then wrap each one with a strand of orange string lights to create a glowing, marquee-style sign spelling out BOO or any short Halloween phrase. Mounting the letters on a stand or leaning them against a porch wall makes them easy to display without any permanent installation. This project takes a bit more patience than most on the list, but the glowing payoff makes it one of the most eye-catching options here. It also stores flat, making it simple to bring back out year after year.
11. Apple Core Witch Heads
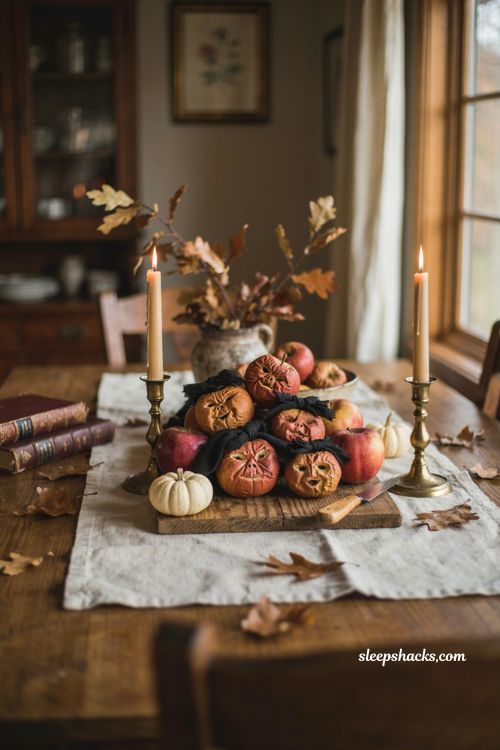
Carve a simple witch face into a fresh apple, then let it dry out over one to two weeks until it shrinks and wrinkles into a genuinely convincing tiny witch’s head. Once dried, add a small fabric scarf or a scrap of black fabric for hair to complete the look. This is a slow, low-effort project that works almost entirely on its own once the carving is done, making it a fun one to start weeks ahead of the holiday. A cluster of several dried apple witches makes an unusual, conversation-starting centerpiece.
12. Floating Witch Hat Luminaries
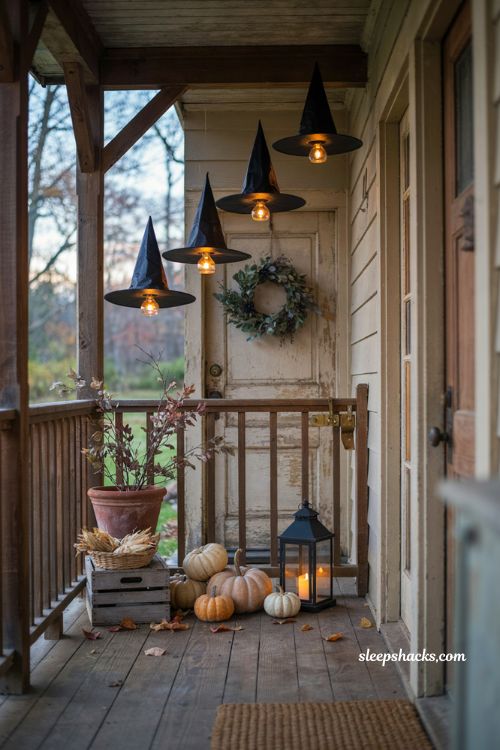
Cut a simple witch hat silhouette from black cardstock or thin foam and mount it above a small battery-operated candle so the hat appears to hover just above the flicker of light. Grouping three or four at varying heights along a porch railing or entryway table creates a playful, slightly whimsical scene rather than anything too eerie. Since there’s no open flame involved, they’re safe to leave glowing outdoors for hours without supervision. This project comes together quickly and photographs especially well after dark.
13. Skull Topiaries for Planters
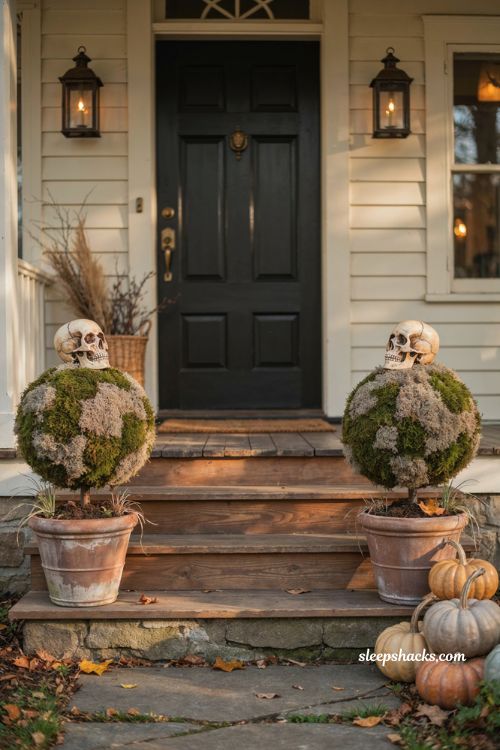
Once summer annuals fade in your porch planters, swap them out for a simple topiary built from a foam ball wrapped in faux moss and topped with a small plastic skull. A pair of matching topiaries flanking your front steps makes a genuinely dramatic, symmetrical statement without much material cost. This project reuses planters you already have in place, so there’s no need for any additional containers. It’s an easy way to keep your entryway looking intentional straight through the fall season.
14. Painted Wood Plank Ghosts
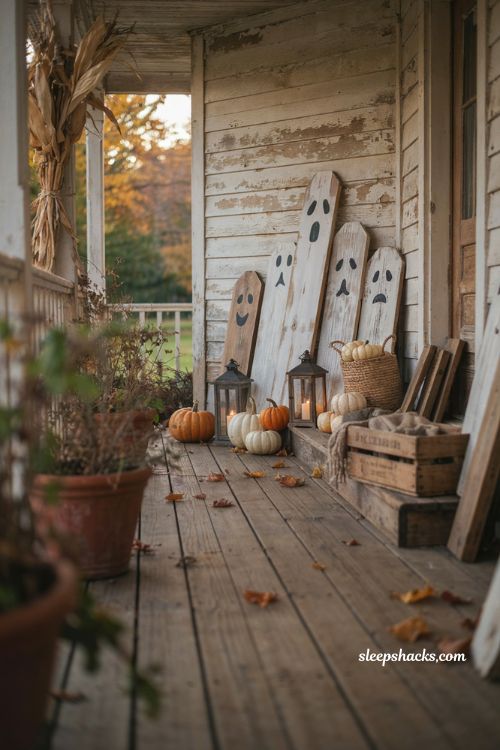
Take a few scrap wood planks from the garage, paint them white, and add simple facial features with black paint or a marker for an instantly charming gaggle of ghosts. Lightly distressing the edges with sandpaper afterward gives them a slightly timeworn, rustic character that plastic decorations just can’t match. Lean them against a porch wall or prop them along a walkway in a loose cluster of varying heights. This is a great project for using up leftover wood scraps from other projects around the house.
15. Spiderweb Wreath
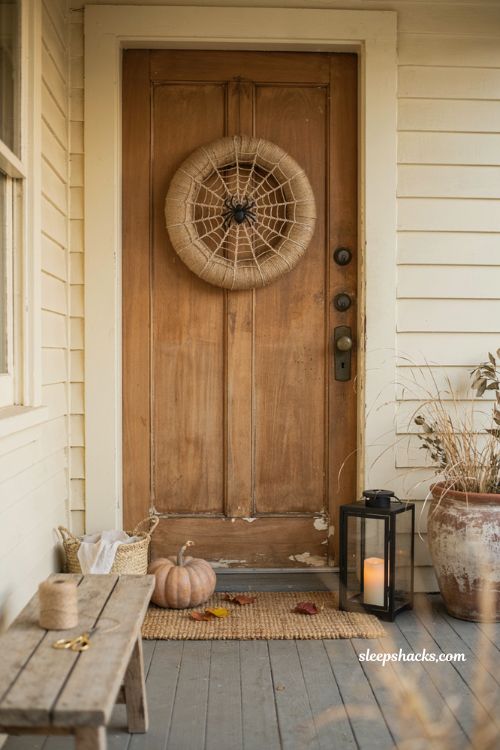
Build a simple spiderweb shape from twine or embroidery thread stretched across a plain wreath form, then anchor a plastic spider at the center for the finishing touch. Hanging it on the front door alongside a small pumpkin or two keeps the overall look cohesive rather than scattered. Unlike a traditional floral wreath, this one can be tucked away flat in a box and pulled back out with zero fuss next October. It’s a quick weekend project that adds a graphic, welcoming touch right at eye level.
Final Thoughts
The best part of decorating for Halloween the DIY way is that nothing here demands a big budget or advanced craft skills — just an afternoon, a few basic supplies, and a willingness to get a little messy with glue and paint. Once you’ve tried one or two of these, it’s hard not to start eyeing everything else around the house as a potential Halloween project. What’s sitting in your garage or junk drawer right now that could become next year’s spookiest decoration?
Frequently Asked Questions
Q: What household items work best for DIY Halloween decorations?
Mason jars, cardboard, old bedsheets, cheesecloth, and yarn are some of the most versatile and inexpensive materials for Halloween crafting.
Q: How far in advance should I start making Halloween DIY decorations?
Most projects take under an hour, but drying-dependent crafts like apple core witches or fabric-stiffened ghosts should be started two to three weeks ahead.
Q: Can DIY Halloween decorations be reused every year?
Yes — painted faux pumpkins, wooden signs, wreaths, and fabric ghosts all store flat or compact and hold up well for years when kept out of direct weather.