

An elevated Christmas tree has nothing to do with price. It has everything to do with restraint, texture, and a clear point of view. A tree covered in forty kinds of ornaments looks busy, while a tree with one color story, good lighting, and real thought behind it looks like it belongs in a magazine.
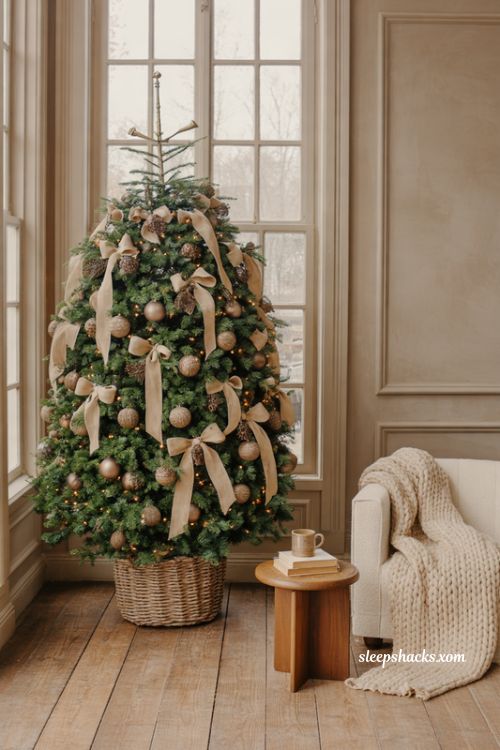
The good news is that you can get that look with the tree you already own. Most of the polish comes from a handful of decisions: palette, ribbon, lights, toppers, and what sits at the base. These 17 elevated Christmas tree ideas show you how to make every one of those choices count, whether your style is quiet and neutral or rich and dramatic.
1. Pick One Color Story
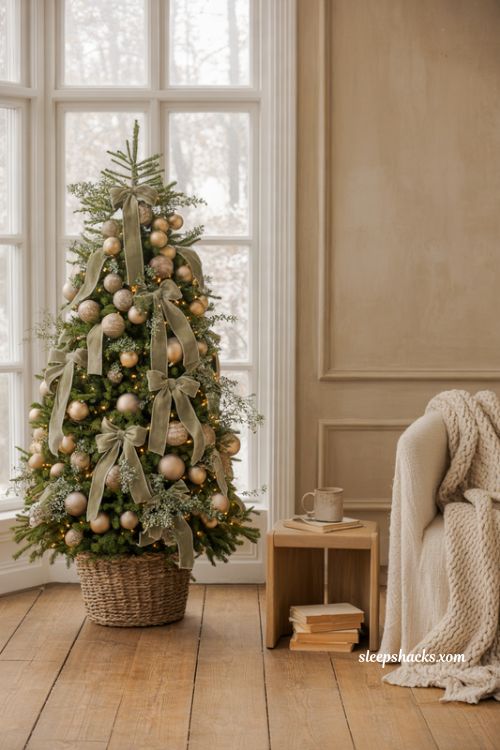
Every designer-looking tree starts with a palette of two or three colors, and nothing else. Think champagne, ivory, and sage, or burgundy, forest green, and gold. When every ornament, ribbon, and pick draws from the same family, the tree reads as one composed piece rather than a collection of leftovers.
Before you buy anything, lay your ornaments on a table and sort them by color. Pull out anything that doesn’t fit, even sentimental favorites, and hang those on a smaller tree in another room. You may be surprised how much calmer the main tree looks once the odd ones are gone, and how much richer your chosen colors suddenly seem.
2. Fluff and Shape Every Branch
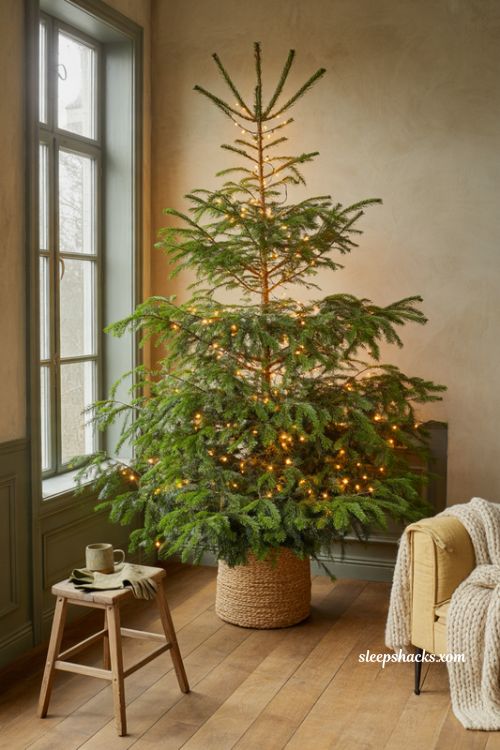
A lush tree looks expensive before a single ornament goes on. Spend twenty minutes fluffing every branch, pulling each tip outward and upward, and separating the wired tips so they fan out like a sunburst. Work from the bottom up, and from the inside of the tree to the outside, so you fill the center instead of only the edges.
Step back every few minutes and look for gaps, then rotate branches to hide them. This one step is the difference between a thin, tired tree and a full, glowing one. Real trees benefit from the same shaping, with stray branches trimmed. Wear gloves, since wire tips can scratch, and put on some music, because it takes a little patience.
3. Layer in Foliage and Picks
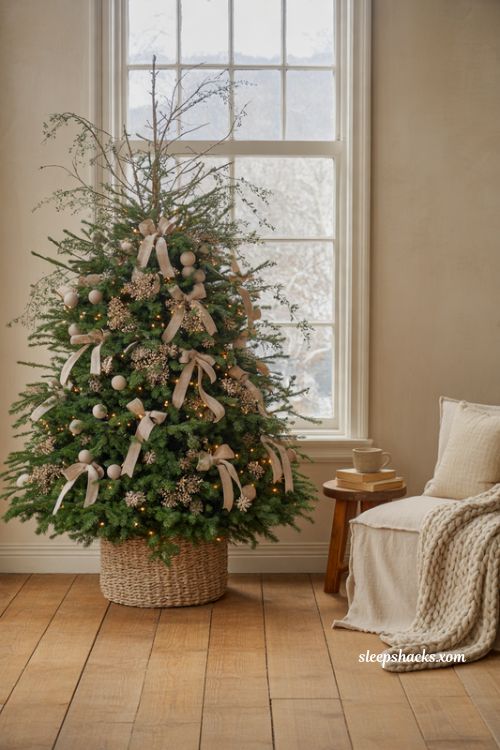
Floral picks and extra greenery add a depth that ornaments alone can’t. Tuck stems of faux eucalyptus, olive branches, or berry sprigs into the tree at different angles, letting some stick out past the silhouette. The slightly wild shape makes the tree feel organic and high end.
Cut the stems so they sit deep in the branches, and use them to fill any dark holes. Choose foliage that echoes your palette: silver-green for cool schemes, deep red berries for traditional ones. Use odd numbers of stems per section and spread them evenly, so the tree feels balanced from every direction in the room, not just from the sofa.
4. Velvet Ribbon Cascade

Wide velvet ribbon is one of the fastest ways to make a tree look styled. Choose a ribbon about three inches wide, tuck one end near the top, and cascade it down in loose vertical swoops rather than wrapping it horizontally. Vertical lines draw the eye up and make the tree look taller.
Wired ribbon holds its shape better and lets you puff the folds into soft loops. Pin the ribbon securely with floral wire every foot or so. Deep emerald, burgundy, and champagne gold all look rich, and matching the ribbon to your ornaments ties the palette together. Buy a little more than you think you need, since cutting short is easy but adding more isn’t.
5. Mix Ornament Sizes and Finishes
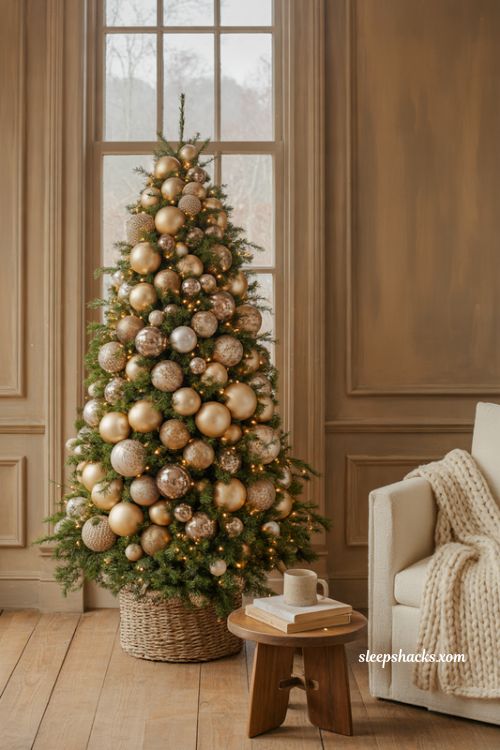
Designers rarely use ornaments of one size. Start with a handful of large baubles, four to six inches across, tucked deep into the tree as anchors, then add medium ones around them and finish with small ones near the tips. The variety creates rhythm and makes the whole tree look layered.
Mix finishes too, using matte, shiny, glitter, and mercury glass in the same color family. A shiny ornament next to a matte one makes both look better. Cluster them in groups of three, and hang them at different depths, with a few pushed back toward the trunk, so the tree has real dimension instead of a flat surface of balls.
6. Warm White Lights Done Right
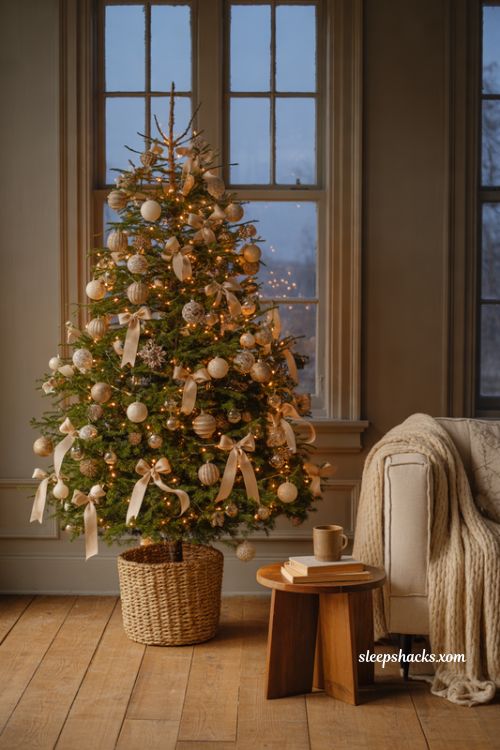
Lights make or break a tree, and the secret is quantity and color. Aim for about 100 lights per vertical foot of tree, and choose warm white rather than cool, which can look harsh and cheap. Weave them in from the trunk outward along each branch instead of wrapping them around the outside.
This depth makes the tree glow from within, with a soft halo around the ornaments. Check every strand before hanging, and keep a spare nearby in case one fails halfway through. Put the lights on a timer so they come on at dusk and switch off at bedtime. It’s a small thing, but it makes the room feel cared for every evening.
7. A Statement Tree Topper
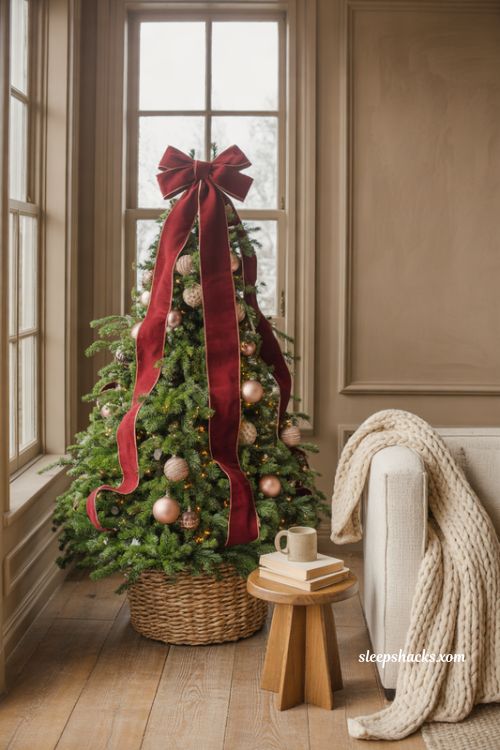
A tree topper is the exclamation point. Skip the tiny star that disappears and choose something with presence: an oversized velvet bow, a bundle of feathers or dried pampas, a sculptural brass star, or a burst of silk picks fanning upward. It should be roughly one tenth of the tree’s height so it feels in proportion.
Anchor the topper by tying it to the tree’s central pole with floral wire so it doesn’t tilt. Match its color to the rest of the palette. A bow topper looks especially stylish when you echo the ribbon cascade below it, tying the top and the body of the tree together in one graceful gesture.
8. Natural Elements Tree

Dried orange slices, cinnamon sticks, pinecones, and wooden beads make a tree feel grounded and expensive in a quiet, earthy way. Skip glossy balls entirely and let natural textures carry the design. A wool or jute ribbon, plus ornaments made from clay or wood, keeps the whole thing warm.
Dry orange slices in a low oven until firm, usually two to three hours at about 200 degrees, then thread them with twine. The smell is wonderful for the first week. Group the natural pieces in clusters and add a few brass or white ceramic ornaments for polish, so the tree looks curated rather than craft-fair rustic.
9. All-White Flocked Tree
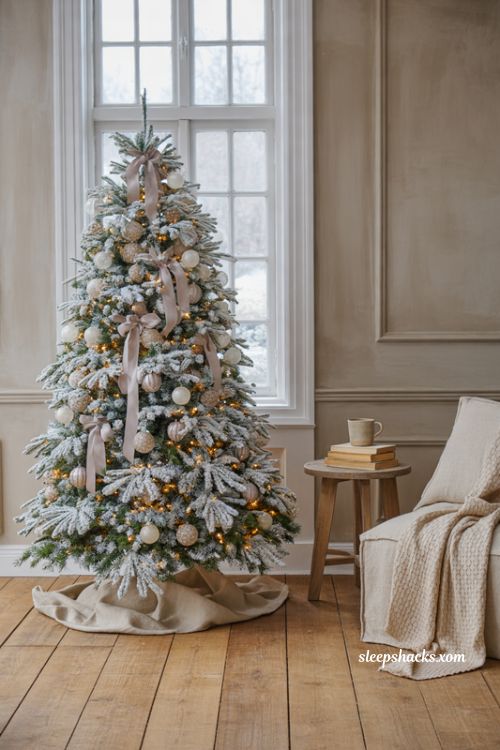
A flocked tree looks like a fresh snowfall, and it’s an easy path to a polished result. The white base makes every ornament pop, so even simple glass baubles look dramatic. Pair flocking with silver, pale blue, or champagne for a wintry look that suits modern homes.
Keep the decoration restrained, since the flocking already provides plenty of visual texture. Use warm white lights for coziness and avoid dark ornaments that may look heavy against all that white. If you buy a flocked tree, handle it gently and store it in its original bag, since flocking can flake away with rough treatment over the years.
10. Dark and Moody Tree

Picture a tree dressed in deep greens, navy, burgundy, and bronze, lit by tiny warm lights. A dark and moody tree feels like a luxury hotel lobby, rich and a little mysterious. Use velvet ribbon, antique gold ornaments, and dried florals in deep red for a look that’s anything but ordinary.
This style works best in a room with dark walls or a dark sofa, where the tree blends in rather than competing. Add plenty of lights, since dark colors absorb them. A few mercury glass pieces catch the glow and keep the tree from feeling flat. It’s an unexpectedly romantic choice, especially for quiet evenings with a candle burning nearby.
11. Glass and Mercury Ornaments

Mercury glass has a soft, antique shimmer that makes a tree feel collected over generations. Choose ornaments in silver, champagne, or smoky gray, and mix round, teardrop, and finial shapes. They catch the light differently from standard glass and look far more expensive than they usually cost.
Hang them toward the center of the tree where the lights bounce around them, and keep a few near the edges for sparkle. Handle with care, since the glass is thin and can crack if knocked. A basket of extra mercury ornaments on a side table echoes the tree and makes the whole room feel styled, not just the corner where the tree stands.
12. Raise the Tree on a Base
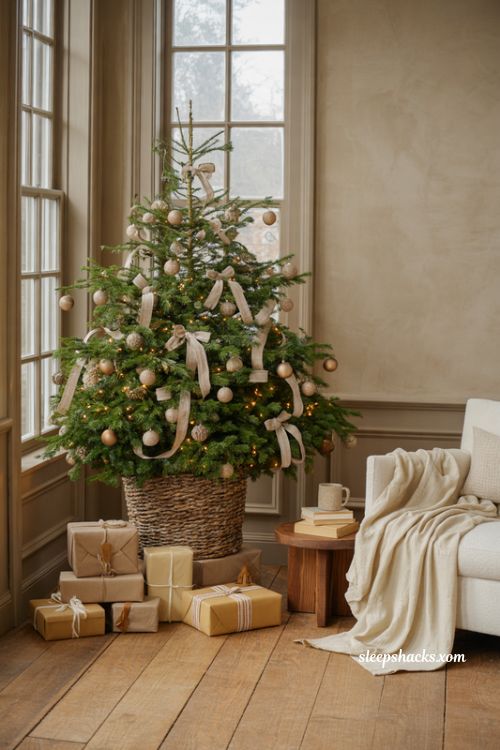
An elevated base makes a tree look taller and more intentional, and it hides the awkward stand. Set the tree on a low wooden riser, a sturdy crate, or a stack of large books covered by a tree collar. Even four to six inches of lift makes a short tree look grand.
Make sure the base is stable, wide enough for the tree stand, and strong enough to hold the weight of a watered tree. Cover it with a collar, a basket, or a fabric skirt so nothing looks improvised. Presents arranged around the raised base then look like part of the display instead of an afterthought tucked beside the trunk.
13. Woven Collar or Basket
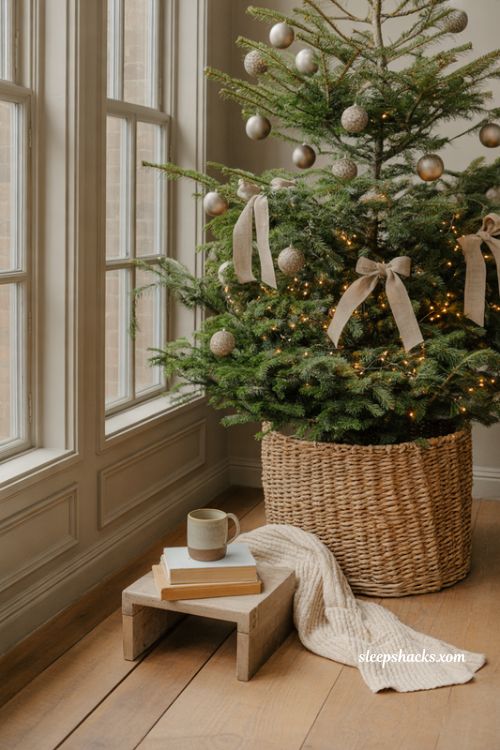
A tree collar is a quick way to trade a plastic stand for something that looks designed. Choose a woven seagrass basket, a galvanized metal collar, or a white wooden ring that fits snugly around the base. It finishes the bottom of the tree the way a frame finishes a painting.
Pick a material that matches the rest of the room: wicker for natural styles, metal for modern ones, fabric for traditional ones. Make sure the diameter fits your tree’s base with a couple of inches to spare. A collar is also easier to move and store than a fabric skirt, and it never gets tangled in the cords.
14. Gifts Wrapped in a Matching Palette
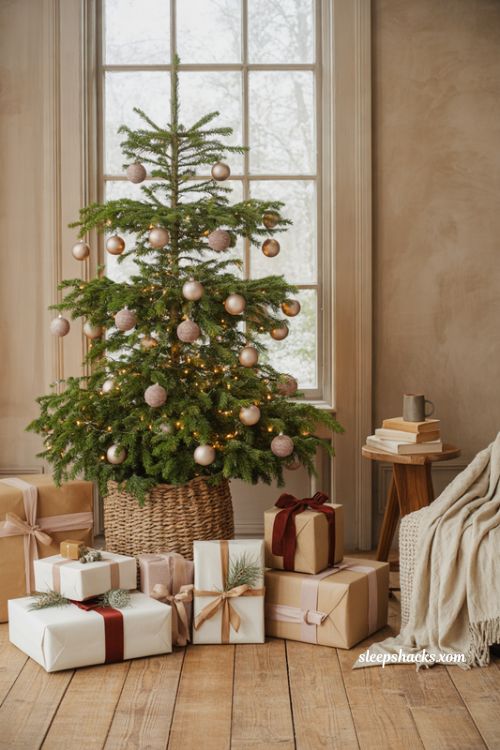
Presents under the tree are part of the design. Wrap them in a limited palette of kraft paper, white, and one accent color, tied with velvet or linen ribbon. A neat stack of coordinated gifts looks like a boutique window display, even when the boxes inside are modest.
Vary the sizes and heights, with big boxes at the back and small ones in front, and add a sprig of greenery to each bow. Skip cheap plastic bows, which look flimsy. If you’re not ready to wrap everything, use empty boxes as styling pieces and hide the real gifts until closer to Christmas, which also keeps small hands from guessing.
15. Pearl or Wooden Bead Garland

Bead garland can look cheap or luxurious, depending on the material. Choose wood beads, pearls, or large faux crystal in a single color, and drape them in soft swoops from branch to branch instead of wrapping them tightly around the tree. The gentle curves add softness and movement.
Space the swags evenly, about six inches apart, and let the garland dip lower in the middle of each loop. Pearl garland adds a refined feel to neutral trees, while wooden beads suit natural schemes. Use fewer strands than you think you need, and avoid layering several garland types on one tree, which can quickly look cluttered and confused.
16. Heirloom and Handmade Accents
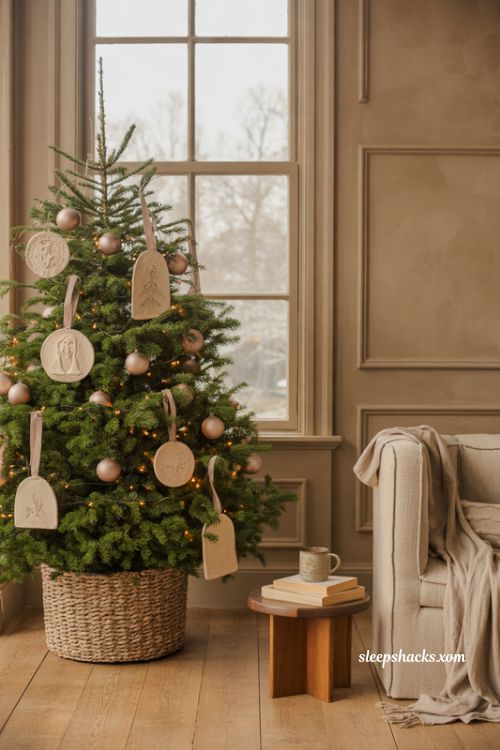
Even the most polished tree needs a few personal touches. Choose a small number of heirloom or handmade ornaments, five or six at most, and hang them at eye level at the front of the tree. They tell the story of your family without breaking the palette or the overall mood.
If they don’t match your colors, wrap them in ribbon or paint small ones in a coordinating shade so they blend in. Hand-stamped clay tags, glass ornaments from a grandparent, or a child’s painted ball all work beautifully among the more formal pieces. The mix is what makes a designed tree feel loved, rather than staged for a photograph.
17. Style the Whole Scene Around the Tree
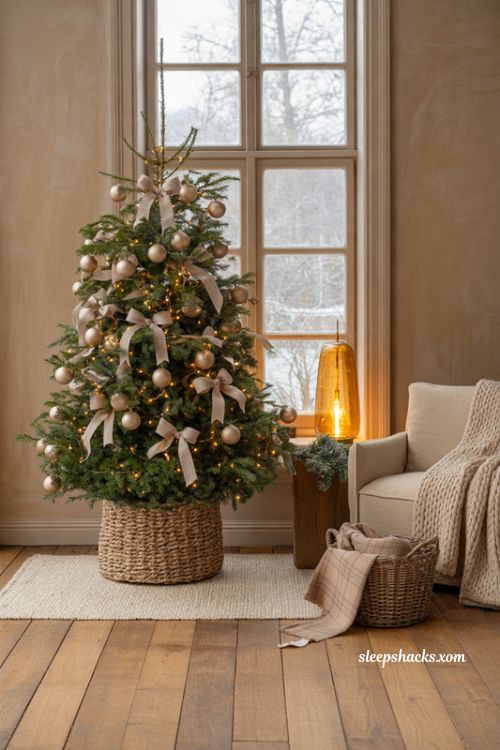
An elevated tree looks best when the area around it supports it. Add a chair or small bench beside it, a basket with throw blankets, a floor lamp that glows in the evening, and a rug under the base. The tree becomes a corner of the room rather than an object parked in it.
Keep the colors in the surrounding decor tied to the tree, using the same ribbon on the mantel or the same greenery on a side table. This repetition makes everything feel intentional. Step back at night with only the tree lights on and notice what feels right, then adjust anything that feels off, one small change at a time.
Final Thoughts
You don’t have to do all seventeen. Pick one thing tonight: sort your ornaments by color, fluff the lower branches, or swap cool white lights for warm. A single change can shift the whole look of the tree.
Start with the step that costs nothing, like fluffing the branches and setting aside the ornaments that don’t fit your palette. Tomorrow, add a ribbon or a statement topper, and watch how the tree begins to take shape. Small decisions made in order beat a weekend of rushed decorating. Do it with a hot drink in hand, then plug in the lights and stand back for a minute.
Frequently Asked Questions
Q: How do you make a Christmas tree look elevated?
A: Stick to a two- or three-color palette, fluff every branch, and use plenty of warm white lights. Add ribbon, foliage, and a statement topper for a designer finish.
Q: How many ornaments does an elevated Christmas tree need?
A: There’s no fixed number, but mixing a few large ornaments with medium and small ones looks fuller than many ornaments of the same size. Consistent color matters more than quantity.
Q: What colors look most elegant on a Christmas tree?
A: Neutral palettes like ivory, champagne, and sage look refined, as do rich combinations like burgundy, emerald, and gold. Choose two or three colors and stick with them.