

Here’s something that surprises most people: you don’t need a studio, a furnace, or years of training to make glass ornaments. A small kiln, a handful of colorful glass pieces, and one patient afternoon are enough to turn flat sheets into keepsakes that catch the light on your tree. Beginners do it every holiday season.
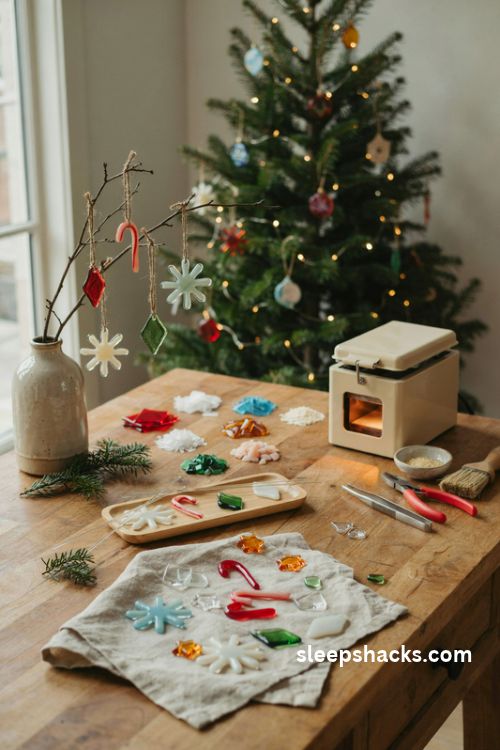
Fused glass works by heating pieces until they melt together into a single, smooth surface. The magic is in the layering, where a speck of color becomes a snowflake and a thin thread becomes a candy cane. The fourteen fused glass christmas ornaments below start simple and grow more creative, so you can pick a favorite and begin.
1. Simple Frit Snowflake Disc
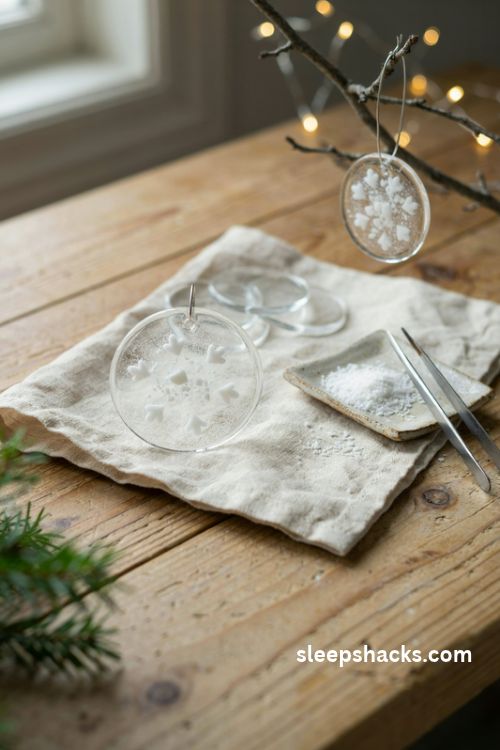
This is the perfect first project because almost nothing can go wrong. Cut a 2-inch circle of clear glass, then sprinkle a pinch of white coarse frit in a snowflake-like scatter across the top. When it fires, the frit melts into a soft, snowy texture that glows against the clear base.
Use a pair of tweezers to place a few larger frit pieces in a rough star shape, which gives the disc more structure. Fire it to a full fuse, following the temperature chart for your glass type. A thin loop of high-temperature wire can be tucked between two layers, or you can drill a hole afterward.
2. Confetti Glass Baubles
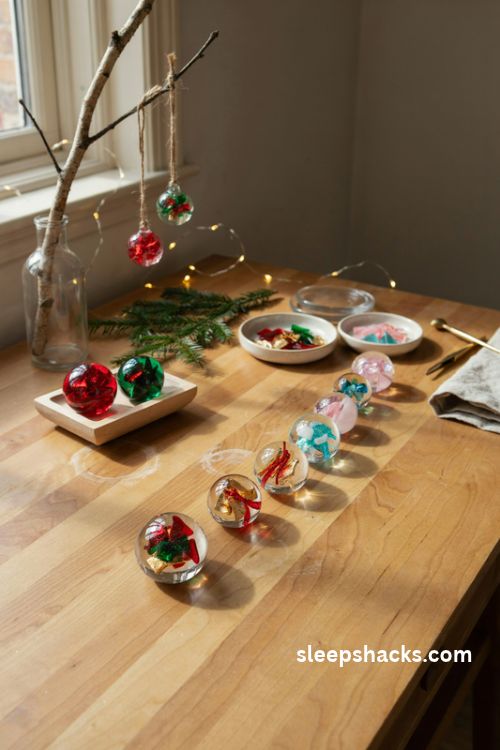
Confetti glass comes in tiny, paper-thin shards of bright color, and it makes a joyful, speckled ornament with almost no planning. Scatter it over a clear or white base in a loose pattern, then add a second thin layer of clear glass on top to seal everything in. The result looks like a party in miniature.
Stay with a limited palette of red, green, and gold for a classic holiday feel, or go wild with pinks and teals. Because the pieces are so light, keep your workspace free of drafts while you arrange them. Once fired, the confetti spreads into soft, dreamy streaks that no two ornaments will ever share.
3. Stringer Candy Cane
Stringers are thin rods of colored glass that you can lay down like drawing lines. To make a candy cane, build a small cane shape from white glass, then place red stringers diagonally across it in even stripes. You’re essentially painting with melted threads.
Keep your stripes close together and slightly slanted for a convincing peppermint look. Use a pair of fine tweezers to place each stringer, and trim the ends with glass nippers for a clean finish. After firing, the lines soften a little, so don’t worry about perfection. A dab of clear frit on the hook adds a touch of shine.
4. Dichroic Glass Star
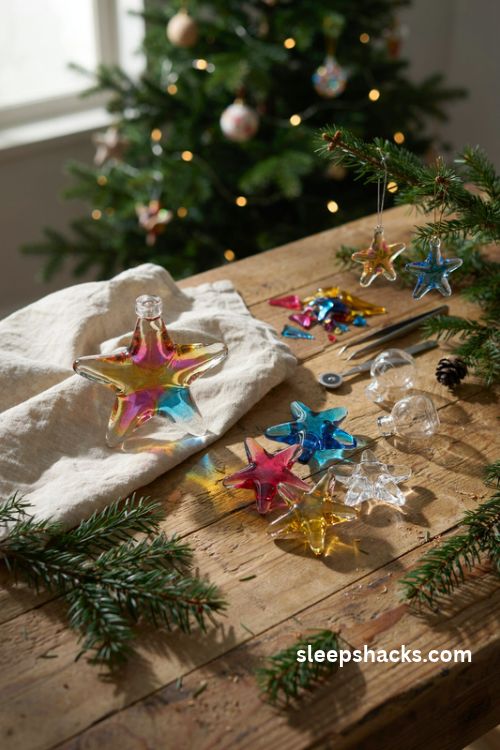
Dichroic glass has a special coating that flashes different colors depending on the light, and it turns a plain star into something that seems to hold the northern lights. Cut a five-point star from dichroic glass, set it on a clear base, and cap the coated side with clear glass for protection.
Place the coating side up in your kiln for a metallic finish, or down for a more subtle effect. Gold, magenta, and blue are especially striking on a tree. A single large star can serve as a tree topper if you scale it up. Small ones, around 2 inches, look wonderful in a cluster.
5. Layered Christmas Tree
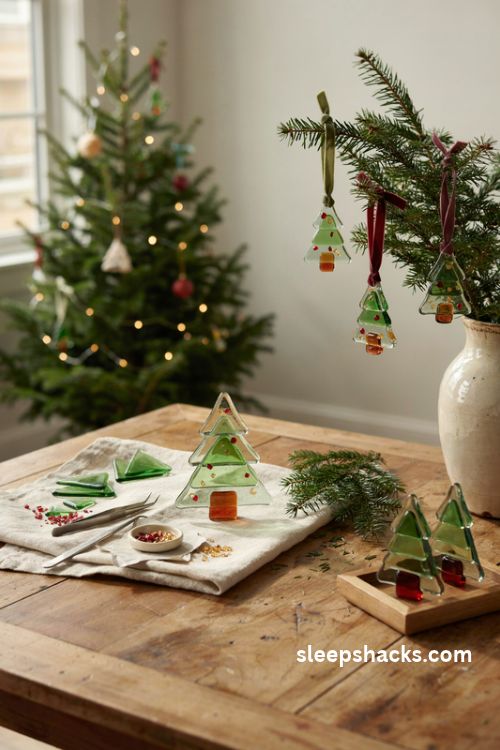
A glass tree takes a few steps, but it’s well worth it. Cut three triangles of green glass in graduated sizes and stack them with the largest on the bottom. Add a small brown rectangle for the trunk, then place tiny dots of red and gold frit across the branches like ornaments.
Press the pieces lightly together before firing so they melt into one smooth shape. Tack fusing at a lower temperature keeps the layers more distinct, while a full fuse gives you a flatter, sleeker look. Either way, the little dots catch the light beautifully. Hang it with a loop of ribbon in a coordinating shade.
6. Frnit Snowma

A snowman made from glass is as charming as it sounds. Cut two white circles, one larger for the body and one smaller for the head, and overlap them slightly. Use black frit for the eyes and buttons, a sliver of orange glass for the nose, and a thin stringer of red for the scarf.
Because the pieces are so small, work over a clean sheet of paper so you can collect any stray bits. Fire it to a full fuse so the circles blend into one rounded shape. A pale blue base disc behind the snowman makes it look like he’s standing in a winter sky.
7. Iridescent Icicle Drops
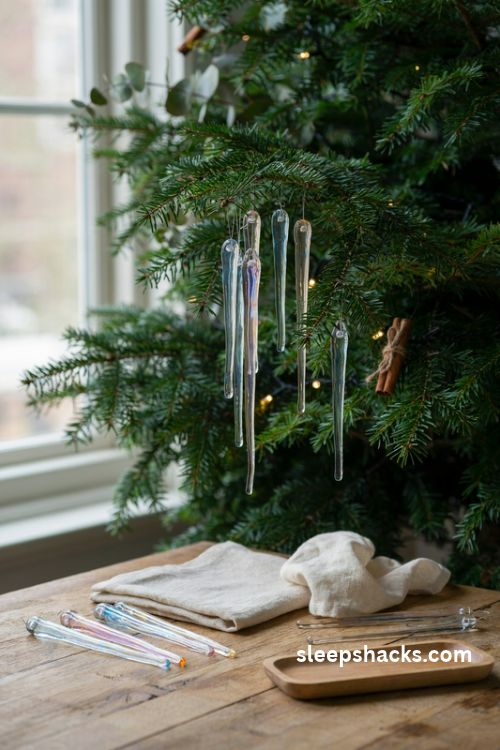
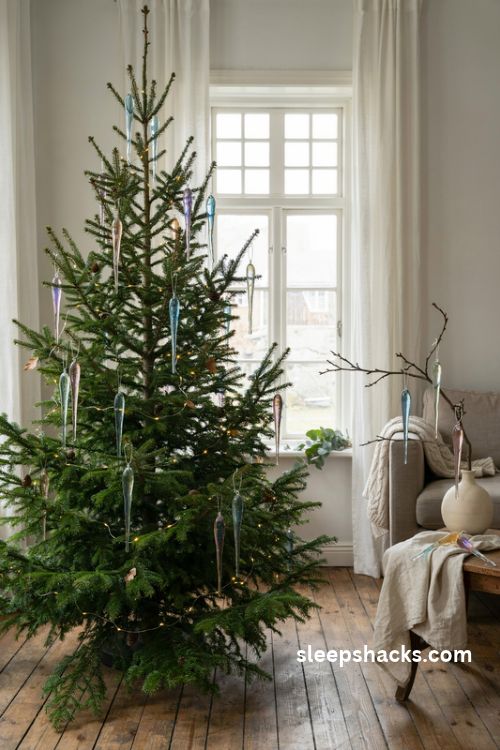
Long, slender icicles are elegant and surprisingly simple to make. Cut narrow strips of clear iridescent glass, about half an inch wide and 3 inches long, and taper one end into a point with your cutter. When fired, the surface shimmers in soft rainbow tones.
Lay each strip flat in the kiln and fuse until the edges round off slightly. Hang several at different lengths from a single branch, and they’ll chime gently when the tree is bumped. A few of these drops placed near your tree lights glow like real ice. Clean them with a soft cloth to keep the shine.
8. Holly Leaf and Berry Ornament
Holly makes a classic holiday motif, and glass captures its glossy leaves perfectly. Cut two leaf shapes from dark green glass and place them side by side at a slight angle. Add three small spheres of red glass at the base for berries, either using frit balls or tiny cut dots.
Overlap the leaves slightly so they join during firing and form one piece. A thin line of lighter green stringer down the center of each leaf suggests the vein. After fusing, the berries puff up a little, giving them a realistic roundness. Tie it on with red ribbon for a perfect finishing touch.
9. Swirled Marble Round
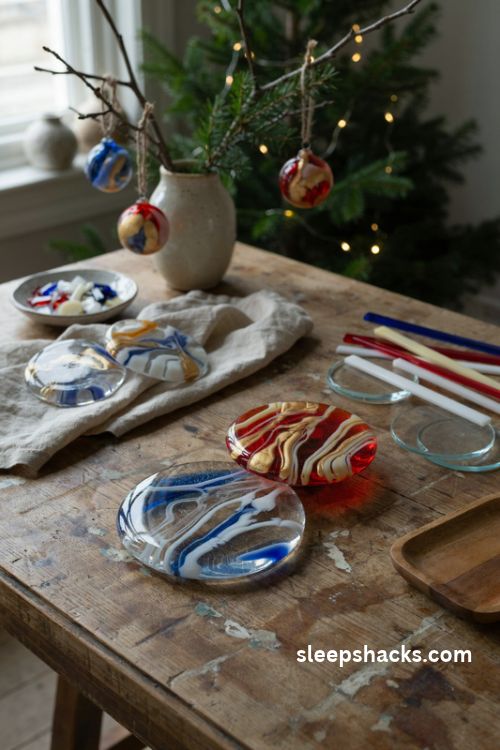
For a more abstract look, create a swirl of color across a round base. Start with a clear disc, then lay thin ribbons of two or three colored glass pieces across the top in a random crisscross. A deep blue, white, and silver combination feels wintery, while red, gold, and cream feels warm.
As the glass heats, the colors melt into one another, creating soft marbled patterns that you couldn’t draw by hand. Keep the colors compatible, since some shades react oddly when they touch. Always test a small piece first if you’re unsure. Each swirl comes out slightly different, and that’s the whole charm.
10. Personalized Name Ornament
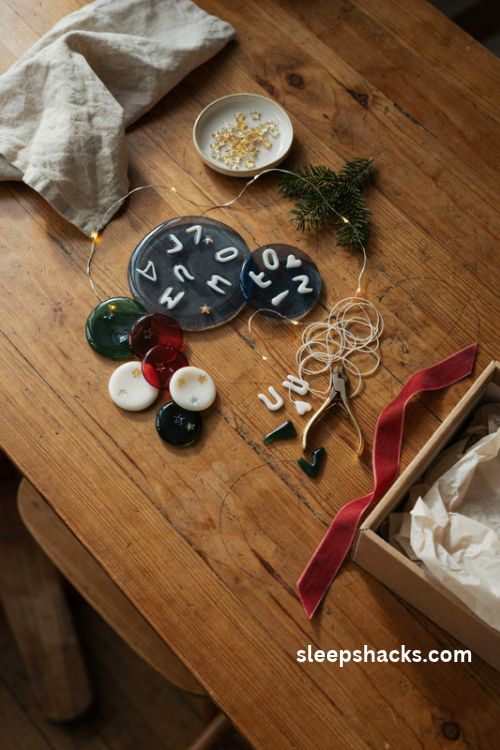
A name or date in glass makes a keepsake for the person who receives it. Using fine white stringers, shape each letter on a dark background, such as black or navy. Work slowly, since each curve needs tiny adjustments, and trim any long ends with nippers.
For a simpler option, use pre-cut glass letters or a year, like the current date, set on a bright base. Fire it to a tack fuse so the letters stay crisp, rather than melting into blobs. A tiny star or heart beside the name adds a little extra personality. Wrapped in tissue, it’s a lovely handmade gift.
11. Textured Bubble Rounds
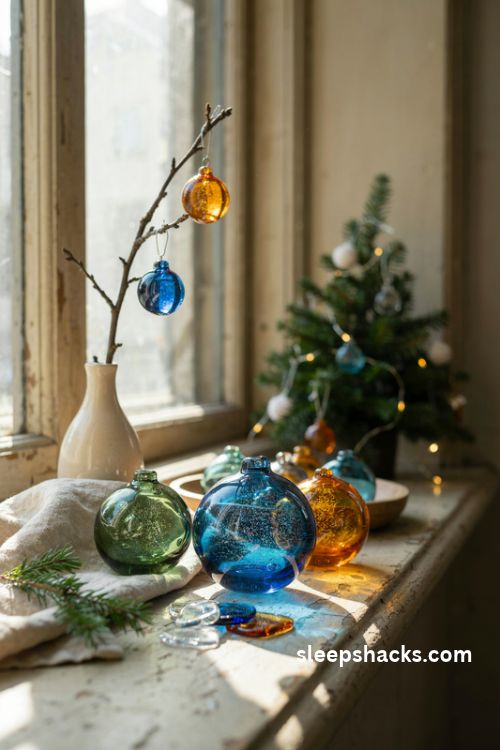
Trapped bubbles are one of fused glass’s happiest accidents, and you can plan for them on purpose. Place a small piece of clear glass on top of a base layer with a few tiny gaps between them, then fire it at a slower pace. Air pockets form and give the glass a sparkling, champagne-like texture.
Use a transparent base in a deep tone like cobalt, green, or amber to show off the bubbles best. Experiment on scraps first, because the results depend on your kiln and schedule. When they work, the ornaments look like glowing droplets. Hang several in a window where sunlight can shine straight through.
12. Cookie-Cutter Gingerbread Shape
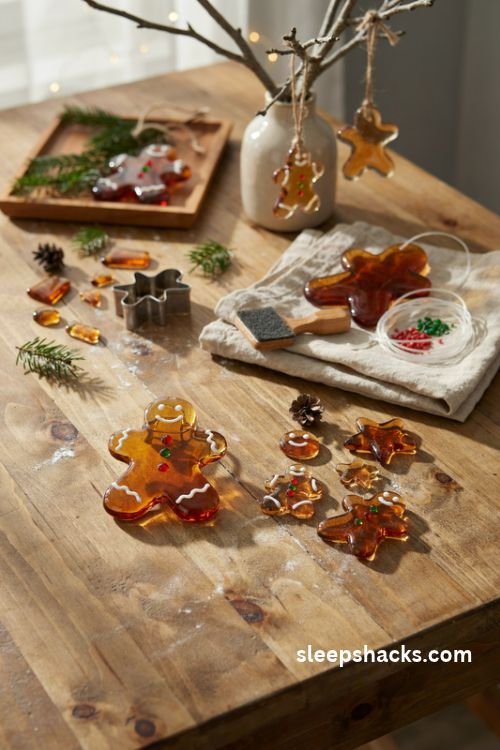
Glass doesn’t cooperate with cookie cutters, but a cutter makes a great stencil for tracing shapes. Trace a gingerbread man onto brown glass with a marker, then carefully score and break away the excess. Smooth the edges with a diamond pad or grinder before firing.
Add details with white stringers for the icing, along with tiny frit buttons in red and green. Fusing rounds the sharp edges and softens the whole figure, giving it a cozy, cookie-like look. If cutting a figure feels too tricky, stick to simpler shapes like hearts, stars, or round gingerbread faces.
13. Winter Night Landscape
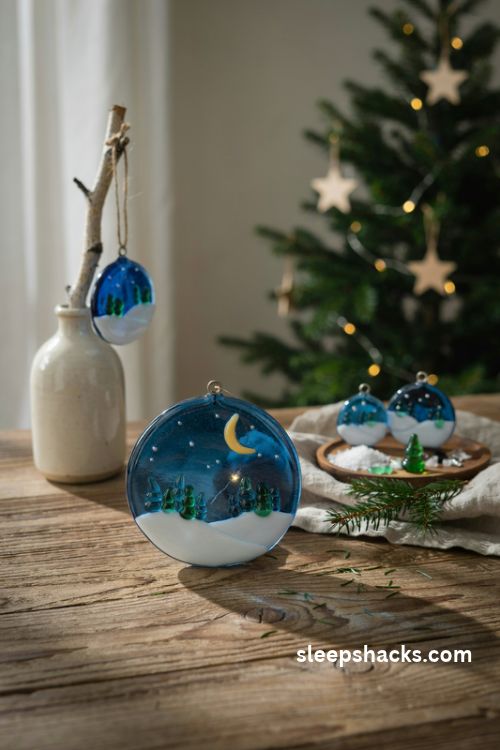
A tiny scene in glass feels like looking out a window at midnight. Begin with a dark blue base, then add rolling hills of white frit along the bottom, a few small pine trees in green, and a scattering of silver dots for stars. The layering gives depth, even in a piece only 3 inches wide.
Add a crescent moon cut from pale yellow glass for a finishing touch. Keep the colors cool, so the warm moon stands out as the focal point. After a full fuse, the details blend gently, giving the scene a dreamy, painted quality. This one makes a gorgeous gift for someone who loves winter.
14. Mini Microwave Kiln Ornaments
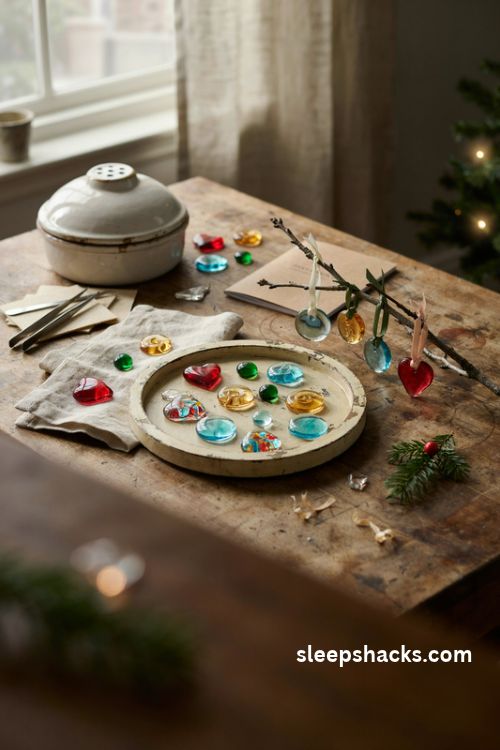
No big kiln? A microwave kiln lets you make small ornaments in just a few minutes. These small ceramic kilns are designed for tiny pieces, usually around an inch and a half, and they heat up quickly in a regular microwave. They’re ideal for simple designs like dots, hearts, and swirls.
Always follow the manufacturer’s directions for time and safety, and let the kiln cool fully before opening it. Use shelf paper to keep the glass from sticking. Because the pieces are so small, they’re best as tree charms or gift tags. Make a handful in one afternoon and you’ve got a whole set.
Final Thoughts
Let’s be honest: your first few pieces probably won’t look like the photos you’ve been saving. A corner might crack, a color might turn muddy, and a snowman might come out looking more like a potato. That’s part of learning glass, and everyone who works with it has a shelf of delightful mistakes.
What matters is that you keep going. Write down your kiln schedule each time, label your scraps, and test new colors before committing to a big piece. Glass rewards patience, not perfection, and by the third batch you’ll be amazed at how much better your work looks. Grab your supplies, start small, and enjoy the process.
Frequently Asked Questions
Q: Can you make fused glass Christmas ornaments without a kiln?
You can use a small microwave kiln for tiny pieces, which heats glass in just a few minutes. For larger ornaments, a standard glass kiln gives you far more control and room.
Q: What kind of glass should you use for fusing?
Choose glass labeled as fusible and keep to a single COE, usually 90 or 96, because mixing types can cause cracking. Always check the label on every sheet and bag of frit.
Q: How do you hang a fused glass ornament?
You can embed a loop of high-temperature wire between two glass layers before firing, or drill a small hole afterward with a diamond bit. Then thread ribbon or twine through for hanging.