

There’s something about a bare window in October that just feels unfinished — like the house is waiting for you to give it a reason to be spooky.
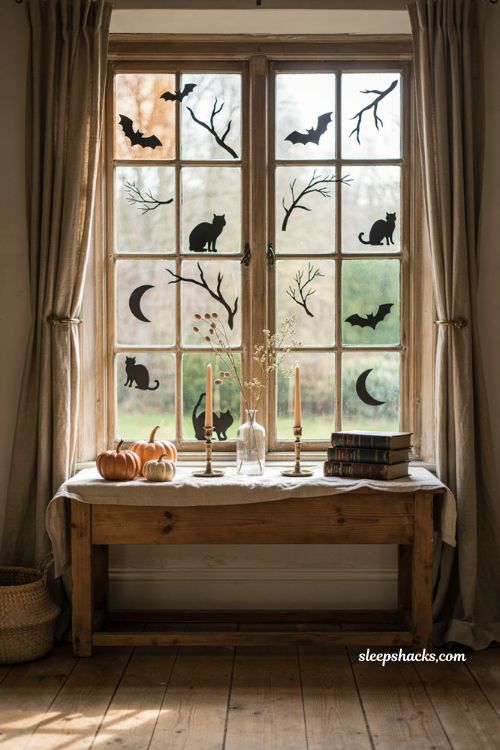
Windows are one of the most overlooked spots for Halloween decorating, but they’re also one of the easiest to transform. You don’t need a garage full of props or a big budget to make your house the one everyone slows down to look at. Just some paint, paper, and a little patience turns any plain window into a scene. Here are fifteen DIY Halloween window decorations that are simple enough for a weekend afternoon and striking enough to stop trick-or-treaters in their tracks.
1. Painted Ghost Silhouettes
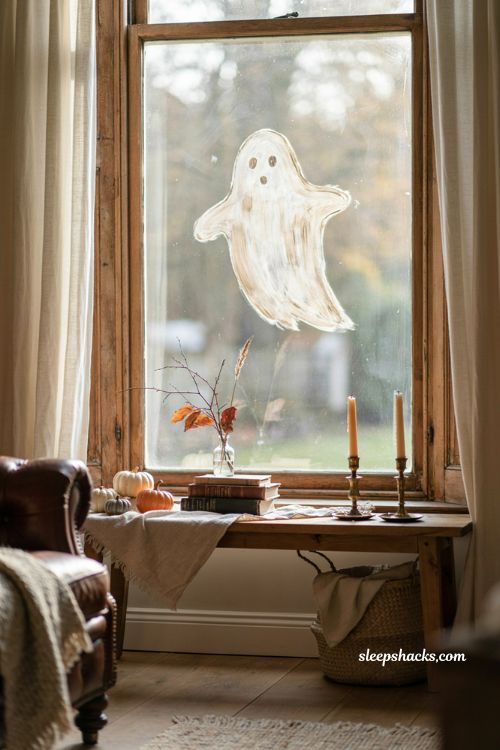
Grab a paint marker — Posca pens work especially well because they glide on without the streaky lines cheaper markers leave behind — and freehand a floating ghost right onto the glass. Keep the shape loose and rounded so it reads as friendly rather than fussy. Paint on the inside of the window so weather never becomes a factor, and if you’re adding lettering like a giant “BOO,” remember to write it backwards so it reads correctly from the street. When Halloween’s over, a plastic scraper lifts the paint off cleanly in minutes, leaving no residue behind.
2. Black Poster Board Ghost Cutouts
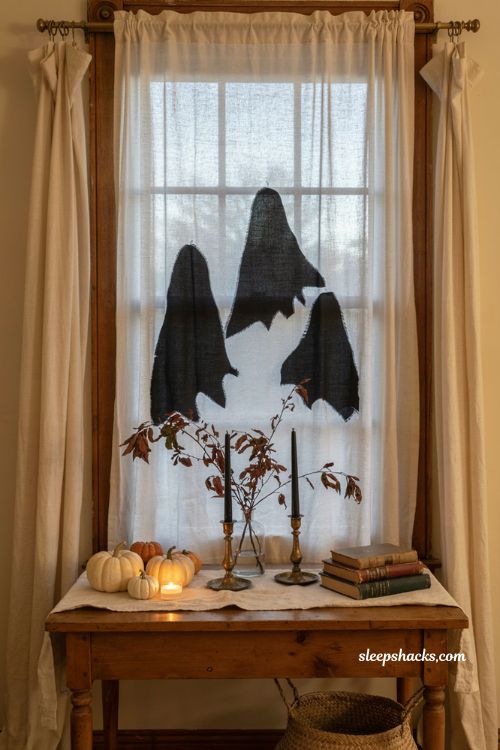
Tape a sheet of black poster board to your window, sketch a ghost shape freehand, and cut it out with regular scissors — no artistic training required. Label each cutout on the back so you can reuse the same shapes next year without redrawing a thing. For extra drama, tape the cutout to the back of a sheer curtain panel instead of the glass itself, which softens the edges and makes the ghost only visible once the lights are on at night. It’s a low-effort project that photographs beautifully after dark.
3. Yarn Spider Web
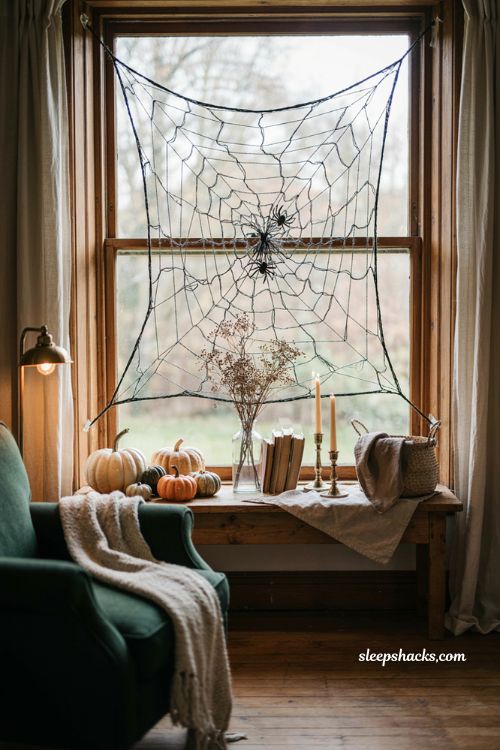
Skip the store-bought fake webbing and spin your own using nothing but black yarn or kitchen string stretched corner to corner across the pane. Anchor each strand with a small piece of tape, then weave connecting threads outward from the center in a rough spiral until it looks convincingly tangled. Uneven spacing actually makes it look more real, so don’t worry about perfect symmetry. Add a plastic spider or two at the center for the finishing touch, and the whole thing costs less than a cup of coffee.
4. Origami Paper Bats
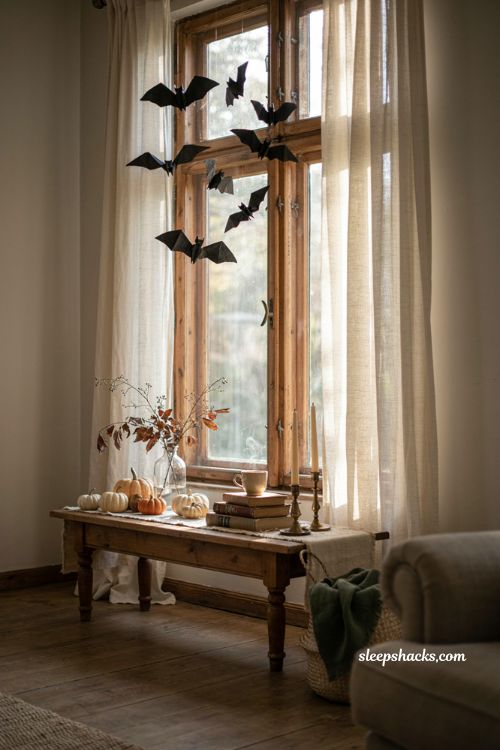
Fold a small colony of bats from black origami paper and hang them from the top of the window frame using clear thread at slightly different lengths, so they appear mid-flight when the light catches them. This is a genuinely beginner-friendly fold — no prior origami experience needed — and it’s a great project to hand off to kids who want to help decorate. Cluster several bats together near one corner rather than spacing them evenly across the glass; the asymmetry reads as more dynamic and less like a printed pattern.
5. Chalk Marker Lettering
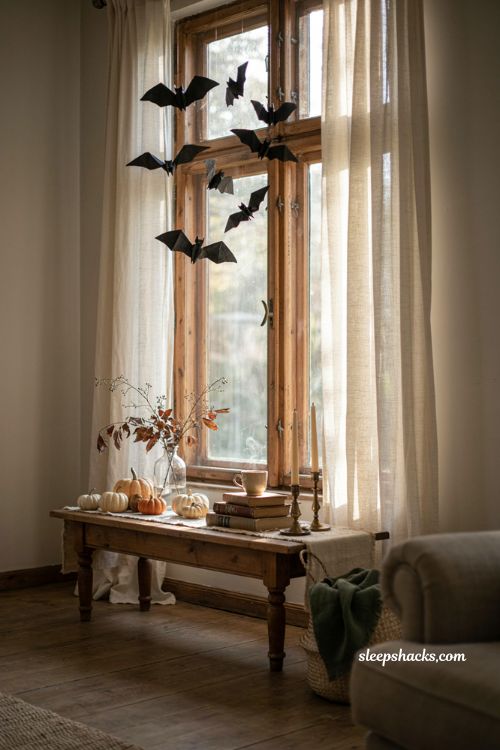
Liquid chalk markers designed for glass let you write spooky phrases or draw simple illustrations directly on your windowpanes, and they wipe away easily with a damp cloth when November rolls around. White and orange together read as classic Halloween without tipping into gaudy. Try short phrases like “Enter If You Dare” arched over a drawn moon, or a simple row of jack-o’-lantern faces along the bottom sill. Because it wipes off rather than scraping off, this is the lowest-commitment option on the whole list.
6. Homemade Window Clings
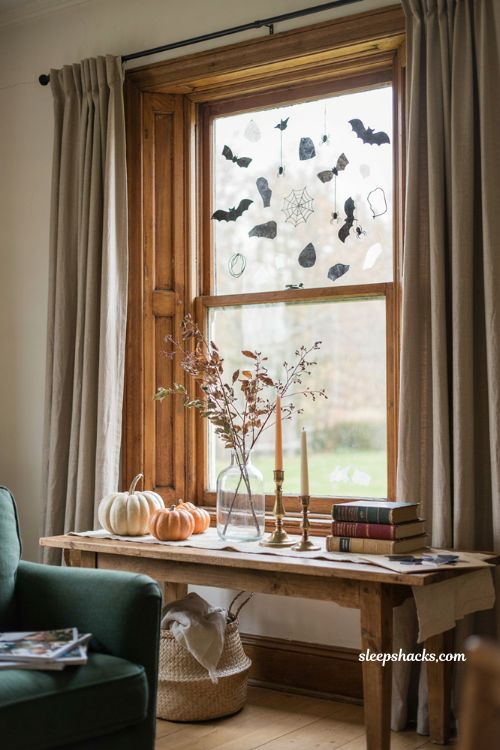
Mix clear glue with a few drops of dish soap and black food coloring, then trace spooky shapes — spiders, bats, or webs — onto a plastic sheet and let them dry overnight until rubbery. Peel the finished shapes off and press them straight onto the glass, where they’ll stay put without any tape or residue. This project takes a little patience because of the drying time, but it produces genuinely reusable decorations you can store flat in a folder from year to year. Kids especially love watching the glue firm up into a peelable shape.
7. Trash Bag Spider Webs
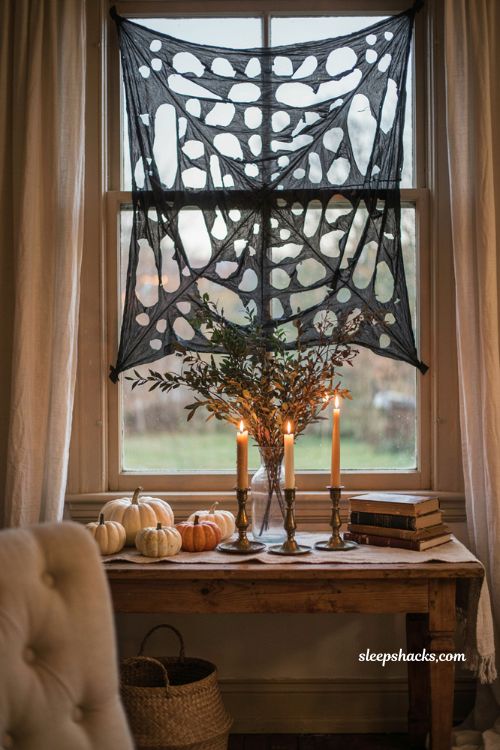
Cut open a black plastic trash bag, fold it into a triangle, and snip a web pattern the same way you’d cut a paper snowflake. Unfold it carefully and you’ve got an oversized, wonderfully uneven web that costs practically nothing to make. Tape it flat against the inside of the glass so light from outside silhouettes the pattern after dark. If the plastic feels too flimsy on its own, layer two cut bags together for a web with more visual depth and texture.
8. Carved Pumpkin Display
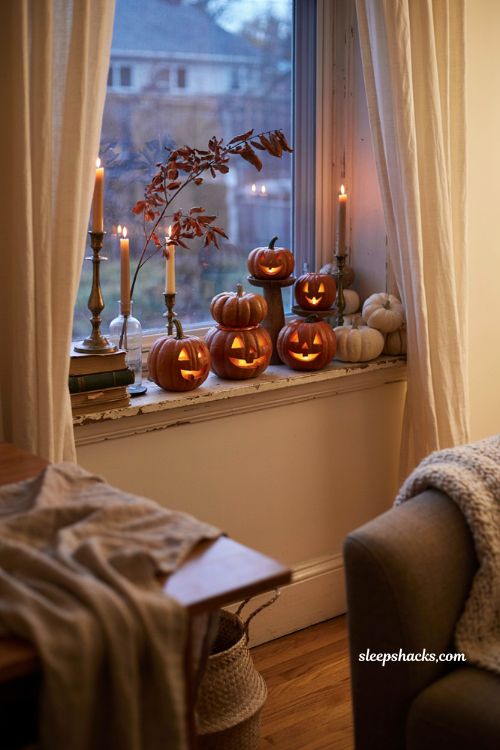
A row of carved pumpkins lined up along a wide windowsill is one of the most classic Halloween window looks there is, and it works whether your carving skills are elaborate or purely triangle-eyes simple. Group pumpkins in odd numbers — three or five — at varying heights using upturned boxes underneath the smaller ones for visual interest. Battery-powered flameless candles inside each one mean you can leave them glowing safely overnight without worrying about an open flame near curtains or fabric.
9. Origami Paper Pumpkins
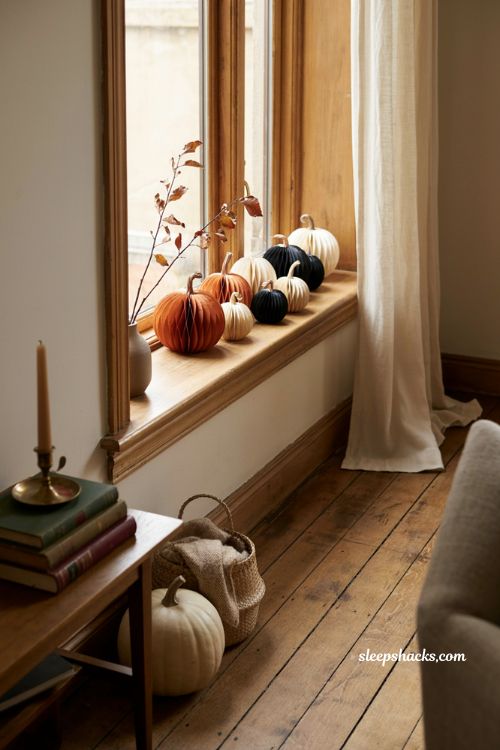
When windowsill space is tight or real pumpkins feel like too much commitment, fold a cluster of paper pumpkins instead. They take up a fraction of the room, never rot, and can be tucked into a drawer for next season once November arrives. Use orange paper for a traditional look, or mix in black and white sheets for a more modern, minimalist window display. Line them up in a single row along the sill for a clean, graphic effect that photographs well even in daylight.
10. Pumpkin Jar Lanterns
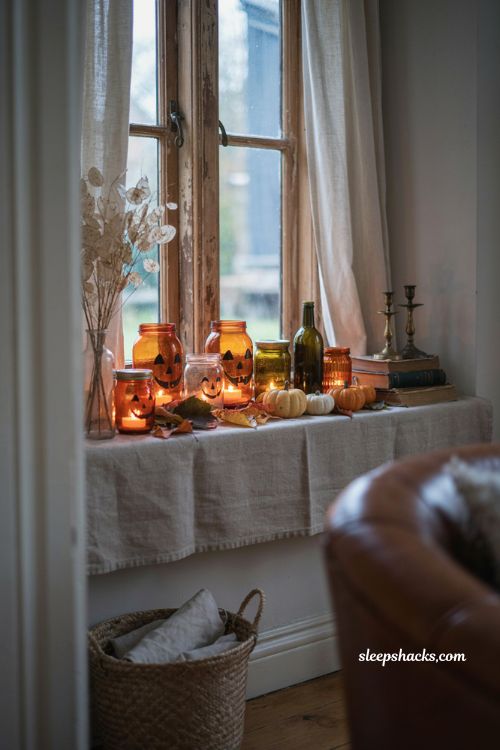
Take a handful of glass jars in different shapes and sizes, paint simple jack-o’-lantern faces on the outside using orange and black glass paint, and set battery-operated tea lights inside each one. Cluster them together on the windowsill so the varying heights and shapes create a cheerful, flickering skyline effect once evening falls. Because there’s no open flame, they’re safe to leave glowing unattended for hours, which makes them a favorite for busy weeknights when you still want the house looking festive.
11. Colored LED Backlighting
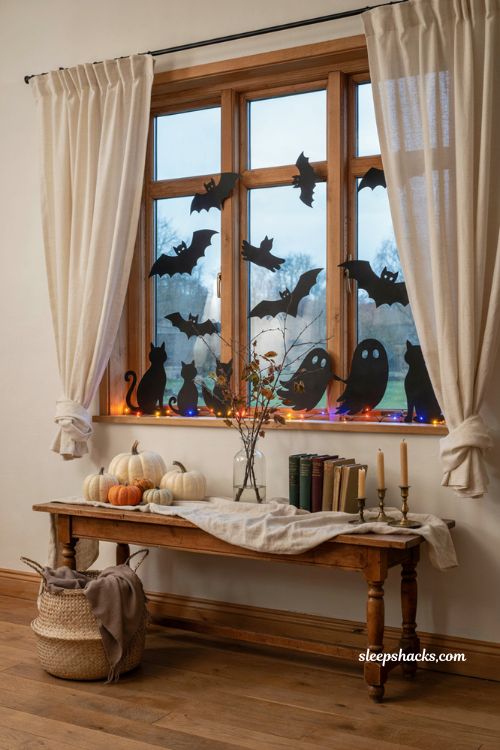
If you’ve already made paper silhouettes or ghost cutouts, string a strand of orange or purple LED lights along the windowsill behind them before dark. The colored glow filters through the paper shapes and casts an eerie tint across the glass that plain white light just can’t match. This is a five-minute addition that dramatically upgrades any silhouette project already sitting in your window. Battery-operated strands work best here since you likely won’t have an outlet conveniently placed near every window.
12. Paper Skeleton Cutouts
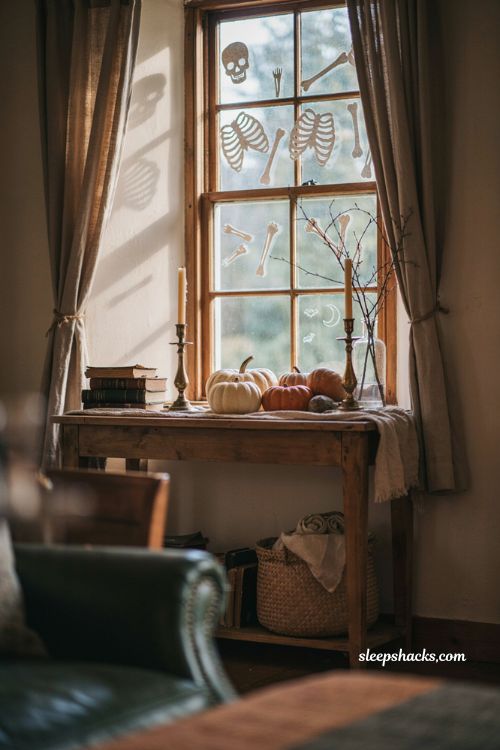
Trace and cut simple bone shapes from white cardstock — a skull, ribs, a few limb bones — and arrange them scattered across the glass as though a skeleton got a little too enthusiastic about Halloween. Tape each piece from behind so no visible adhesive shows from outside. Loose, slightly random spacing looks far more convincing than a neatly assembled skeleton, so resist the urge to make it too tidy. This project pairs especially well with the chalk-marker lettering idea above for a full haunted-house window scene.
13. Painted Suncatcher Accents
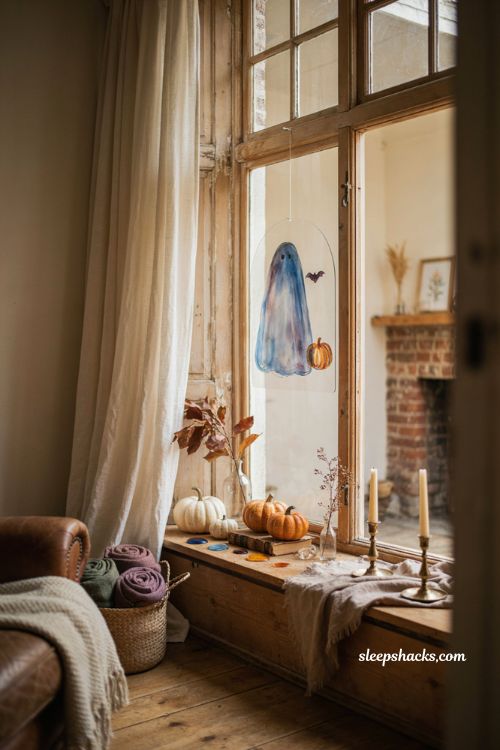
Using glass paint in jewel tones, paint a small ghost, bat, or pumpkin design directly onto a clear plastic or glass panel you can hang with fishing line inside your window frame. When daylight hits it, the painted design throws soft colored light across your windowsill, and at night it simply reads as a charming silhouette. This one takes more patience to paint carefully, but unlike a marker drawing directly on the glass, it can be taken down, stored, and reused for years without ever touching the actual window.
14. Bat Bunting Banner
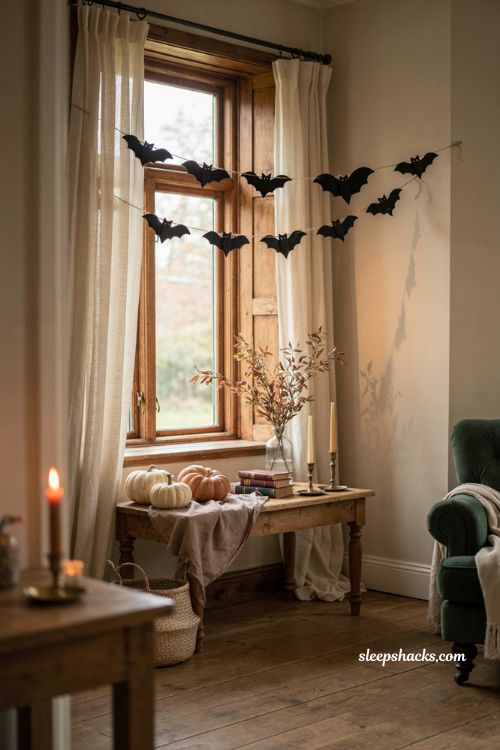
String a simple garland of black felt or cardstock bats along a length of twine and hang it horizontally across the top of the window frame like a mini banner. Alternate bat sizes along the string so the silhouette has some visual rhythm instead of looking like a printed strip. This is a sewing-optional project — cardstock bats with a hole-punched top work just as well as stitched felt ones — and it’s sturdy enough to survive being packed away and reused for several Halloweens in a row.
15. Layered Cobweb Corners
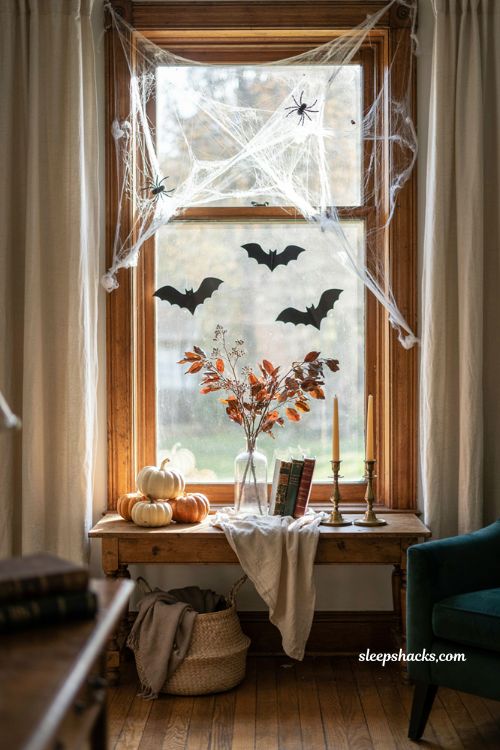
Instead of covering the whole window, drape stretchy craft cobwebbing into just the top corners and let it trail down naturally, then tuck a few plastic spiders into the folds for scale. This layered, slightly neglected look reads as far more convincingly spooky than a single flat web taped dead center. Pair it with one of the silhouette or paper-cutout ideas above in the main body of the window, and the cobwebs become the atmospheric frame that pulls the whole display together.
Final Thoughts
None of these projects require a trip to a specialty Halloween store or a weekend cleared off your calendar. A few paint markers, some black paper, and an evening at the kitchen table are really all it takes to turn a plain window into the kind of display neighbors slow down to look at. Pick two or three ideas from this list that match the amount of time you actually have — not the amount you wish you had — and build from there next year. Start with just one window this weekend and see how it feels before committing to the whole house.
Frequently Asked Questions
Q: What’s the easiest DIY Halloween window decoration for beginners?
Chalk markers or paint markers are the simplest option since there’s no cutting, folding, or drying time involved, and mistakes wipe away instantly.
Q: How do I keep paint from damaging my windows?
Use paint or chalk markers labeled specifically for glass, apply them to the inside of the window, and remove any dried paint with a plastic scraper rather than a metal one.
Q: Can I reuse DIY Halloween window decorations next year?
Yes — poster board silhouettes, origami shapes, and painted suncatchers all store flat and hold up well when kept in a folder or box between seasons.