

Store-bought Christmas decor has a funny way of costing a lot and looking like everyone else’s. You wander the aisles, hold up a tiny tree, check the price tag, and put it right back. It’s honestly one of the most frustrating parts of decorating for the holidays.

A DIY Christmas tree solves that problem in a very satisfying way. You pick the size, the color, and the style, and you spend far less than you would in a store. This list walks through 17 ideas built around a simple pine wood tree, so you can make something that actually fits your home.
1. Start with a Simple Pine Wood Tree
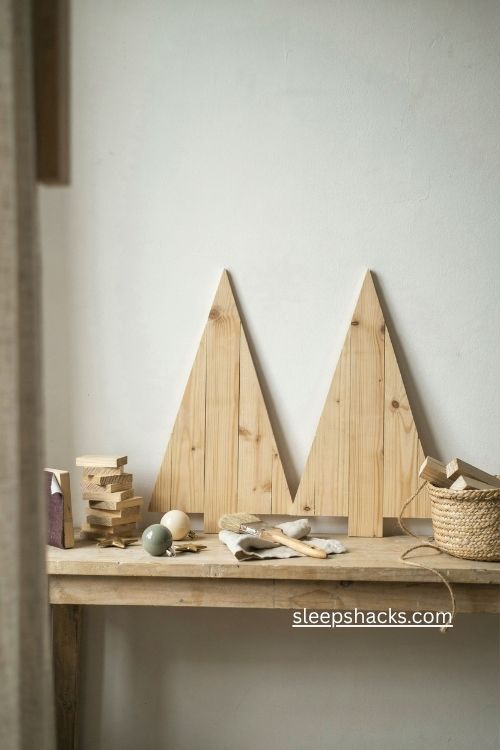
Two six-foot 1×2 pine boards are all the lumber you need to make a pair of flat wood Christmas trees. The shape is clean and modern, with a triangular silhouette made from straight angled pieces. It looks like a tree at a glance, yet it’s far simpler than carving or shaping anything.
Pick boards that are straight and free of big knots, since smooth wood makes painting much easier later. Run your hand along each board before you buy it. A few minutes of checking at the lumber aisle saves you from filling gaps later, and it helps the finished trees sit flat on a shelf.
2. Cut Every Piece at 30 Degrees
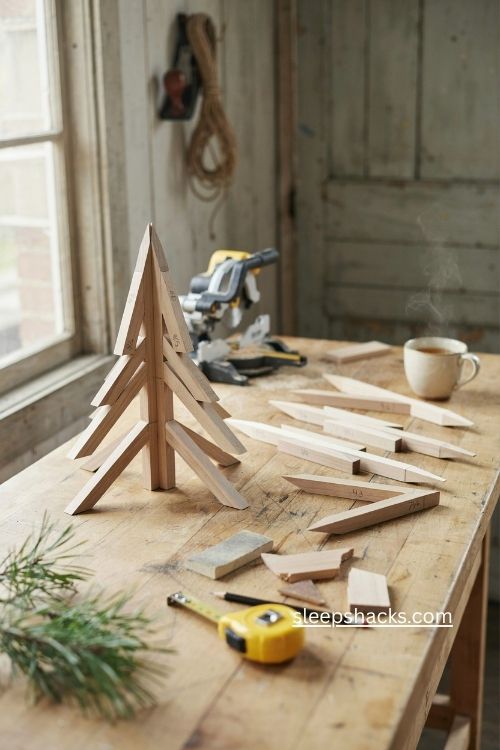
The secret to this tree is one repeated angle. Cut both ends of each piece at 30 degrees, with the ends slanting inward, and the parts click together like a puzzle. Each tree needs a 3½-inch trunk, a 10¼-inch base, four 5¼-inch limbs, a 7-inch piece for the top right, and a 6⅛-inch piece for the top left.
A miter saw makes these cuts quick and clean. Mark each piece with a pencil as you go so you don’t mix up the lengths. Cutting for two trees at once means you only set up the saw one time, which keeps the work moving.
3. Sand Until the Boards Feel Smooth
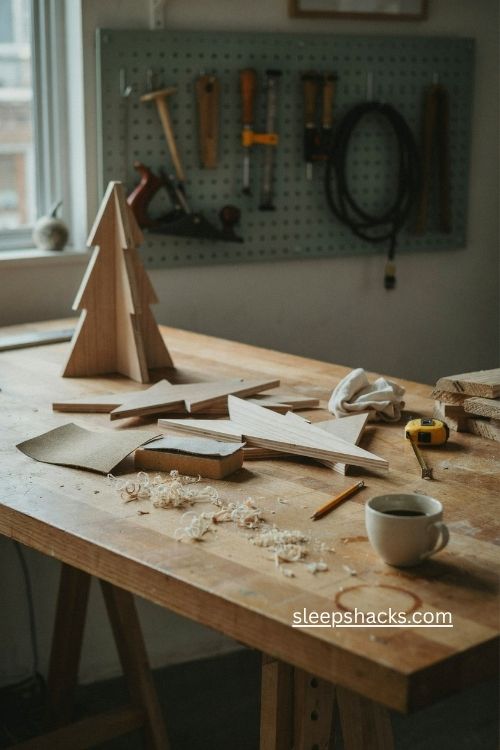
Rough wood is the fastest way to ruin a painted finish, so take a few minutes to sand every board. Use 220 grit sandpaper and rub along the grain until splinters and snags disappear. The edges should feel soft under your fingertips.
Wipe away the dust with a tack cloth before you move on, because even a thin layer of sawdust will show through paint. Pay extra attention to the cut ends, since miter cuts tend to leave fuzzy edges. It’s a small step, but it makes the final trees look polished instead of homemade in the wrong way.
4. Glue and Pin the Branches Together
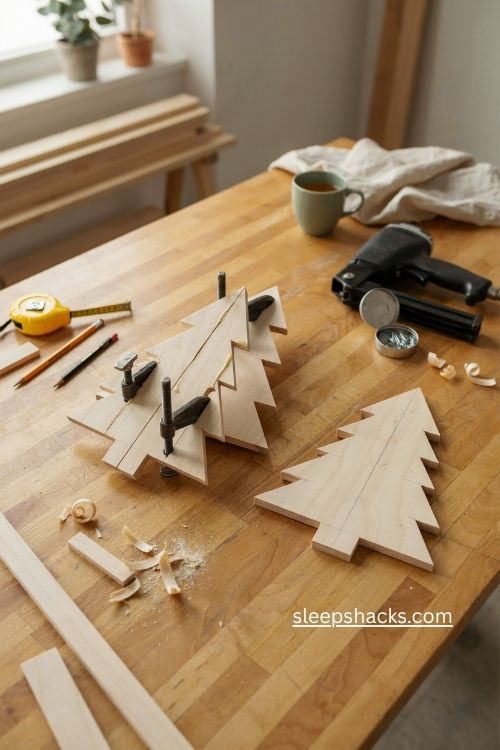
Assembly is where the tree finally takes shape. Lay your pieces on a flat surface, add a line of wood glue, and overlap the side boards by 1 inch. Then add a few pins with a pin nailer to hold everything steady while the glue sets.
Give the glue plenty of time to dry fully before you touch the trees again. That wait is the reason the whole project takes about two days, though your hands-on time is only around four hours. Set the trees somewhere flat and out of the way, then go enjoy your evening.
5. Fill the Gaps for a Seamless Look
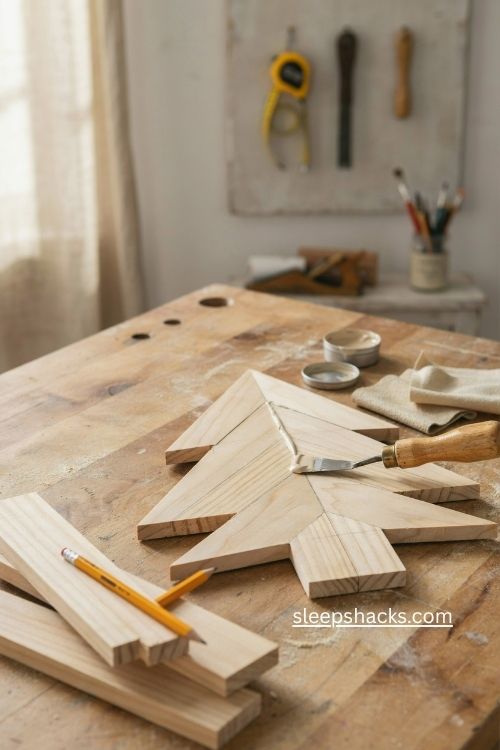
Even careful cuts leave tiny holes and crevices where pieces meet. Press a stainable wood filler into each gap with a flexible putty tool, then smooth it across the surface. The goal is a solid-looking tree where the joins nearly disappear.
Once the filler dries, give the spots a quick sand so they sit flush with the wood. Don’t overdo the filler. A thin layer works better than a thick glob, and it dries faster. When you step back, the tree should read as one clean shape rather than a stack of separate boards.
6. Paint a Modern Black and White Pair
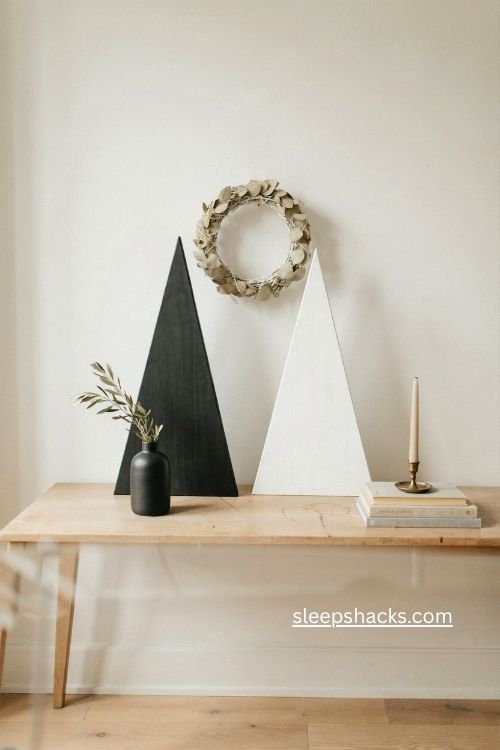
If your home leans modern, paint one tree black and one white. The high contrast looks crisp on a mantel, and the flat shapes suit the geometric design perfectly. Two coats give you a rich, even finish with no wood grain peeking through.
Let the first coat dry fully before you add the second, because rushing leaves streaks. Set the trees side by side on a console table with a simple white wreath behind them. You’ll get a gallery-style vignette without buying a single extra decoration, and the colors will work long after the holidays.
7. Go Farmhouse with Distressed White
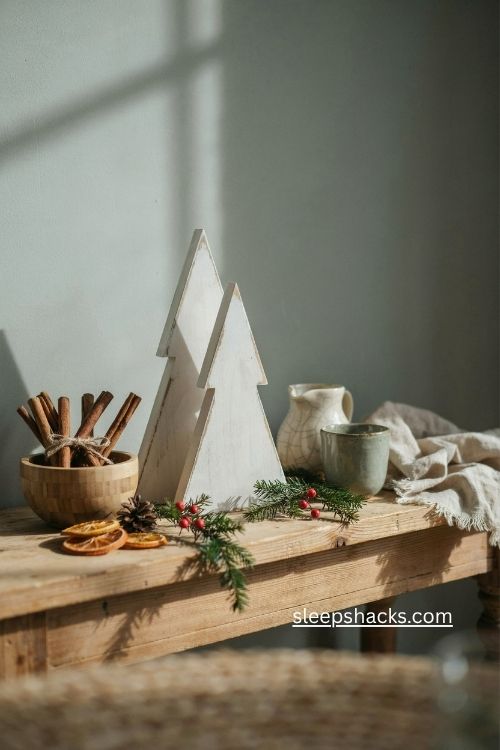
For a farmhouse look, paint the trees white and then distress the edges. Once the paint is dry, rub lightly with fine sandpaper along corners and ridges until a little wood shows through. The result feels like an old piece you found at a flea market.
Don’t sand the whole surface. A few worn spots near the edges are enough to give it character. Pair the trees with a wooden bowl, a bundle of cinnamon sticks, or a sprig of greenery. The warm wood tones underneath the white keep the look cozy rather than stark.
8. Try Traditional Red and Green
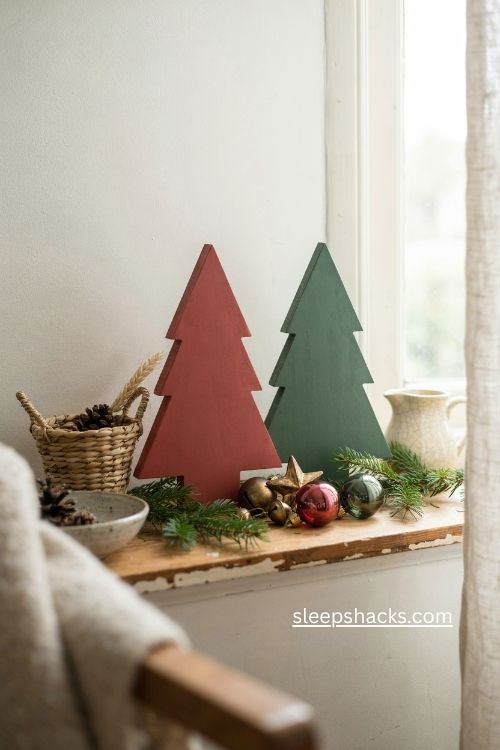
Sometimes the classic palette is exactly what the season calls for. Paint one tree bright red and the other deep green, and suddenly your shelf looks like a vintage Christmas card. Bold colors on simple shapes feel playful instead of heavy.
Two coats matter even more with strong colors, since red especially can look patchy after a single pass. Place the trees near a window so daylight brings out the saturation. If you have kids at home, let them help paint the second tree, which gives them a piece of the decorating and gives you a keepsake.
9. Pair Soft Beige with Pale Green
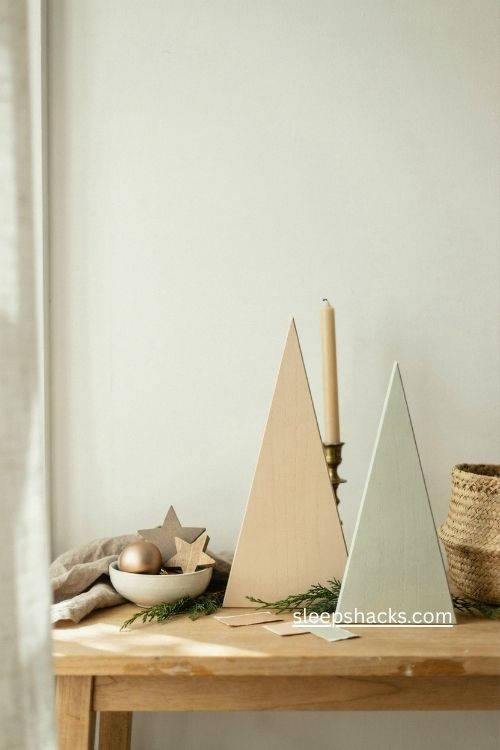
A gentler palette works beautifully for a calm, neutral home. Try Accessible Beige on one tree and a pale green custom match on the other. The two shades sit close together, so the pair looks soft and collected rather than loud.
Bring a paint chip when you buy a custom color, and test a small sample on a scrap piece of pine first. Wood can shift the shade slightly. A durable interior acrylic latex gives you a smooth, long-lasting finish, which matters because these trees will come out of storage every December for years.
10. Use a Roller for a Super Smooth Finish
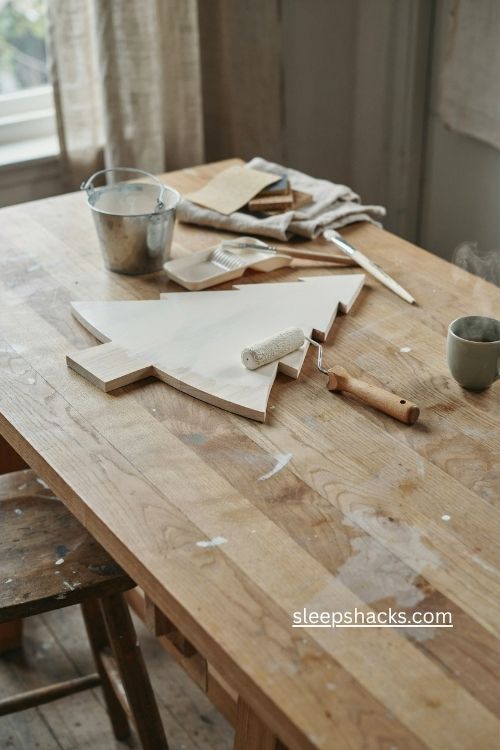
A brush alone works, but a small roller speeds things up and leaves fewer streaks. Choose a mini roller with a short nap, around ¼ inch, which lays paint down thin and even. Use an angled brush to reach the tight corners where the pieces overlap.
Work in light coats and let each one dry before the next. A paint pail with a handle keeps your brush and roller close without a mess, and it’s easy to hold while you work. This is the same method many people use to refinish furniture, so it’s a good skill to practice.
11. Make Two Trees from One Project
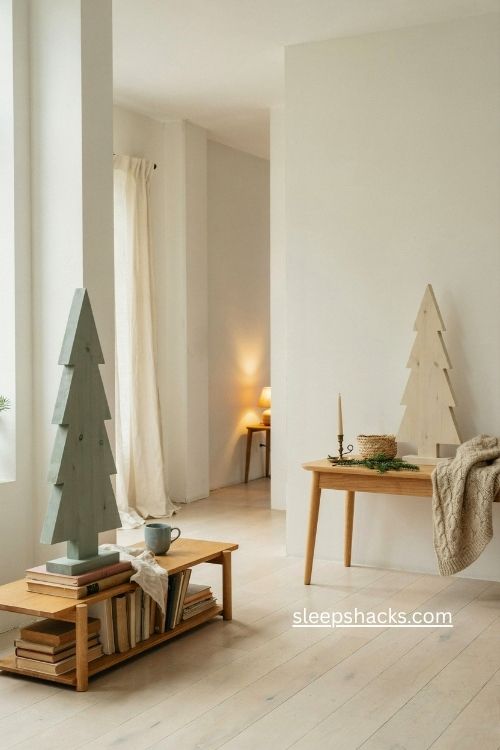
The cut list is designed for two trees, so you get a pair for the price of a single run to the store. Keep one for yourself and give the other away, or style both together in different colors. Doubling the output barely adds time.
Think about where each tree will live before you paint. One might suit a bookshelf while the other works on an entryway table. Matching shapes in different colors tie the rooms together without looking too coordinated, which is a lovely trick for a home that has several small display spots.
12. Gift One to a Friend
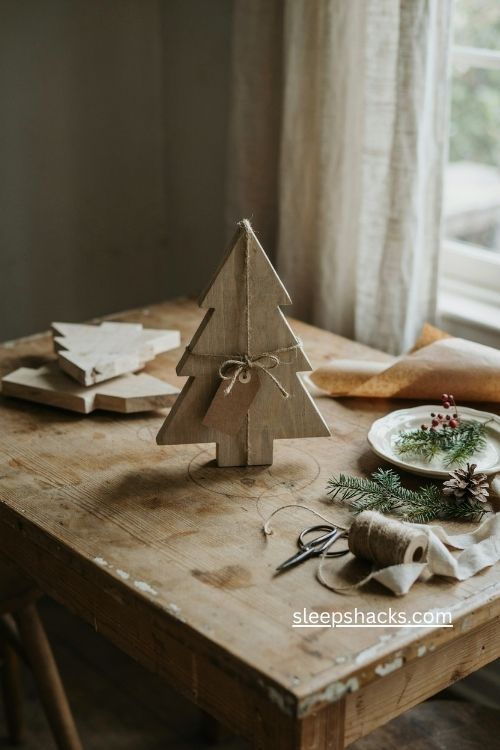
A handmade tree makes a thoughtful present, especially for someone who appreciates simple decor. Wrap it in kraft paper, tie on a bit of twine, and add a small tag with a handwritten note. It feels personal in a way that store-bought gifts rarely do.
Pick a color that matches your friend’s style, not yours. If they love bright color, go red and green. If their home is neutral, choose beige or white. Because each tree costs very little to make, you can turn out several for neighbors or coworkers without blowing your holiday budget.
13. Style Your Trees on a Mantel or Shelf
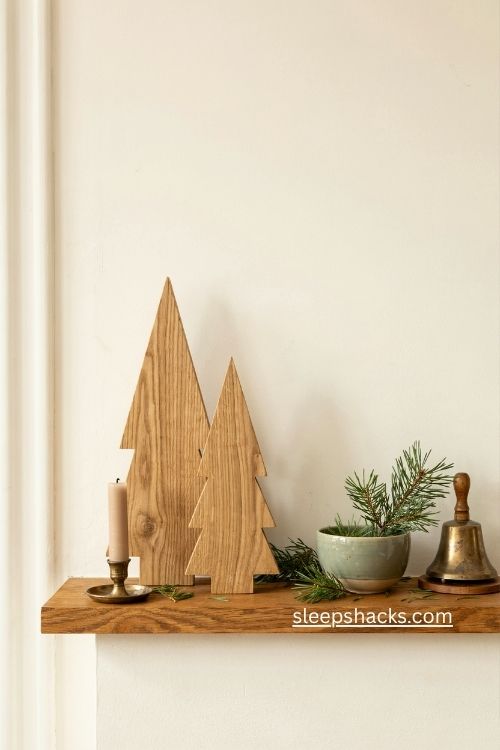
These flat trees look best when they have room to stand out. Place them on a mantel, a floating shelf, or a sideboard, and keep the background simple. A little breathing space around each tree lets the shape do the talking.
Layer in a few small touches, such as a short candle, a sprig of pine, or a ceramic bowl. Keep the heights varied so your eye moves across the display. Avoid crowding the trees with too many objects, since the clean geometry is what makes them special in the first place.
14. Add Tiny Ornaments or Twine
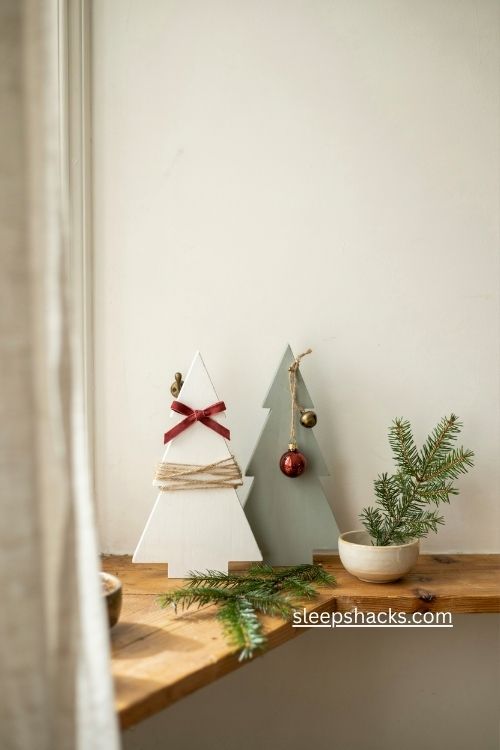
Once your trees are painted and dry, you can dress them up with small extras. Wrap a bit of twine around one limb, hang a miniature ornament from a short loop, or glue a tiny bell near the top. A little goes a long way on a design this simple.
Use removable adhesive or small hooks if you want to keep the finish clean for next year. Stick to one or two accents per tree so the silhouette stays easy to read. A single red ribbon bow on a white tree can look surprisingly elegant.
15. Switch to a Stained Finish
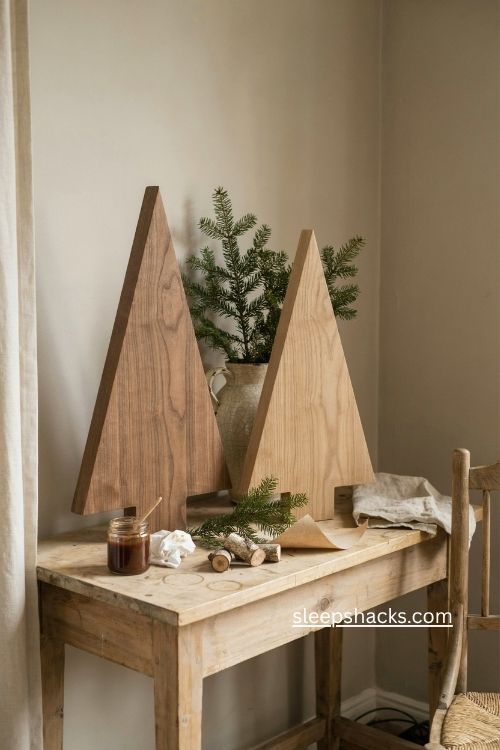
Painting isn’t the only option. Because the wood filler is stainable, you can finish your trees with a wood stain for a natural, rustic look. The grain shows through, and each tree ends up slightly different.
Apply the stain with a clean rag, wipe off the extra, and let it dry according to the can. Try a warm walnut or a lighter oak to match your furniture. This approach works well in homes with a lot of wood already, and it saves you the work of choosing and mixing paint colors.
16. Plan Your Weekend Around the Dry Time
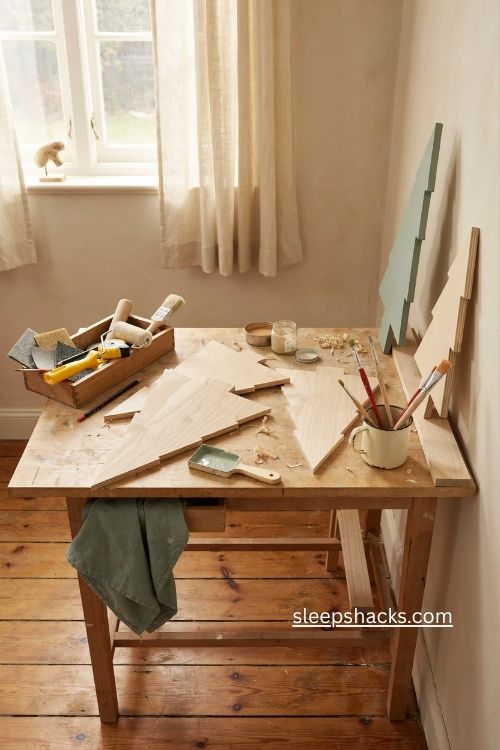
The project takes about two days, but most of that is waiting. You might cut and sand on Saturday morning, glue and fill in the afternoon, and let everything rest overnight. Sunday is for painting, with a few minutes of work between coats.
That schedule makes it easy to fit into a busy week. Keep your tools together in one box so setup is fast, and clear a spot where the trees can sit undisturbed. When you plan around the dry time, the whole thing feels relaxed instead of rushed.
17. Store Your Trees for Next Year
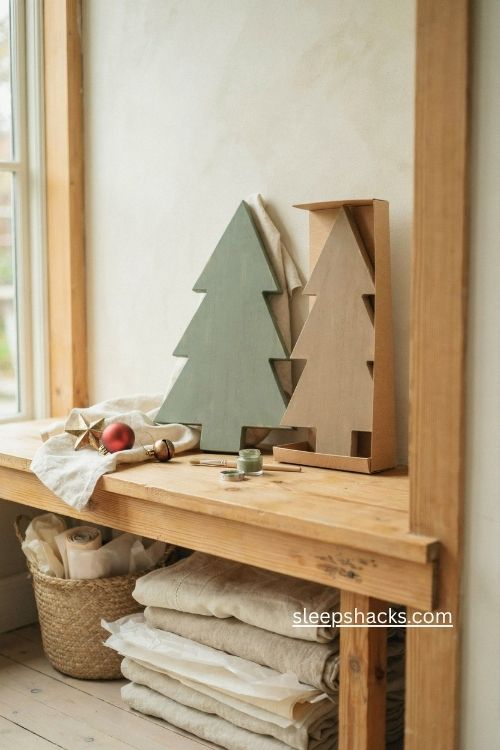
The best part of a wood tree is that it lasts. Wrap each one in a clean cloth or tissue and slide it into a flat box or a slim spot under a bed. Painted wood is sturdy, so you won’t need to worry about it falling apart.
Label the box so you can grab it quickly next December. If a corner gets scuffed, a quick touch of paint brings it back to life. Over the years, these trees can become a tradition, something your family looks forward to pulling out every holiday season.
Final Thoughts
There’s something deeply satisfying about decorating with a thing you made yourself. Every time you walk past that little tree, you remember the sawdust, the paint, and the quiet hour you spent at the workbench. That memory is worth more than any price tag.
So take your time and enjoy it. Choose the colors that feel like home, and don’t worry if one cut isn’t perfect. Your DIY Christmas tree will carry its own charm, and the people who visit this season will notice it. I hope it brings you plenty of warm moments.
Frequently Asked Questions
Q: How long does it take to make a DIY wood Christmas tree?
The whole project takes about two days because of the glue and paint drying time. Your actual hands-on work is only around four hours.
Q: What wood is best for a DIY Christmas tree?
Pine 1×2 boards work well because they’re affordable, easy to cut, and take paint nicely. Choose straight boards with few knots for the smoothest result.
Q: Can I customize the colors of a DIY Christmas tree?
Yes, you can paint the trees any color to match your decor. Black and white suit modern homes, distressed white fits a farmhouse style, and red and green feel traditional.