

Picture a plain white card sitting on the mantel, and then a tiny window in the front that shows a glint of gold snowflake from the inside. That small cutout is why die cut Christmas cards get picked up, opened, and kept long after the tree comes down.
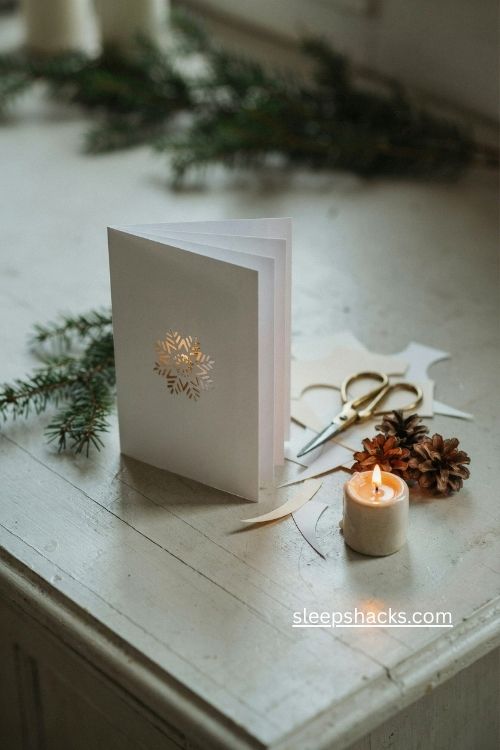
Whether you want to buy a pack or cut your own at the craft table, there’s a style here for you. I pulled together ideas from card shops and a crafter’s tutorial, so you’ll see ready-made designs and handmade versions side by side.
1. Scarlet Snowstorm Window
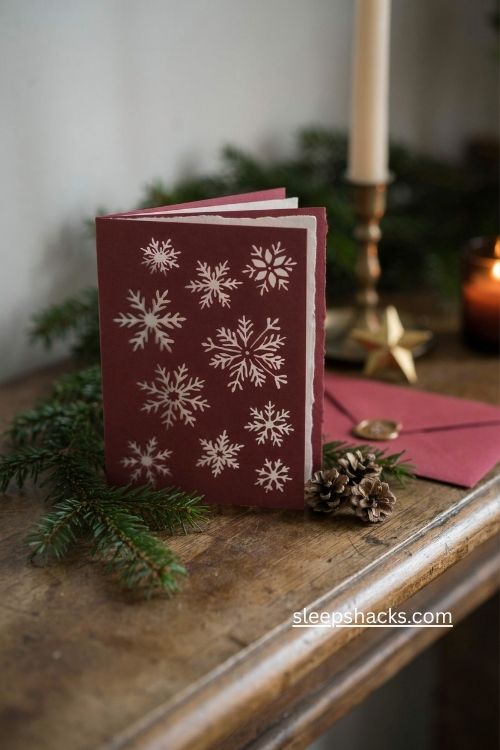
A deep red card with a swirl of cutout flakes feels dramatic without being fussy. The cutouts let a lighter inner layer peek through, so the whole front looks like it’s lit from behind.
Pick this one when you want a bold color that still feels classic. Match the envelope to the red, and the card feels like a complete little gift instead of just a greeting.
2. Gilded Foil Wreath
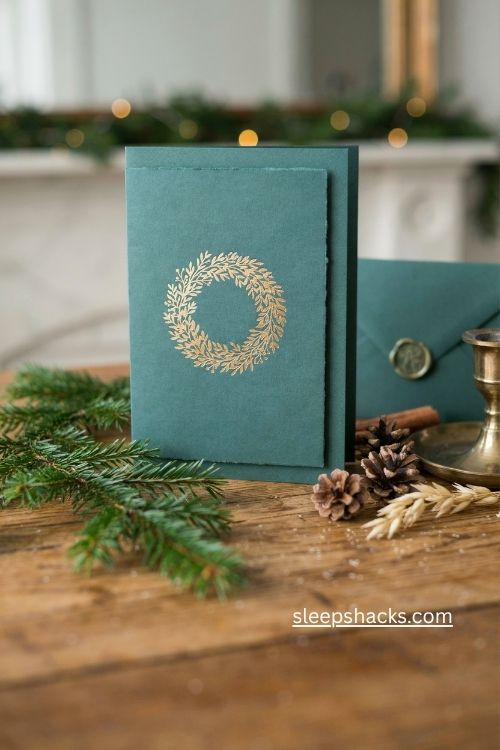
Foil makes a wreath shape glow every time the light hits it. A gold die cut wreath against a deep green or cream card looks rich, and the open center is a perfect spot to show a name or a short message.
If you’re sending cards to clients or coworkers, this is a safe, polished choice. Order a few extra, since foil styles tend to be the first ones you reach for when you realize you forgot someone.
3. Porthole Peek-a-Boo
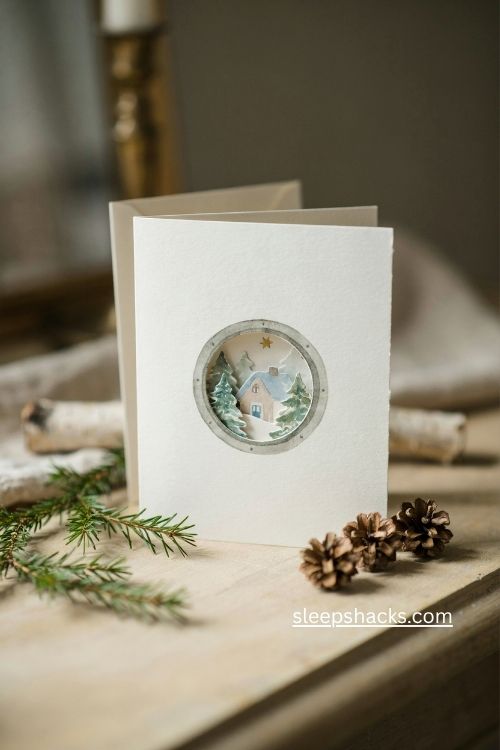
Round cutouts that look like portholes give you a little scene inside a larger storm. You see a sliver of the inside design through the circle, which makes people want to open the card right away.
Circle cuts are the easiest shape to work with when you’re personalizing, since a round window frames a face, a monogram, or a company logo beautifully. Keep the surrounding artwork simple so the circle gets all the attention.
4. Dangling Peppermint Charm
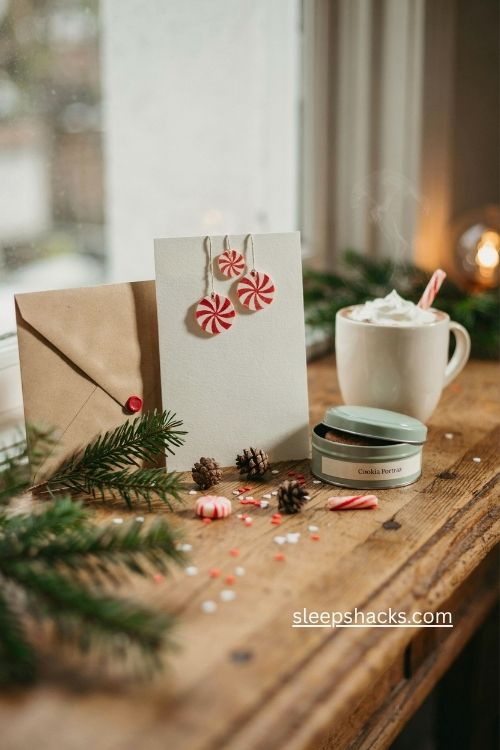
Striped peppermints hanging from the top edge of a card add a candy-shop cheerfulness that kids love. The cutout areas let the red and white pattern pop against a softer background.
Try pairing this with a handwritten note about cookies or hot cocoa. A playful card like this works best when your message matches the mood, so skip the formal sign-off and write something warm.
5. Trio of Trees in Foil
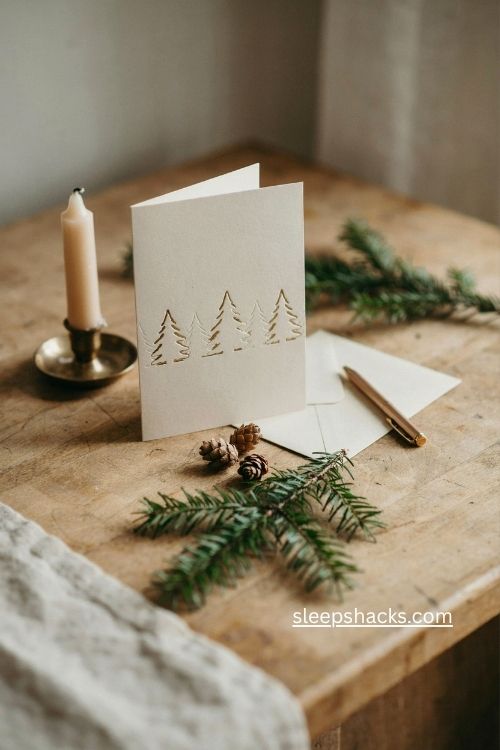
Three evergreens lined up across the front of a card are simple, but foil gives them a quiet shimmer that catches your eye from across a room. The cutouts between the branches add a layered look.
This is a lovely choice for people who prefer a restrained holiday style. Sign with a metallic pen in gold or silver, and the details start to echo the foil on the front.
6. Winter Window Scene
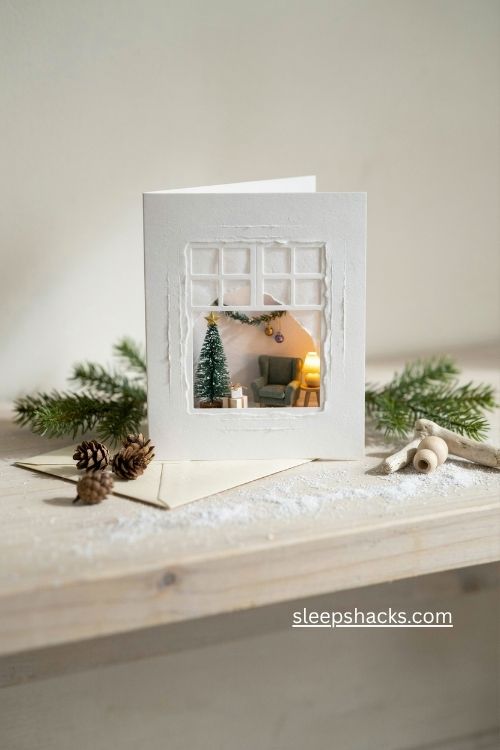
A card that looks like a frosty window frame invites you to peek inside, and that’s exactly what the cutout does. You see a cozy slice of the interior design through the opening, almost like looking into a neighbor’s warm living room.
Send this one to family who live far away. The window idea feels like one home greeting another, which is a sweet touch when you can’t be there in person.
7. Personal Ornament Cutout
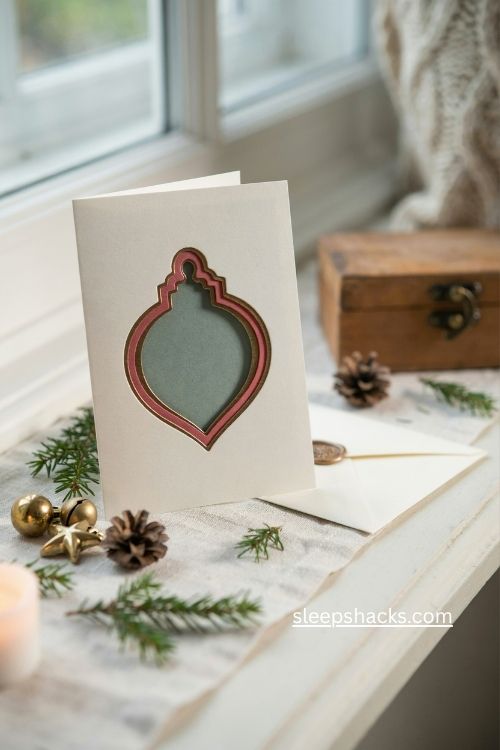
Some die cut designs are made to hold a name inside an ornament shape. The cutout reveals the personalization printed on the inside, so every card feels like it was made for the person opening it.
For a family card, put your last name in the ornament and add the year. People love tucking these into their keepsake boxes, and a name-in-the-window design makes that easy to justify.
8. Gold Snowflakes on Cream
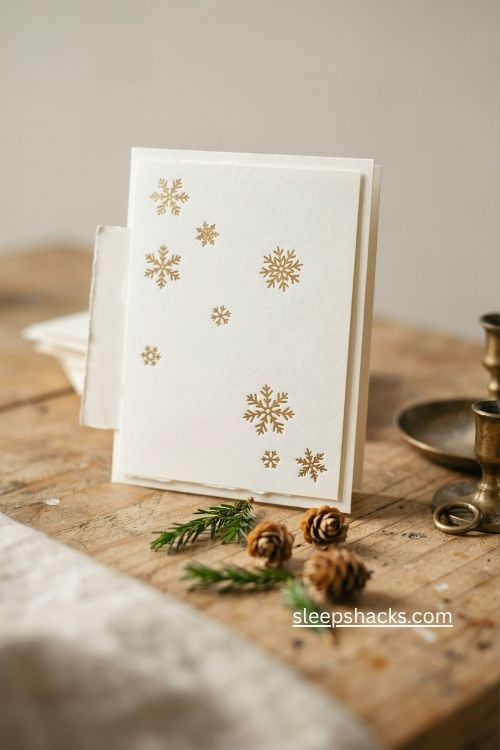
Gold flakes scattered across a soft cream card look quiet and elegant, like a first snowfall seen through a window. The cutout edges give each flake a crisp outline that printed designs just can’t match.
This works well when you want something neutral that suits everyone on your list. Use a dark ink for your message so the writing stays readable against the lighter card.
9. Lantern Glow at Dusk
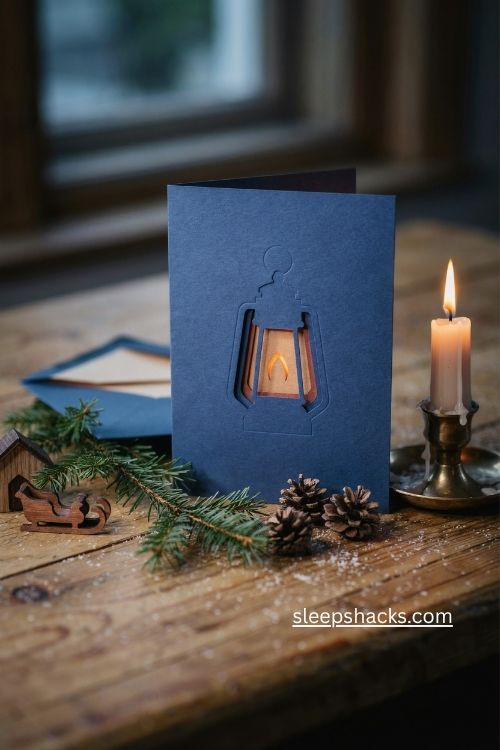
A lantern cut into a midnight blue or sunset orange card feels like a walk through a snowy village at the end of the day. The light shape behind the cutout makes it look like the lantern is actually glowing.
Choose a warm interior color if you can, like soft yellow or amber. That inside layer is what sells the glowing effect, and it takes no extra work on your part.
10. Icy Pines and Ornaments
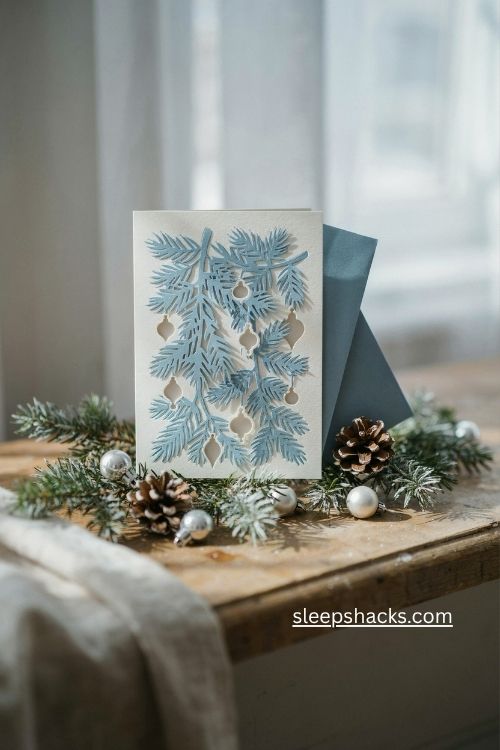
Frosty blue pines and ornaments hanging from a branch give a winter card a cool, calm feel. The die cut details keep the design light, so it doesn’t look crowded even with lots going on.
Pair icy blues with silver ink for a monochrome look. If you’re sending a batch, mix in one or two warmer designs so the stack doesn’t all look the same.
11. Brusho Watercolor Snowflake
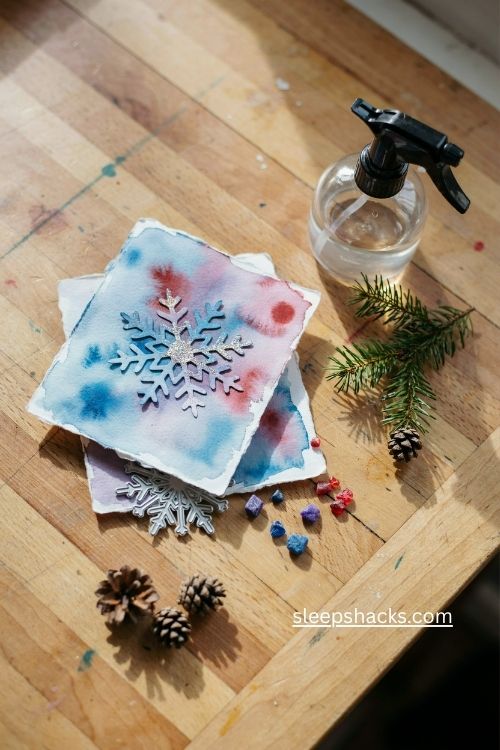
Here’s where the handmade side shines. Sprinkle Brusho crystals and a little Nuvo shimmer powder onto watercolor paper, mist it lightly, and you get a soft, glowing background in blues, purples, and reds. Then run it through a snowflake die.
Keep your colors in the same family so they blend instead of turning muddy. Stick to three Brusho shades with one shimmer powder, and mist with a fine spray so nothing pools on the page.
12. Off-the-Edge Subtractive Card
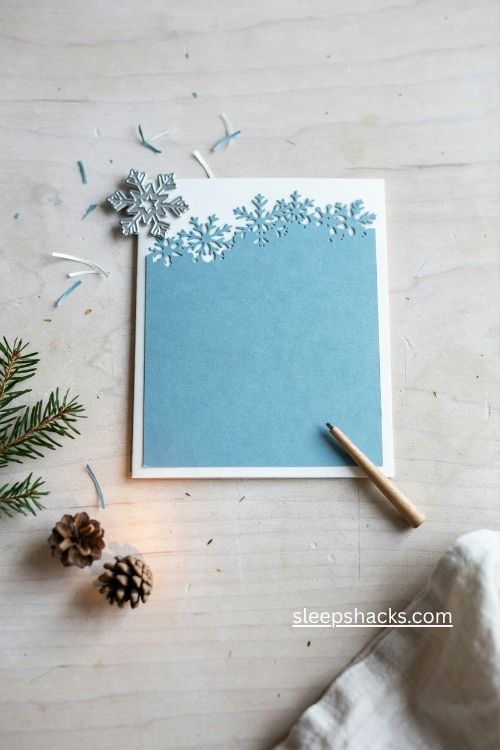
Off-the-edge dies cut the details of a design without cutting around the border. You line the die up with the edge of your colored paper, run it through the machine, and you’re left with a detailed image that has no outer frame.
Cut your paper to 4.25 by 5.5 inches, then trim 1/8 inch from each side and mount it on a white A2 card base. That thin white border gives the snowflake real contrast.
13. Tri-Fold Snowflake Card
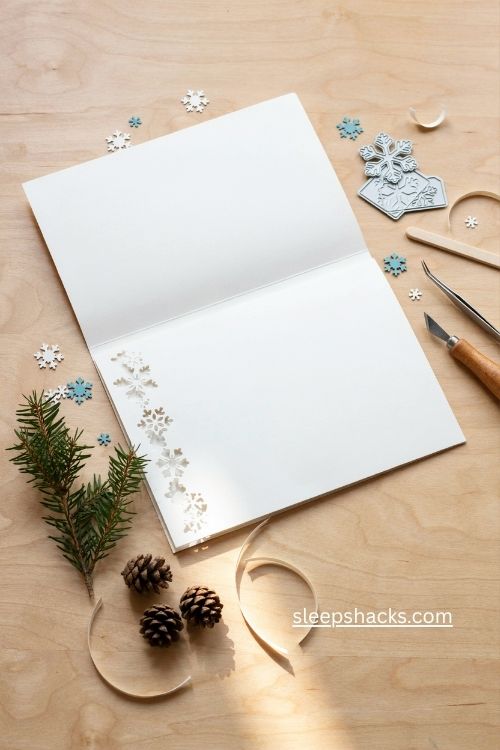
A tri-fold card opens like a little gallery. Cut white cardstock to 12 by 5.25 inches, score at 4 and 8 inches, and fold. Then die cut the snowflake along the edge of the left flap so it shows a pattern on the front.
If it won’t lay flat, trim 1/16 inch from the folding edge. For extra texture, emboss a piece of white cardstock and glue it behind the cutout so the closed card has a quiet, tactile look.
14. Mirrored Giant Snowflake
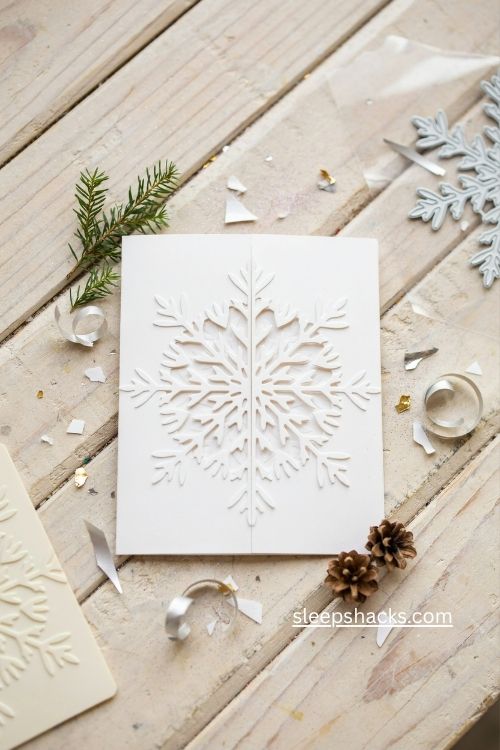
Because off-the-edge dies cut exactly half a snowflake, you can flip the paper and cut again to make one huge, perfect snowflake. It’s a showstopper on a plain white or black card.
Back the cutout on embossed white cardstock for even more depth. Add a die cut word like “Peace” in gold or silver, and the card looks store-bought in the best possible way.
15. Sentiments That Finish the Look
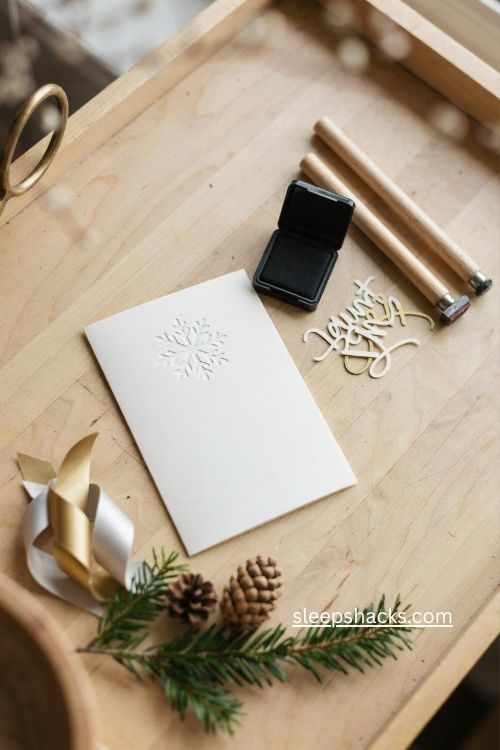
A great die cut deserves a thoughtful message. Stamp a short greeting with waterproof black archival ink, which dries quickly and stays sharp, or glue on a pre-cut script word in black, white, gold, or silver.
Keep a small bag of pre-cut words near your craft desk so you can grab one in seconds. If you’re ordering instead of making, pick a design with a clear space for a message, and keep your handwriting simple.
Final Thoughts
Die cut Christmas cards give you a small moment of surprise, and that’s rare in a season of mass-printed greetings. Whether you grab a pack of foil wreaths or sit down with a die machine and some watercolor crystals, you’re sending something people will actually notice.
So here’s your next step: choose three ideas from this list, one to buy and two to try making, and set them out where you can see them. Write your first card tonight. The rest of the list gets easier once the first one is in the mailbox.
Frequently Asked Questions
Q: What are die cut Christmas cards?
They’re cards with shapes like circles, snowflakes, or wreaths cut out of the front so the inside design or message shows through. The cutout adds depth and makes the card feel more special than a flat printed one.
Q: Can I make die cut Christmas cards at home?
Yes, you need a die cutting machine, a metal die, cardstock, and your favorite paper or watercolor background. Run the paper and die through the machine between cutting plates, with the die’s cutting side facing up.
Q: How much do die cut Christmas cards cost?
Pre-printed designs from card companies often start around $3 per card, with foil styles costing a bit more, and the price usually drops when you order more. Boutique brands can charge much more per card, so compare before you buy.