

You don’t need a full-blown haunted house display to make your front door the one people remember.
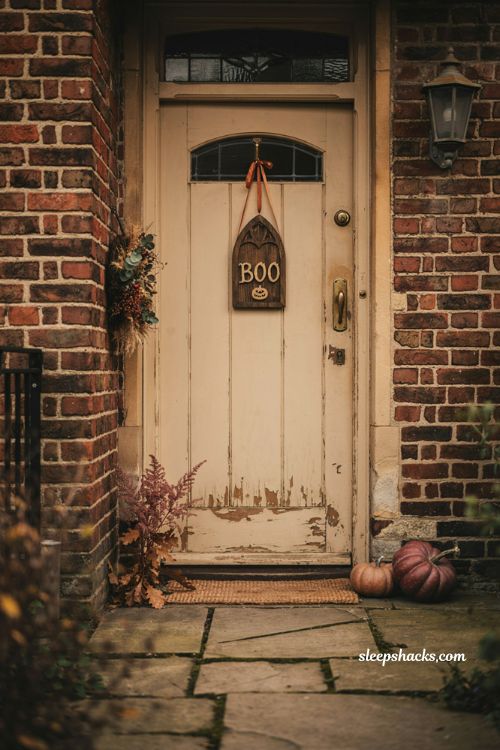
A single well-chosen door hanger can do more work than an entire porch of plastic skeletons, mostly because it’s the first thing anyone sees at eye level before they even ring the bell. Whether you’re buying handmade or building your own with stuff from the craft aisle, these fifteen halloween door hangers ideas will help you pick or make one that actually feels special.
1. Go Oversized for Instant Impact
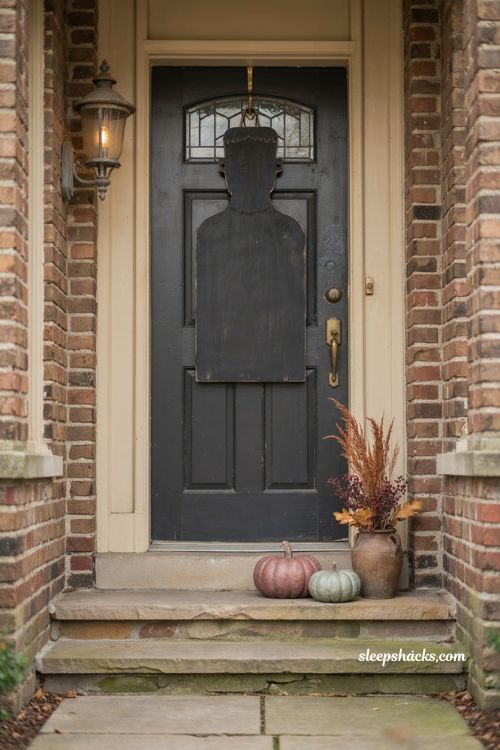
A larger-than-life character hanger — think a big Frankenstein or Bride of Frankenstein silhouette — turns your door into the main event instead of just another decorated house on the block. The scale alone does the heavy lifting, so you don’t need to layer on extra decorations around it. Hang it slightly higher than a standard wreath position so the full shape is visible from the sidewalk.
2. Try the Mod Podge Napkin Technique
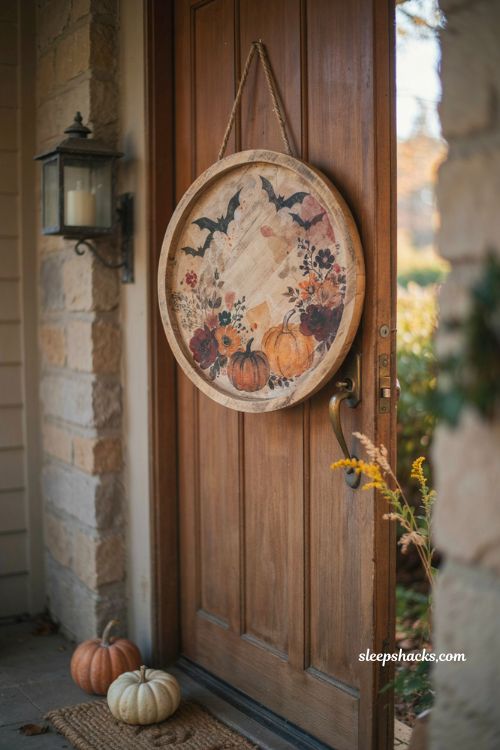
An unfinished wood door hanger, a paper napkin with a spooky print, and a bottle of Mod Podge is genuinely all you need for a custom look that feels far more expensive than it is. Iron the napkin down through parchment paper so it melts into the glue smoothly, then sand the edges once it’s dry. This method lets you match any color scheme, since napkin prints come in nearly every Halloween pattern imaginable.
3. Upcycle an Old Photo Mat
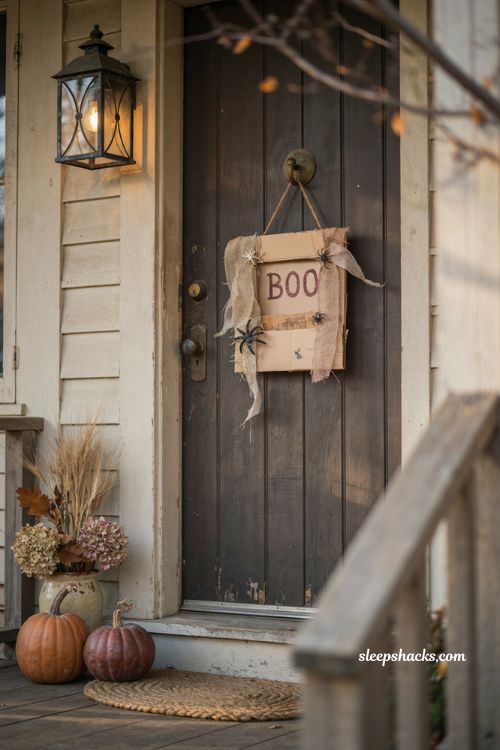
A cardboard photo mat pulled from a frame you’re not using anymore makes a surprisingly good base for a door hanger, especially if it’s already got a nice shape and beveled edge. Wrap it in burlap ribbon, glue on a few plastic spiders and some loose gauze, and add a small printed sign in the center opening. It’s the kind of project that costs almost nothing if you’re already a person who keeps random craft supplies “just in case.”
4. Lean Into a Checkered Pattern
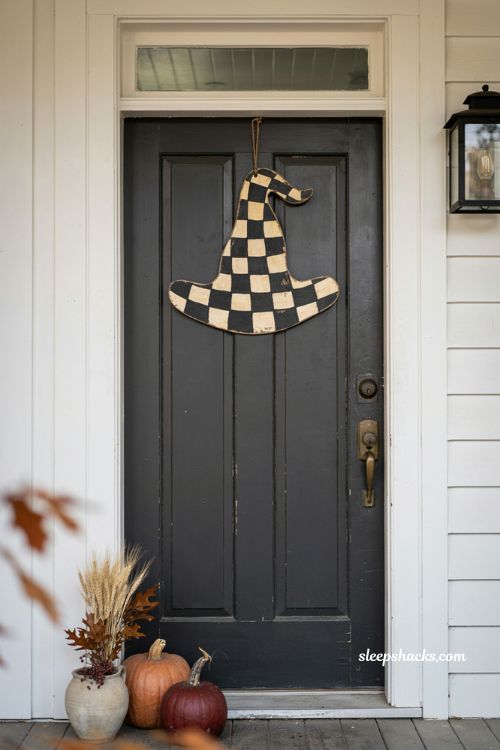
Checkered prints have become one of the most popular Halloween patterns for a reason — they add movement and pattern without needing any extra embellishment. A checkered witch hat or checkered pumpkin design pops against a plain door in a way that solid colors just can’t match. If you’re making your own, painter’s tape makes it easy to get clean, even squares before you fill them in.
5. Add Ribbon at the Handle for Softness
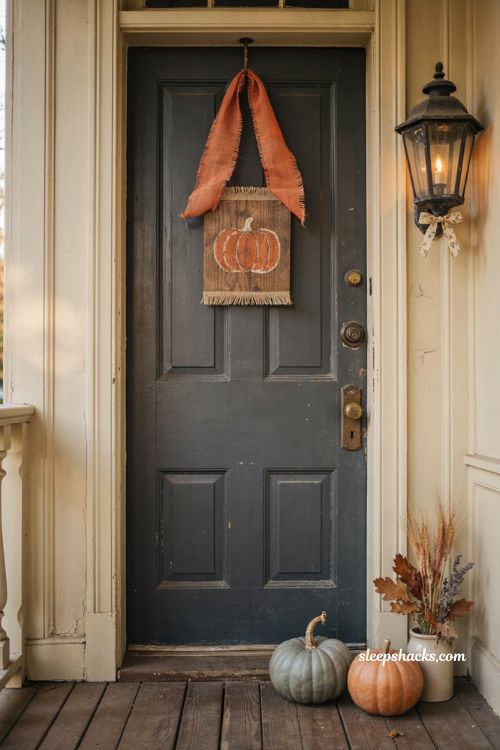
Wrapping a length of ribbon around the hook or handle of your door hanger softens the whole look and gives it a finished, gift-like quality. Orange burlap or a spider-web print ribbon both work well and tie the piece back into a classic Halloween color story. Let the ends hang loose rather than trimming them perfectly straight — a little movement there makes it feel more handmade.
6. Spell It Out With “Boo” Letters
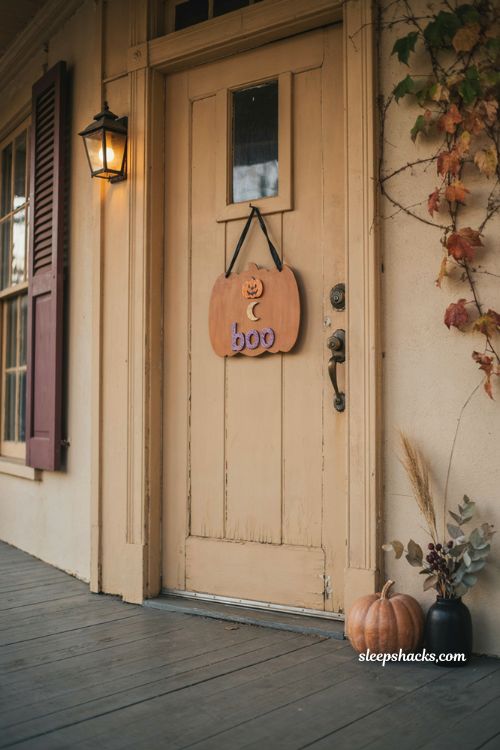
Small wood letters spelling “boo,” painted and glued along the bottom edge of your hanger, add a playful focal point without much extra effort. A metallic purple or glittery finish catches porch light nicely after dark. This detail works especially well on simpler hangers that don’t already have a lot going on, since it gives the eye somewhere specific to land.
7. Choose a Hand-Painted Ghost Plaque
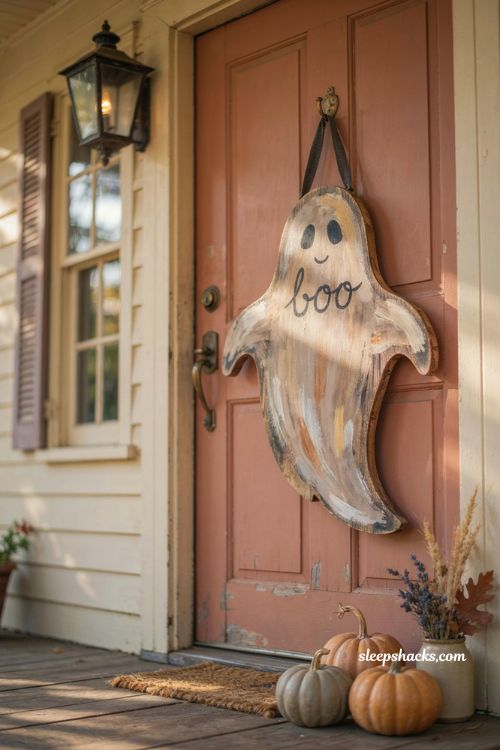
A hand-painted ghost design has a softness that printed or UV-coated hangers don’t quite capture, since every brushstroke adds a little texture and personality. Look for one with a simple “hey boo” or similar short phrase rather than anything too busy. These tend to work as year-round conversation starters if you’re willing to leave them up past October.
8. Layer a Mini Wreath Over the Hanger
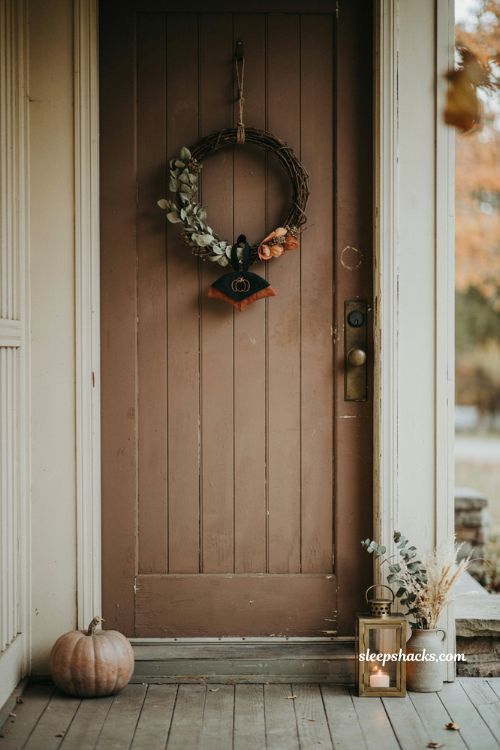
Combining a small grapevine or floral wreath with your door hanger — hanging the wreath slightly higher and letting the hanger peek out below — creates depth that a single flat piece can’t achieve on its own. Keep the wreath simple and muted so it frames the hanger instead of competing with it. This combo works particularly well on doors with a lot of surface area to fill.
9. Go Full Witch Hat Shape
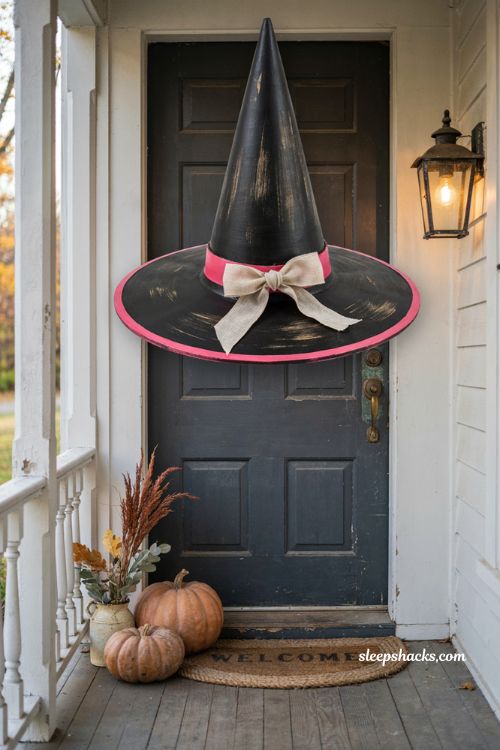
A witch hat-shaped hanger, especially in a funky color combo like black and hot pink rather than the expected solid black, adds a bit of unexpected personality to a classic Halloween shape. The pointed silhouette reads clearly even from across the street, which matters if you want your door to stand out at a glance. Pair it with a simple ribbon bow at the brim for a finishing touch.
10. Stack Candy Corn for a Sweet Look
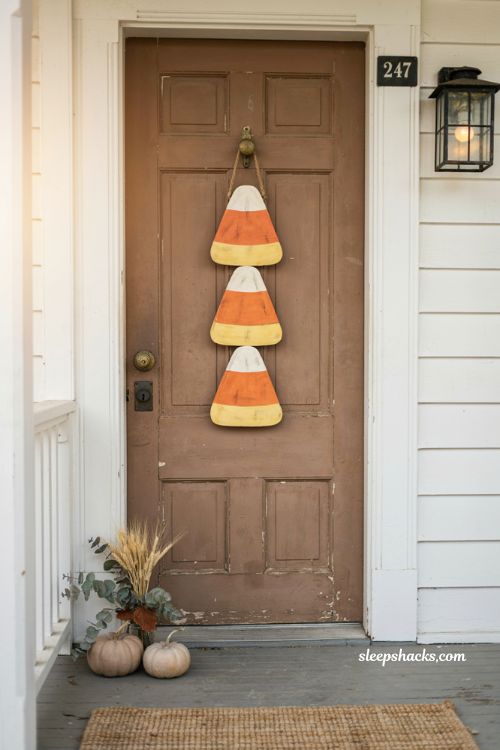
A candy corn stack design brings in the classic orange, yellow, and white palette without leaning into anything spooky, which makes it a great pick if you want festive over frightening. The layered shape mimics the actual candy closely enough to be instantly recognizable from a distance. It’s also one of the easier shapes to paint yourself if you’re working on a DIY version.
11. Add Texture With Spiders and Gauze
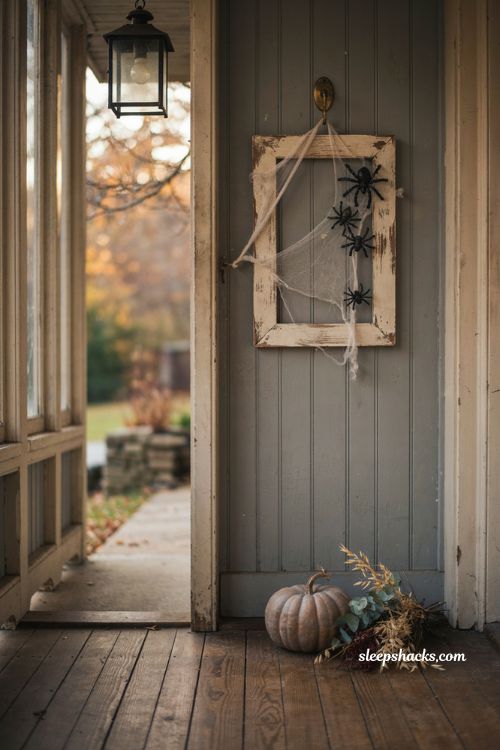
A few plastic spiders tucked into loosely draped gauze gives any door hanger an extra dimension of spookiness that flat, printed designs can’t replicate. Pull the gauze apart gently with your fingers first so it looks stretched and cobweb-like rather than bunched. Keep the spiders asymmetrical — clustered in one corner rather than evenly spaced — for a more natural, unsettling effect.
12. Pick a Self-Adhesive Hook If You Rent
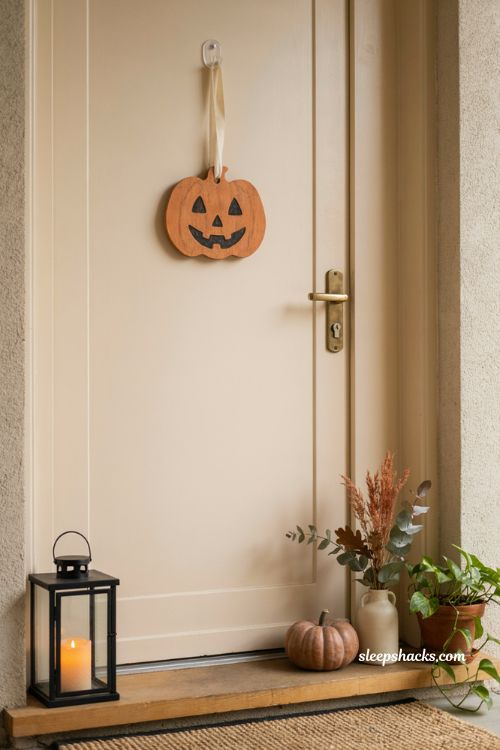
A self-adhesive wreath hook solves the biggest obstacle for renters or anyone who doesn’t want to drill into a door frame, and most hold plenty of weight for a standard-sized hanger. Clean the door surface well before applying it, since oils and dust can weaken the hold significantly. This small investment means you can decorate seasonally without leaving a single mark behind.
13. Personalize It With a Family Name or Monogram
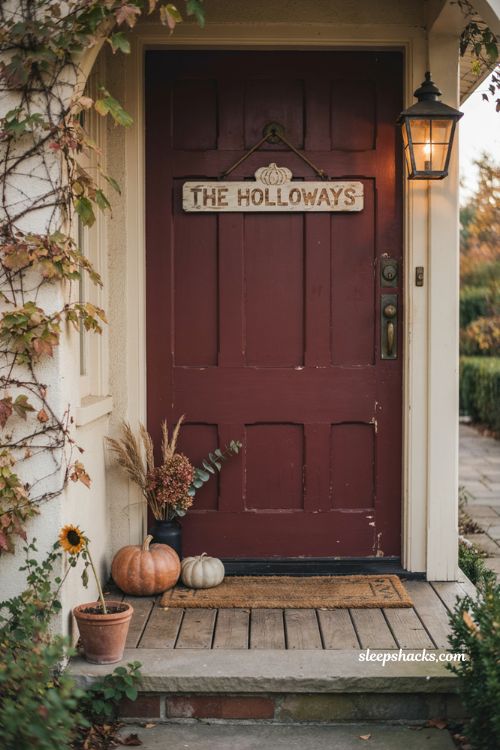
Adding a family name, house number, or monogram to a Halloween door hanger makes it feel like it belongs specifically to your home rather than something anyone could have bought. Small wood letters or a printed vinyl overlay both work for this, depending on how permanent you want the piece to be. It’s a detail that turns a seasonal decoration into something you’ll actually want to display year after year.
14. Coordinate With Your Mailbox Cover
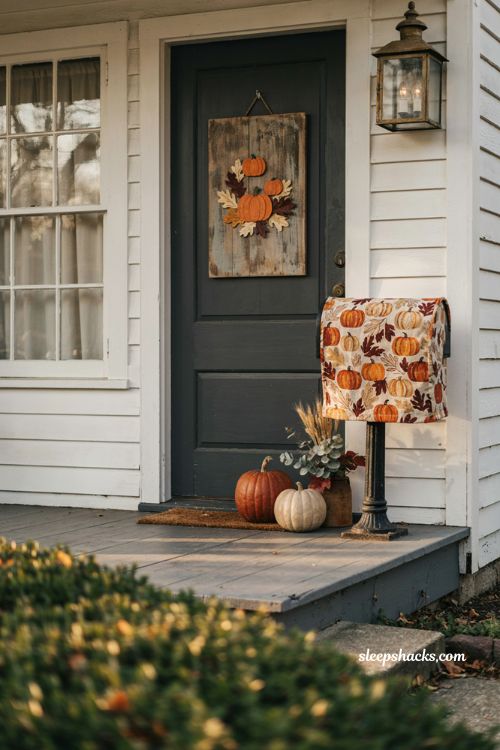
If your mailbox sits near your front door, swapping its cover to match your door hanger’s color palette pulls the whole entrance together as one cohesive scene rather than two separate decorations. This works especially well with pumpkin or fall-leaf patterns that transition naturally from Halloween into the rest of autumn. It’s a small coordination step, but it’s the kind of detail that makes a porch look professionally styled.
15. Rotate Between Handmade and Store-Bought
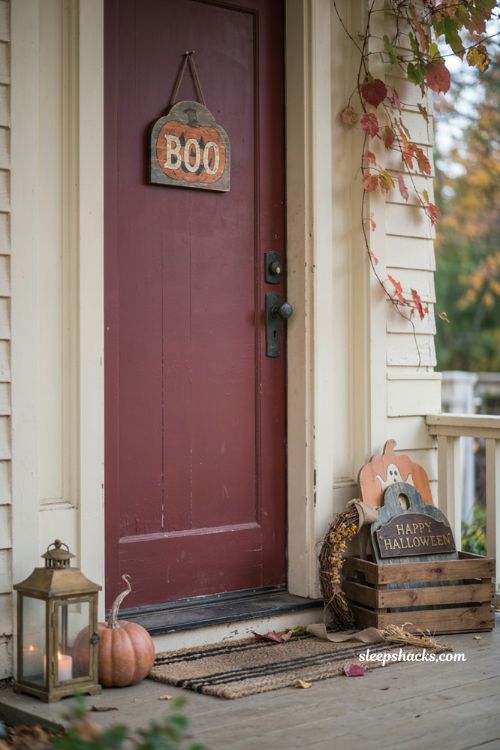
There’s no rule that says every hanger has to be either fully DIY or fully purchased — mixing a handmade piece one year with a professionally crafted one the next keeps your seasonal decor from feeling repetitive. Keep a dedicated bin for door hangers so swapping them each season takes minutes instead of a whole afternoon of searching. Over a few years, you’ll end up with a small rotating collection that makes decorating almost effortless.
Final Thoughts
A great Halloween door hanger doesn’t need to be complicated — texture, a little personality, and one strong focal point will always beat a hanger that’s trying to do too much at once. Whether you’re grabbing a hand-painted piece from a small shop or gluing napkins to a wood cutout at your kitchen table, the goal is the same: something that makes people pause before they even knock. So what’s stopping your front door from being the one everyone talks about this October?
Frequently Asked Questions
Q: What materials are best for a DIY Halloween door hanger?
Unfinished wood cutouts, craft paint, Mod Podge, and simple embellishments like ribbon, felt spiders, or gauze are the most beginner-friendly and affordable options.
Q: How do I hang a door hanger without damaging my door?
A self-adhesive wreath hook is the easiest damage-free option and works well for renters or anyone who wants to avoid drilling.
Q: How long does it take to make a DIY Halloween door hanger?
Most simple designs take a few hours including drying time, though more detailed hand-painted versions can take longer depending on the layers involved.