

There’s a particular kind of magic in a dim living room lit mostly by tiny glowing windows, a scattering of cotton snow, and one string of fairy lights doing more work than you’d think possible.
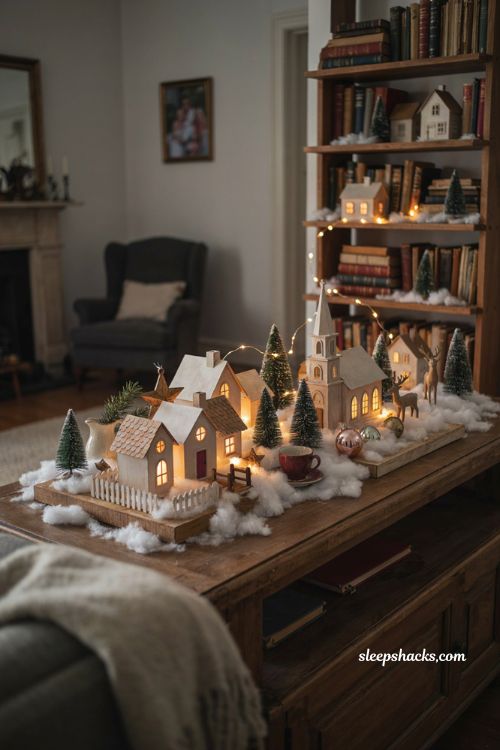
A Christmas village has a way of turning an ordinary console table or bookshelf into something that feels like a whole miniature world, and it grows more charming every year you add to it. Whether you’re cutting paper houses at your kitchen table or building a full plywood platform in the garage, there’s a version of this project that fits your time, budget, and skill level. Here are fifteen easy DIY ideas to help you start or grow your own Christmas village this season.
1. Simple Wooden Block Houses with Stencils
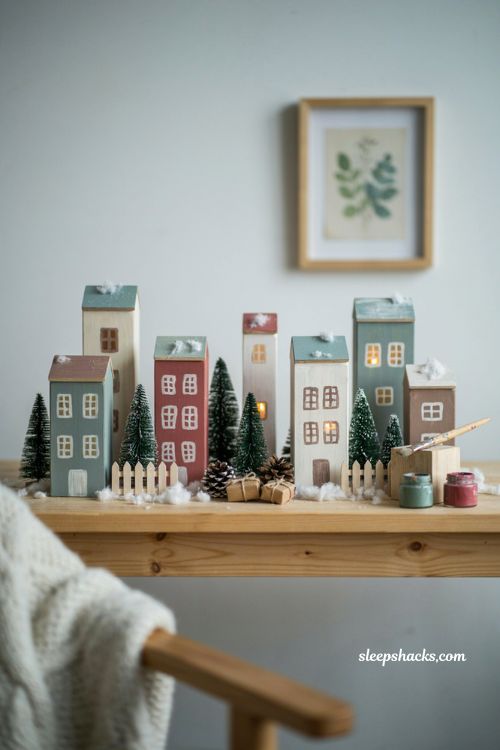
Plain wooden blocks paired with a free printable stencil for windows and doors make this one of the most beginner-friendly builds on the list. You don’t need any cutting tools beyond a paintbrush, since the stencil does the detail work for you. Painting each block a different muted color, sage, cream, dusty red, keeps a whole row of houses feeling cohesive without looking identical. This is a great weekend project if you want to start a collection without committing to a big skill investment.
2. Paper Luminary Houses
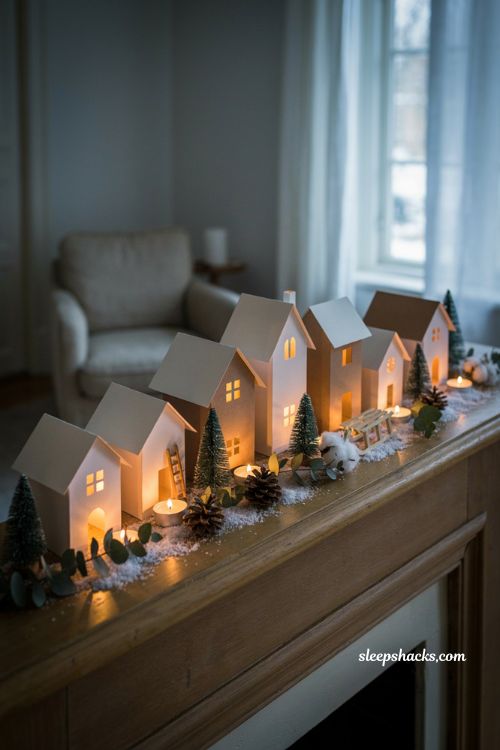
Cut from cardstock using a printable pdf or a cutting machine file, these little glowing luminaries rely on a battery tea light tucked inside to bring each house to life once the room goes dark. Because the templates are usually free and hand-cuttable, this is one of the most accessible entry points if you don’t own a Cricut or Silhouette. Grouping five or six at varying heights along a mantel creates a soft, flickering skyline effect that photographs beautifully. Paper houses also store almost flat, which matters if attic or closet space is tight.
3. Gold Foil Accent Village
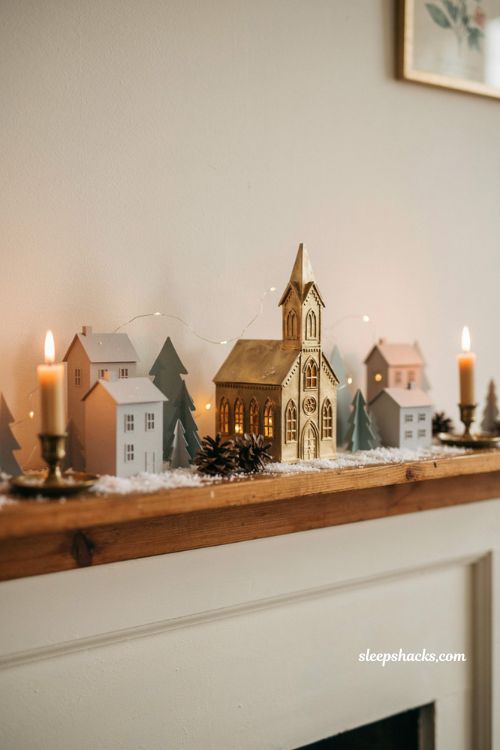
Adding a foiled detail to the windows or rooflines of a paper village elevates a simple cut-paper house into something that looks genuinely boutique. If your cutting machine supports a foil attachment, this technique works especially well on a church or centerpiece building where you want one clear standout piece. The metallic detailing catches candlelight or fairy lights differently than a plain matte paper house, adding sparkle without needing extra ornaments. This is a nice way to make one “hero” building in an otherwise simple village.
4. Tiny House Wreath
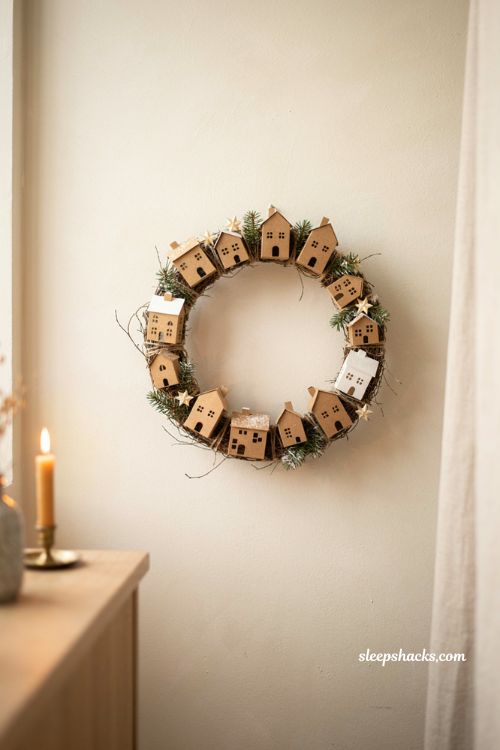
Instead of a flat tabletop display, stringing a handful of miniature paper houses onto a wreath form turns your Christmas village into a piece of wall or door decor. This is especially useful if floor or shelf space for a traditional village layout just isn’t available in your home. Keeping the houses small and the color palette simple, mostly white and kraft paper, keeps the wreath from feeling cluttered. It’s also an easy one to make with kids, since the scale means less precise cutting is required.
5. Wooden Gingerbread Houses
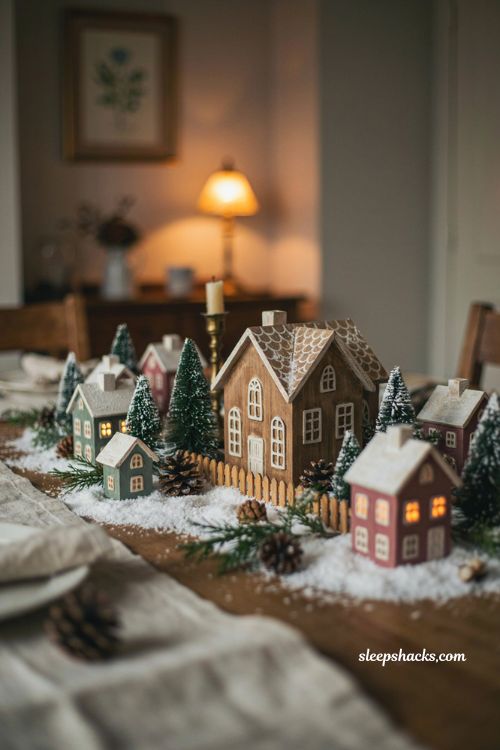
A simplified wood-block gingerbread house, built without any actual baking, gives you the charm of a gingerbread village without the risk of mice finding it first. If cutting tools feel intimidating, small wooden shingles glued on for the roof can stand in for more complex roofline cuts. Painting in warm browns and creams, then adding white “icing” details with a paint pen, finishes the illusion convincingly. This style pairs nicely alongside a more traditional snow-covered village for a mixed, cozy tablescape.
6. Reversible Halloween-to-Christmas House
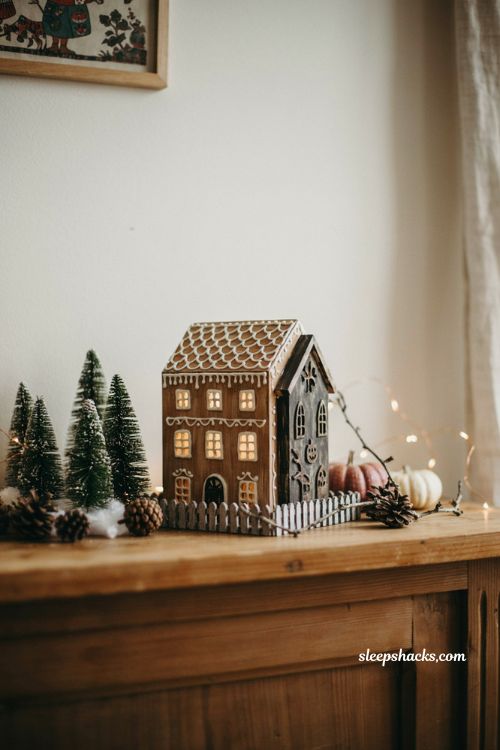
Building a single house with a gingerbread scene painted on one side and a haunted house on the other means one small project actually covers two entire seasons. This is a clever option if storage space is limited and you’d rather build multi-purpose pieces than separate collections for every holiday. The build itself doesn’t need to be complicated, a simple wood block shape with careful paint work on each face does the trick. It’s also a fun conversation piece, since most guests won’t expect the flip until you show them.
7. Upcycled Ceramic Houses
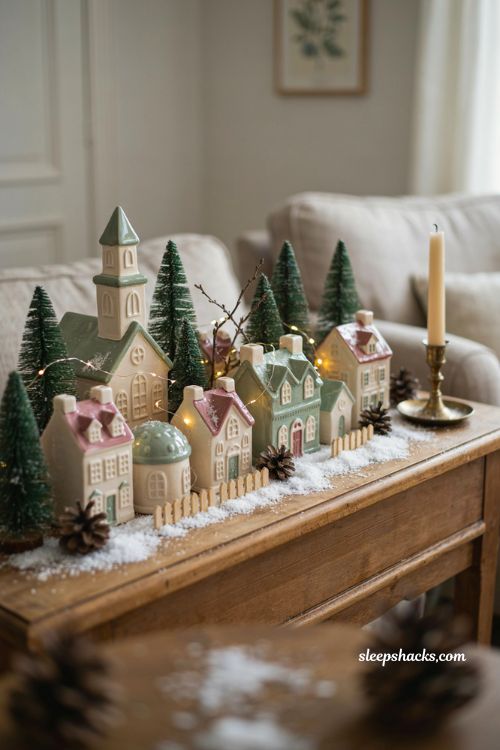
Thrifted ceramic houses, often found secondhand for just a couple of dollars each, get an entirely new look with a coat of paint in a unified color palette. Because the base structures were already professionally made, the finished pieces often look more polished than freshly built wood or paper versions. This is one of the most budget-friendly ways to build a large village quickly, since secondhand pieces tend to come cheap and plentiful around the holidays. Sticking to two or three paint colors across all the houses keeps a mismatched thrifted set looking intentional.
8. Salt Dough Gingerbread Village
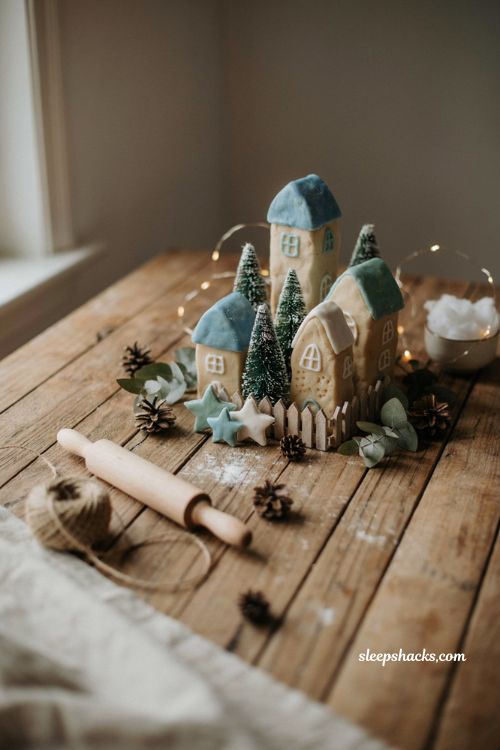
Salt dough, just flour, salt, and water, bakes into a sturdy, lightweight material that’s perfect for small gingerbread-style houses without any real cooking mess. Painting the rooftops in icy blues or soft seafoam greens instead of the expected white gives this version a slightly different, wintry twist on the usual gingerbread palette. Because the dough air-dries or bakes at a low temperature, this is a genuinely kid-friendly project from start to finish. These pieces are lightweight enough to hang as ornaments too, if you’d rather skip the tabletop display altogether.
9. Air-Dry Clay Miniature Houses
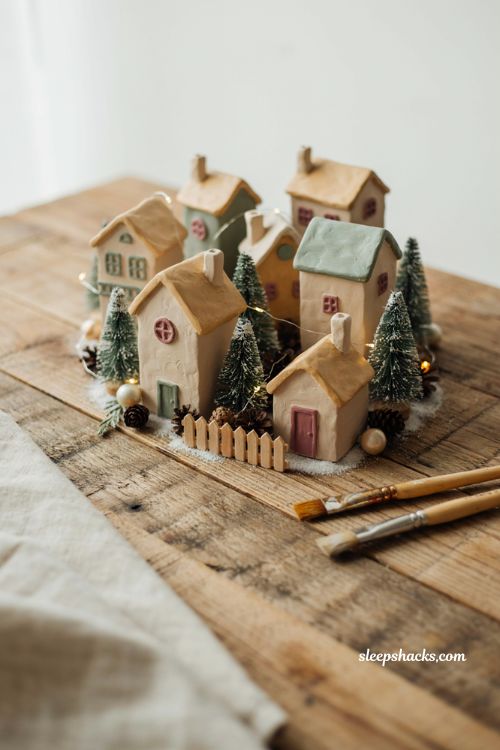
Air-dry clay skips the oven entirely, making this one of the simplest material choices for a from-scratch village, especially with younger kids involved. Small imperfections in the clay actually add charm here rather than looking like mistakes, since a slightly uneven roofline reads as handmade rather than sloppy. Painting details on once the clay has fully cured, usually 24 to 48 hours, keeps the color from cracking or smudging. Because each piece is entirely handmade, no two houses in the village end up looking exactly alike.
10. Tiny Clay Fairy Village in a Planter
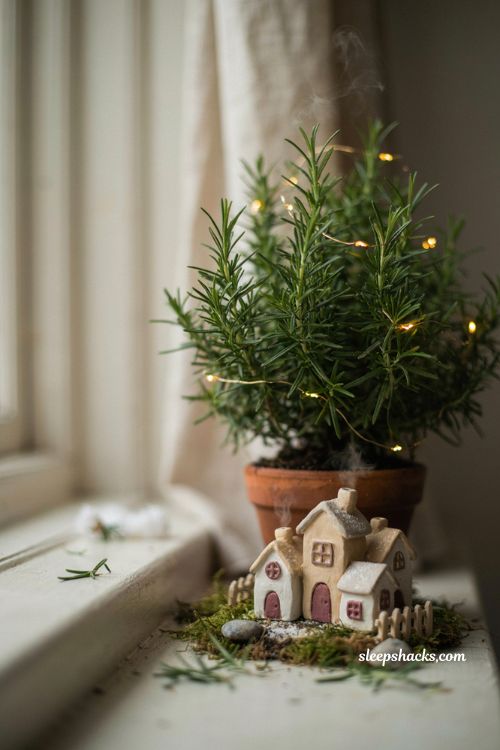
Scaling clay houses down even further and tucking them into the base of a potted plant creates a whimsical little village that reads as a fairy scene as much as a Christmas one. This is a great option if you want something less obviously “holiday” that could realistically stay out well past December. Choosing a plant with some height, like a small evergreen or rosemary topiary, gives the tiny houses a sense of scale against real “trees.” It’s also one of the smallest-footprint ideas on this list if you’re working with very limited display space.
11. Painted Birdhouse Village
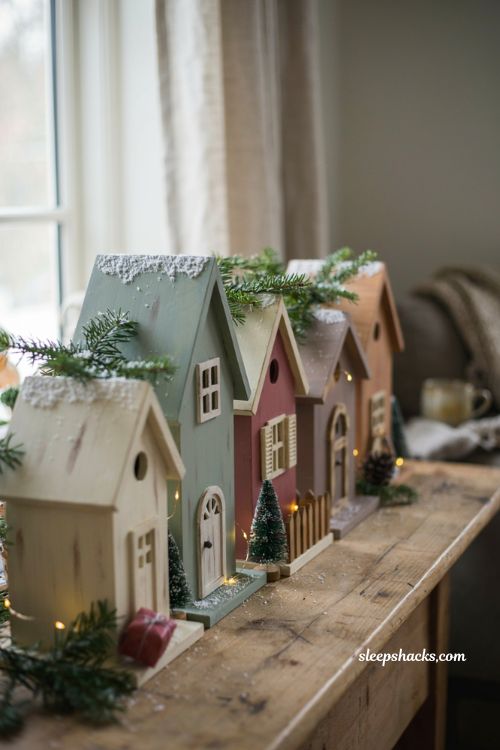
Craft store birdhouses, painted in a coordinated palette and finished with simple window and door details, make for a sturdier and more substantial-feeling village than paper or clay alternatives. Because birdhouses already have a peaked roof and functional shape built in, most of the “construction” work is already done before you even pick up a paintbrush. This is a good middle-ground project, more durable than paper, less involved than a full wood build from scratch. Adding a little snow texture with white acrylic paint dabbed along the rooflines finishes the wintery effect nicely.
12. Plywood Platform with Cutout Streets
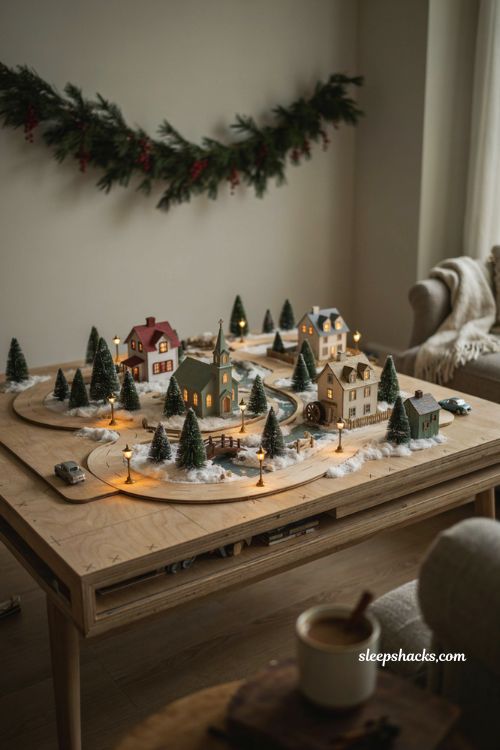
For a village that’s meant to grow over many years, building a proper base out of half-inch plywood with holes cut for wiring and streetlamps creates a genuinely permanent, reusable foundation. This is a bigger undertaking than most ideas on this list, but it’s the kind of project a family often ends up using for decades once it’s built. Marking house placements directly on the plywood in permanent marker each year saves a surprising amount of setup time down the road. If a full plywood build feels like too much, the same layout logic scales down easily onto a smaller board or tray.
13. Buffalo Snow Blanket Base
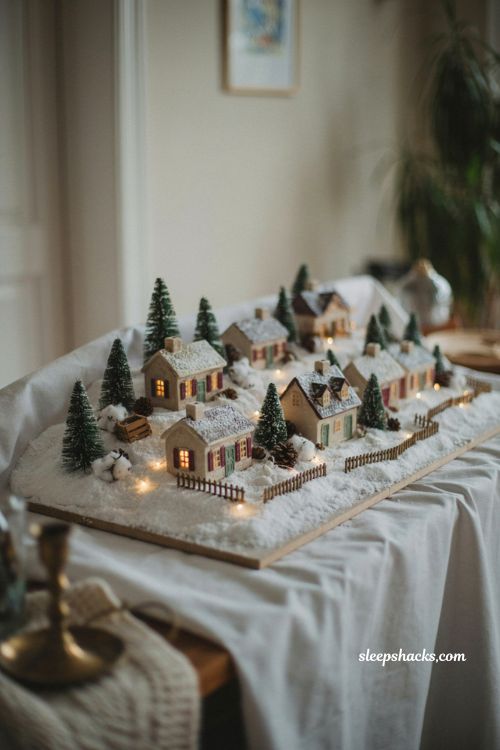
A soft, snow-textured fabric draped over your display board instantly upgrades a flat surface into something that reads as an actual snowy landscape. Cutting holes to match your house placements underneath lets any electrical cords stay hidden beneath the fabric rather than tangled across the front of the scene. This is one of the easiest single upgrades you can make to an existing village, since it doesn’t require rebuilding anything you already own. Scattering a few extra handfuls of loose snow texture on top after the houses are placed adds a final layer of realism.
14. Cotton Ball Snow Drift Display
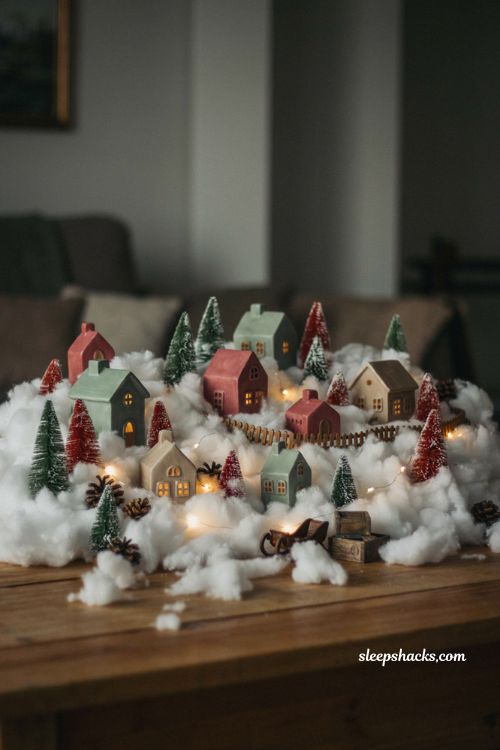
For a lower-cost alternative to specialty snow fabric, stretching and layering plain cotton balls across your display base creates a similarly soft, drifted look for just a few dollars. Building up extra thickness in certain spots, rather than spreading the cotton perfectly flat, mimics the way real snow piles unevenly around houses and walkways. This technique works especially well combined with small twinkle lights tucked just beneath the surface, which creates a subtle glow through the cotton. It’s also one of the most kid-friendly steps in the entire process, since “snowing” on the finished village tends to be everyone’s favorite part.
15. Tiered Shelf Village Display
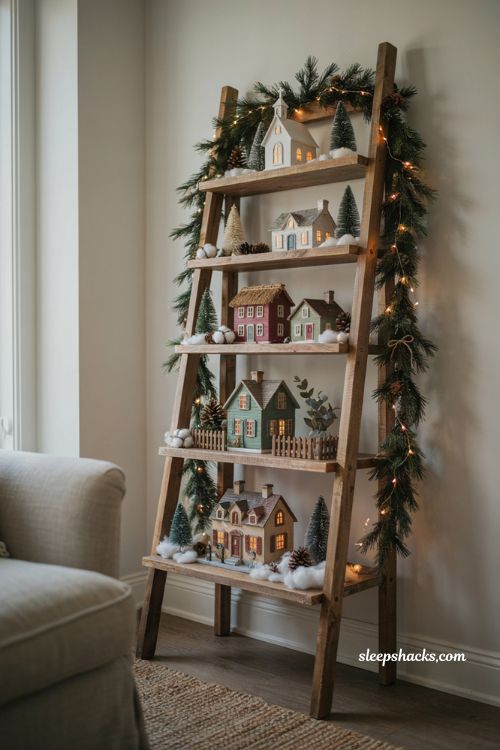
Arranging your collection across a ladder shelf, corner shelf, or stacked crates rather than one flat surface adds real depth and lets you display more houses without needing more floor space. Staggering the pieces by height, rather than lining every house up on a single shelf, creates a more dynamic, layered scene overall. Wrapping a bit of faux pine or a light string around the shelf framework ties each level together visually. This is one of the easiest upgrades for anyone whose village has outgrown a single mantel or tabletop already.
Final Thoughts
No Christmas village starts out finished, and that’s honestly the best part. Pick one idea from this list that matches the time and materials you actually have on hand right now, and let the rest come together gradually, one house, one shelf, one holiday at a time. Some of the most treasured versions of this tradition were built slowly over years, not assembled all at once from a store shelf. Wishing you a cozy season and a village that only gets more charming with every house you add.
Frequently Asked Questions
Q: What’s the cheapest way to start a Christmas village display?
Thrifted ceramic houses repainted in a coordinated color, or paper luminary houses cut from cardstock using a free printable template, are both budget-friendly starting points under ten dollars.
Q: What can I use to make a snowy base for a Christmas village?
Cotton balls, buffalo-print snow fabric, or a mix of baking soda and shaving cream all create a realistic snowy texture for a village base without needing specialty craft supplies.
Q: How do you hide the electrical cords in a lit Christmas village display?
Cutting matching holes through both the display board and any fabric covering it lets cords run underneath the display, out of sight, down to a hidden power strip.