

You don’t need a spare bedroom to have a craft room that actually works. Some of the most functional creative spaces out there are tucked into closets, corners of basements, or a single wall of a home office.
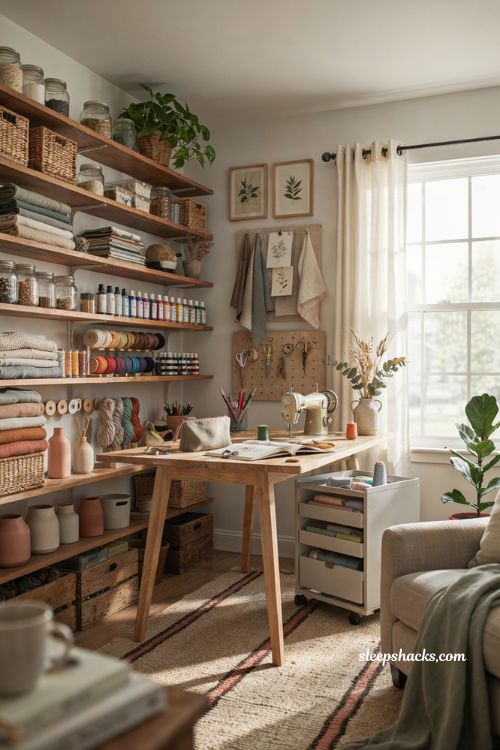
What makes a craft room work isn’t square footage — it’s how well the space matches the way you actually create. These 15 ideas cover everything from full room makeovers to small, budget-friendly tweaks, so there’s something here whether you’re working with an entire attic or just a few feet of counter space.
1. Paint It a Bold, Unexpected Color
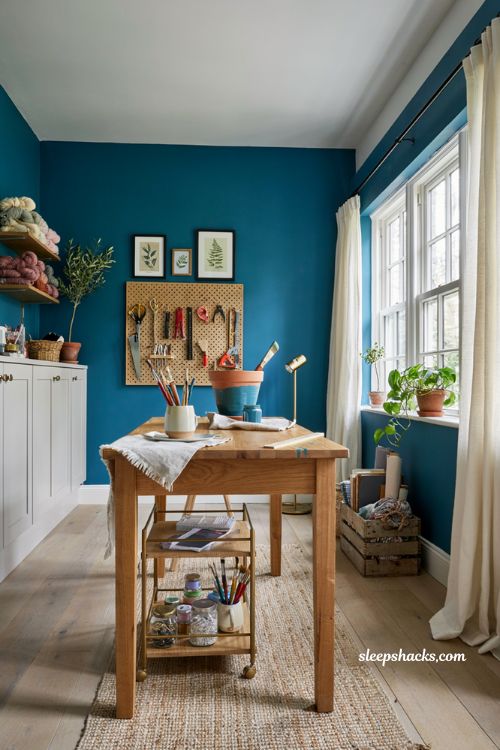
Skip the safe neutral and paint your craft room in a color that genuinely energizes you, whether that’s a soft lavender, a punchy lime green, or a deep jewel tone. A color that feels a little unexpected tends to signal that this room has a different purpose than the rest of the house. Pair a bold wall color with white trim and furniture so the space still feels balanced rather than overwhelming. This is one of the cheapest, highest-impact changes you can make, and it sets the tone the moment you walk in.
2. Add a Central Work Table Island
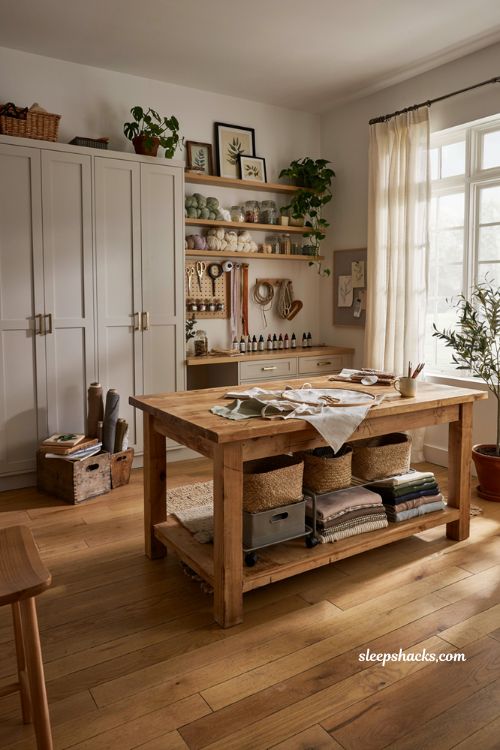
Position a sturdy table or island in the middle of the room instead of pushing everything against the walls, so you can walk all the way around it while you work. This setup is especially useful for sewing, cutting, or any project that needs room to spread out. A table with an open base underneath gives you extra floor storage for bins or rolling carts. If the room doubles as a guest space or laundry area, an island also helps visually separate the crafting zone from the rest.
3. Set Up Multiple Crafting Stations
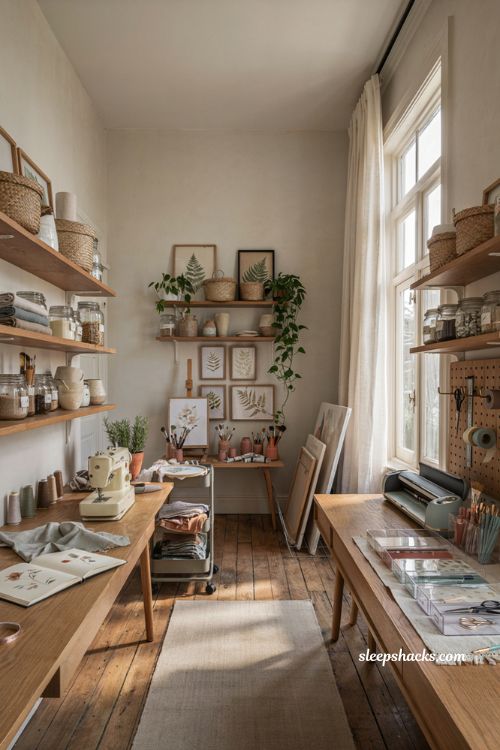
If more than one person uses the room, or you juggle several types of projects, build in separate stations rather than one shared surface. Each station should have its own tools and nearby storage so nobody has to dig through someone else’s supplies mid-project. Assigning a specific corner to sewing, another to painting, and another to cutting machines keeps everything from blending into one cluttered mess. This setup works just as well for a family craft room as it does for a solo maker juggling multiple hobbies.
4. Hang Colorful Removable Wallpaper
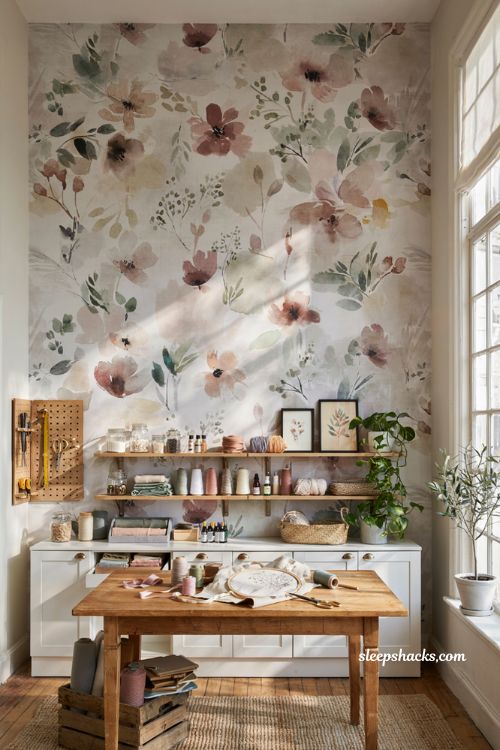
Removable wallpaper in a cheerful print gives you all the personality of a full wall treatment without any long-term commitment. A palm print, a bold geometric, or a soft floral pattern can instantly make a plain room feel intentional and inspiring. Because it peels away cleanly, this is a smart option for a rented space or a room you might repurpose down the road. Stick to one accent wall if you want the boldest print without it feeling like too much.
5. Use Vintage Labeled Storage
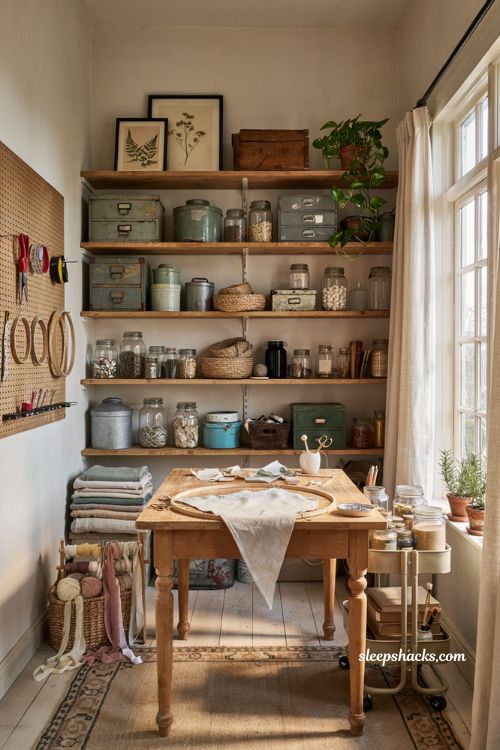
Match your storage to the overall style of your space by choosing containers, tins, and cabinets that fit the aesthetic rather than grabbing whatever’s cheapest. A vintage-style cabinet with typewriter-font labels feels right at home in a farmhouse room, while sleek acrylic bins suit a more modern space. Labeling every container, even loosely, saves real time when you’re hunting for a specific ribbon or fabric scrap. This small detail is what makes a storage system feel curated instead of just functional.
6. Carve Out a Crafting Corner in Your Office
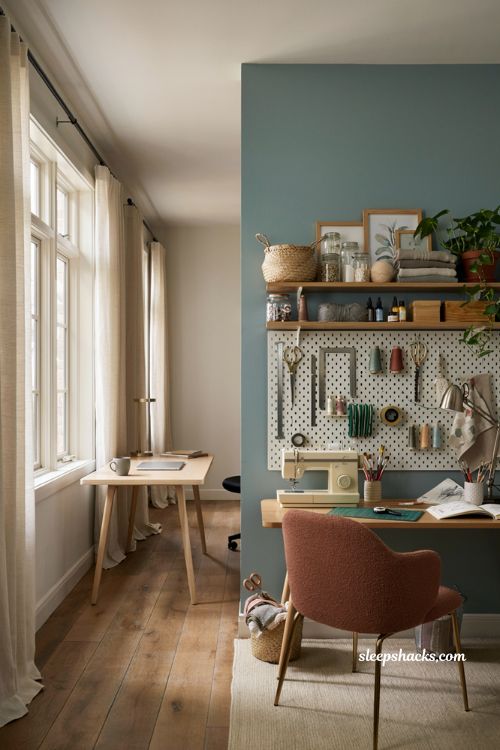
If a full room isn’t in the cards, claim one wall of your home office for crafting instead of trying to find a whole separate space. A narrow desk with a sewing machine or cutting mat, paired with a pegboard above it for frequently used tools, can fit into a surprisingly small footprint. Keeping the crafting corner visually distinct — a different chair, a pop of color, a dedicated shelf — helps your brain shift into creative mode even in a shared room. This is an especially good fit for anyone who works from home and crafts on the side.
7. Build a Mood Board Wall
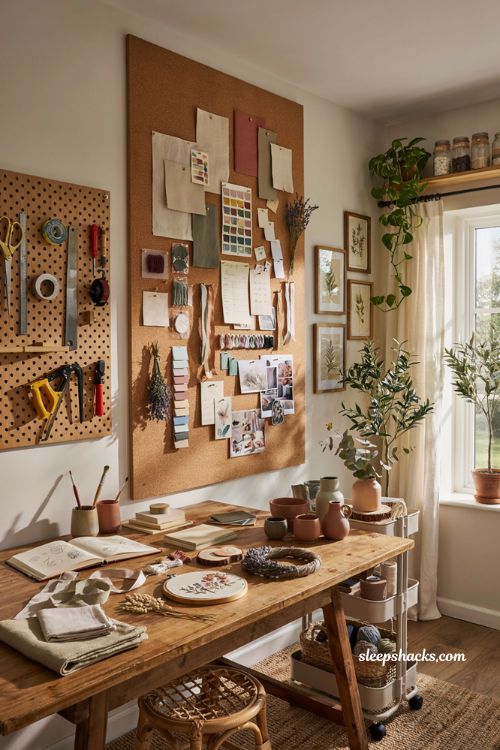
Dedicate one section of wall to a mood board where you can pin fabric swatches, color palettes, and project inspiration as you go. A cork board backed with fabric that matches your room’s color scheme doubles as decor even when it’s not actively in use. Rotating what’s pinned up keeps the space feeling fresh and lets your current project stay visually front and center. This is a low-cost addition that pays off every time you sit down to plan something new.
8. Wallpaper the Ceiling
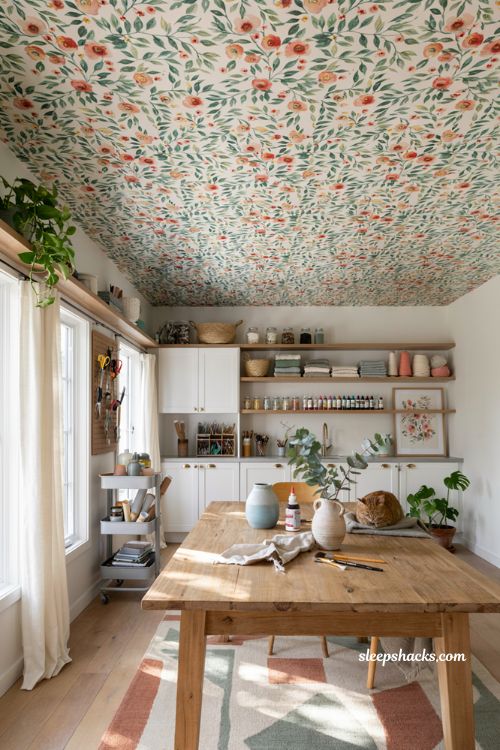
Give an overlooked surface some personality by wallpapering the ceiling instead of the walls, especially in a basement or windowless room that needs a boost. A bright, playful pattern overhead balances out plainer walls and flooring below it. This trick works particularly well in spaces that already lean neutral, since it adds color without competing with your supply storage. Pair it with a colorful rug on the floor to tie the whole room together.
9. Use Vertical Wall Storage for Supplies
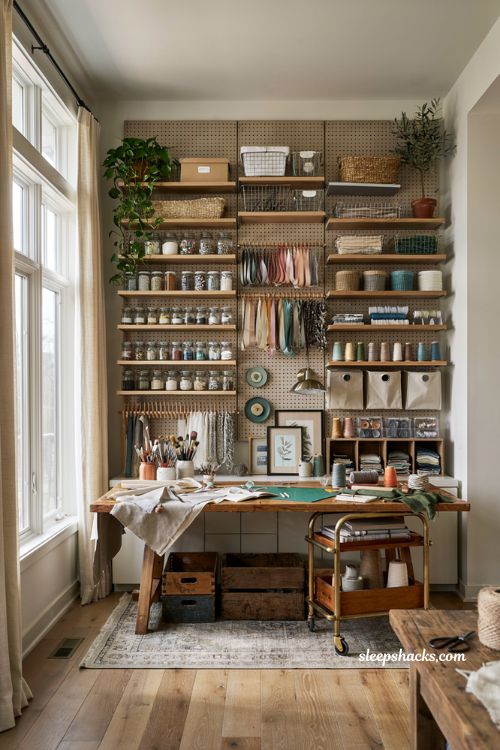
Free up table and floor space by moving as much storage as possible onto the walls, using racks, shelves, and hanging bins. Spools of thread, rolls of ribbon, and jars of paint all look surprisingly decorative when they’re displayed in neat rows instead of buried in drawers. This approach turns your supplies into part of the room’s visual interest rather than clutter to hide away. It’s also simply more practical, since everything stays visible and easy to grab mid-project.
10. Install a Giant Pegboard Wall
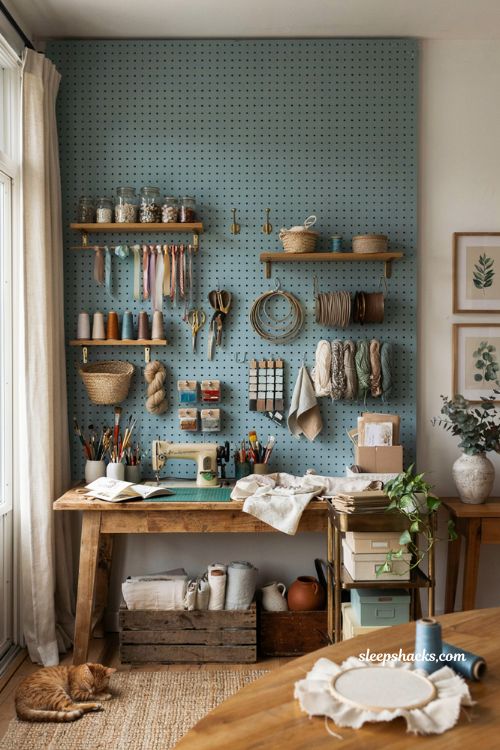
A large pegboard gives you endlessly flexible storage that can shift as your projects and tools change over time. Hooks, small shelves, and baskets can all attach directly to the board, so you’re never stuck with a fixed layout. This is one of the best options for a multi-functional space, like a basement playroom that doubles as a crafting area, since it can hold anything from scissors to yarn to paintbrushes. Paint the board itself a fun color for an extra layer of personality.
11. Add Stealth Storage in Vintage Furniture
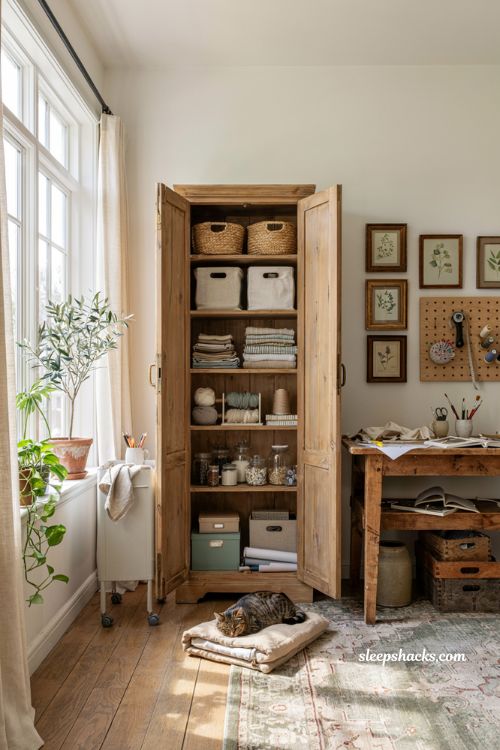
Repurpose a thrifted corner cabinet, dresser, or armoire to hide craft supplies behind doors that look nothing like storage. This works especially well in a multi-purpose room, where you want the space to look calm and put-together when it’s not in active use. A piece with real character also adds warmth that built-in storage sometimes lacks. Look for furniture with adjustable shelves inside so you can customize it to fit bins, fabric, or paper rolls.
12. Convert a Closet into a Craft Nook
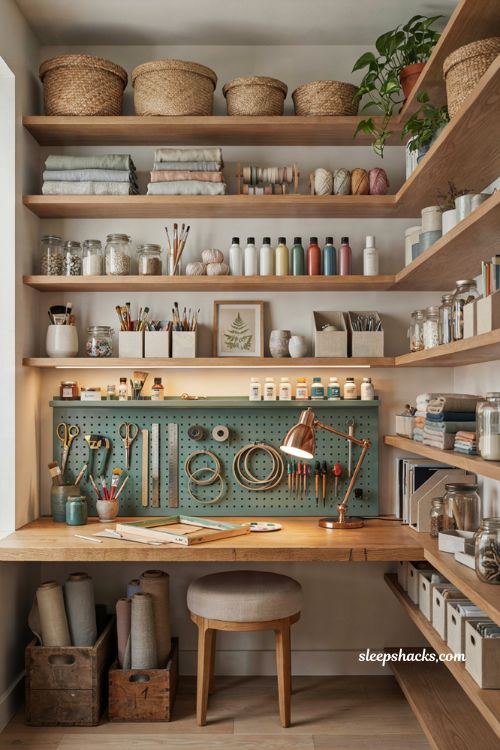
An unused closet can become a surprisingly functional micro craft room with just a desk, some shelving, and a pegboard mounted on the back wall. Removing the closet doors entirely opens the space up and makes it feel more like an intentional nook than a hidden storage spot. Add a small lamp and a stool that tucks away when not in use to keep the footprint minimal. This is one of the best small-space solutions if you don’t have a spare room to dedicate.
13. DIY a Macrame Wall Organizer
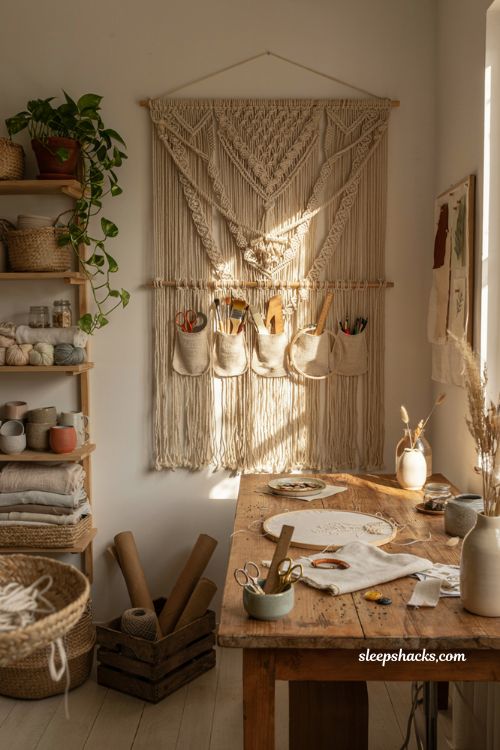
Build a macrame-style wall organizer to hold scissors, pens, and small tools in a way that’s as decorative as it is functional. The woven texture adds warmth to a room that might otherwise feel a little clinical, especially alongside metal shelving or plastic bins. This is a genuinely budget-friendly project, since basic cord and a dowel are all you really need to get started. It looks especially nice paired with other natural materials like wood shelving or woven baskets.
14. Create Clean and Messy Zones
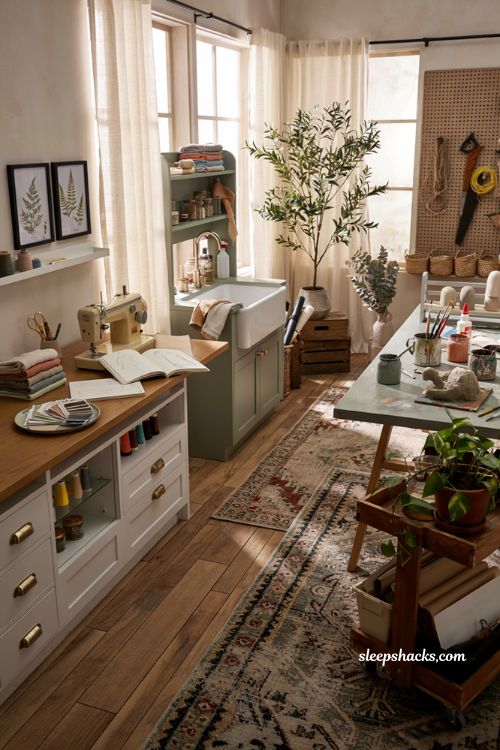
Divide your room into distinct zones based on how messy each activity tends to get, rather than treating the whole space the same way. A clean zone for sewing or planning sits apart from a messier zone for paint, clay, or glue, ideally near a sink or an easy-to-wipe surface. This kind of separation keeps a paint spill from ruining your fabric stash and makes cleanup far more manageable. Over time, this zoning also just makes the room easier to navigate, since you always know where a given supply lives.
15. Set Up a Simple Content Creation Corner
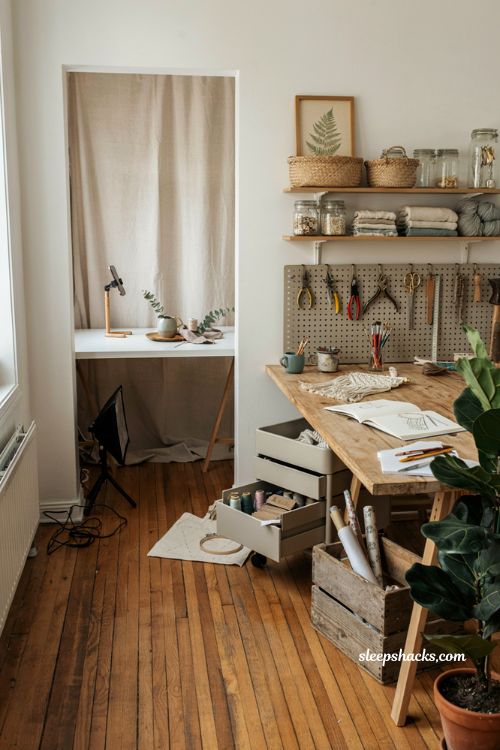
If you photograph or share your projects online, build a small dedicated spot for that instead of clearing a table every time. A plain white surface, a neutral backdrop, a phone holder, and a bit of good lighting is really all it takes. Keeping this setup ready to go means you’re far more likely to actually document your work instead of skipping it because the effort feels like too much. Tuck it into an unused corner so it doesn’t compete with your main work surface.
Final Thoughts
What would your own craft space look like if you started with the way you actually work instead of a Pinterest photo? Maybe that means one bold wall and a single sturdy table, or maybe it means a whole system of zones and stations. Either way, the best craft room is the one that gets used, not the one that photographs perfectly and sits untouched.
Frequently Asked Questions
Q: How do I set up a craft room in a small space?
Focus on vertical storage, a single flexible work surface, and one or two permanent stations for the crafts you do most often. A converted closet or a dedicated wall in another room can work just as well as a full spare bedroom.
Q: What’s the best flooring for a craft room?
Durable, easy-to-clean options like laminate, vinyl, or painted wood floors hold up best against paint, glue, and fabric scraps. A washable area rug can add warmth without sacrificing practicality.
Q: How much storage does a craft room actually need?
It depends more on how many different crafts you do than on the size of the room, since each activity typically needs its own tools and supplies nearby. Editing down what you own before organizing almost always reduces how much storage you need in the first place.