

I still remember the first time I decorated a Christmas tree on my own. The tree was a little sparse, the lights were tangled, and my ornaments were scattered across the floor like tiny confetti. Yet, by the end of the day, it transformed into a magical centerpiece that filled my home with warmth and joy. Over the years, I’ve learned that creating a beautiful tree doesn’t require professional skills, expensive decorations, or hours of painstaking effort. With a few clever strategies, some personal touches, and a touch of patience, anyone can turn their Christmas tree into a dazzling holiday spectacle. In this guide, I’m going to share my tried-and-true easy Christmas tree decorating ideas, blending professional tips with heartfelt personal stories to help you create a tree that feels both full and festive.
Here are three simple truths I’ve discovered:
- Start with a strong foundation: Fluff and lights matter more than you think.
- Layer decorations strategically: Big to small, inside to outside.
- Add personal touches: They make your tree uniquely yours.

Start with the Basics — Choosing the Right Tree
Choosing the right tree sets the stage for everything else. Over the years, I’ve alternated between real and artificial trees, and each has its charm. Real trees bring that nostalgic pine scent, but they can be tricky if bought too late in the season. Artificial trees, especially Quick Set Christmas Trees, have been a lifesaver for me. They’re pre-lit, easy to assemble, and save hours of frustration during setup. I remember one year rushing home from work, dreading a tangled light battle, and thanks to a pre-lit tree, I was able to decorate in record time and even sip hot cocoa while doing it.

Quick Tip: If you’re using an artificial tree, make sure the branches are properly fluffed before starting. A tree that looks full from the start makes decorating infinitely easier. Real trees benefit from a gentle shake and a little adjustment of branches to hide bare spots.
Fluffing and Shaping — The Secret to a Full and Natural Look
I can’t stress enough how much a little fluffing changes the whole vibe. Think of the tree like a blank canvas. If branches are compressed or stuck together, no matter how many ornaments you add, it will still look thin. I usually start from the bottom, gently spreading each branch outwards and upwards. Fluffing is my favorite part because it’s oddly satisfying. I sometimes hum holiday tunes while doing it, imagining the glow of the lights later reflecting on each branch.

Table 1: Quick Fluffing Guide for Different Tree Types
| Tree Type | Fluffing Technique | Tips for Fullness |
| Artificial Pre-lit | Spread branches evenly from trunk out | Focus on hidden areas for depth |
| Real Tree | Shake and adjust top-to-bottom | Fill gaps with extra pine picks |
| Pencil or Slim Tree | Fan out each branch carefully | Use garlands or ribbons to bulk up |
| Flocked Tree | Fluff before lights to prevent damage | Avoid over-fluffing, it can hide tips |
Even if your tree is naturally sparse, careful fluffing paired with strategic decoration can make it look magazine-worthy in minutes.
Lights First — The Foundation of Every Beautiful Christmas Tree
Lights are the unsung heroes of every Christmas tree. Many friends ask me, “Do I hang ornaments first or lights?” I always chuckle because lights always come first. Why? Because trying to string lights around ornaments is like trying to thread a needle with mittens on—it just doesn’t work. Placing lights first lets you tuck strands deep into the branches, creating layers and depth that instantly make a tree look fuller.
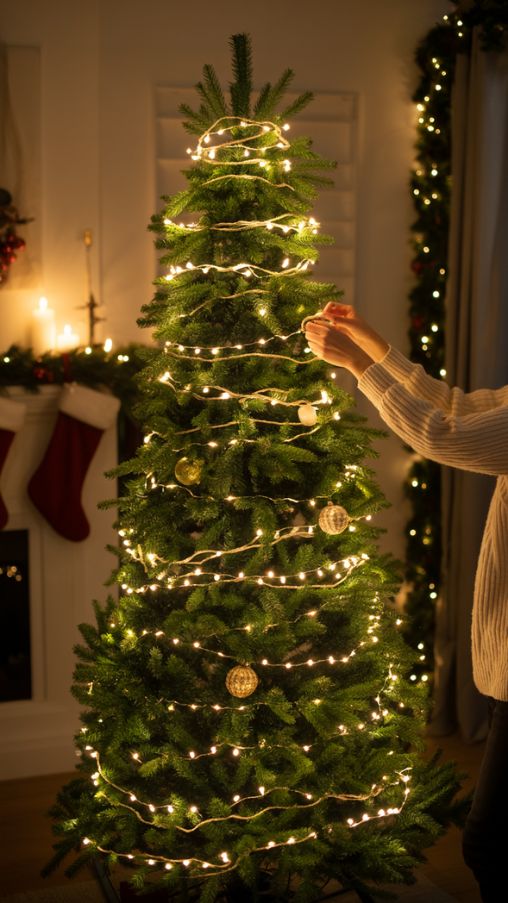
I like to mix different sizes: tiny mini-lights for twinkle and a few larger bulbs for sparkle. If the tree is flocked, white or warm-toned lights look dreamy. I also zig-zag the lights from trunk to tips for a natural glow. There’s something almost magical about turning on the lights before any other decoration—it’s like seeing the soul of your tree come alive.
Add Garlands and Ribbons for Texture and Flow
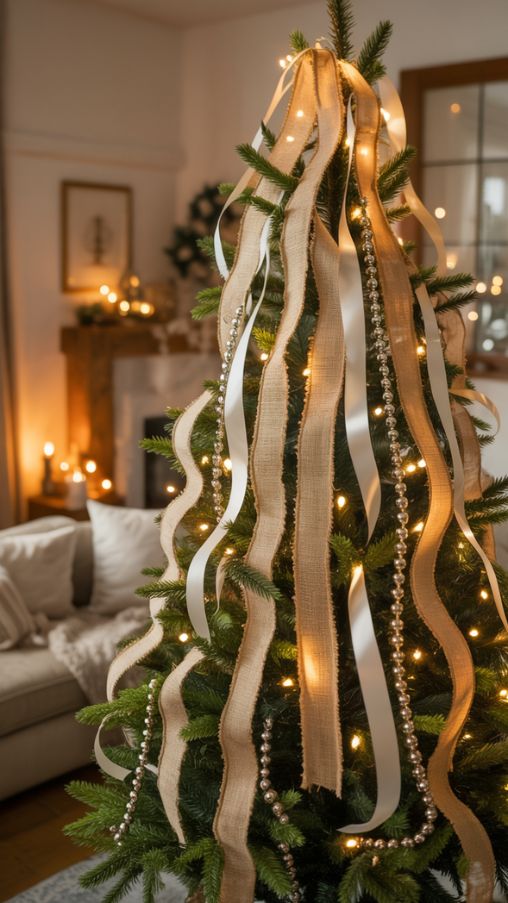
Once the lights are in, garlands and ribbons add texture and movement. I remember one year when I decided to try cascading ribbons instead of the typical horizontal wrap. The effect was elegant, almost like soft waves of color flowing down the tree. You don’t have to overdo it. Sometimes, a single wide ribbon spiraling gently is all you need.
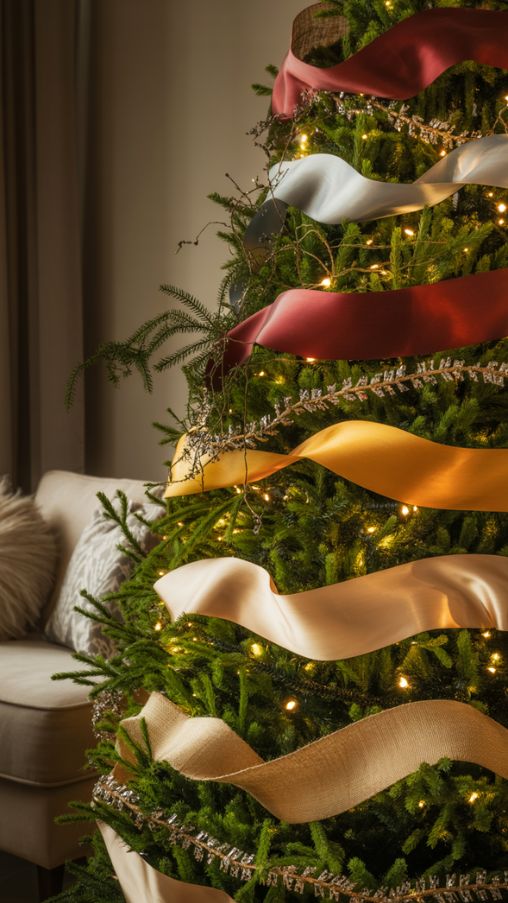
Garlands, whether tinsel, beads, or natural pine, can be tucked in to hide gaps and add volume. I often combine them with lights so the sparkle catches the metallics, making the tree appear twice as full. This step is where you can really play with style. A farmhouse tree might benefit from burlap ribbon, while a Scandinavian-themed tree pairs beautifully with simple white or silver strands.
Pick a Simple Color Palette for a Cohesive Look
Choosing a color palette is like giving your tree a personality. I’ve made the mistake of throwing every color I liked onto a tree, only to realize it looked chaotic. Now, I stick to two to three complementary colors.
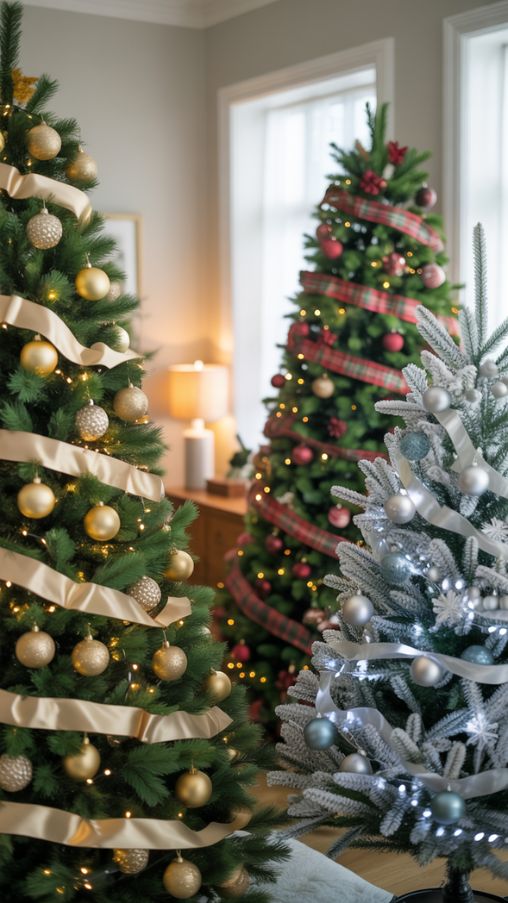
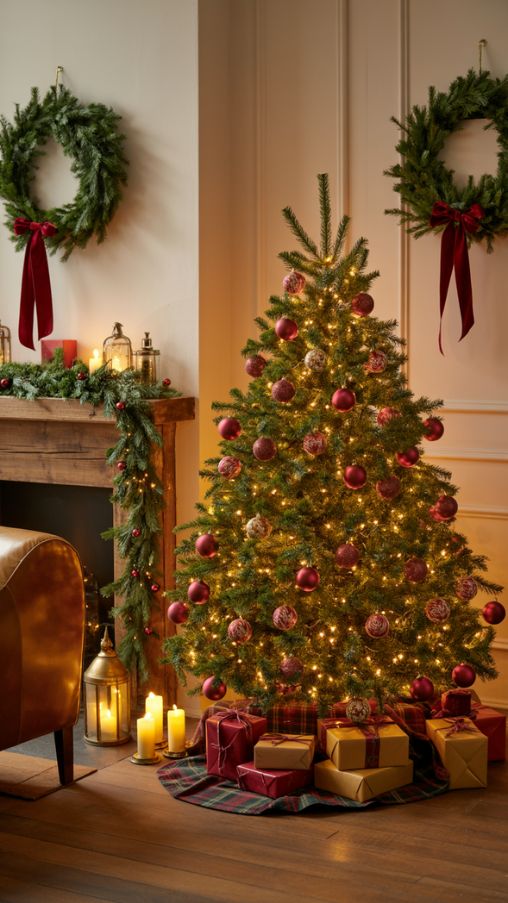
For example, gold and cream create warmth and elegance. Red and tartan bring cozy, traditional vibes. Silver and blue offer a crisp, wintery feel. I even keep a small cheat sheet on my phone to remember which colors to group together. A cohesive color scheme allows your ornaments, lights, and ribbons to harmonize rather than compete.
Table 2: Popular Color Combinations for Christmas Trees
| Theme | Primary Colors | Accent Colors | Mood/Style |
| Classic Elegance | Gold | White | Warm, festive, timeless |
| Cozy Tradition | Red | Tartan or Green | Homey, nostalgic |
| Winter Wonderland | Silver | Ice Blue | Crisp, modern, serene |
| Playful & Fun | Bubblegum Pink | Candy Red & White | Whimsical, vibrant |
| Minimalist Scandinavian | White | Natural Wood | Simple, chic, understated |
Layer Ornaments Strategically — Big to Small
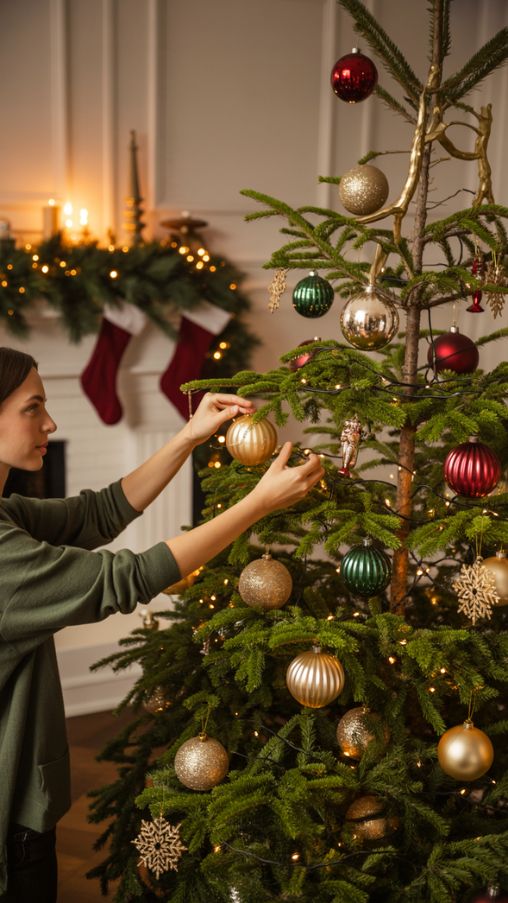
When it comes to ornaments, strategy is key. I always start with the largest pieces first, placing them closer to the trunk. This creates depth and gives the tree structure. Then I gradually work outward with medium and smaller ornaments.
Reflective ornaments are my favorite because they bounce light from the strands, making the tree look even fuller. One year, I tucked shiny gold balls right next to the trunk—people were amazed at how dimensional the tree appeared from across the room. Variety is crucial: mix shapes, textures, and sizes to add visual interest without overwhelming the tree.
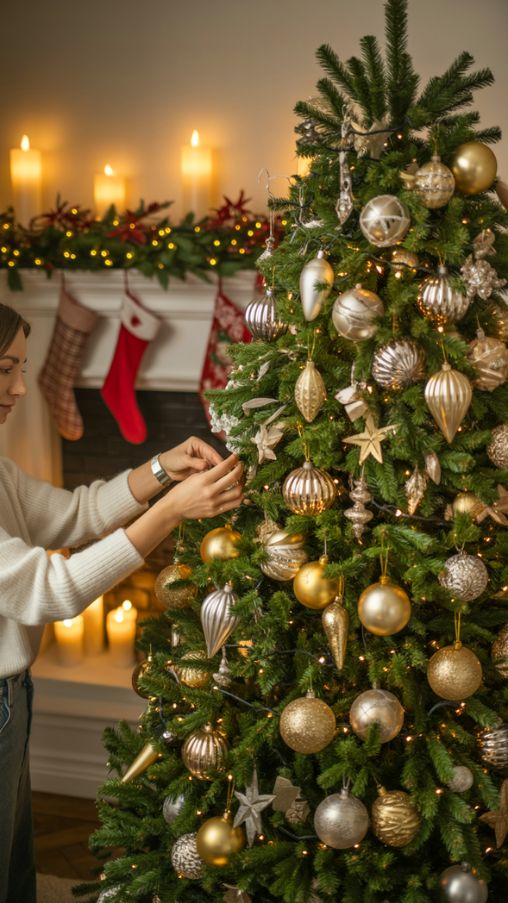
DIY Christmas Tree Decorations You Can Make at Home
DIY ornaments are a wonderful way to add personality. My favorite projects include dried orange slices, popcorn garlands, and cinnamon stick bundles. They smell amazing and give the tree a rustic charm.
Even kids can join in. I remember my niece and nephew helping me string popcorn for the first time—it became a mini family tradition. Not only do these handmade items make your tree unique, but they also bring memories and stories to your holiday decor.
Choose a Theme That Reflects Your Style
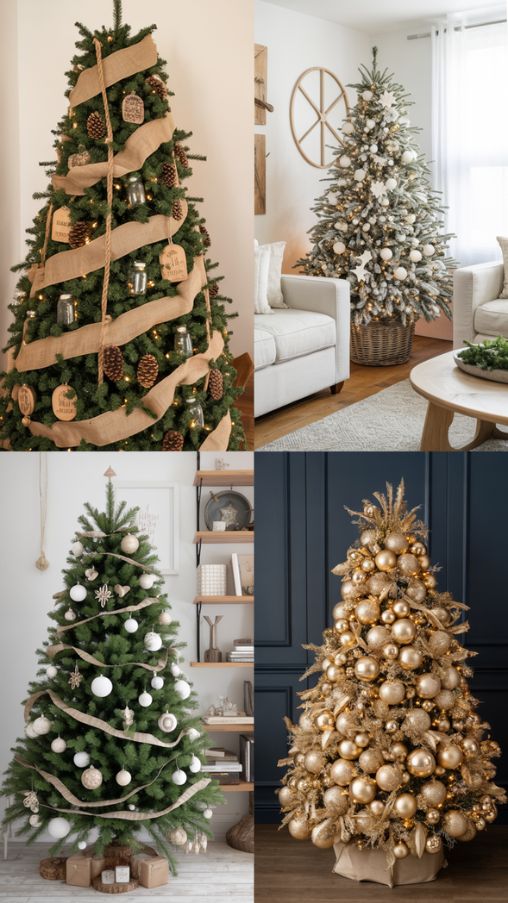
Themes help unify your decorations. I often pick a theme before I even unpack the ornaments. Some of my favorites include:
- Farmhouse Christmas Tree: Natural colors, burlap ribbons, wooden ornaments.
- Scandinavian Style: Minimalist with white, silver, and neutral accents.
- Glitzy Gold Tree: Oversized metallic ornaments, flocked branches, and warm lights.
Themes simplify decision-making and ensure the tree looks intentional rather than haphazard.
Don’t Forget the Tree Topper and Skirt
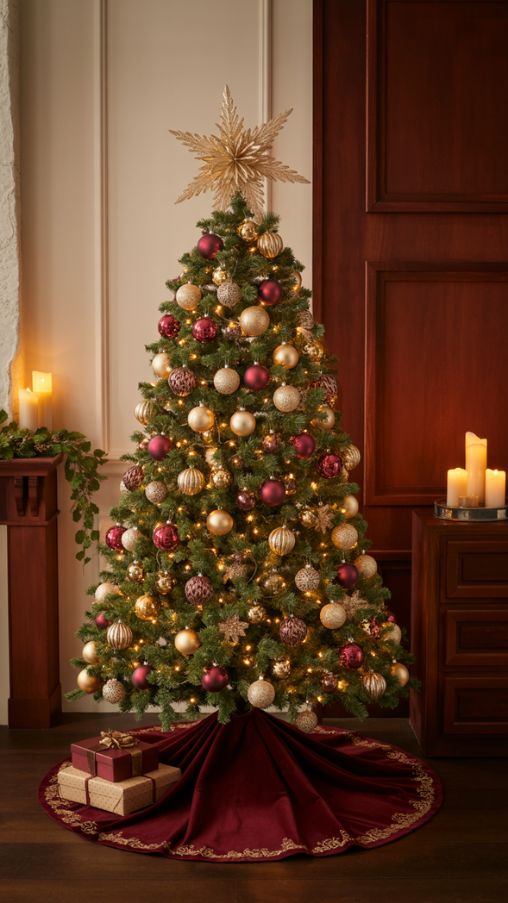
Tree toppers and skirts are like the final brush strokes on a painting. I love oversized stars or elegant bows for the top. Tree skirts don’t just hide the base—they also anchor the tree in the room’s decor.
I’ve swapped traditional skirts for baskets or fabric in coordinating colors. It’s a small touch that instantly elevates the entire look.
Add Personal Touches and Family Traditions
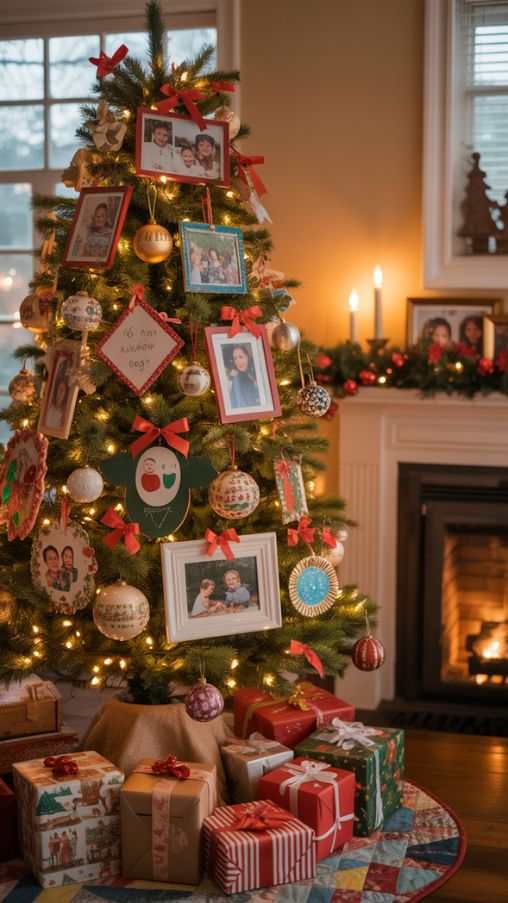
Personal ornaments make the tree feel alive. I include ornaments from childhood, DIY crafts from my kids, and souvenirs from family trips. This creates a “memory tree” that tells a story each holiday.
One year, I added tiny framed photos to the branches—guests loved spotting the memories. It’s these small touches that make a tree feel authentic and deeply festive.
Enhance the Ambience with Complementary Holiday Decor
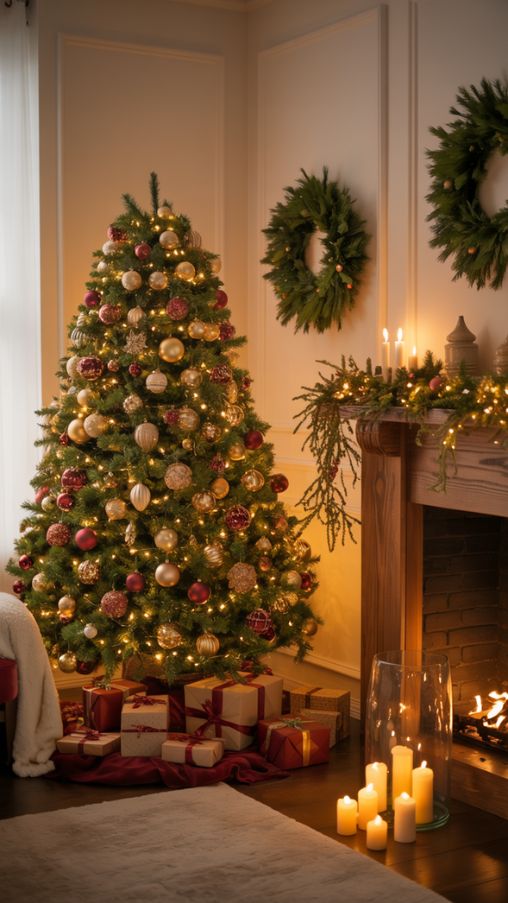
Your tree doesn’t exist in a vacuum. Surrounding decorations—like wreaths, garlands, and matching lights—create a cozy, cohesive space. I often place candles and fairy lights nearby to enhance the glow.
It’s amazing how a well-decorated tree, paired with subtle surrounding decor, transforms a room into a holiday haven.
Maintain and Store Decorations for Next Year
After the holidays, proper storage keeps your decorations safe and reusable. I wrap ornaments individually, coil lights carefully, and label everything. Pre-lit trees get a cover or box to protect dust accumulation.
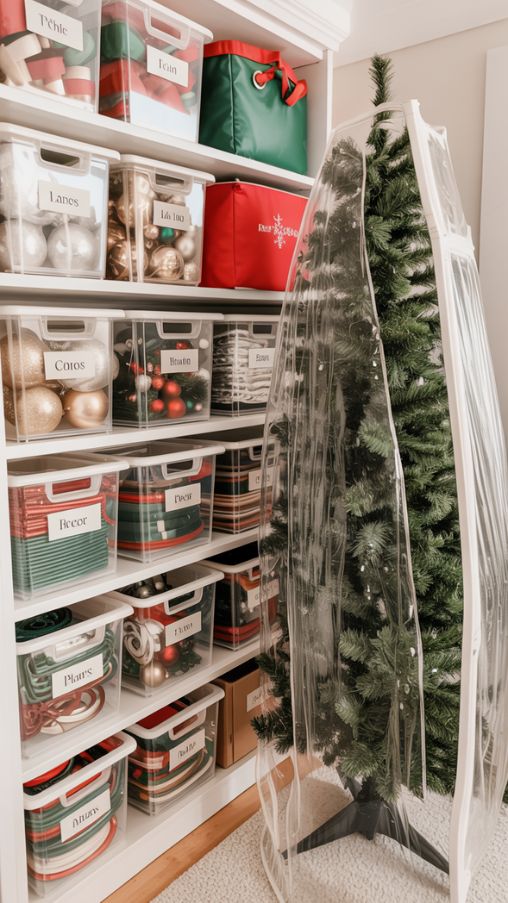
I’ve learned this the hard way: last year, a tangled mess of lights took me hours to untangle. Now, careful storage saves me time and stress each season.
Quick Tips for Decorating Like a Professional
Step back frequently while decorating. Adjust spacing, move ornaments around, and fluff branches. Layering, symmetry, and depth create a professional look. Mixing textures, reflective ornaments, and complementary colors makes your tree appear fuller and more balanced.
Final Touch — Step Back and Enjoy the Glow
Once everything is in place, take a moment. The tree isn’t just about ornaments and lights—it’s about the warmth, joy, and memories it brings. Watch how the light dances across ornaments, and let yourself feel proud. That’s the magic of a well-decorated tree.