

Here’s something nobody tells you about ceramic ornaments: the lumpy ones are the ones people keep. A perfectly smooth, machine-made bauble gets packed away and forgotten, but a slightly wonky clay star with a thumbprint still in the edge ends up on the tree for thirty years. That’s the quiet magic of handmade pottery.
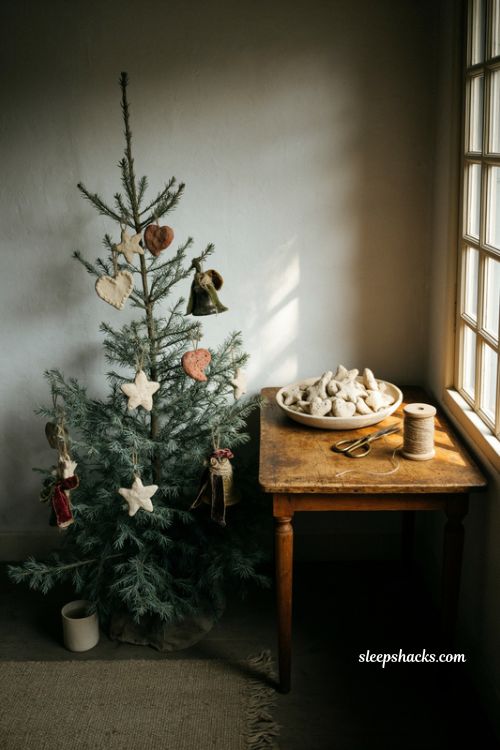
You don’t need a studio or years of practice to make something worth hanging. A small lump of clay, a cookie cutter, and access to a kiln or a nearby pottery class will get you started. These 15 ceramic ornaments pottery ideas cover simple beginner shapes, glazing tricks, and gifting tips, so you can find a style that fits your hands and your tree.
1. Classic Clay Stars
Stars are the friendliest first project because there’s nowhere to hide and nothing to get wrong. Roll your clay to about a quarter inch thick, press a star cutter straight down, and smooth the edges with a barely damp finger. Poke a hole near one point before you lift the cutter away so the shape doesn’t distort.
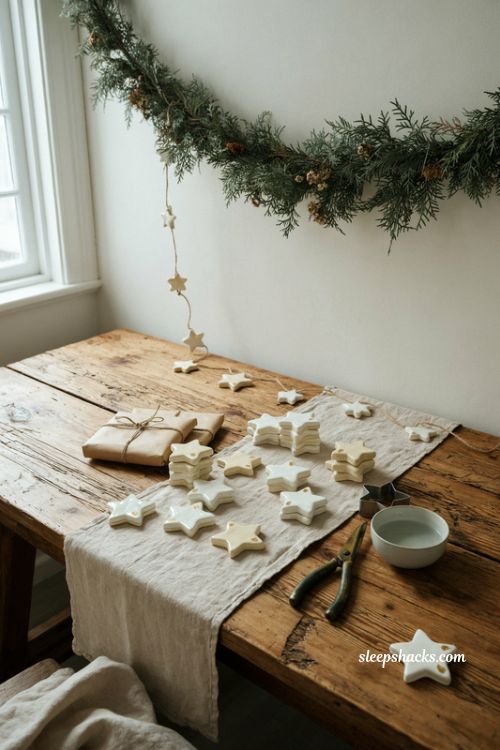
Make the hole slightly larger than you think you need, since glaze can shrink it during firing. A simple white or cream glaze lets the shape speak for itself, while a touch of gold on the tips adds a little sparkle. Make a dozen at once and you’ll have enough for a garland or a stack of gift toppers.
2. Botanical Leaf-Pressed Ornaments
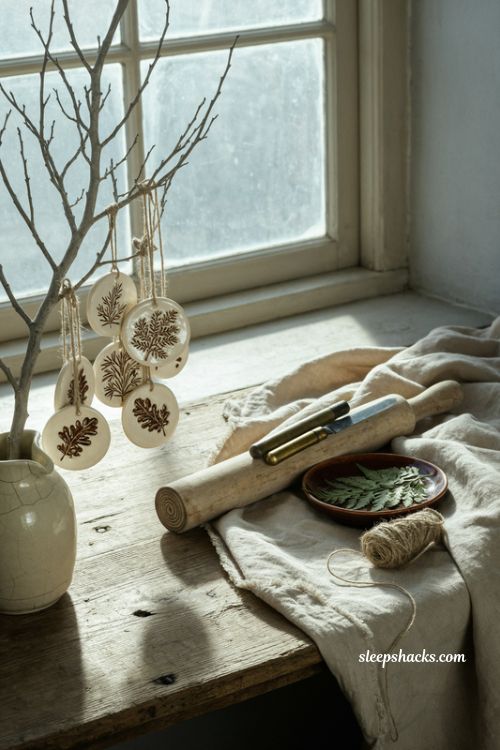
Press a fresh fern frond, a sprig of rosemary, or a small oak leaf into rolled clay and the plant leaves behind a delicate, fossil-like impression. Roll lightly with a pin so the veins show clearly, then peel the leaf away and cut around the shape with a knife or cutter. The detail looks almost carved.
Rub a little iron oxide or dark underglaze into the impression, wipe the surface clean, and the pattern pops with contrast. Under a clear glaze, the effect feels like a woodland walk frozen in a circle. Choose leaves that are flat and fresh, since dry ones crumble and thick ones leave uneven prints, and keep the shapes consistent for a cohesive set.
3. Stamped Names and Dates
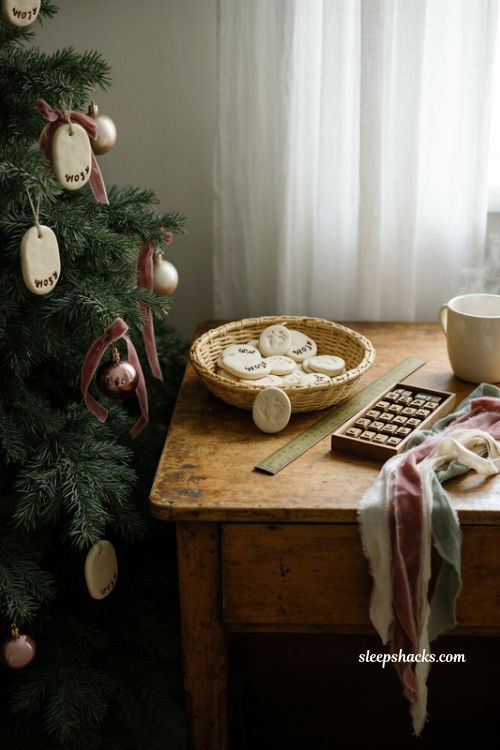
A name pressed into clay turns an ornament into a family record. Use a set of small alphabet stamps to mark a name and the year along the bottom of a round or oval tag, lining the letters up along a ruler so they stay evenly spaced. Press firmly but gently so the clay doesn’t stretch out of shape.
Each year’s ornament becomes a tiny diary, and a collection of them looks lovely on the tree by the time the kids are grown. Rub a dark underglaze into the letters before glazing so they stay legible. For a baby’s first Christmas, add a small footprint or handprint on the back for an extra personal touch.
4. Speckled Stoneware Rounds
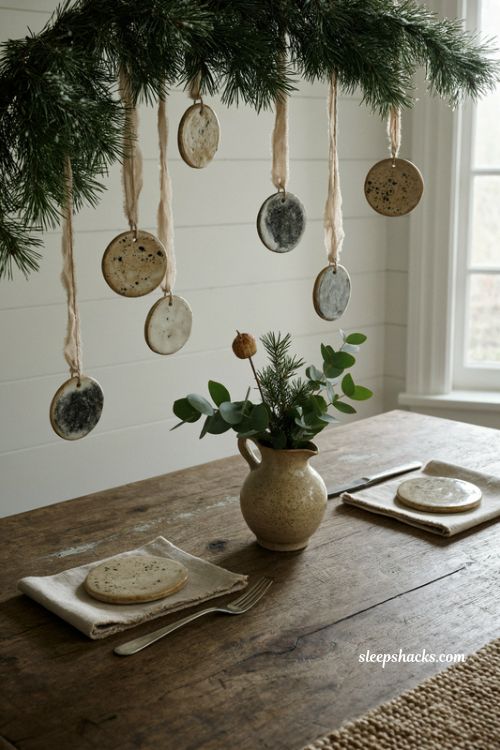
Speckled clay bodies have a warm, earthy look that suits almost any tree. Cut simple discs from speckled stoneware, smooth the edges, and let the natural flecks show through a thin, semi-transparent glaze. The result looks like a pebble from a quiet beach, humble and a little irresistible.
Because the clay does most of the decorating, you can keep the shapes plain and still end up with something beautiful. A satin white or oatmeal glaze keeps the speckles visible, while a darker glaze softens them into subtle texture. These look especially good hung with natural twine or linen ribbon on a green tree, and extras make lovely place card holders at a holiday dinner.
5. Matte White Minimalist Shapes

Matte white ceramic ornaments suit modern rooms, Scandinavian palettes, and anyone who prefers calm over clutter. Cut simple shapes like circles, arches, and little trees, then finish them with a matte white glaze that feels like chalk to the touch. Hang them on thin black cord for a crisp contrast.
The beauty is in the quiet repetition, so make a large batch in two or three sizes and cluster them on one branch. Fingerprints show easily on matte glazes, so handle the pieces by the edges and keep your glaze coats smooth and even. They look beautiful against a dark green or flocked tree, and they photograph wonderfully too.
6. Hand-Painted Underglaze Motifs
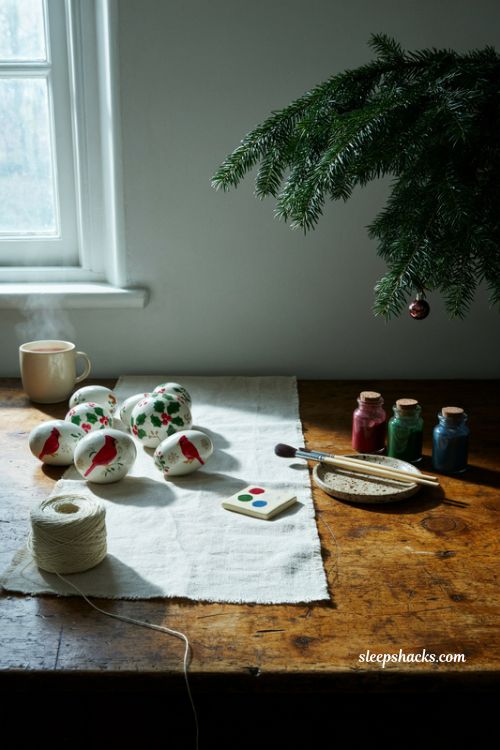
If you like painting more than shaping, underglaze is your best friend. Use a small round brush to paint holly leaves, snowflakes, or tiny red cardinals onto a bisque-fired ornament, building color in two thin coats rather than one thick one. The colors look chalky and dull at first, but they come alive once the clear glaze goes on.
Test your colors on a spare tile before committing, because underglaze shifts a lot after firing. Keep your designs simple and your lines confident, since small wobbles read as charm on a handmade piece. A fine liner brush helps with details like berries and stems, and letting each coat dry fully before the next keeps the colors crisp.
7. Mini Pinch-Pot Bells
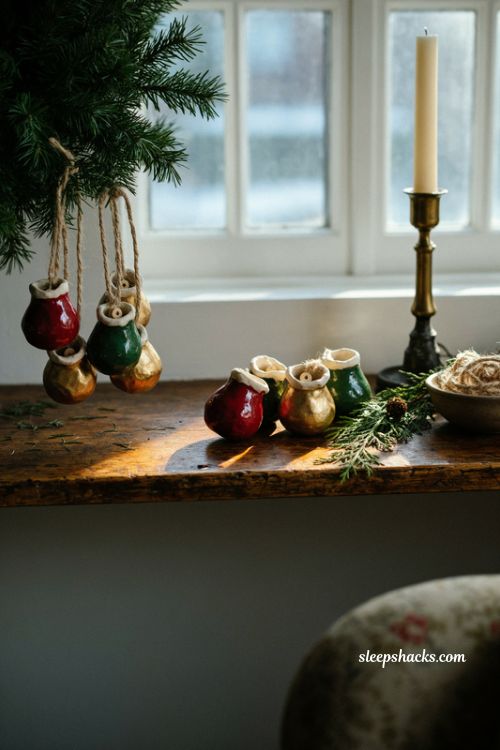
A small pinch pot flipped upside down becomes a charming little bell. Roll a ball of clay about the size of a walnut, press your thumb into the center, and pinch the walls up evenly until they’re thin and rounded. Poke a hole through the top and thread a loop of cord for hanging.
Add a clay clapper made from a tiny ball on a string, and it will make a soft chime when the tree is brushed. Glaze the outside in rich red, deep green, or soft gold, and keep the inside unglazed so the sound stays clear. They’re a lovely beginner project, especially for kids, since pinching is forgiving and every bell turns out slightly different.
8. Gift Tag Ornaments
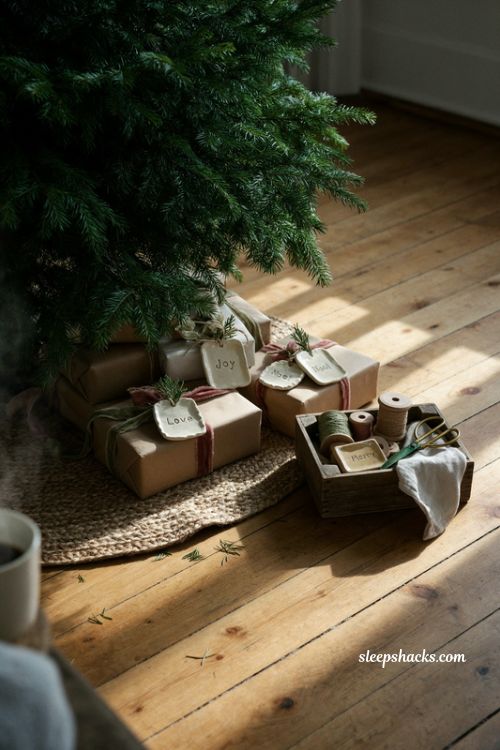
A ceramic gift tag is a present on top of a present. Cut small rectangles or scalloped rounds, press a word like Joy, Noel, or a name into the surface, and punch a hole for ribbon before the clay dries. Each tag becomes a keepsake that the recipient can later hang on their own tree.
Make them in a limited palette so a pile of wrapped gifts looks cohesive under the tree. Tie them on with velvet ribbon, jute twine, or a snippet of evergreen. They cost far less than a store-bought ornament, and people tend to be touched by something made by hand, even when it’s small and a little uneven.
9. Celadon and Blue Glazed Ornaments

Soft celadon and ocean blue glazes pool in the recessed parts of a design and lighten on the raised parts, which gives even a simple ornament a sense of depth. Carve or press a snowflake, a bird, or a swirling pattern into the clay, and let the glaze do the shading for you.
Hang these in a group against a white or silver tree and they feel like a winter morning. Apply the glaze evenly, two or three coats, and wipe the bottom edge clean so the piece doesn’t stick to the kiln shelf. A little extra care here protects both your ornament and your kiln furniture, and silver ribbon pairs beautifully with the cool tones.
10. Woodland Animal Silhouettes
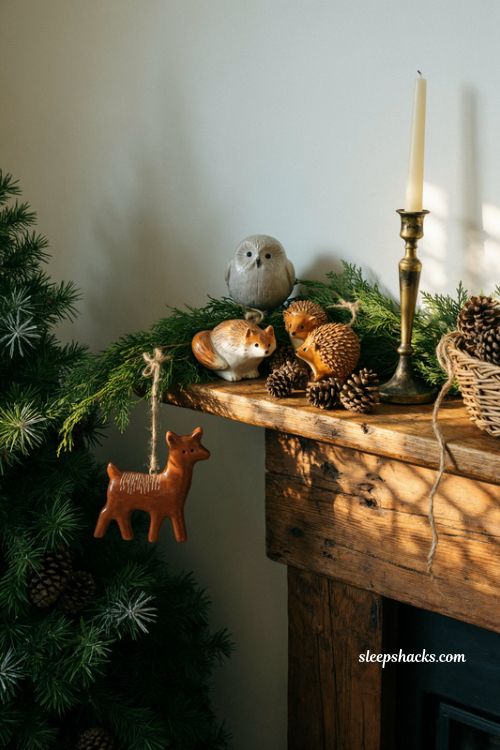
Deer, foxes, owls, and little hedgehogs make wonderful tree companions. Use small animal cutters, or trace paper templates with a needle tool, and press tiny details like eyes and fur lines into the clay with a toothpick. A bit of texture goes a long way on a shape this small.
Glaze them in natural browns, creams, and warm grays so they look like they walked in from the forest. A tiny dot of black underglaze for the eye gives each animal a personality. Hang a few low on the tree, where children can spot them, and tuck others into a greenery garland on the mantel.
11. Cut-Out Lace Patterns
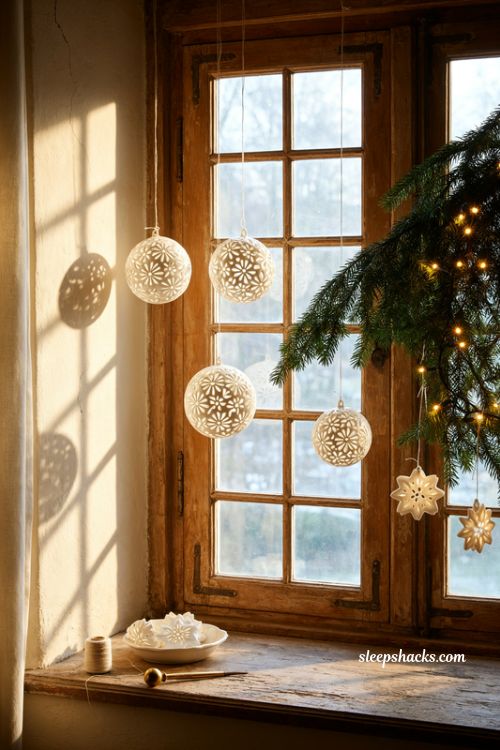
Pierced ornaments cast pretty shadows and feel delicate, almost like paper lace. Cut a round or star shape, then use a small circle cutter, a straw, or a needle tool to punch a pattern of holes through the center. Space the holes evenly and leave enough clay between them so the piece stays strong.
Hang these in front of a window or near tree lights, and the glow shines through the cutouts and dances on the wall. Handle the clay gently when it’s leather-hard, since thin bridges can crack if you rush. A clear or white glaze keeps the pattern crisp, and the finished piece looks airy without feeling fragile.
12. Gold Luster Accents
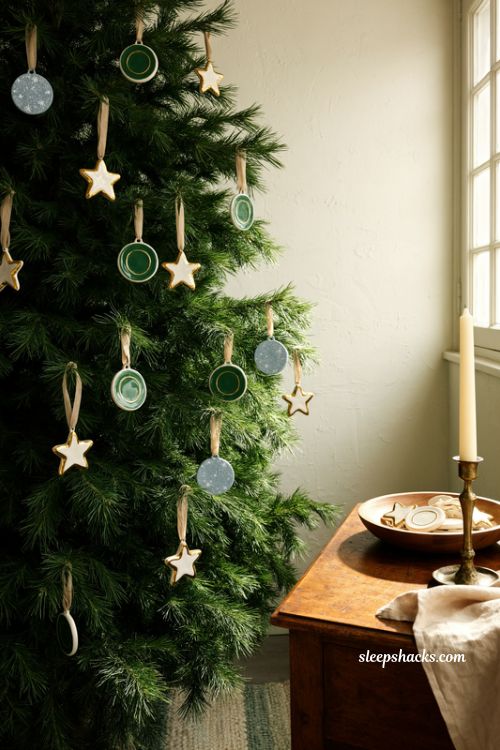
A touch of gold turns a plain ornament into something special. Luster is a thin metallic glaze applied over an already-fired glaze, then fired a third time at a lower temperature. Dab it along the edge of a star, paint a thin ring around a circle, or dot it across a snowflake.
Because luster is strong stuff, use a dedicated brush and keep the room well ventilated while you work. A little goes a long way, so apply thin, even coats, and mark your pieces carefully so you know which ones are ready for that third firing. Gold looks especially warm on white and deep green, while platinum gives a cooler shimmer on blue and gray.
13. Tiny Village Houses
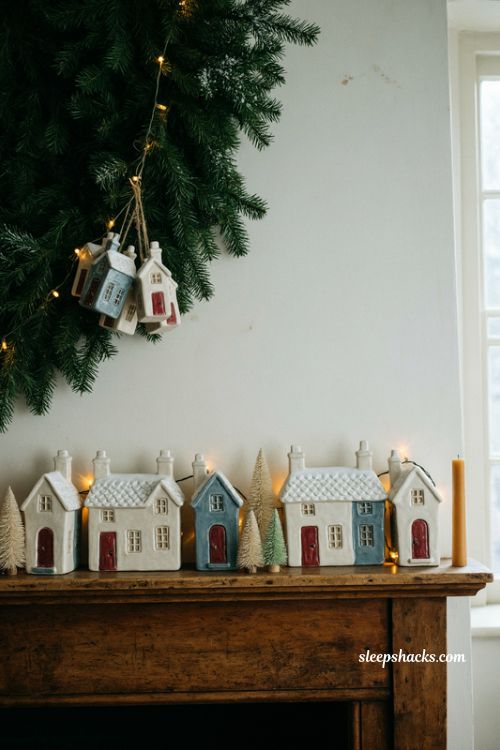
A set of small ceramic houses, each with a hole at the roof peak, makes a charming hanging village. Cut simple house shapes from a rolled slab, add little windows and doors with a toothpick, and press a shingle pattern into the roof. Each house can have its own character, from a tall chimney to a crooked door.
Glaze the walls in cream, soft blue, or muted red, and add a bit of white glaze on the roof for snow. Group them on a single branch to create the feeling of a snow-covered street. They also look lovely arranged on a mantel with a few mini trees and a string of warm lights.
14. Air-Dry Clay Alternative
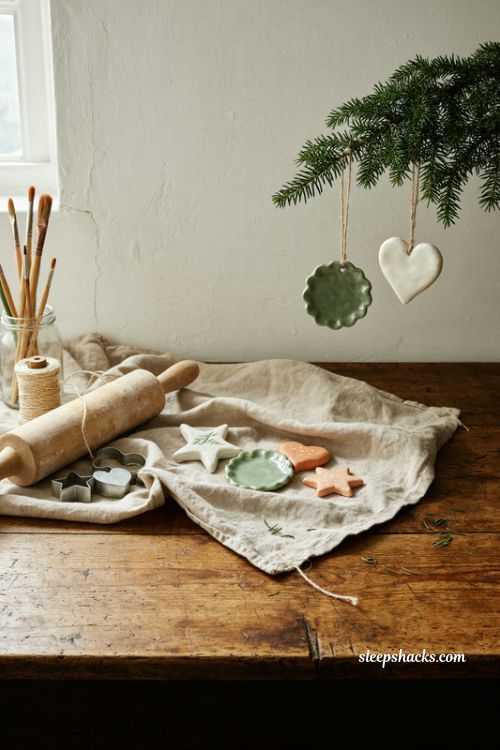
No kiln? No problem. Air-dry clay can be rolled, cut, and shaped the same way, and it hardens on its own in a day or two. It won’t be as durable as fired ceramic, but it makes a great stand-in for a first attempt or a project with kids.
Seal your finished pieces with a coat of clear acrylic or varnish so they resist moisture and dust, and paint them with acrylics once dry. Rolling the clay to an even quarter-inch thickness helps prevent warping as it dries. Handle with care, since air-dry pieces chip more easily than true pottery, and if you love the result, a local studio can help you move on to real firing.
15. Styling Ceramic Ornaments on the Tree
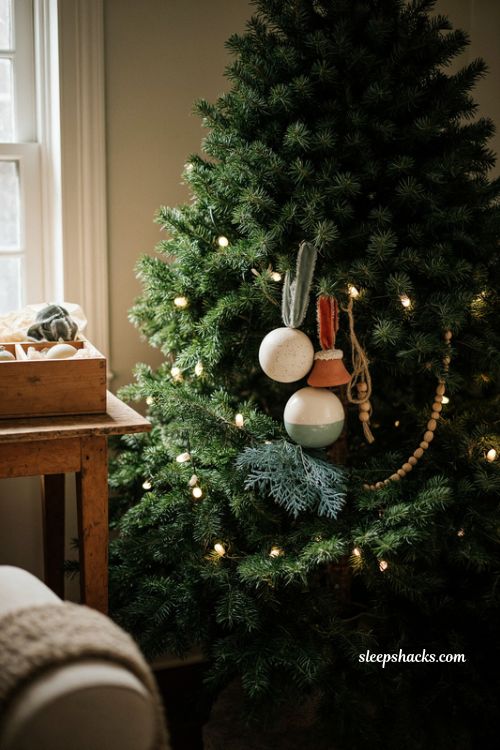
Ceramic ornaments are heavier than glass or plastic, so treat them kindly. Hang them on sturdy branches close to the trunk, where the limbs are strongest, and use a good loop of ribbon or twine rather than a thin wire hook. Cluster them in groups of three for impact, and mix sizes to create rhythm across the tree.
Surround them with lights, greenery, or plain wood beads so the glaze catches the glow. When the season ends, wrap each piece in tissue paper and store them in a divided box. Handmade pottery can last for generations, and the ones you make this year may become the ones your family fights over later.
Final Thoughts
There’s a strange thing that happens to a handmade ornament. The first year, it’s a craft project. A few years later, it’s a memory, and a few decades on, it’s a small piece of family history that holds the person who made it.
So here’s something worth thinking about: what will your tree say about you when somebody else is the one hanging these ornaments? Which shapes, glazes, or little imperfections will they remember? Pottery has a way of outliving the moment it was made in, and maybe the answer is already sitting in a lump of clay somewhere, waiting for a thumbprint.
Frequently Asked Questions
Q: How do you make ceramic ornaments at home?
A: Roll clay to about a quarter inch, cut your shapes, poke a hole for hanging, and let them dry slowly before firing in a kiln. Without a kiln, air-dry clay is a simple alternative.
Q: Do you need a kiln to make pottery ornaments?
A: For true ceramic you do, but many community studios will fire your pieces for a small fee. Air-dry or oven-bake clay works if you’d rather skip firing altogether.
Q: How thick should ceramic ornaments be?
A: About a quarter inch is the usual sweet spot for strength and weight. Thinner pieces can crack, and thicker ones may fire unevenly.