

If your Christmas decorations always feel a little flat once the tree is up, you’re not alone — a lot of people hit that same wall every December.
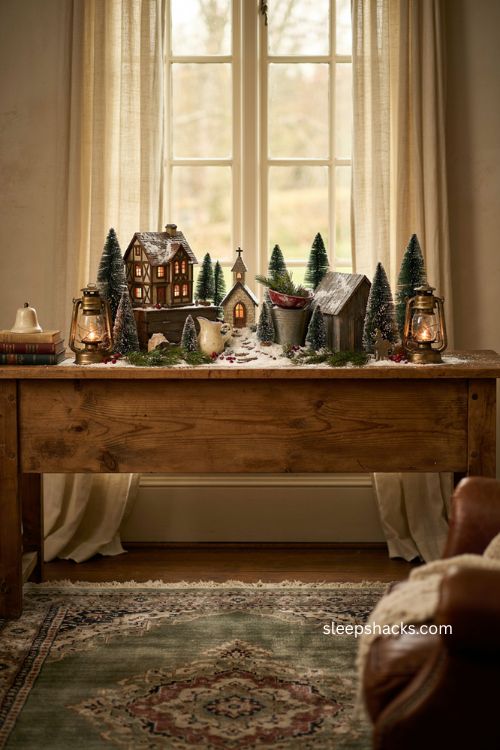
A snow village is one of the easiest ways to fix that, because it adds warmth, story, and little glowing windows to a space in a way string lights alone just can’t. You don’t need a huge collection or a perfect setup to make it work, either. Here are 20 ideas to help you build a display that feels genuinely charming, whether you’re starting with three houses or thirty.
1. Stick to One Brand or Scale
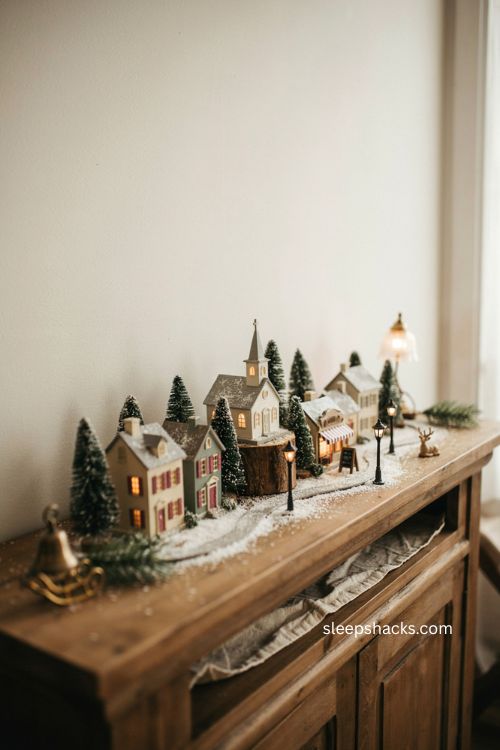
Before you buy anything else, decide on one village line or a consistent scale for your buildings. Different brands vary quite a bit in size and style, so mixing them without a plan can make your town look mismatched instead of cohesive. Popular collections like the classic Department 56 Original Snow Village work well because there’s decades of pieces available to add onto over time. Once you settle on one, every future purchase gets a whole lot easier to plan around.
2. Choose a Platform That Fits Your Space
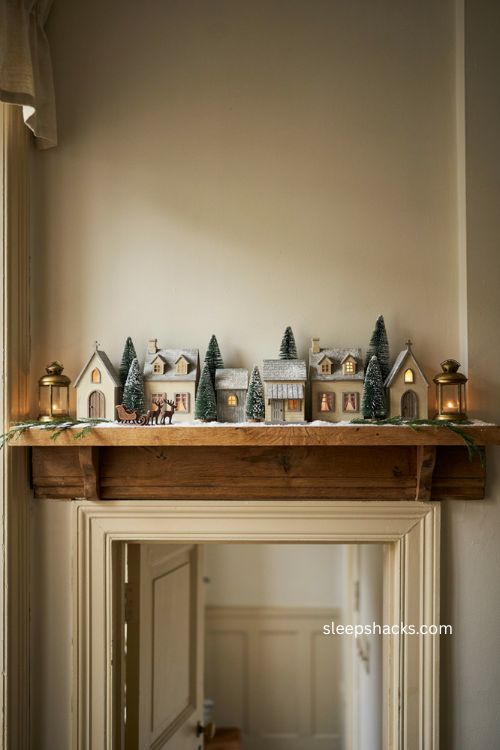
Not every home has an obvious spot for a village, so look around before committing to a layout. A mantel, a wide window ledge, or a single long shelf above a doorway all work beautifully, especially if there’s an outlet nearby for lighted pieces. Measure the space first so you know how many buildings will realistically fit without feeling crowded. The right platform does a lot of the heavy lifting before you’ve even added a single house.
3. Try a Ladder for a Rustic Vertical Look
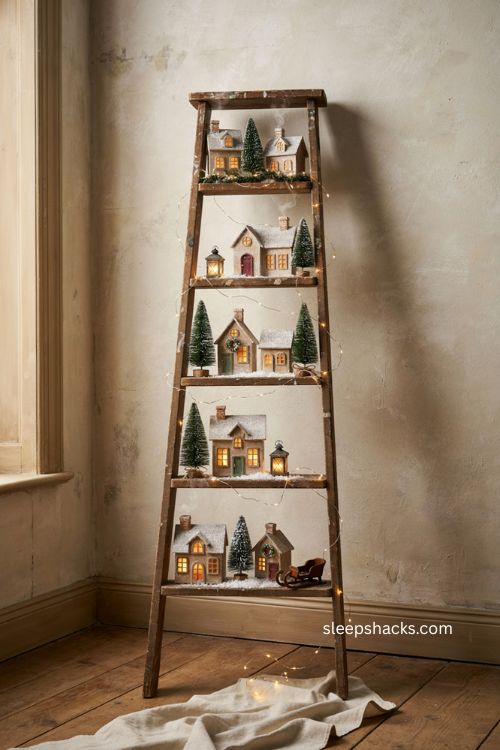
An old wooden ladder makes a surprisingly charming village base, especially if floor and shelf space are both limited. Drape each step with a bit of greenery or a thin garland, then place one or two buildings per rung so the scene reads clearly from a distance. A string of fairy lights wound around the frame ties each level together into one connected display. It’s an unexpected option that tends to get more compliments than a standard shelf.
4. Nestle the Village Under the Tree
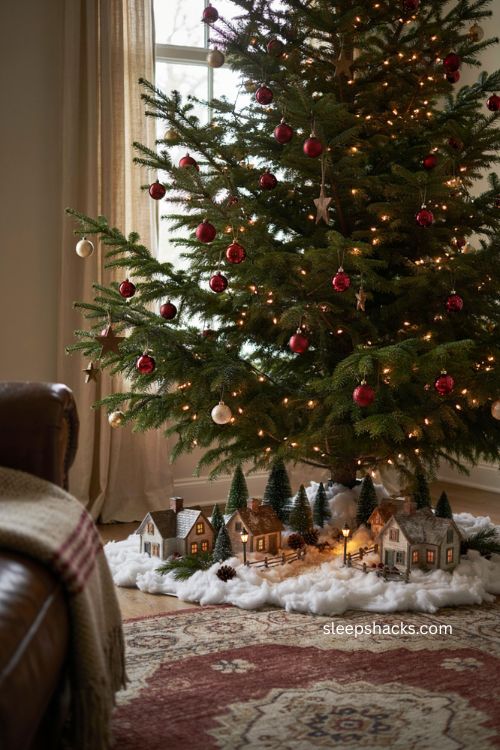
Setting your village beneath the Christmas tree is a classic move, and it works because the tree lights naturally cast a warm glow over the little houses. Tuck the buildings in among the lower branches so they look like part of the landscape rather than an afterthought scattered on the tree skirt. A layer of cotton batting or a snow blanket underneath softens the transition between the tree stand and the village itself. It’s an easy way to make the whole base of your tree feel finished.
5. Use a Window Ledge for Day-and-Night Charm
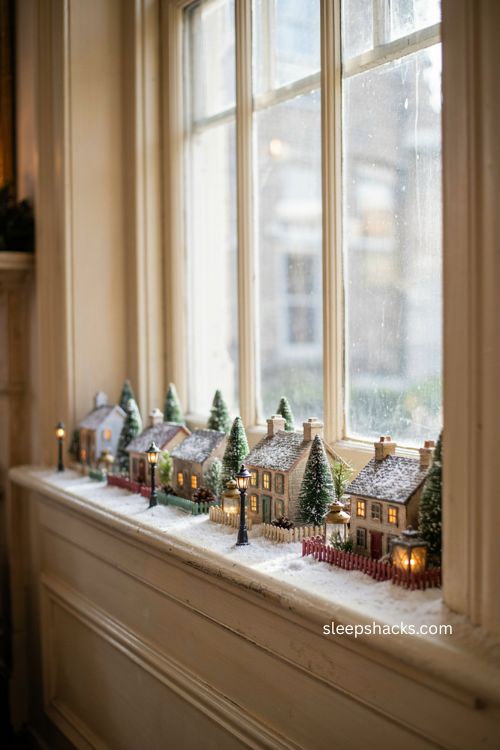
A window ledge gives your village double duty — it catches natural light during the day and glows warmly from inside once it’s dark out. Neighbors and passersby get to enjoy it too, which makes it feel a little more like a shared piece of the season. Keep the display fairly shallow so it doesn’t block too much light, and add a thin strip of snow fabric along the sill for texture. It’s one of the most overlooked spots for a village, and one of the prettiest.
6. Build a Tiered Shelf Display for Corners
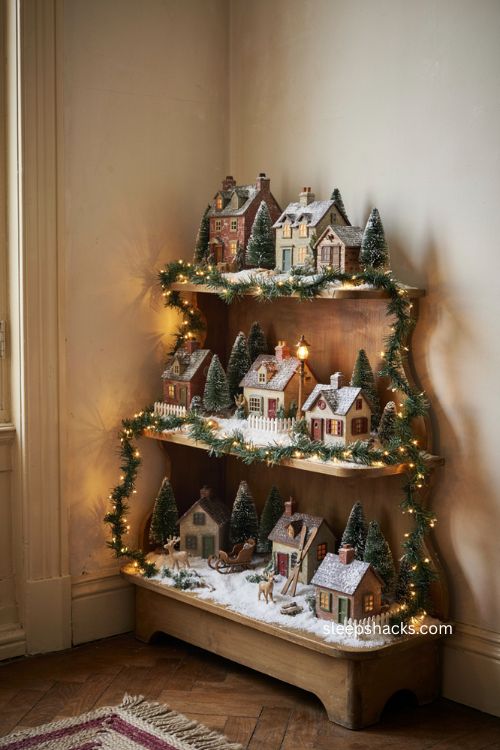
Corner shelving units are perfect for villages because they naturally create different levels without any extra construction. Place your tallest or most detailed buildings on the top tier and let smaller accessories fill in the lower shelves. Wrapping a faux pine garland around the outer edge of each tier helps visually connect the levels into one continuous scene. This setup is also great if you’re short on floor space but still want real depth to your display.
7. Unify Everything With a Snow Base
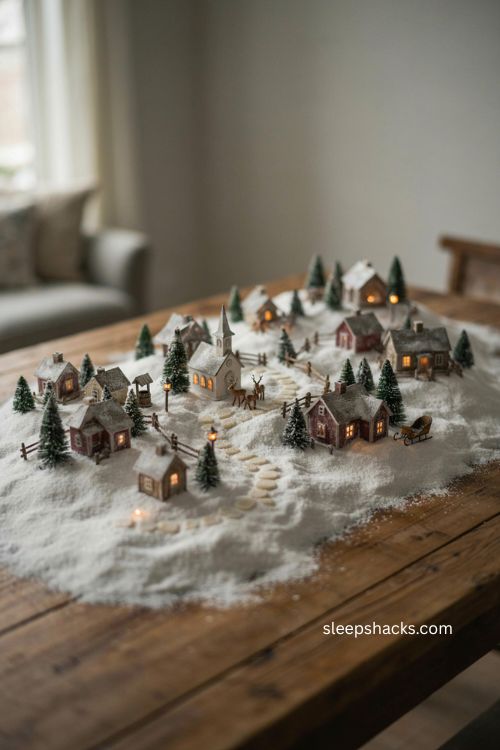
Whatever platform you choose, a consistent base ties the whole scene together. Cotton batting, fleece, or plain white fabric batting from a fabric store all work well and can be cut to fit any surface. If you want something a little sturdier, a styrofoam base lets you carve gentle hills and slopes right into the foundation. Either way, avoid leaving bare shelf or table showing between buildings — that’s usually what makes a village look unfinished.
8. Add Roads and Elevation for Realism
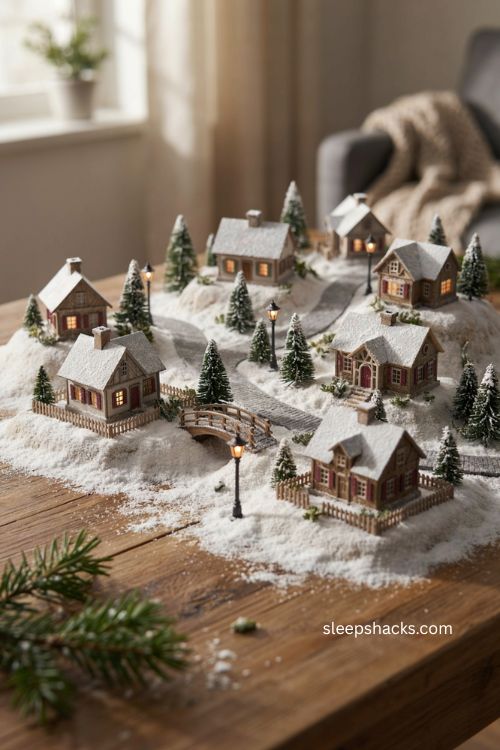
A completely flat village can start to look static, so bring in some elevation using small boxes or wood blocks tucked underneath your snow fabric. For roads, a plastic brick-road roll or a strip of gray felt gives buildings a clear sense of place instead of floating in empty snow. Curve the road slightly rather than keeping it razor straight, since that reads as far more natural. These two small additions do more for realism than almost anything else on this list.
9. Pick a Color Palette or Theme
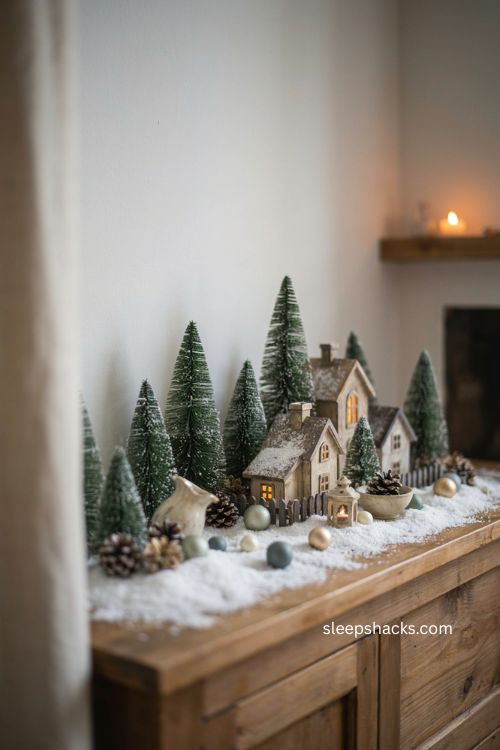
Deciding on a color story — classic red and green, a moody black and white, or a soft earthy neutral palette — keeps a growing collection from feeling chaotic. A black-and-white village makes glowing windows pop dramatically against the dark backdrop, while an earthy palette with wooden houses and pinecones feels warmer and more rustic. Whatever you land on, let that palette guide your future accessory purchases too. Consistency here matters more than any single piece you buy.
10. Replace Old Light Cords for Safety
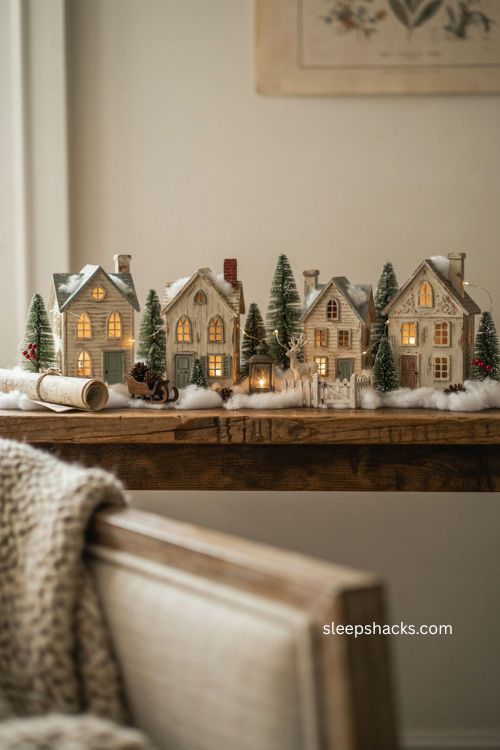
If you’re buying secondhand pieces, which is common and budget-friendly, check every light cord and bulb before your first setup each year. Older wiring can be a fire hazard, and mismatched bulb strengths make some houses glow far brighter than others. Swapping in fresh cords sized to the exact number of buildings on each shelf keeps things looking uniform and running safely. It’s a small upfront task that saves you a lot of stress once the display is finally up.
11. Add a Mirror for Extra Shine
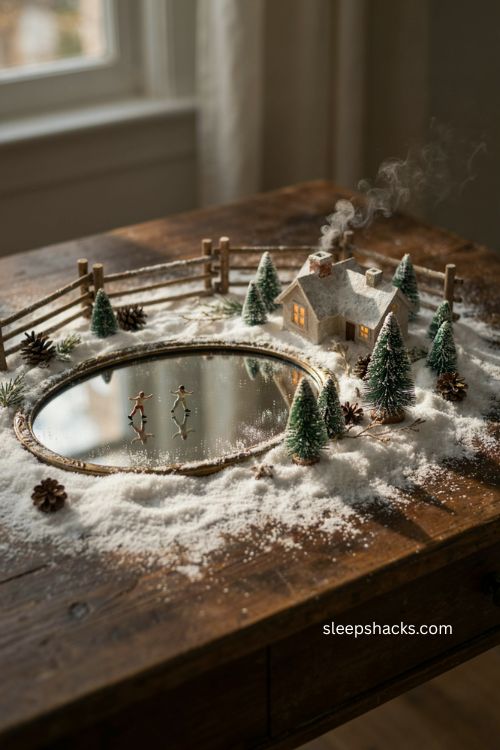
Tucking a small mirror into part of your village instantly adds brightness and a sense of depth, especially in a display with lots of dark wood or neutral tones. It can double as a stand-in for a frozen pond if you angle it near a cluster of trees or skaters. Dust the edges with a little fake snow so it blends into the scene rather than standing out as an obvious mirror. It’s a simple trick that makes even a compact village feel a bit grander.
12. Add Personal Touches to Your Town
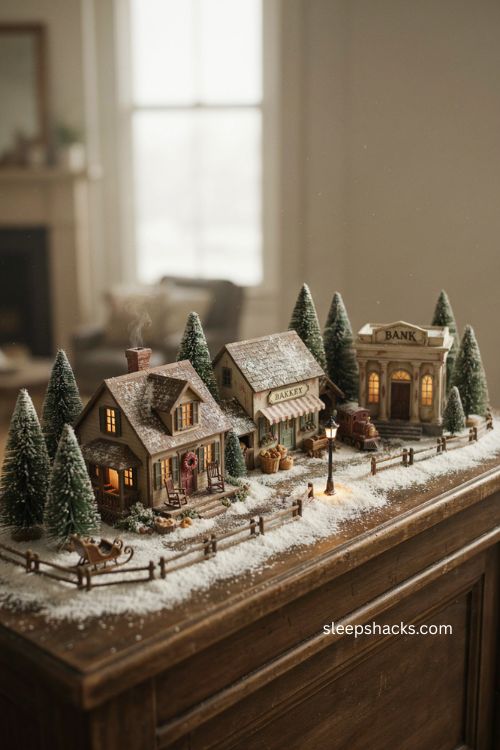
One of the most charming parts of building a village is choosing buildings that quietly represent your own life. A bakery for someone who loves to cook, a bank for a relative who worked in finance, a mansion named after a family member — these little details give your town a story beyond just being decoration. Guests genuinely notice and ask about pieces like this. It turns your village from a generic display into something that feels like it belongs to you specifically.
13. Use Timers So Lights Turn On Automatically
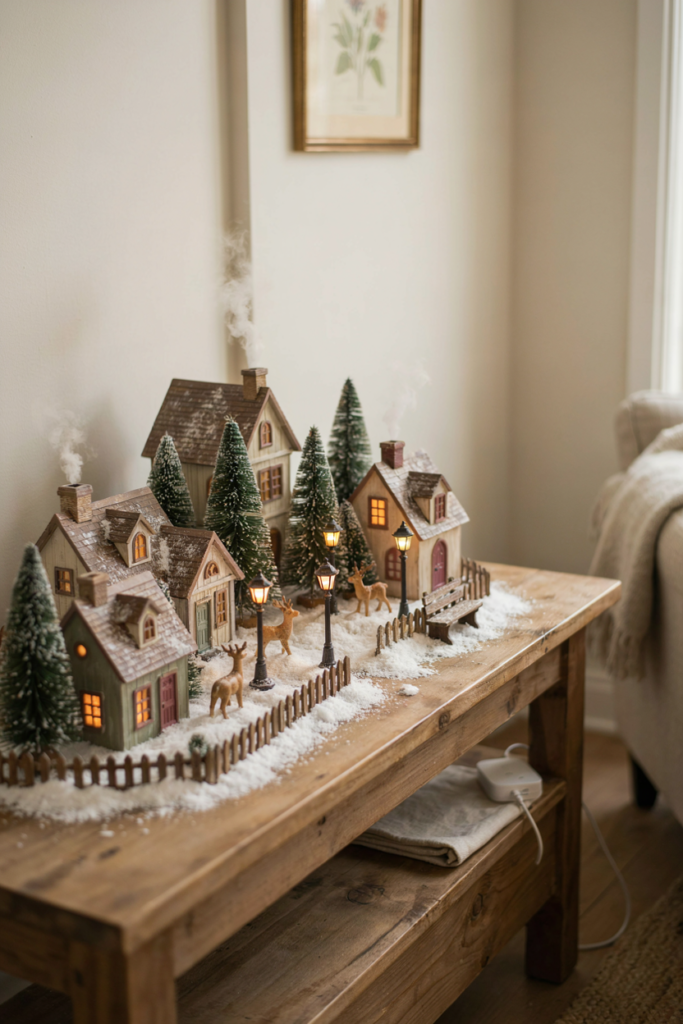
If your village has several lighted buildings, a simple plug-in timer saves you from flipping switches every morning and night. Set it to turn on for a couple of hours in the morning and again in the evening, so the glow lines up with when people are actually around to enjoy it. This also cuts down on wasted electricity from lights left on all day by accident. It’s a five-dollar fix that makes the whole display feel more polished and effortless.
14. Buy Pieces Secondhand to Grow Slowly
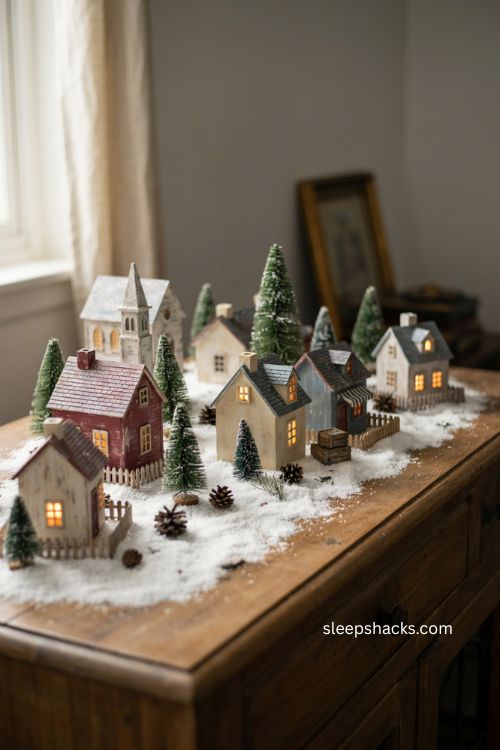
Village collecting can get expensive fast if you’re only buying new, so don’t overlook secondhand marketplaces for older or retired pieces. Many buildings from past decades show up there in great condition, often at a fraction of retail cost. Just budget a little extra for cleaning and possibly rewiring older lighted houses once they arrive. Growing your town gradually this way tends to feel more rewarding than buying an entire set all at once anyway.
15. Photograph Your Layout Before Packing It Away
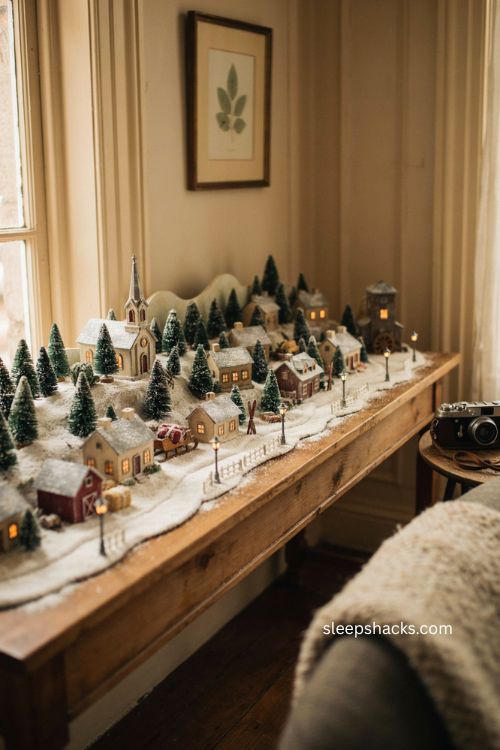
Once your village is finished and you’re happy with how it looks, take plenty of photos from a few different angles before the season ends. Next year, those photos save you from redoing all the guesswork about which building went where and how the roads were laid out. It also helps you spot gaps you might want to fill with a new piece over the following year. Future you will be genuinely grateful for the five minutes it takes.
Final Thoughts
A snow village isn’t really about how many buildings you own — it’s about the little glow it adds to a room once everything else is quiet and dark. Some of the most memorable displays are the smallest ones, built on a single shelf with just a handful of houses chosen with real care. Give yourself permission to start small and let the town grow naturally over the years, one building and one story at a time. That slow build is usually what makes it feel like a tradition instead of just another decoration.
Frequently Asked Questions
Q: What’s the easiest platform for a first Christmas village?
A single shelf or mantel is the easiest starting point, since it gives you a defined, stable space without needing extra construction or a large floor footprint.
Q: How do I keep a growing snow village from looking cluttered?
Stick to one brand or scale, choose a consistent color palette, and leave a little breathing room between buildings instead of packing every inch of the display.
Q: Is it worth buying secondhand Christmas village pieces?
Yes, secondhand pieces are often much more affordable than buying new, though it’s smart to check and replace older light cords and bulbs before displaying them.