

Christmas villages have this quiet way of pulling you in — one house on a shelf slowly turns into a whole miniature town, and before you know it, you’re rearranging streetlights at midnight trying to get the angle just right.
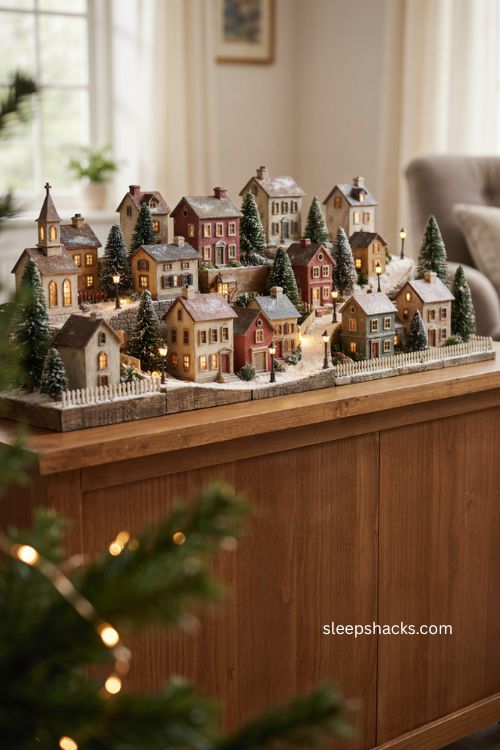
If you’ve ever stood in front of a box of tiny houses feeling completely unsure where to even begin, you’re definitely not the only one. The good news is that a great village display comes down to a handful of smart decisions made early, not endless trial and error. Here are 15 ideas to help you build a display that actually looks like it belongs in a magazine.
1. Decide Your Size Before You Buy Anything
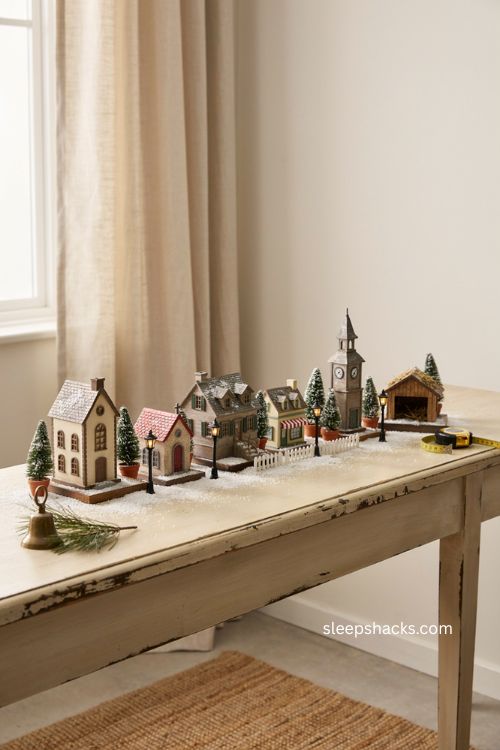
Before you pick up a single new house, figure out roughly how big your display needs to be. A sprawling landscape look calls for six to eight inches of breathing room around each building, while a tight, cozy town works with just one or two inches between pieces. Knowing your target size upfront keeps you from overbuying or ending up with a collection that doesn’t fit anywhere. Measure your intended space first, then shop with that number in mind rather than guessing as you go.
2. Choose the Right Platform for Your Space
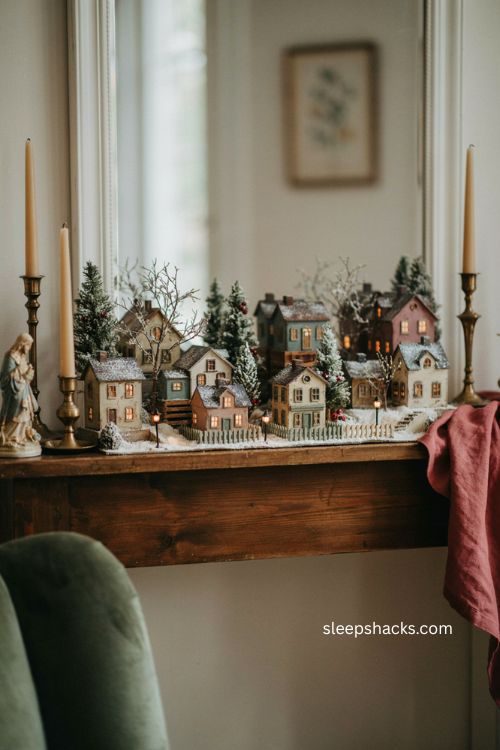
Where you put your village matters just as much as what’s in it. A mantel gives you a natural focal point, a bookshelf makes use of vertical space you’re not otherwise using, and a window ledge lets the display show from both inside and outside the house. For bigger collections, a full table or a sheet of plywood balanced on sawhorses gives you the flexibility to expand every year. Pick the platform first, then plan your buildings around the shape and size it actually offers.
3. Pick One Theme to Tie It All Together
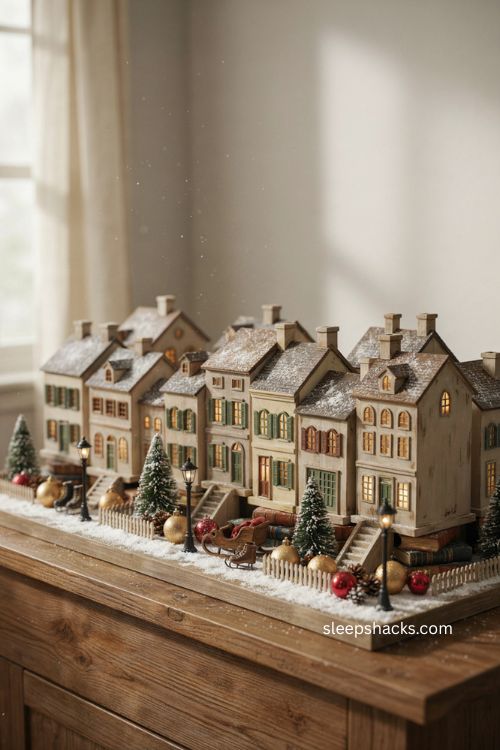
A village with no clear theme tends to look like a pile of houses rather than an actual town. Decide early whether you’re leaning Victorian, alpine, whimsical gingerbread, or a simple snowy Main Street, and let that choice guide every future purchase. Even a loose theme, like sticking to a white-and-gold color palette, gives your eye somewhere to land. You can always mix pieces from different collections later, but a unifying idea keeps the whole scene feeling intentional instead of accidental.
4. Sketch Your Layout Before Placing a Single House
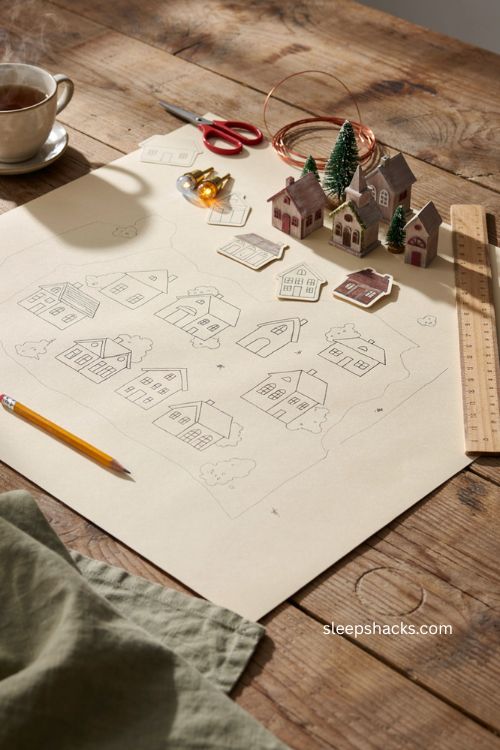
It’s tempting to just start setting houses down, but a rough sketch saves you from rearranging everything three times over. Trace the base outlines of your pieces onto paper, label each one, and move the paper cutouts around until the flow feels right. This step also helps you spot where wiring needs to run and which buildings should anchor the front versus the back. Five minutes of planning here can save you an entire evening of second-guessing later.
5. Plan Electrical Access Before You Commit to Placement
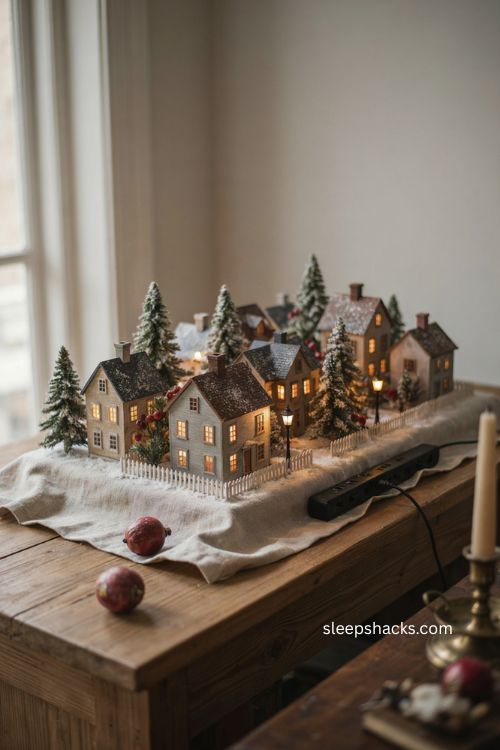
If any of your buildings light up, figure out where your outlets, surge protectors, or extension cords need to sit before you glue down a single sheet of snow. Place lighted houses in spots where cords can run discreetly along the back edge or underneath a white fabric base. It’s a lot easier to hide wiring during setup than to tear apart a finished display later because you forgot about a plug. A little foresight here keeps the whole scene looking clean and cord-free.
6. Build a Raised Base for a Multi-Level Look
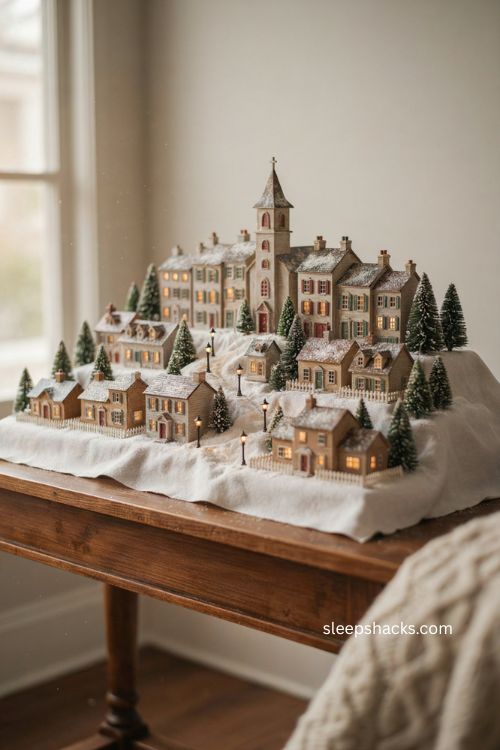
A completely flat village can start to feel one-note after a while, so raise a few buildings on small boxes, foam blocks, or wood scraps tucked underneath the base cloth. This creates the illusion of hills, elevation, and depth without much extra effort. Position your tallest buildings toward the back of the raised sections so nothing gets visually blocked. Even a subtle two-inch lift on a few key pieces makes the whole display read as more dimensional.
7. Create Realistic Ground Cover With Texture
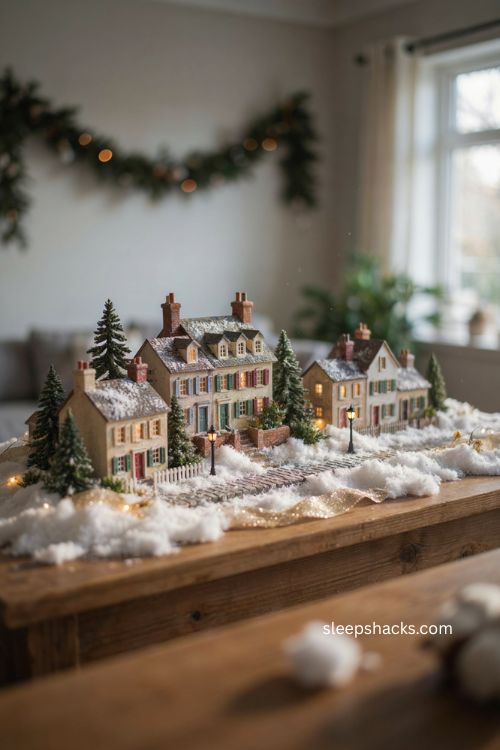
Skip the flat white sheet and layer in some texture instead — think soft fleece for snowdrifts, cotton batting for a cozy look, or a glittery fabric for extra shimmer under lights. A spray-painted piece of cardboard works just as well if you’re keeping costs down. For roads, a brick or cobblestone-patterned mat adds instant realism without needing to paint anything by hand. These small ground-level choices do a lot of the heavy lifting for how finished the display feels.
8. Place Your Largest Houses First
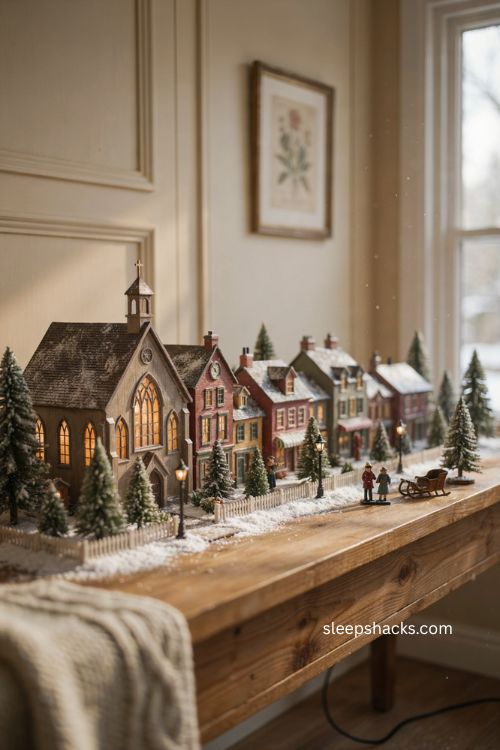
Once your base is ready, start with anything that needs to be plugged in, since that dictates your wiring path. From there, place your largest buildings first and work down to the smaller ones, filling gaps as you go. Saving accessories for last keeps you from boxing yourself into an awkward layout. This order also makes it much easier to judge spacing, since big structures take up more visual weight than you might expect on paper.
9. Add Roads and Pathways for Movement
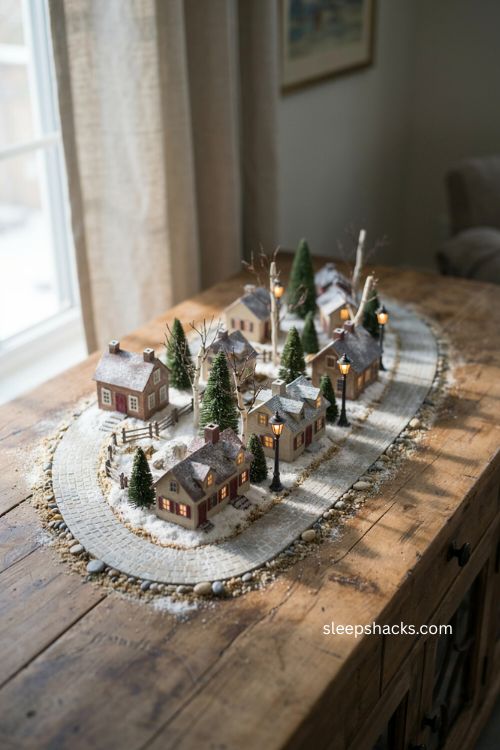
A village without any roads can feel oddly frozen in place, even with dozens of buildings. Lay out simple pathways using small stones, aquarium gravel, or even sawdust near farm-style buildings for a more rustic feel. Curving the road slightly rather than keeping it perfectly straight makes the whole layout feel more like a real, lived-in town. It also gives your eye a natural path to follow from one side of the display to the other.
10. Layer in People, Animals, and Small Accessories
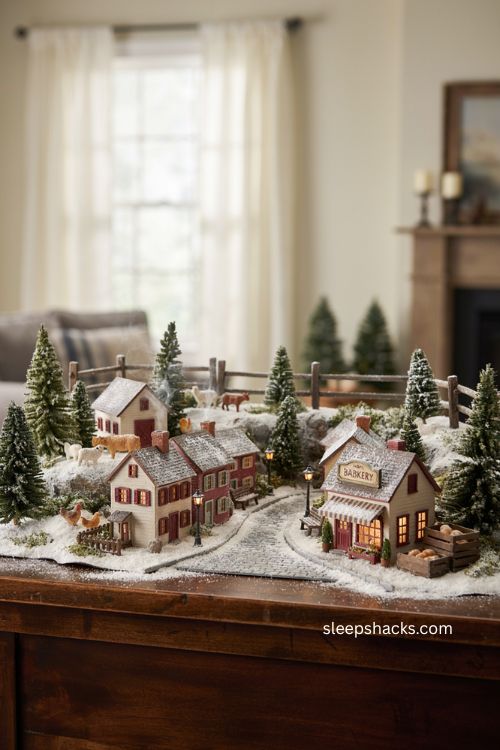
Once your buildings are in place, bring the scene to life with figurines, benches, streetlights, and a few animals scattered along the road. These little details are what stop a village from looking like an empty row of houses. Add them gradually and step back often — it’s easy to overcrowd a display once you start layering in extras. A few well-placed pieces, like a family walking near a bakery, tell a much better story than a dozen scattered without purpose.
11. Add a Backdrop for Extra Depth
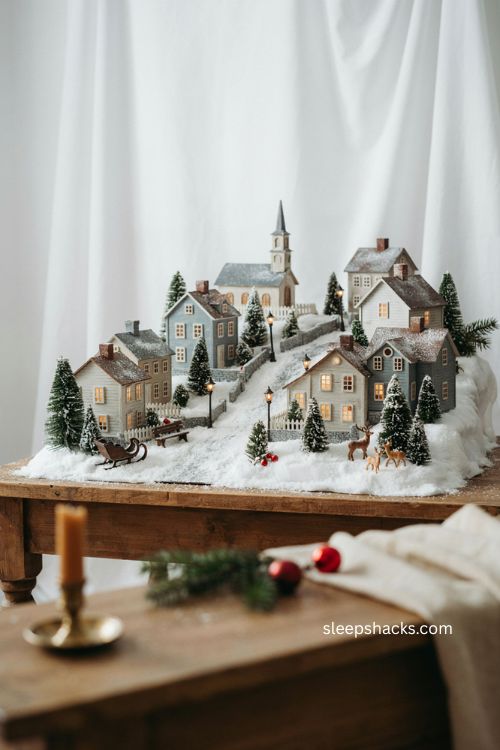
A plain wall behind your village can flatten the whole effect, so consider adding a simple backdrop instead. A soft white fabric reads as a snowy sky, while a dark backdrop dotted with tiny lights can mimic a starry winter night. If you’re after something dramatic, a painted mountain range or a strip of enlarged photos creates a real sense of scale behind the scene. Even a plain sheet in the right tone makes your houses pop instead of blending into the wall.
12. Use a Mirror for a Bigger, More Dramatic Scene
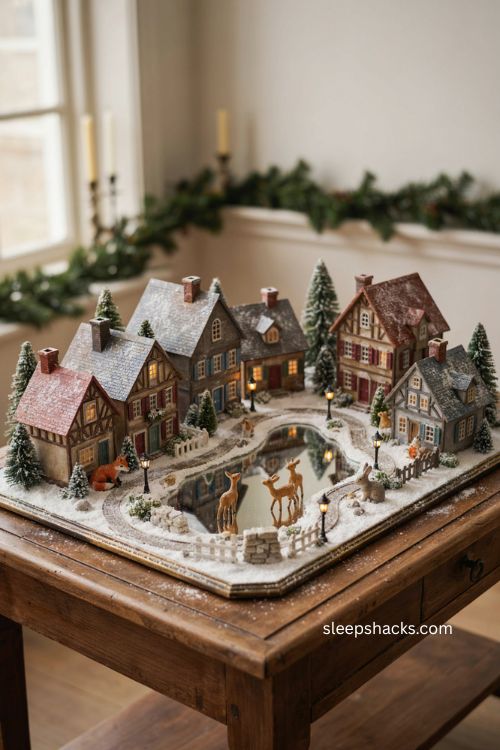
If your village feels smaller than you’d like, tuck a mirror into part of the layout to visually double the space. A mirror also works beautifully as a stand-in for a frozen pond or river running through your town. Angle it carefully so it reflects buildings rather than empty wall space, and dust the edges with a bit of fake snow to blend it into the scene. It’s a simple decorator trick that makes a modest collection look far more impressive.
13. Add a Moving Element Like a Train
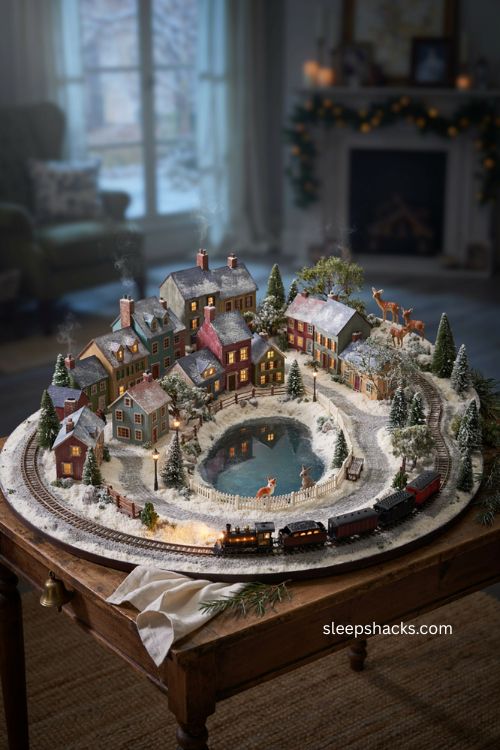
A small train circling the outer edge of your village brings a completely different kind of energy to the display, especially once the lights are low. Ice skaters gliding across a mirrored pond or a tiny carousel spinning near the town square work just as well if a train doesn’t fit your space. These animated touches draw the eye and give visitors a reason to linger a little longer over the details. Just be sure to plan the track or motion path into your layout sketch from the very beginning.
14. Finish With Snow and Lighting Details
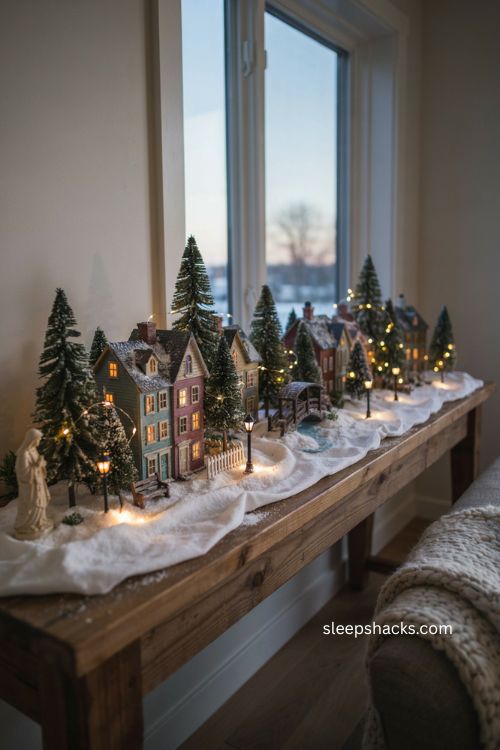
Once everything is placed, go back through and add the finishing touches — a light dusting of snow spray on tree branches, cotton batting piled at the base of buildings, and a few strands of warm white lights woven through the scene. String lights underneath the base cloth for a soft glow that seems to come from the ground itself. These final layers are what separate a good village from one that genuinely looks like a snapshot of a winter evening. Take your time here; it’s the step most people rush.
15. Grow Your Collection Without Overspending
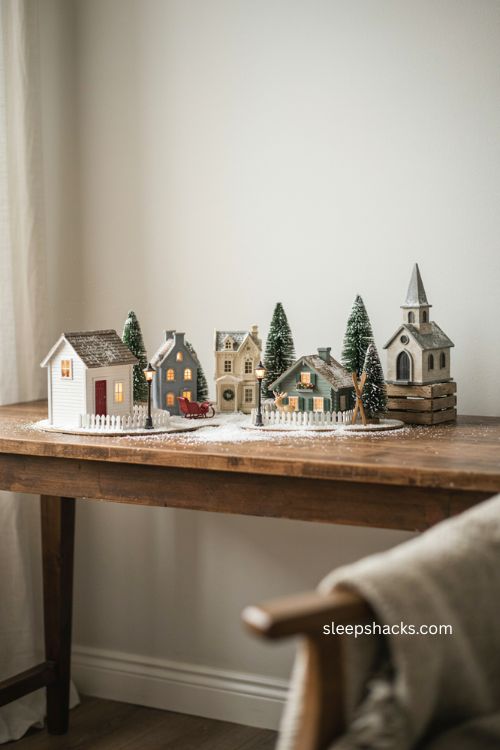
Christmas village pieces add up fast, so build your town gradually instead of buying everything at once. Watch for clearance sales, check secondhand shops, and treat new pieces as a slow yearly tradition rather than a one-time purchase. A smaller, thoughtfully arranged village almost always looks better than a rushed, oversized one bought all in a single season. Give yourself permission to let the display grow a little every year.
Final Thoughts
There’s a reason people get so attached to their Christmas villages — they’re one of the few decorations that genuinely change and grow with you over time. Start small if you need to, focus on getting the layout and base right before worrying about every tiny accessory, and let the rest fill in over the years. The little houses will still be there next December, ready to come back out of storage and remind you exactly why you started this in the first place. Sometimes the simplest setups end up being the ones you love the most.
Frequently Asked Questions
Q: What’s the first step in setting up a Christmas village?
Start by deciding on the size of your display and choosing a platform, like a mantel or table, since those two decisions shape everything else about your layout.
Q: How do I make my Christmas village look more realistic?
Stick to one theme, add texture to your ground cover, and layer in accessories like figurines, streetlights, and pathways so the scene feels lived-in rather than staged.
Q: How can I set up a Christmas village on a budget?
Buy pieces gradually during sales or clearance events instead of all at once, and focus your money on a few key houses rather than filling every gap right away.