

There’s a particular kind of satisfaction in stepping back from a finished wreath or garland and realizing the bow on it is something you actually made yourself.
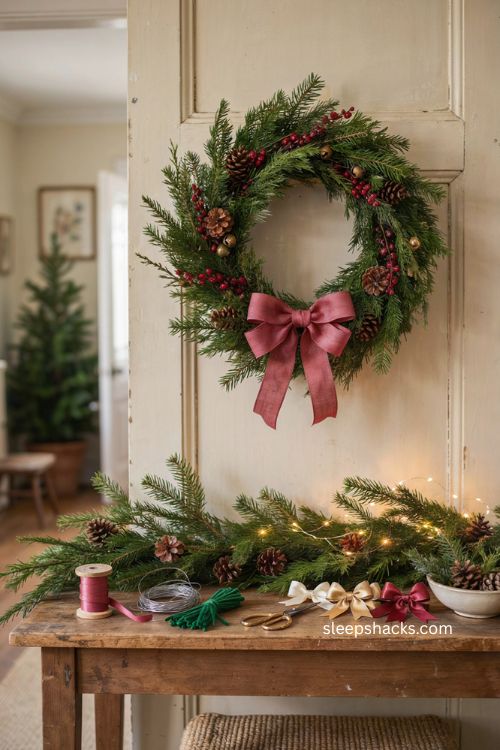
A spool of wired ribbon, a little wire or a handful of pipe cleaners, and maybe twenty minutes is really all it takes to get there. These christmas bows diy ideas cover everything from quick single-loop styles to big, fluffy statement bows, so there’s a version here no matter how much time or ribbon you’ve got on hand.
1. Start With Wired Ribbon
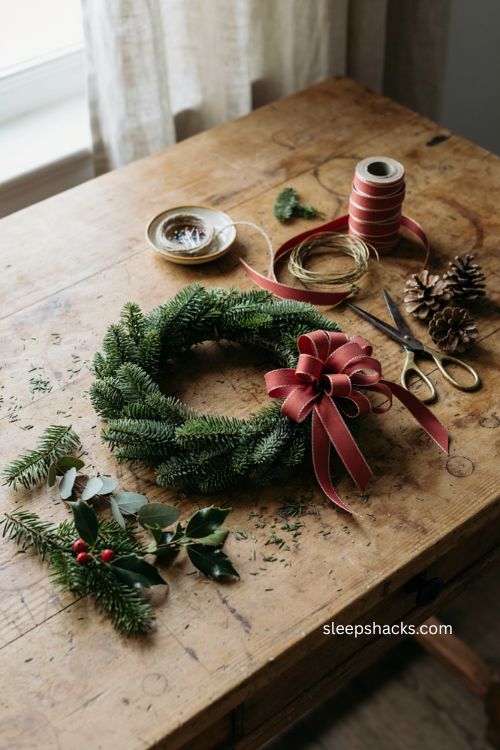
Almost every good DIY bow tutorial comes back to the same tip: use wired ribbon. It holds its shape through the whole process and keeps bending exactly where you want it, instead of flopping around like plain ribbon does. If you’re new to bow-making, this one material choice will save you more frustration than any technique.
2. Make Simple Stapled Loops
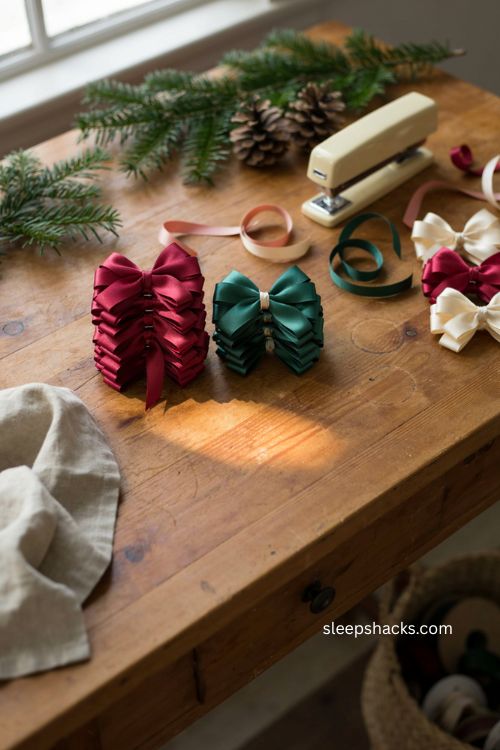
Cut wired ribbon into equal lengths, then staple the ends of each piece together to form a loop — no glue gun required. Stack a few loops on top of each other, lined up evenly, and you’ve already got the core of a bow. It’s a method that works especially well if you’re making a big batch at once, since you can staple all your loops before assembling a single bow.
3. Add a Long Tail Piece
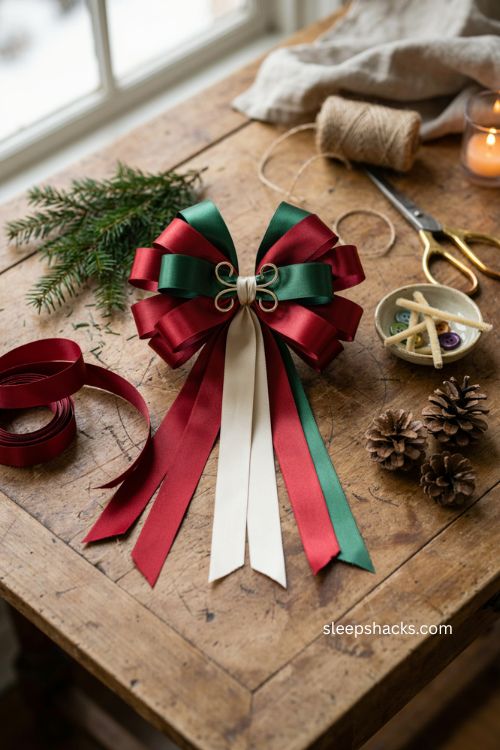
A bow feels more finished once you add a longer strip of ribbon as the tail. Center it underneath your stack of loops so it hangs evenly on both sides, then secure everything together with a pipe cleaner or floral wire wrapped tightly around the middle. That single tail piece is often what separates a flat cluster of loops from something that actually reads as a bow.
4. Build the Classic Fold-and-Wrap Bow
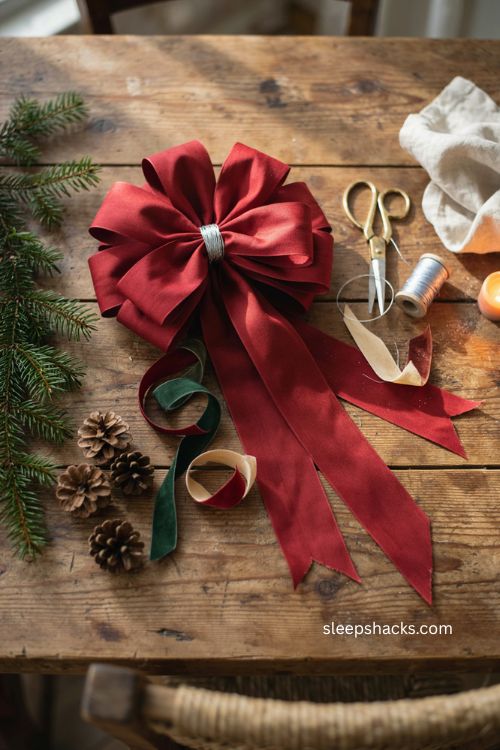
For a fuller shape, lay a long piece of ribbon flat, then fold one side over and pull the other side across it to build the base of the bow. Add a smaller loop on top, scrunch everything together in the center, and wrap wire tightly around that pinch point. This method takes a little practice to get the hang of, but it produces a noticeably bigger, more dramatic bow.
5. Layer Extra Loops for a Fluffier Look
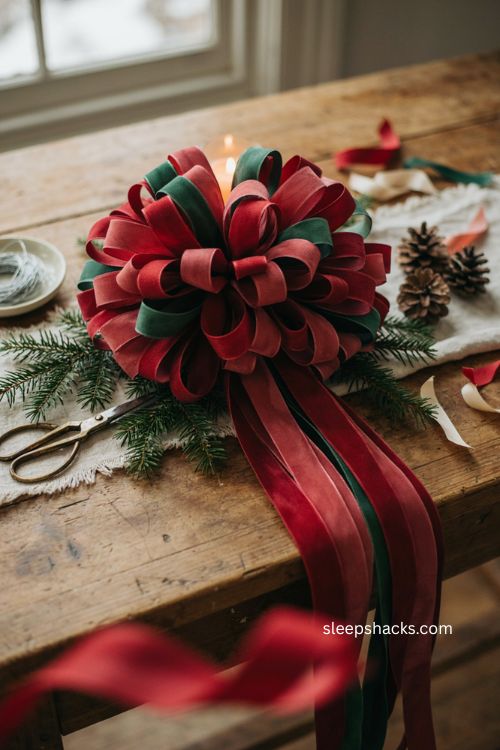
If your first attempt looks a little flat, don’t be afraid to add more. Building up additional layers of loops, turned and adjusted as you go, is the easiest way to make a bow look fuller and more dimensional. There’s really no limit here — the more layers you add, the poofier the finished bow gets.
6. Hide the Wire With Ribbon
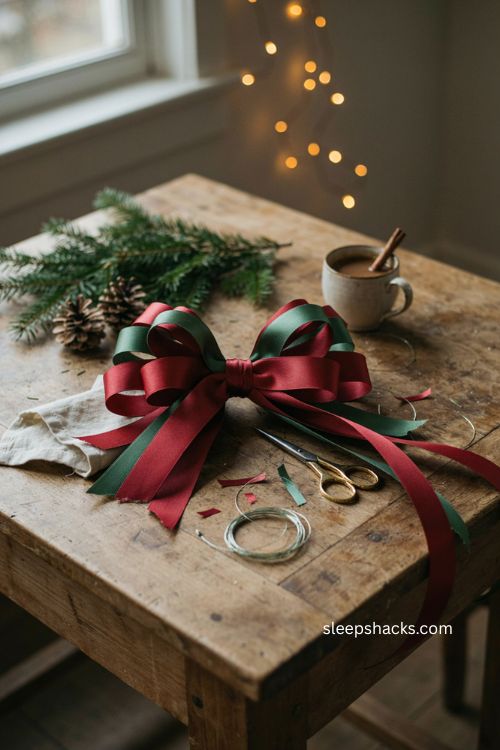
Once your bow is assembled, the wire or pipe cleaner holding it together is usually still visible at the center. Wrap a small scrap piece of ribbon around that spot and secure it with more wire or a dab of hot glue to hide it completely. It’s a small step, but it’s what makes a bow look store-bought instead of homemade.
7. Cut a V-Shape Into the Tails
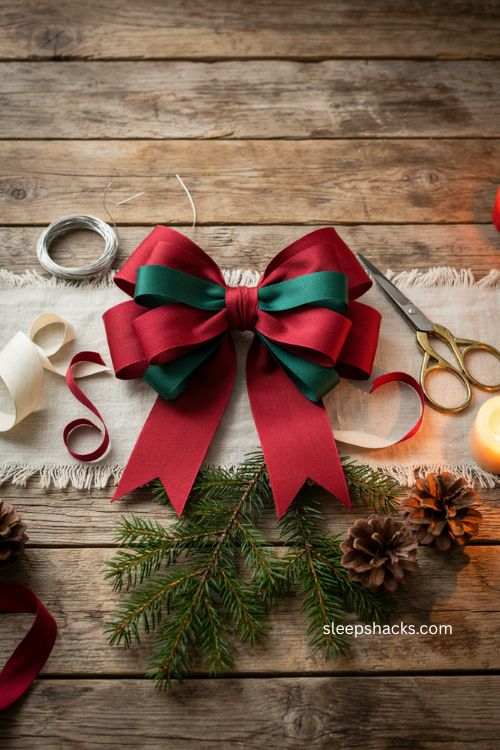
Fold the ends of your ribbon tails in half and snip at an angle to create that classic upside-down V shape. This one detail instantly makes a DIY bow look more polished and finished. Skip it and the tails just look cut off; add it and the whole bow reads as intentional.
8. Choose Plaid for a Festive Look
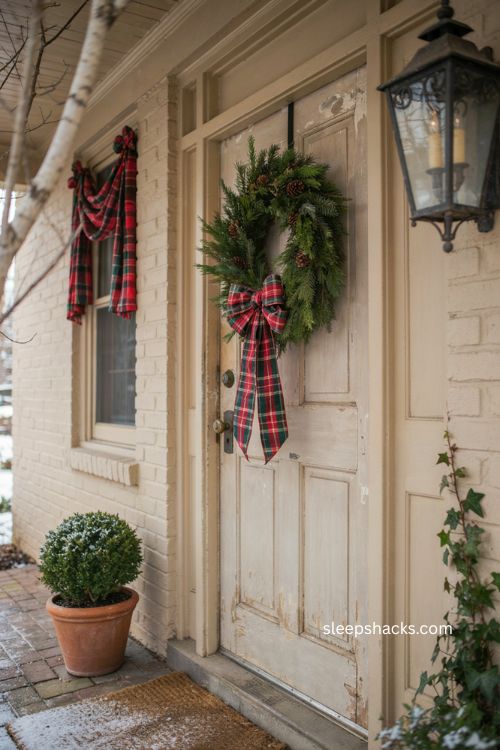
Plaid ribbon might be the most classic choice for Christmas bows, and red-and-green tartan in particular feels instantly festive. It pairs naturally with greenery, wreaths, and window swags, and it photographs beautifully against most exterior paint colors. If your home’s color scheme changes, swapping to a new plaid ribbon is an easy, affordable way to update the look without starting over.
9. Try Burlap for a Natural Feel
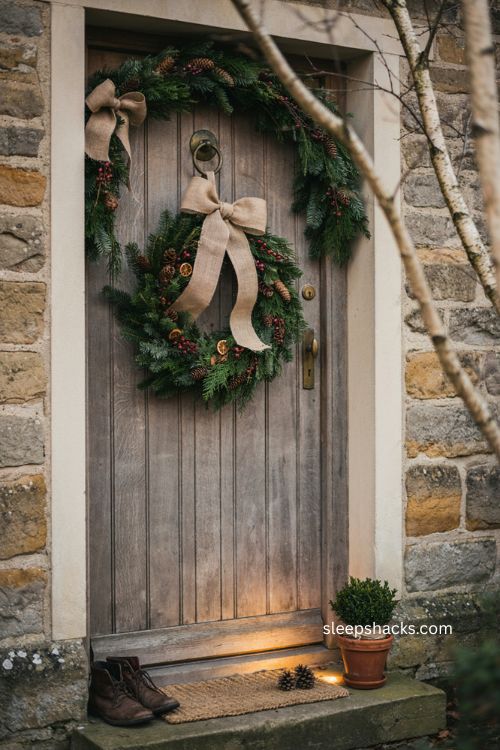
Burlap ribbon brings a completely different texture to a DIY bow — more rustic, more relaxed, and especially nice paired with natural greenery. It works well on outdoor wreaths and swags where a shinier ribbon might look out of place. The slightly rough, woven texture also holds up well against wind and weather.
10. Size Up for a Tree Topper
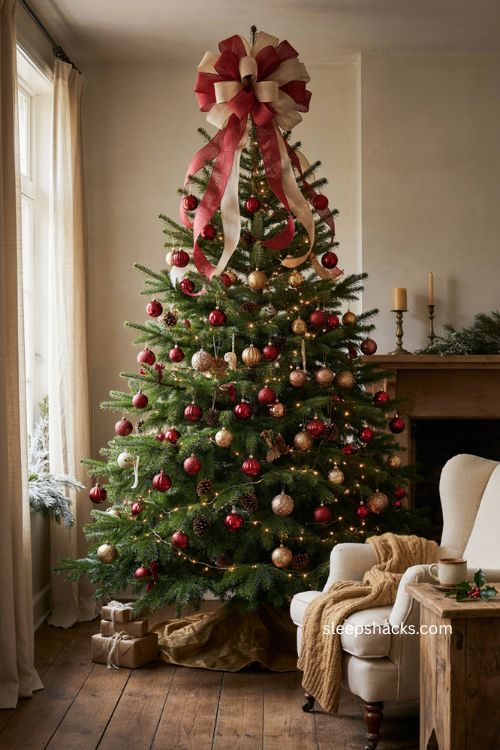
A fluffy handmade bow makes a genuinely striking tree topper, and it’s one of the easiest ways to skip the traditional star altogether. Use several long pieces of ribbon for extra, longer tails on a full-size tree, or scale everything down for a smaller tabletop tree. Either way, the bow becomes an instant statement piece at the very top.
11. Make a Batch for the Whole Tree
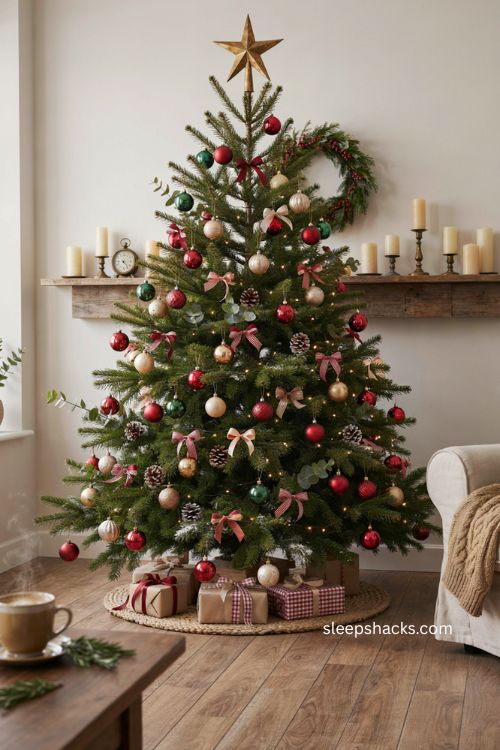
Once you’ve got the technique down, making a whole set of bows for the tree branches goes surprisingly fast. Smaller versions tucked in among the ornaments fill empty spots without adding a ton of extra decor. Running an ornament hook through the back of each bow makes hanging them on the tree just as easy as hanging any other ornament.
12. Decorate a Wreath With a Handmade Bow
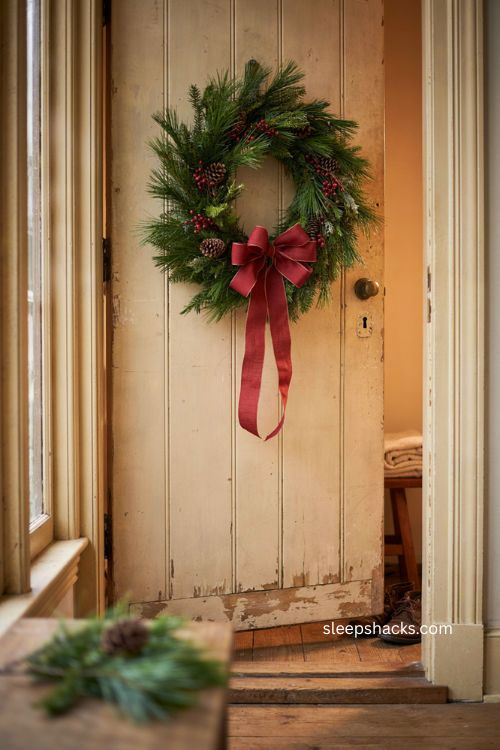
A DIY bow attached to the front of a store-bought or homemade wreath instantly makes it look more custom. Floral wire, a twist tie, or a pipe cleaner threaded through the back is all you need to attach it securely. This is also one of the easiest ways to refresh an older wreath without buying a whole new one.
13. Dress Up Stair Garland
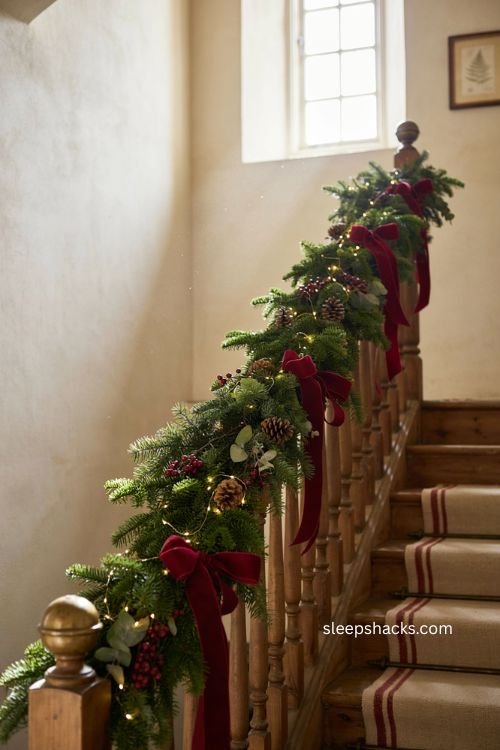
Large handmade bows spaced along a stair railing garland add a classic, polished look that’s surprisingly simple to pull off. Pair them with warm white lights woven through the greenery for the full effect. A few evenly spaced bows down the banister go a long way toward making a staircase feel dressed for the holidays.
14. Use Leftover Ribbon for Gift Wrapping
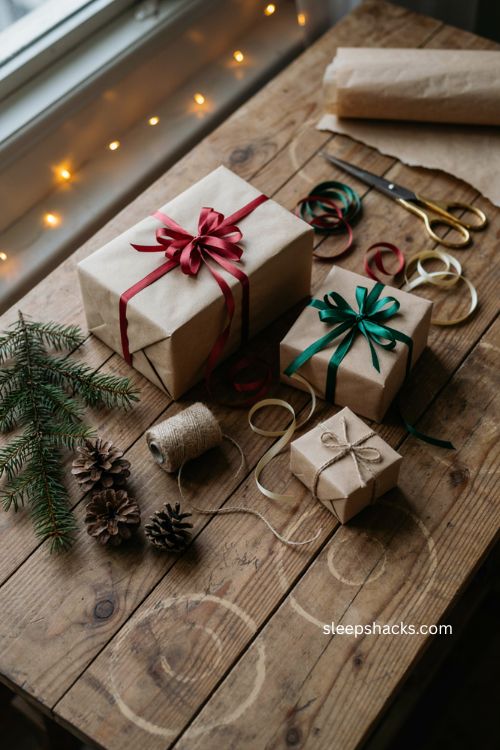
Any extra ribbon from your bow-making session doesn’t have to go to waste — it works just as well for wrapping presents. Follow the same basic steps, but instead of a tail, wrap the long piece around the box itself and secure the ends underneath. A matching bow on top ties the whole gift together with almost no extra effort.
15. Store and Reuse Your Bows Each Year
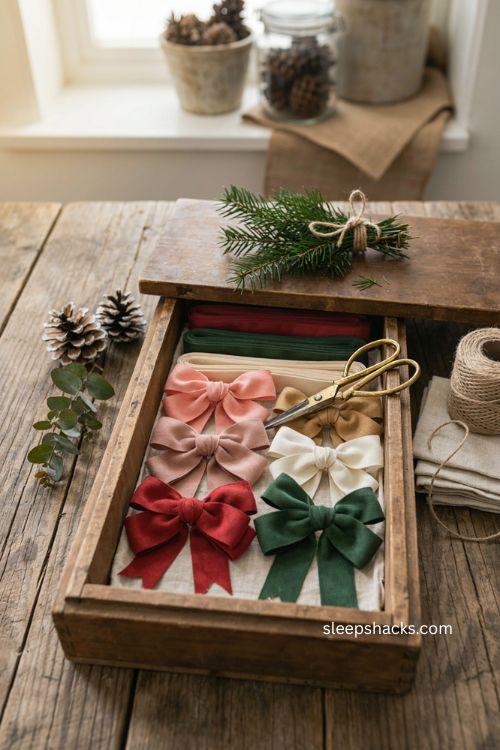
One of the best parts of making your own bows is that they don’t have to be a one-season investment. Untie them carefully at the end of the holidays, store them flat, and they’ll hold their shape well enough to use again the following year. Keeping a small stash of go-to bows on hand makes decorating each new season noticeably faster.
Final Thoughts
Handmade bows have this way of making even simple holiday decor feel a little more personal, and once you’ve made one, the rest really do come together fast. Don’t stress over getting every loop perfectly even — a slightly imperfect, fluffed-out bow almost always looks better than one that’s too stiff and precise. Wishing you a cozy season full of ribbon scraps, a little mess on the craft table, and decorations that feel like they’re truly yours.
Frequently Asked Questions
Q: What kind of ribbon is best for DIY Christmas bows?
Wired ribbon is the best choice since it holds its shape and can be bent and adjusted much more easily than plain ribbon.
Q: How much ribbon do I need to make one DIY bow?
A standard bow usually needs about three loop pieces around 16 inches each, plus one longer tail piece around 24 inches, though this varies by desired size.
Q: Can DIY Christmas bows be reused every year?
Yes, if untied carefully and stored flat, wired ribbon bows typically hold their shape well enough to reuse for several holiday seasons.