

Picture a porch lined with pumpkins, each one telling its own tiny story instead of the same triangle-eyed face you’ve carved every October for years. That’s the appeal of skipping the knife altogether.
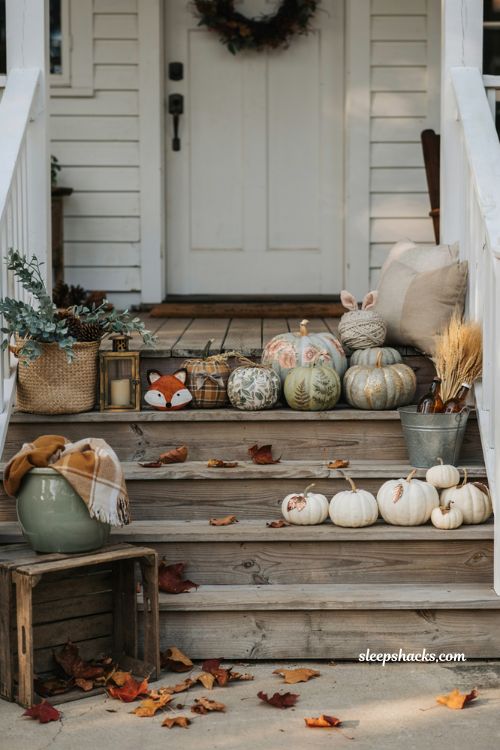
Paint, glue, felt scraps, and a little imagination turn plain pumpkins into characters, critters, and mini works of art that any age can help create. Some of the best pumpkin displays come from school hallways and family kitchen tables, not craft studios — proof that you don’t need special skills to pull this off. Whether you’ve got toddlers who want to get their hands messy or older kids chasing a contest ribbon, there’s a pumpkin idea here that fits your weekend and your supply closet.
1. Baby’s First Handprint Pumpkin
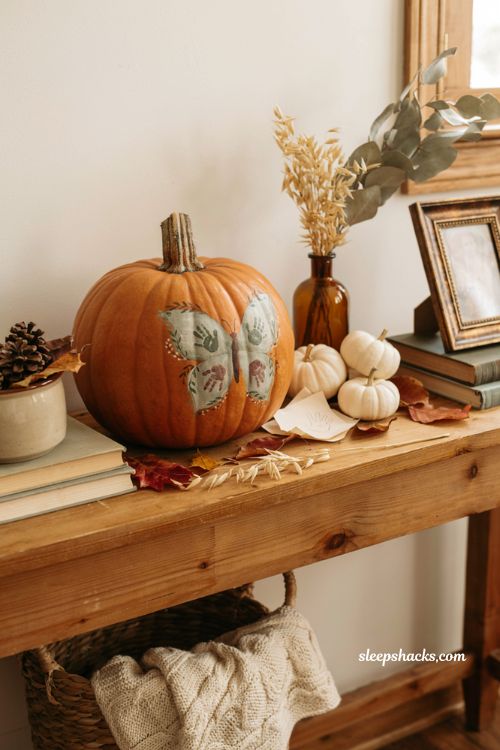
There’s something that stops you in your tracks about a pumpkin marked with a tiny handprint instead of a carved face. Trace your little one’s hand onto paper, cut it out, and use it as a stencil on the pumpkin’s surface with a marker before carving or painting inside the lines. Some families turn the prints into butterfly wings, others use them as goofy ears or eyes. It works even for babies too young to hold a paintbrush, since an adult can do the tracing and let the child just be the model. Keep the original paper cutout afterward — it makes a sweet keepsake alongside the pumpkin itself.
2. Finger-Painted Stencil Pumpkin
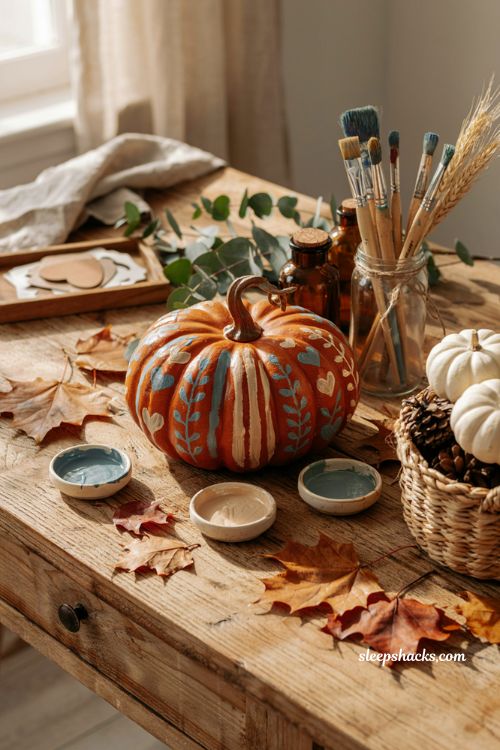
Before the paint comes out, use painter’s tape and a craft knife to map a simple design onto the pumpkin — stripes, a heart, or a monogram all work well. Let your child finger-paint freely over the taped sections, then peel the tape away once everything dries to reveal a crisp pattern underneath. The mess is half the fun for younger kids who already love finger-painting on paper. If you want to reuse the design next year, try this on a faux foam pumpkin instead of a real one, so the tape lines and shape hold up season after season.
3. Puffy Paint Textured Pumpkin
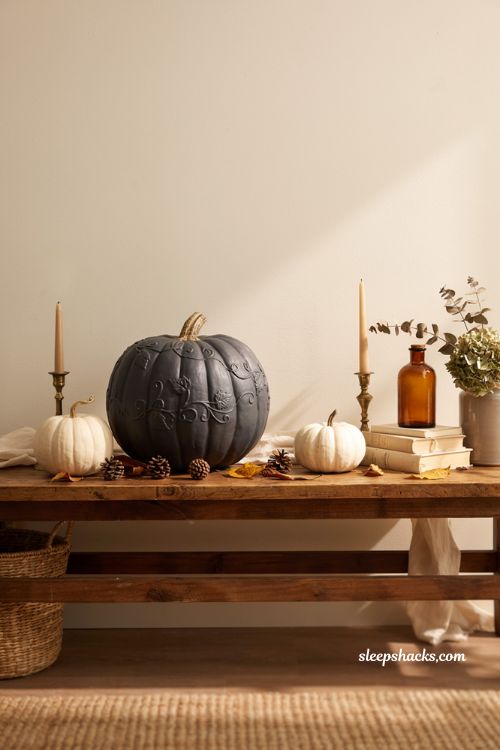
This one looks far more sophisticated than the effort it actually takes. Use puffy paint to draw dots, stripes, or a simple monogram directly onto a bare pumpkin, then let it dry completely — usually a few hours depending on thickness. Once it’s set, brush a solid coat of craft paint over the entire surface. The raised puffy paint creates a subtle texture underneath the color, almost like a stitched or embossed pattern. Dark paint colors like navy or charcoal tend to show off the texture best, especially under porch lighting.
4. Tissue Paper Mod Podge Pumpkin
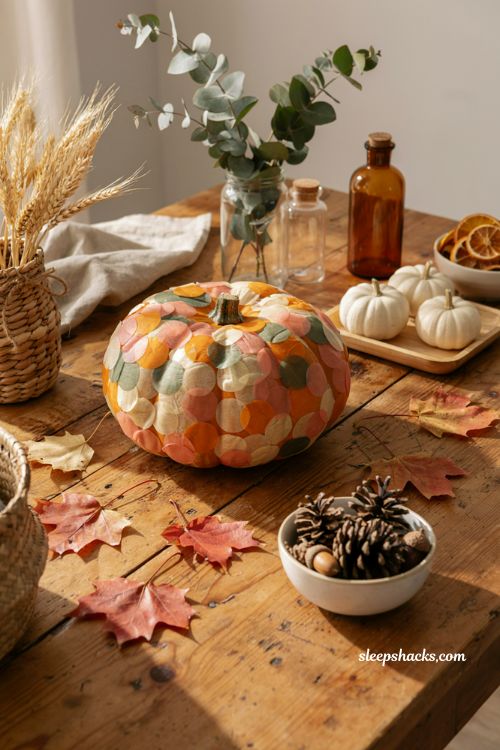
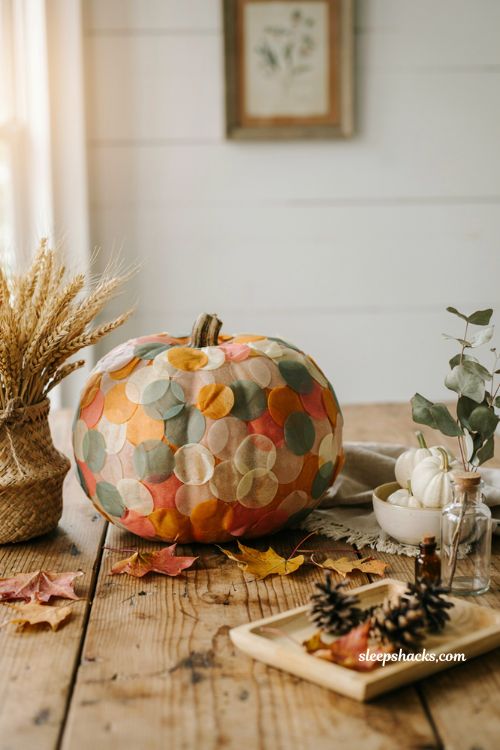
Cut colorful tissue paper into circles of different sizes, then brush a thin layer of Mod Podge over a section of the pumpkin so it stays tacky. Let your child press the tissue circles wherever they like, overlapping colors for a confetti effect. Once the whole surface is covered, seal it with another coat of Mod Podge to lock everything in place and add a bit of shine. This project is especially good for toddlers around age two, since there’s no cutting required if you prep the shapes ahead of time — they just get to place and press.
5. Fishnet Lace Pumpkin
For a project that takes less than five minutes, stretch a leg of black fishnet pantyhose over a pumpkin, pulling it snug so the lattice pattern shows across the surface. Trim off the excess fabric at the top and bottom, and the fishnet naturally tightens and holds itself in place without any glue. This works especially well on white or cream pumpkins, where the dark lace pattern really pops against the pale background. Keep these indoors, though, since the material isn’t weatherproof and won’t hold up well in rain or direct sun.
6. Homemade Monogram Stencil Pumpkin
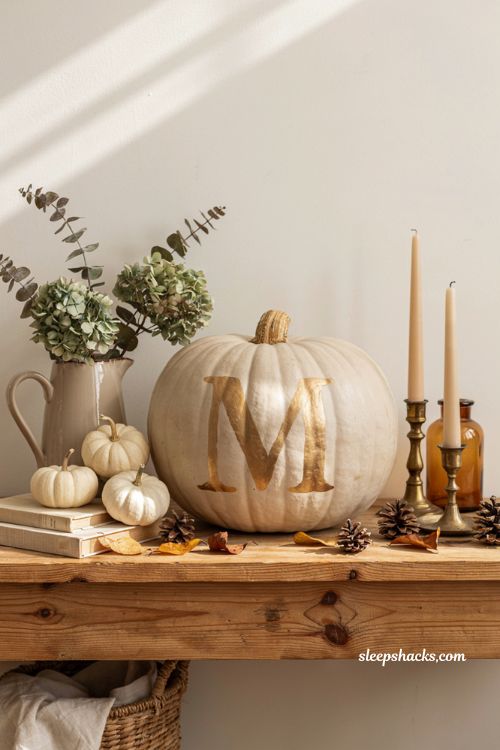
Print out a letter, name, or simple design on a computer, then flip the paper over and scribble pencil across the back until it’s fully coated. Press the paper onto the pumpkin and trace firmly over your design from the front — the pencil transfers a light outline you can then paint or carve into. This trick works for practically any pattern you can print, not just monograms, so it’s worth keeping in your back pocket for other holidays too. A single initial in gold paint on a white pumpkin makes an especially elegant fall centerpiece.
7. Painted Farm Animal Pumpkins
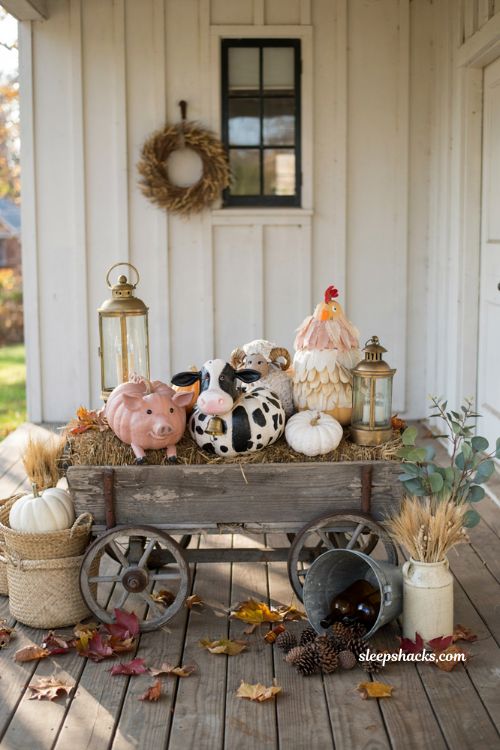
Round pumpkins make surprisingly convincing barnyard animals with just a little paint and a few added details. Paint one pink with a black snout cut from craft foam for a pig, or go black and white with a pink nose for a cow. Small stacked pumpkins work great for chickens, with real or craft feathers glued along the back for texture. Grouping three or four different animals together on a hay bale or in a wagon makes for a display that feels like a whole little farm scene rather than a single pumpkin.
8. Felt Cutout Owl Pumpkin
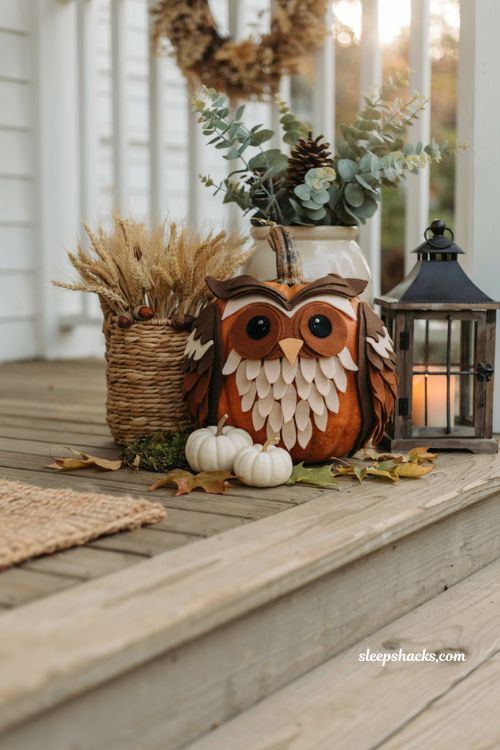
Owls translate beautifully into pumpkin form because their round bodies and big eyes match the pumpkin’s natural shape. Cut circles and triangles from brown, tan, and cream felt for the wings, chest feathers, and beak, then glue them directly onto the pumpkin’s surface with a hot glue gun. Large googly eyes or felt circles with black centers finish the face. Adding a scattering of small craft leaves near the base ties the whole thing into a woodland theme, which looks especially nice grouped with other fall foliage on a porch step.
9. Cactus Pumpkin in a Clay Pot
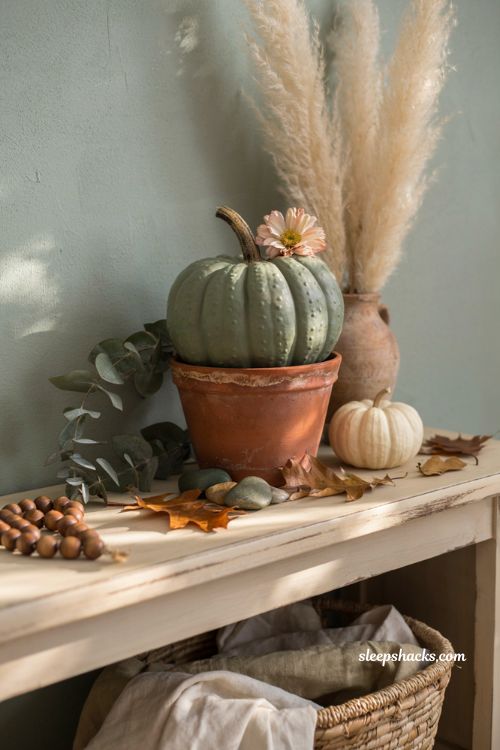
Turn a pumpkin sideways and rest it inside a small terra cotta pot to mimic a potted cactus — the curved shape does most of the work for you. Paint the pumpkin a soft sage or forest green, then use a toothpick to poke small dot patterns across the surface for that prickly cactus texture. A tiny paper or silk flower glued near the top adds a playful finishing touch, similar to a blooming succulent. This one’s a fun alternative for anyone who wants a Halloween pumpkin that doesn’t scream spooky and fits a more neutral fall decor scheme.
10. Ice Cream Cone Pumpkin
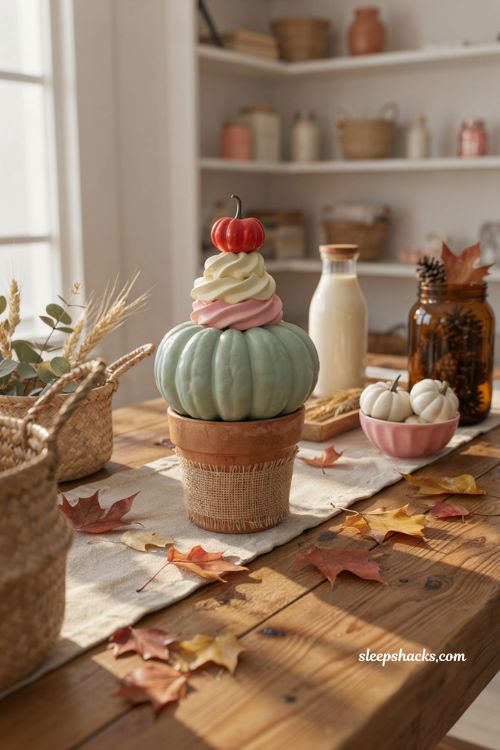
Flip a small painted terra cotta pot upside down to act as the cone, then set a pumpkin painted in your favorite ice cream flavor color right on top. Pipe cleaners twisted and glued around the surface create a soft-serve swirl effect, and a mini pumpkin painted red makes a convincing cherry on top. Burlap wrapped around the base can mimic a waffle-cone texture if you want extra detail. This idea photographs especially well against a plain backdrop, which makes it a favorite for pumpkin contest entries at school events.
11. No-Carve Scarecrow Pumpkin
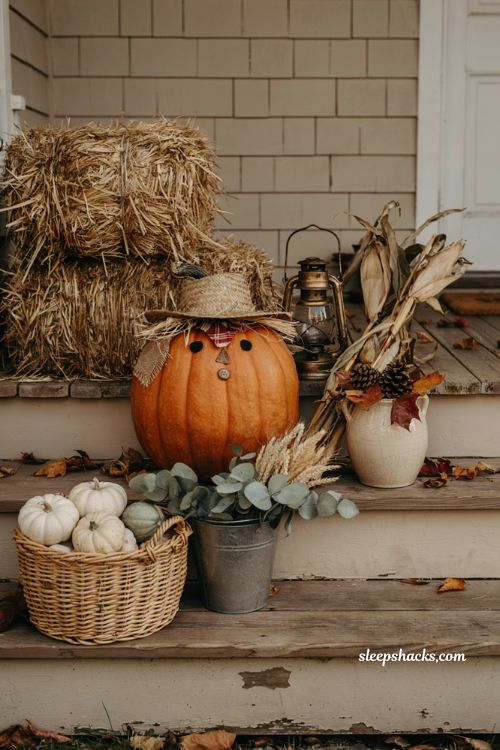
Dress a pumpkin in a mini flannel shirt scrap and a small straw hat, then glue on felt patches for extra scarecrow charm. Straw or raffia tucked around the base and poking out from under the hat gives it that classic stuffed-with-hay look. Buttons down the front and a burlap patch or two complete the outfit without needing a single cut. This one works particularly well displayed alongside real hay bales or cornstalks, since the materials naturally blend into a farmhouse-style fall arrangement.
12. Witch’s Cauldron Pumpkin
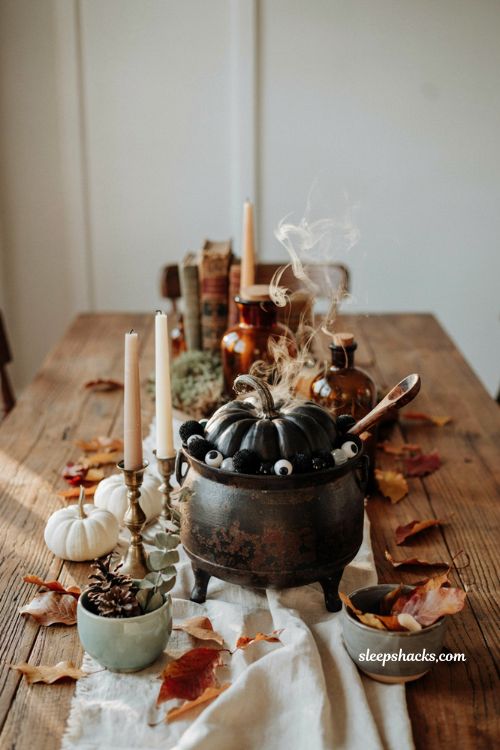
Paint a pumpkin matte black and set it slightly tilted inside a metal bucket or an actual small cauldron if you have one, so it looks like it’s bubbling over. Glue small pom-poms or plastic eyeballs around the rim to suggest a spooky brew spilling out, and a few wispy cotton strands can stand in for rising smoke or fog. This idea works nicely as a centerpiece since it has real height and dimension compared to a flat, single pumpkin sitting on a table. Add a wooden spoon prop leaning against the side for extra charm.
13. Mini Haunted House Pumpkin
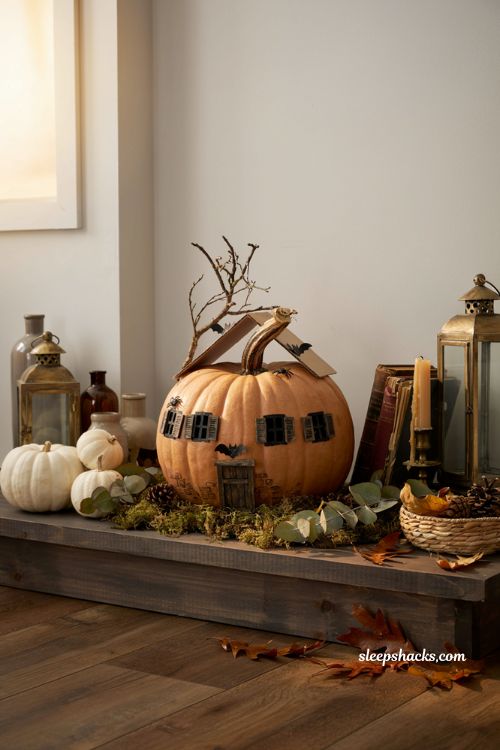
Use a flat-sided or oddly shaped pumpkin as the base of a tiny haunted house, painting on windows, a door, and shutters with black and gray paint. Small twigs glued near the top can act as bare tree branches, and a triangle of cardboard painted to match makes a simple roof. Tiny plastic bats or spiders tucked into the painted windows add a last layer of spookiness without much extra effort. Set on a bed of dried moss, this pumpkin idea makes a great centerpiece for an entryway table.
14. Dinosaur Hatching Pumpkin
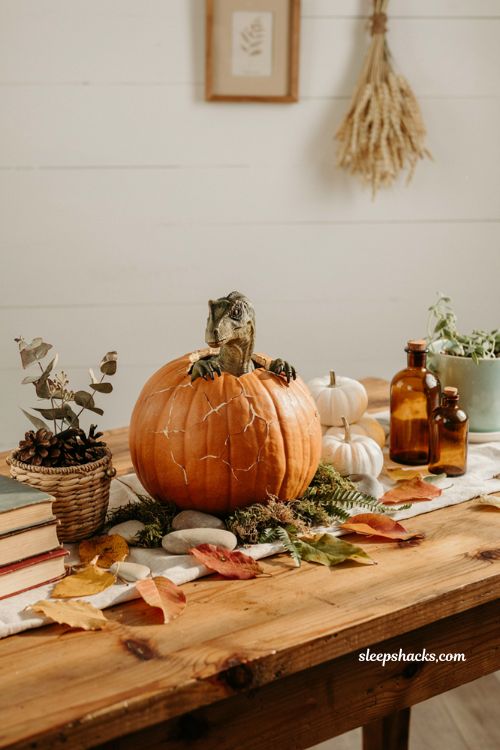
Crack a plastic toy dinosaur in half, then glue the front portion onto the pumpkin so it looks like the creature is breaking free from an egg. Paint the pumpkin a soft cream or pale green to mimic real eggshell, and use a craft knife to add a few jagged crack lines radiating out from where the dinosaur emerges. This idea has a bit of a wow factor for a project that’s genuinely simple once you track down the right toy. Kids who are dinosaur-obsessed tend to love helping pick out which one gets the starring role.
15. Spa Day Pumpkin
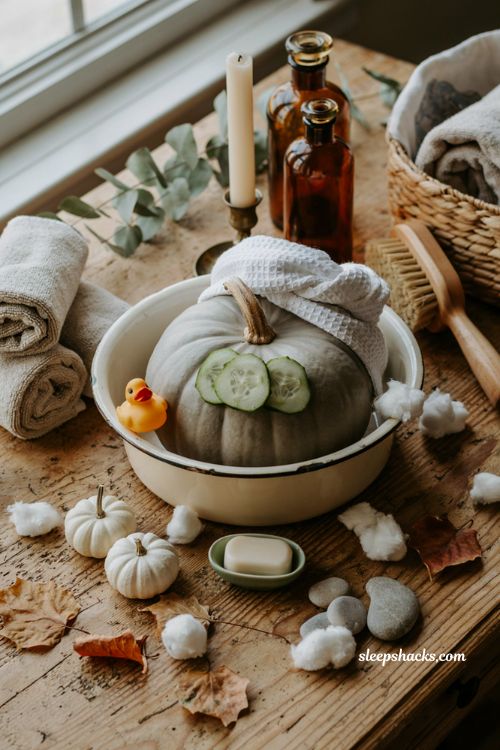
Paint a pumpkin a soft gray to mimic a face mask, then glue on two small painted circles or real cucumber slice cutouts over the eyes for that classic spa look. Set it inside a small tub or basin prop with a folded washcloth draped over the top like a headband, and add a few cotton balls scattered around for bubbles. It’s a funny, unexpected idea that always gets a laugh at a contest table full of scary faces and monsters. A tiny rubber ducky perched nearby adds one more playful detail without much extra work.
Final Thoughts
You really don’t need a single carving tool to end up with pumpkins worth showing off this fall. Paint, felt scraps, glue, and whatever’s sitting in your craft bin can go a long way once you pick a theme that excites you or your kids. Start with just one or two of these ideas rather than trying to tackle all fifteen in a weekend — a handful of well-made pumpkins will always look better than a dozen rushed ones. Grab a pumpkin, pick a favorite from this list, and see where it takes you.
Frequently Asked Questions
Q: What paint works best for no-carve pumpkin decorating?
Acrylic craft paint and oil-based spray paint both hold up well on pumpkins, and a clear sealant on top helps prevent chipping.
Q: How do you prep a pumpkin before decorating it?
Wash and dry the pumpkin thoroughly to remove dirt, wax coating, or residue so paint and glue adhere properly.
Q: How long do no-carve pumpkins last compared to carved ones?
No-carve pumpkins typically last much longer than carved pumpkins since there’s no exposed flesh to rot, often staying fresh-looking for several weeks.