

Picture a shelf of those bright orange foam pumpkins at Dollar Tree — cheerful, a little garish, and destined for a full transformation once they land in your cart.
- Save
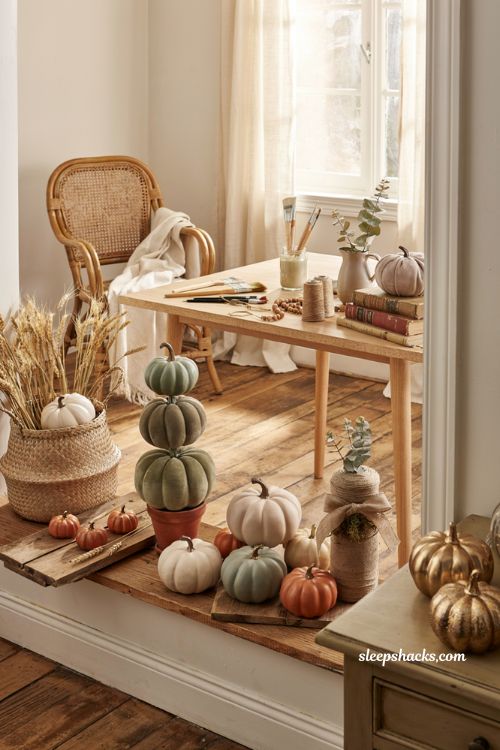
That gap between what they look like on the shelf and what they can become with a little paint and glue is exactly what makes them such a satisfying craft base. These 15 dollar tree pumpkin ideas turn a one-dollar foam form into everything from farmhouse decor to a topiary that looks like it came from a boutique. Almost every project here uses supplies you can find in the same store trip.
1. Stacked Dollar Tree Pumpkin Topiary
- Save
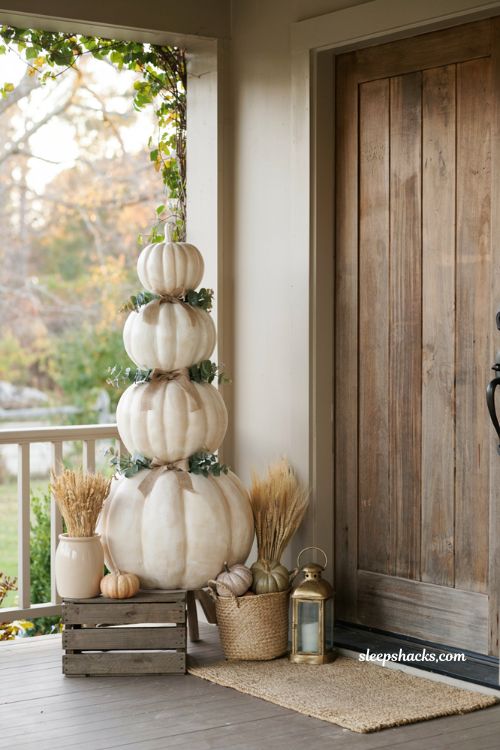
Stack two or three plastic or foam dollar tree pumpkins in decreasing sizes onto a dowel running through the center to build a tall, layered display piece. Painting all the stacked pumpkins the same color keeps the finished piece looking cohesive rather than mismatched. Adding a bit of ribbon or greenery where each pumpkin meets the next hides the seams and finishes the look. This is one of the most impressive-looking projects on this list for how genuinely simple it is to put together.
2. Wood Paint Stick Pumpkin
- Save
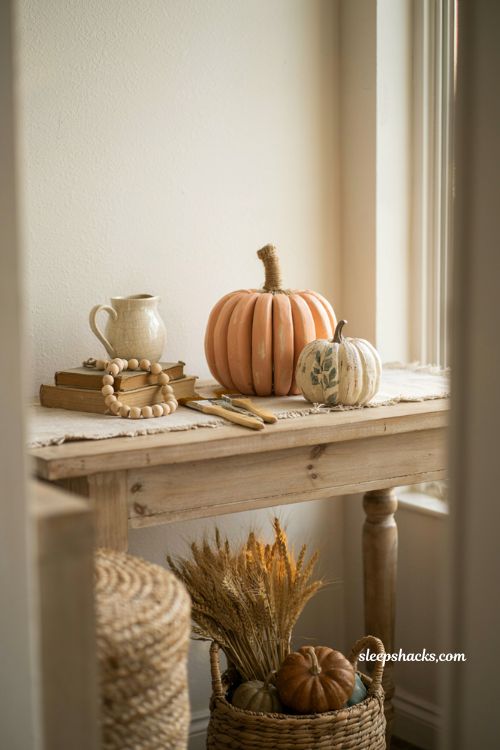
Glue paint sticks or thin wood strips side by side into a pumpkin shape, then paint and seal the finished form for a rustic, farmhouse-style accent. Scrapbook paper and mod podge can be layered over the wood for a patterned look instead of a solid painted one. Adding raffia at the top for a stem ties the whole piece together with a natural, textured finish. This project works especially well as a fun group activity, since paint sticks are cheap enough to make several at once.
3. Wallpapered Wood Pumpkin
- Save
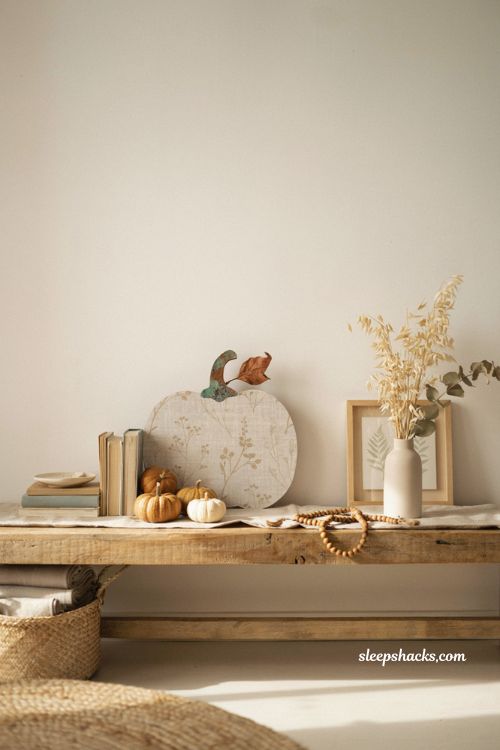
Cover a dollar tree wood pumpkin cutout in peel-and-stick wallpaper for an instant pattern upgrade with almost no effort at all. Smoothing the wallpaper from the center outward as you apply it prevents air bubbles from getting trapped underneath. A coat of spray paint on the stem in a metallic gold or copper finishes it off nicely. This is one of the fastest transformations on this whole list, since the wallpaper does most of the visual work for you.
4. Jenga Block Pumpkin
- Save
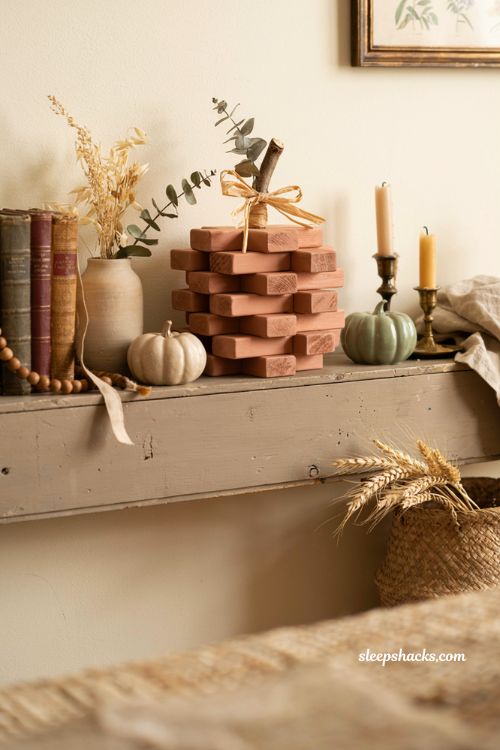
Stack dollar tree wood blocks in a rounded, tumbling pattern to build a chunky, textured pumpkin shape, gluing each block in place as you go. Staggering the blocks slightly rather than lining them up perfectly gives the finished piece a more organic, rounded silhouette. Painting the whole thing a single warm color afterward pulls the individual blocks together into one cohesive shape. This is a fun, slightly puzzle-like project that results in something with real dimension and weight.
5. Mini Pallet Pumpkin
- Save
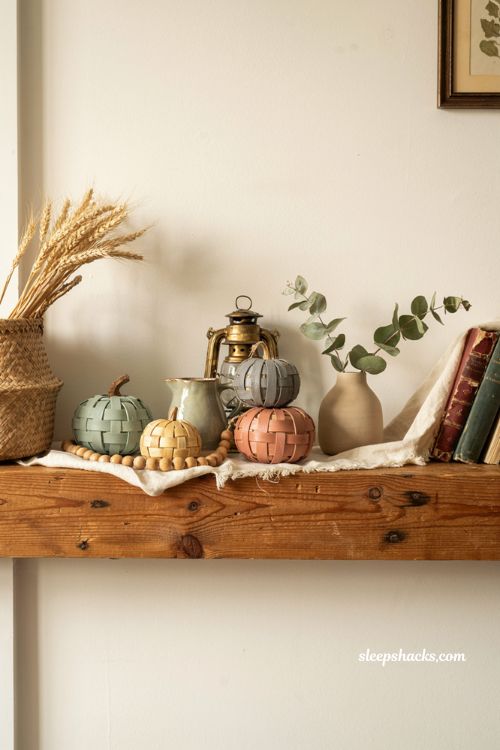
Build a tiny pallet-style pumpkin out of thin wood strips glued in a crosshatch pattern, then paint or stain it for a rustic, farmhouse-style accent piece. Leaving small gaps between the wood strips as you assemble it gives the design an authentic reclaimed-wood look. These work beautifully lined up in a row along a mantel or window ledge in a few different sizes. This is a great project if you already have basic wood glue and a small saw on hand.
6. Foam Pumpkin Topiary with Moss
- Save
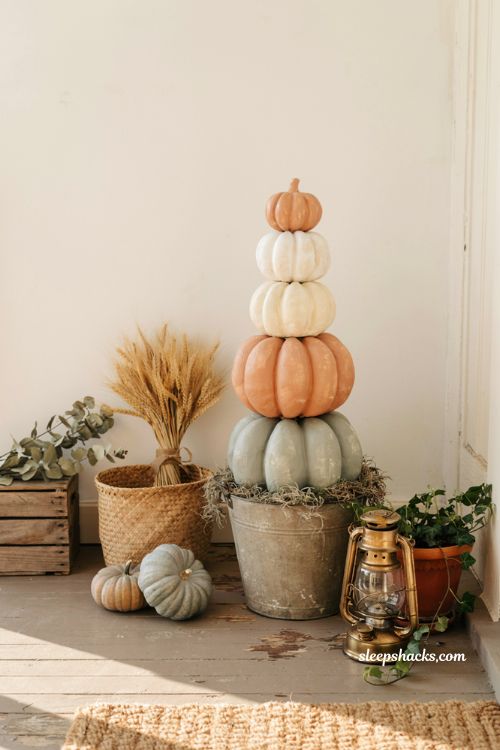
Decoupage a few dollar tree foam pumpkins, then stack and secure them into a faux rusted metal bucket, tucking Spanish moss around the base to hide the seams. Building the topiary tall and slightly narrow at the top keeps the proportions looking intentional rather than top-heavy. This piece makes a genuinely striking front porch statement for a total cost that’s hard to beat. Once assembled, it can be repainted or redecorated for a completely different look next year.
7. Raffia-Wrapped Foam Pumpkin
- Save
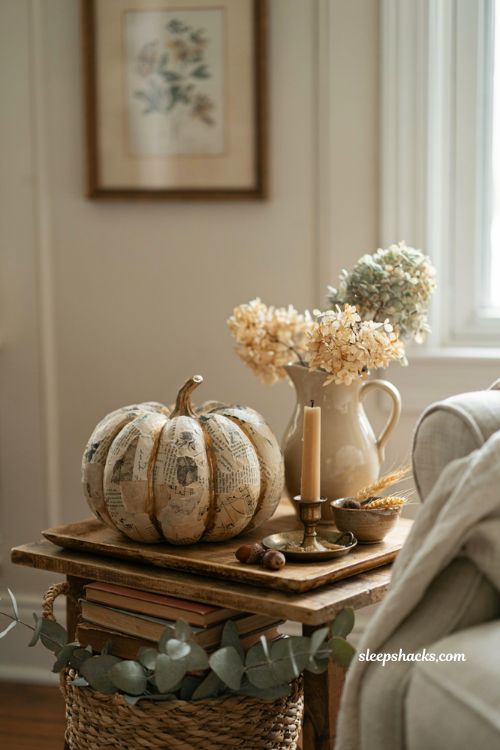
Wrap natural raffia around a dollar tree foam pumpkin in overlapping layers, securing the ends with a dab of hot glue to hold everything in place. Working from the top down and slightly overlapping each wrap keeps the coverage even and avoids any bald patches showing through. This texture pairs beautifully with other natural materials like wood, burlap, and dried florals in a farmhouse display. It’s one of the quickest ideas here, since there’s no drying time involved at all.
8. Vintage Decoupage Foam Pumpkin
- Save
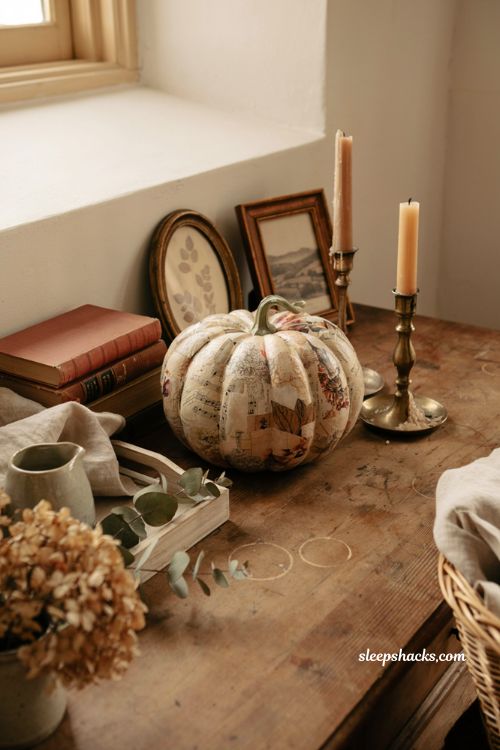
Cut strips or shapes from vintage-style printed paper and decoupage them onto a foam pumpkin using mod podge for a patterned, collected-over-time look. Choosing a cohesive color palette across your paper scraps keeps the finished piece looking curated rather than cluttered. This technique works well with everything from floral prints to old maps or sheet music, depending on the aesthetic you’re going for. It’s ready to display in well under an hour, making it one of the faster projects on this list.
9. Book Page Foam Pumpkin

- Save
Tear pages from an old paperback and mod podge them onto a foam pumpkin, layering and slightly curling a few edges as you go for texture. This makes a lovely conversation-starting centerpiece for a fall table, especially paired with a cluster of actual books nearby. Working in small sections rather than trying to cover the whole surface at once keeps the glue from drying out before you’re ready. It’s a satisfying project to work through slowly over an evening.
10. Succulent Planter Foam Pumpkin
- Save
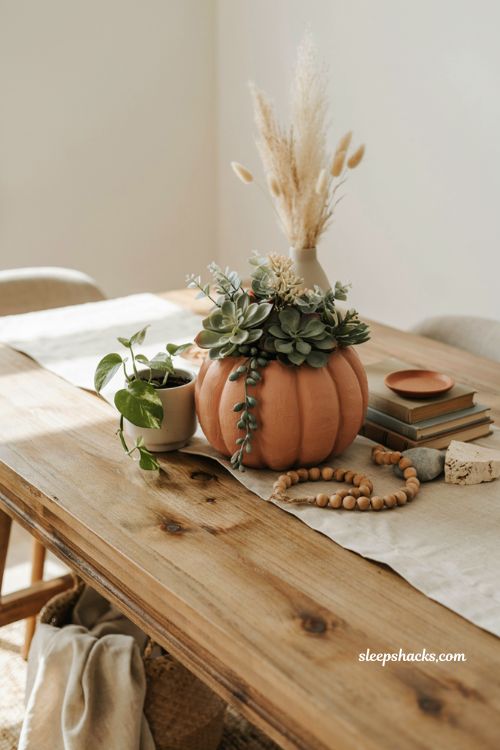
Turn a dollar tree foam pumpkin into a faux succulent planter by pressing artificial succulent stems directly into the foam, arranging them until the top is fully covered. This is a great way to bring pumpkins into your everyday decor beyond just the fall season, since the succulent look reads as decor year-round. If you’d rather use real succulents, cutting small drainage holes in the base first makes that possible too. It’s an unexpected, low-maintenance twist on the usual painted or wrapped pumpkin.
11. Antiqued Phrase Pumpkin
- Save
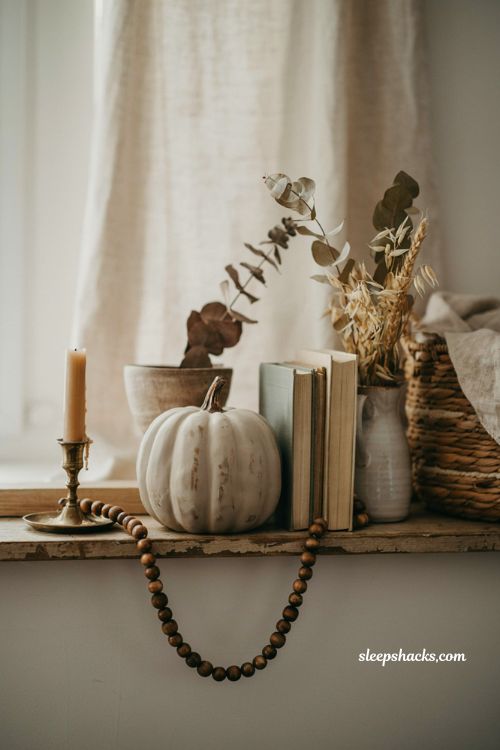
Paint a dollar tree foam pumpkin a soft, muted color, then hand-letter or stencil a short seasonal phrase across the front for a farmhouse-style accent piece. Distressing the edges lightly with sandpaper after the paint dries adds an aged, antiqued texture that fits right into a rustic display. This technique works just as well on real pumpkins if you’d rather not use a foam base. Changing the phrase each season is an easy way to get more mileage out of the same painted pumpkin.
12. No-Sew Pleated Velvet Pumpkin
- Save
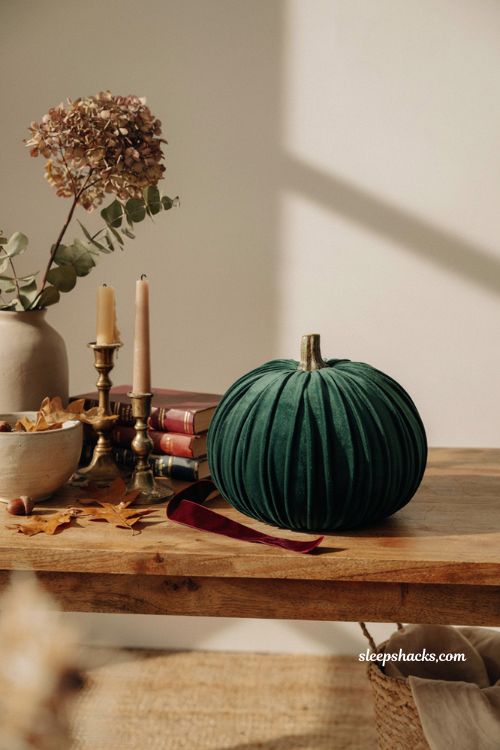
Wrap a foam pumpkin in velvet fabric, pleating and tucking the material at the top and bottom instead of sewing it into place, then secure everything with hot glue. Working the pleats evenly around the pumpkin as you go is what gives it that soft, luxe, ribbed pumpkin shape. Deep jewel-toned velvet in emerald, burgundy, or navy elevates a one-dollar foam base into something that looks genuinely high-end. This is a slightly more involved project, but the finished look is worth the extra patience.
13. Beanie Pumpkin
- Save
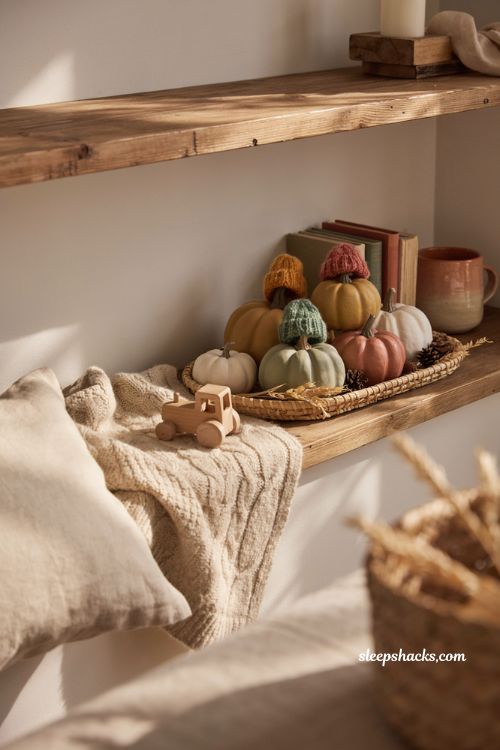
Top a foam pumpkin with a small knit beanie or hat instead of a traditional stem for a playful, cozy look that feels more like a character than a typical decoration. Securing the beanie with a dab of hot glue underneath keeps it from sliding off during display. This is a genuinely fun, low-effort project that works great for a whimsical kids’ room or playroom fall display. A cluster of these in different beanie colors makes for an especially charming grouping.
14. Foam Pumpkin Wall Sign
- Save
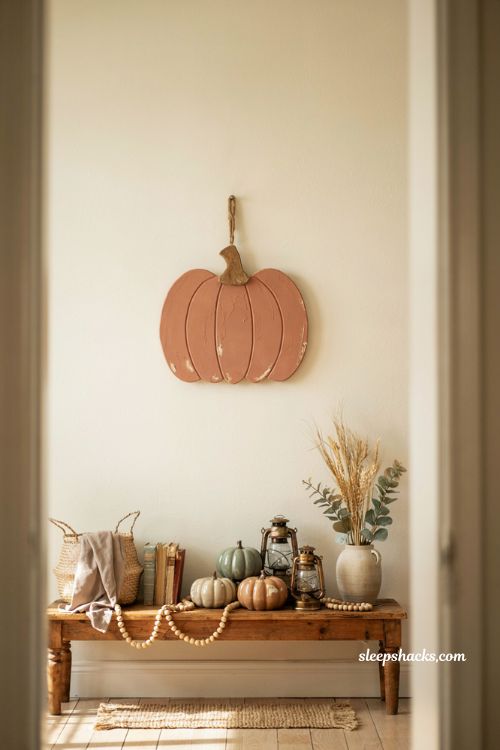
Cut a dollar tree foam pumpkin in half or use a flat foam shape, then paint and letter it before mounting it on your front door or a blank wall as seasonal signage. This is a smart way to fill awkward empty wall space that a freestanding pumpkin wouldn’t work in. Adding a small hook or ribbon loop on the back makes it easy to hang and just as easy to store flat when the season ends. It’s one of the more practical, space-saving ideas on this whole list.
15. Vintage Button Pumpkin with Doily
- Save
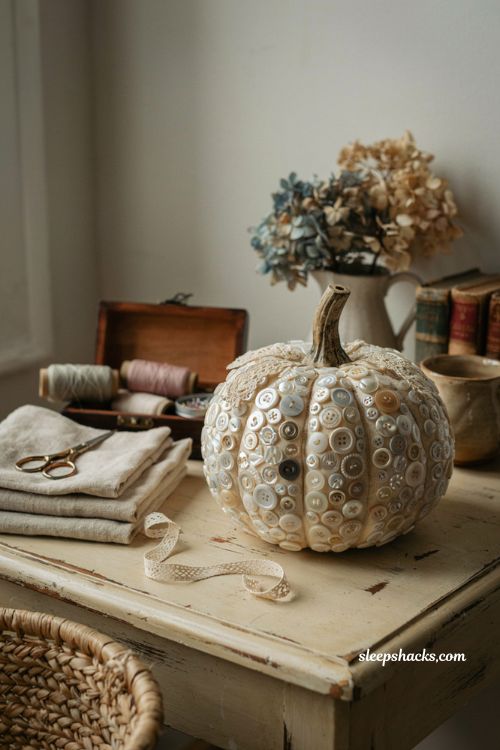
Paint a foam pumpkin white, glue a circular piece of doily to the top, then cover the sides in a mix of white and clear buttons before topping it off with a vintage wooden thread spool for a stem. Varying the button sizes and finishes as you glue them gives the surface far more visual interest than uniform buttons would. This one leans fully into a vintage sewing-notion aesthetic, so it’s a lovely way to repurpose an inherited button collection. The doily and thread spool details are what really sell the antique, heirloom feel.
Final Thoughts
There’s something genuinely satisfying about turning a pumpkin that cost a dollar into the centerpiece of your whole fall display. Grab a few foam pumpkins on your next Dollar Tree run and just see where the first project takes you — chances are you’ll want to make a second one before you’re even done with the first. Have fun with it, and don’t worry about getting every detail perfect.
Frequently Asked Questions
Q: What paint works best on Dollar Tree foam pumpkins?
Chalk paint and acrylic craft paint both adhere well to foam and typically need two coats to fully cover the original orange color. A light coat of sealant afterward helps the finish last longer if the pumpkin will be handled or displayed outdoors.
Q: How do you remove the stem from a Dollar Tree pumpkin?
Most foam pumpkin stems are held in place with a single toothpick and lift right out with a gentle pull. This makes it easy to swap in a different stem, like a spool, twig, or raffia bundle, for a more custom look.
Q: Can Dollar Tree pumpkin crafts be reused every year?
Yes, since foam and plastic pumpkins don’t decay the way real ones do, most of these crafts can be stored and displayed again for years. Repainting or re-wrapping the same base is an easy way to give an old project a completely different look each fall.